

I used to have a Europa, and had a VX220T once...

Posted 21 September 2009 - 10:28 AM
I used to have a Europa, and had a VX220T once...
Posted 21 September 2009 - 10:29 AM

I used to have a Europa, and had a VX220T once...
Posted 21 September 2009 - 10:29 AM
I used to have a Europa, and had a VX220T once...
Posted 21 September 2009 - 10:29 AM

King of First Replies

Posted 23 September 2009 - 05:05 PM

Member

Posted 23 September 2009 - 06:25 PM
Not meaning to upset anyone, but I mentioned these to an engine developer today and they seemed to think they were a really bad idea - especially on an engine that doesn't run a dual mass flywheel
King of First Replies
Posted 23 September 2009 - 06:36 PM
Only in that the weight distribution of the OEM pulley will be precisely calculated to work in conjunction with the flywheel, and balance the crank; changing this balance could dramatically reduce the overall reliability of the crank. The OEM pulley could also be cored to provide additional damping (Did they explain the reason why it's a bad idea ???
 )
)Super Member

Posted 23 September 2009 - 06:52 PM
King of First Replies
Posted 23 September 2009 - 06:57 PM
Yep, apparently so (and lets face it, a lighter flywheel would be cheaper to manufacture, so I'm sure they would have done so)Does that mean lightweight flywheels are a bad idea too?
 ) I fully trust his opinion, but it is just that, an opinion

I used to have a Europa, and had a VX220T once...
Posted 24 September 2009 - 09:32 AM

 Edit: removed technical explanation of engine balance and forces
Flywheels are generally the weight they are to aide engine NVH and stability at idle - its cheaper than investing in other forms of engine damping
As you say, it is only an opinion...
Obviously one not shared by Courtenay who sell both lightened flywheels and underdrive pulleys, TMS who sell lightened flywheels, MMG who make the underdrive kit, me or anyone who has fitted an underdrive pulley - MMG or otherwise, or a lightened flywheel...
Edit: removed technical explanation of engine balance and forces
Flywheels are generally the weight they are to aide engine NVH and stability at idle - its cheaper than investing in other forms of engine damping
As you say, it is only an opinion...
Obviously one not shared by Courtenay who sell both lightened flywheels and underdrive pulleys, TMS who sell lightened flywheels, MMG who make the underdrive kit, me or anyone who has fitted an underdrive pulley - MMG or otherwise, or a lightened flywheel...
Edited by pjohn151, 24 September 2009 - 10:01 AM.
Super Member

Posted 26 September 2009 - 08:17 AM
Super Member
Posted 28 September 2009 - 11:39 PM
 .... a REAL pain....I had to rig up a temporary solution to get the undertray back on securely.
Scary Internerd

Posted 25 October 2011 - 09:07 PM
Well, I managed to fit this kit, but it took a long long time....many hours of work involved. The car was out of action for one day...something to bear in mind if you're planning to fit this.
It must have been my unlucky day...here were my main problems during fitting:
If you are going to do this, hope you don't have as many issues as I did! It's probably easier if you have somebody to help you - sometimes 2 hands are not enough!
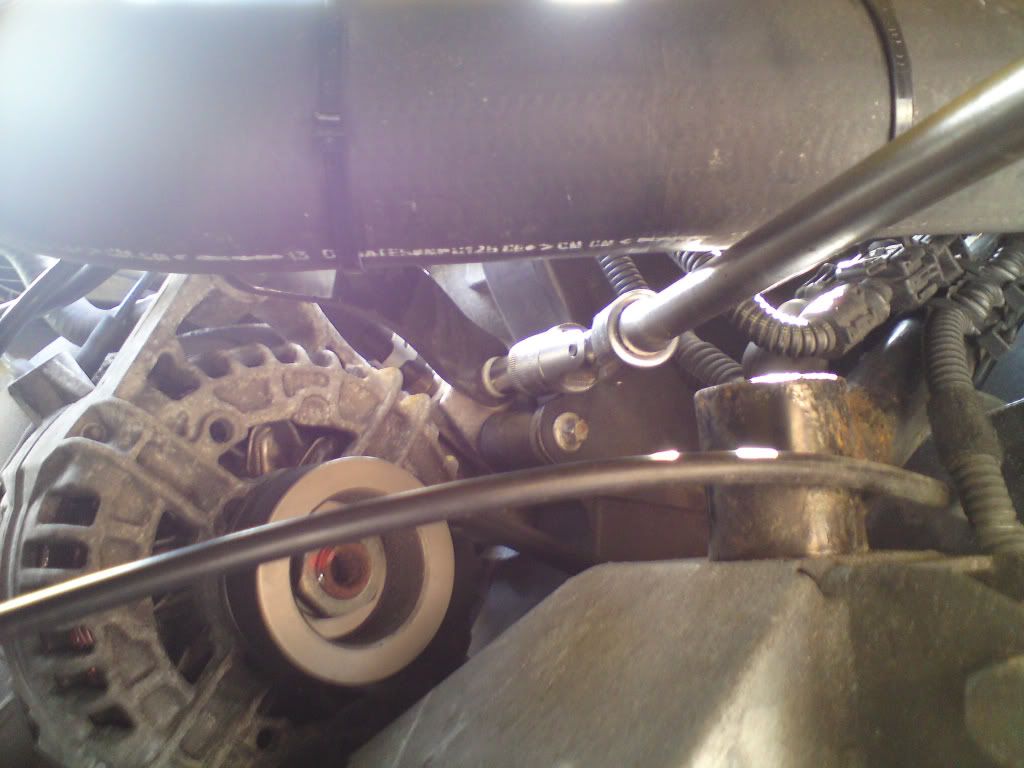
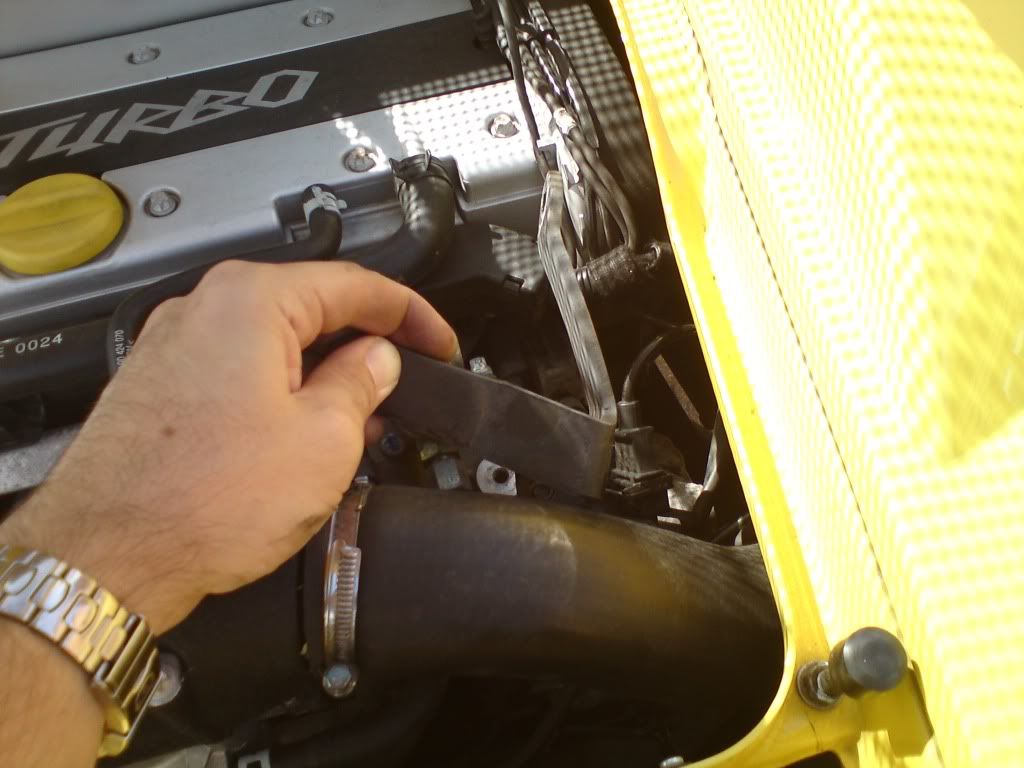
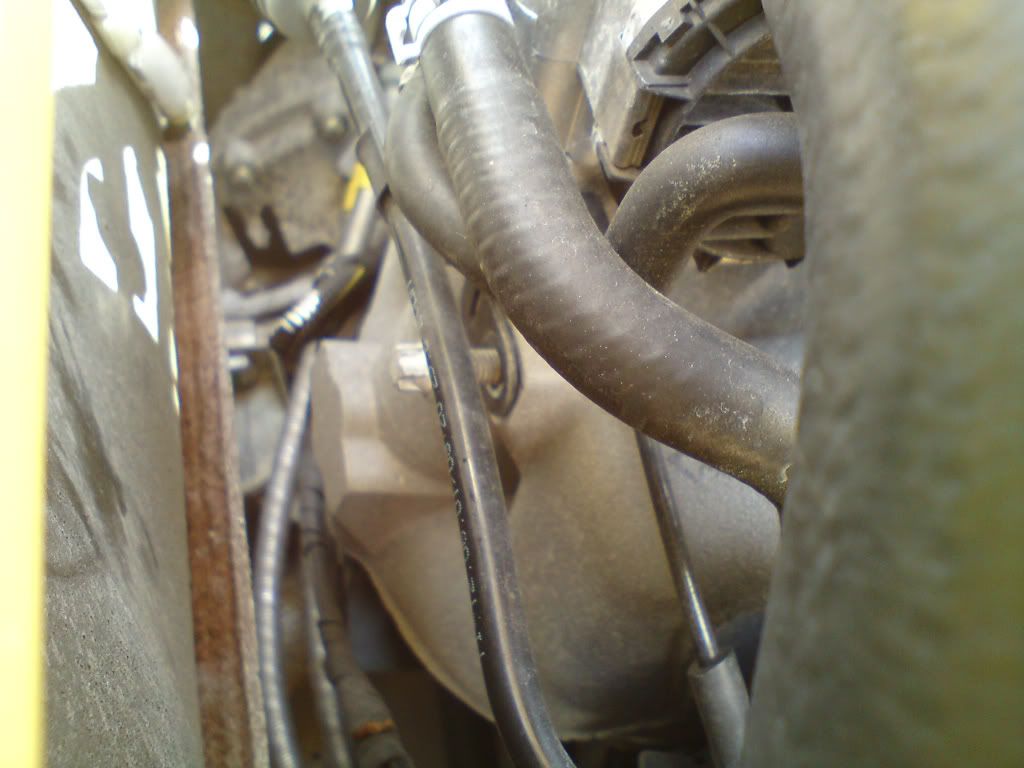
- because my car is a stage 4 with a chargecooler...the chargecooler pipework got in the way of removing the top alternater bolts which are accessed from the engine bay. I had to remove some of the pipework to get at the bolts.
- there was a plastic cover over the top of the alternator...presumably to stop any water falling into the alternator. Again, this made the removal of the bolts at the top of the alternator very difficult.
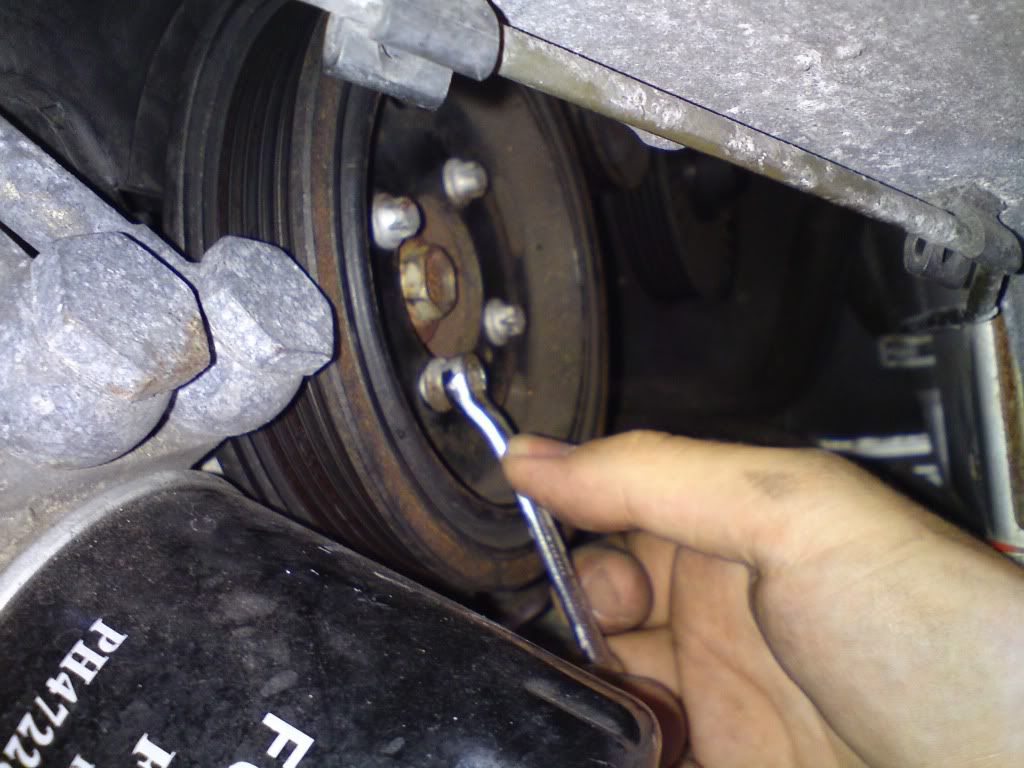
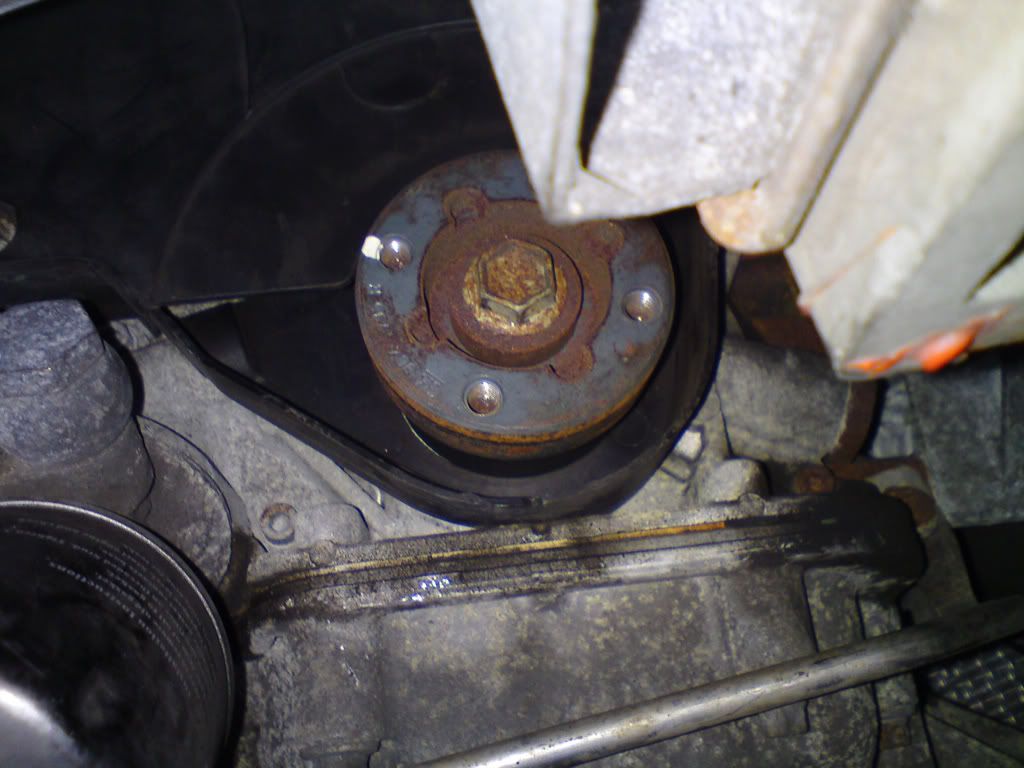
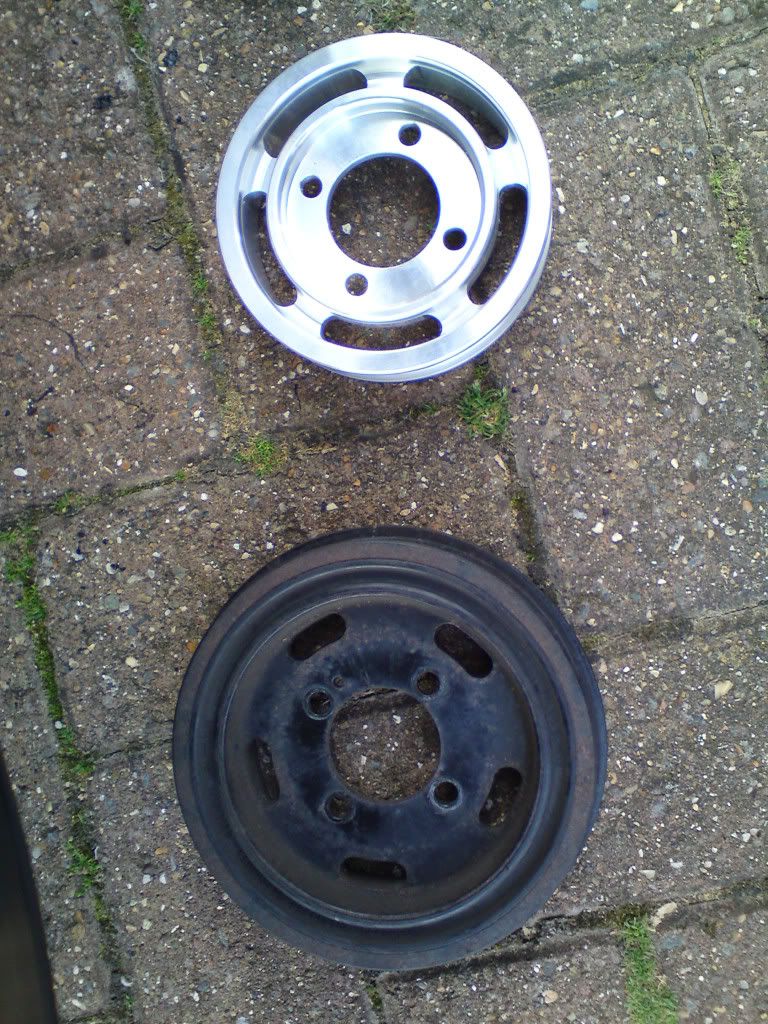
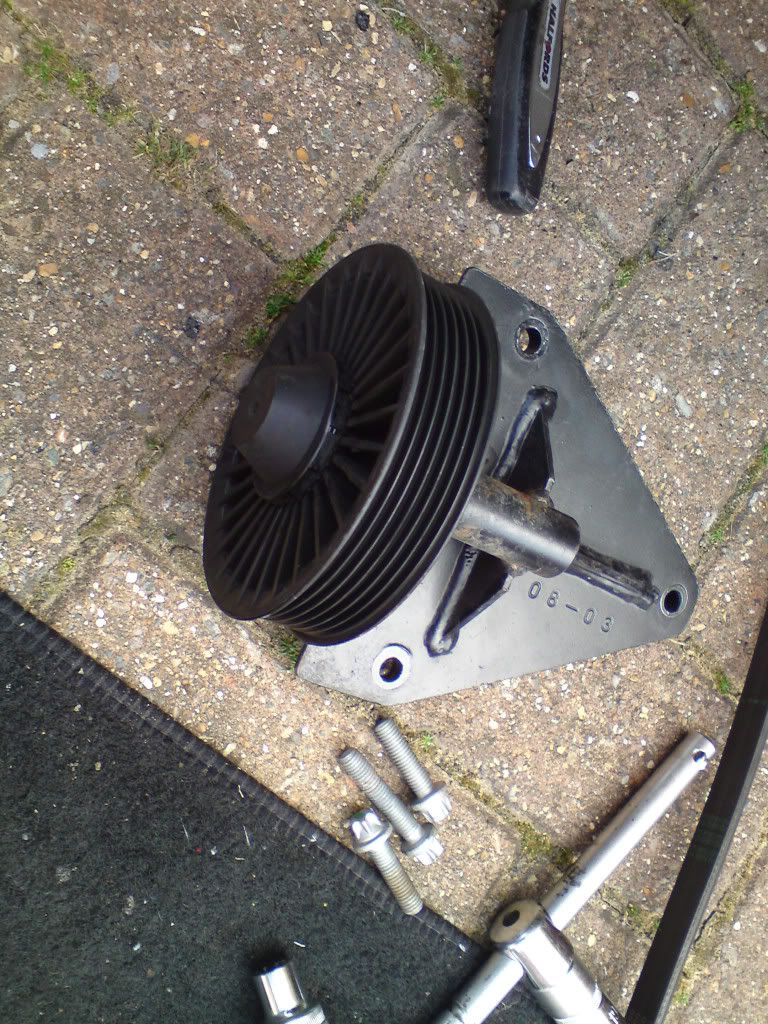
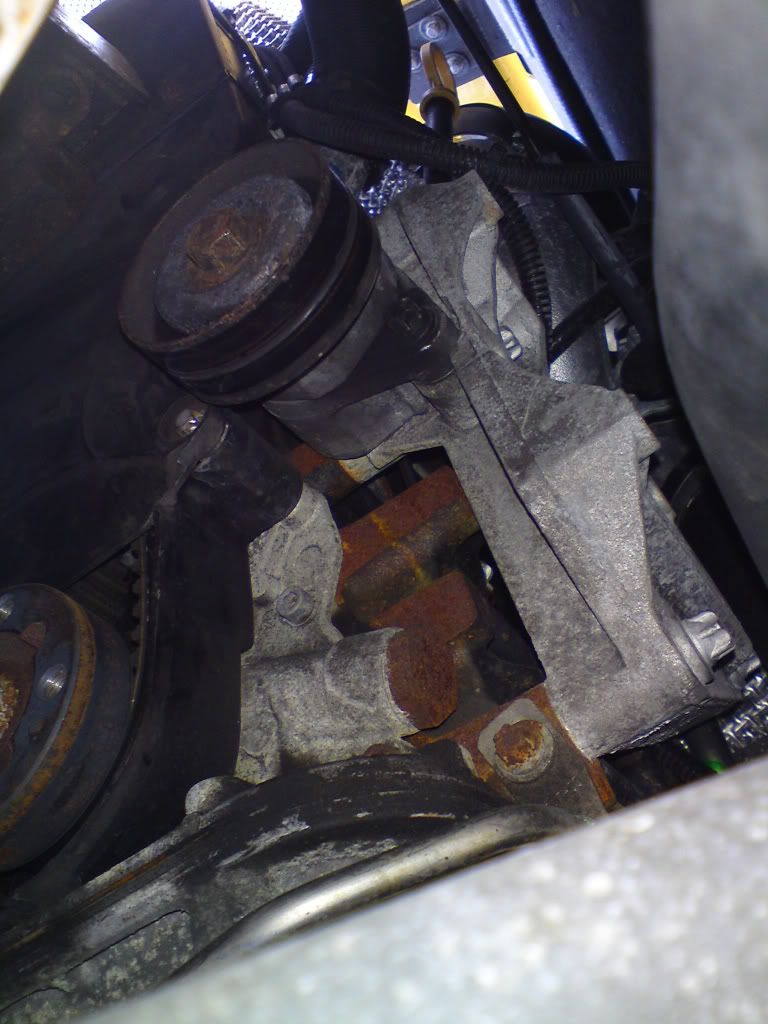
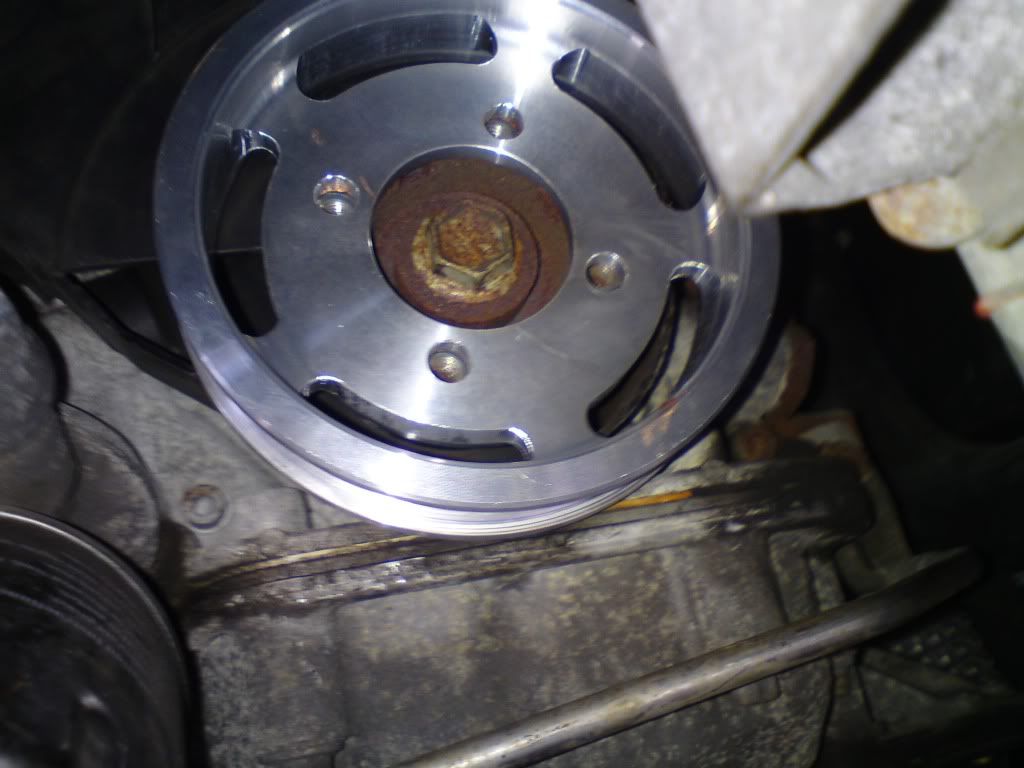
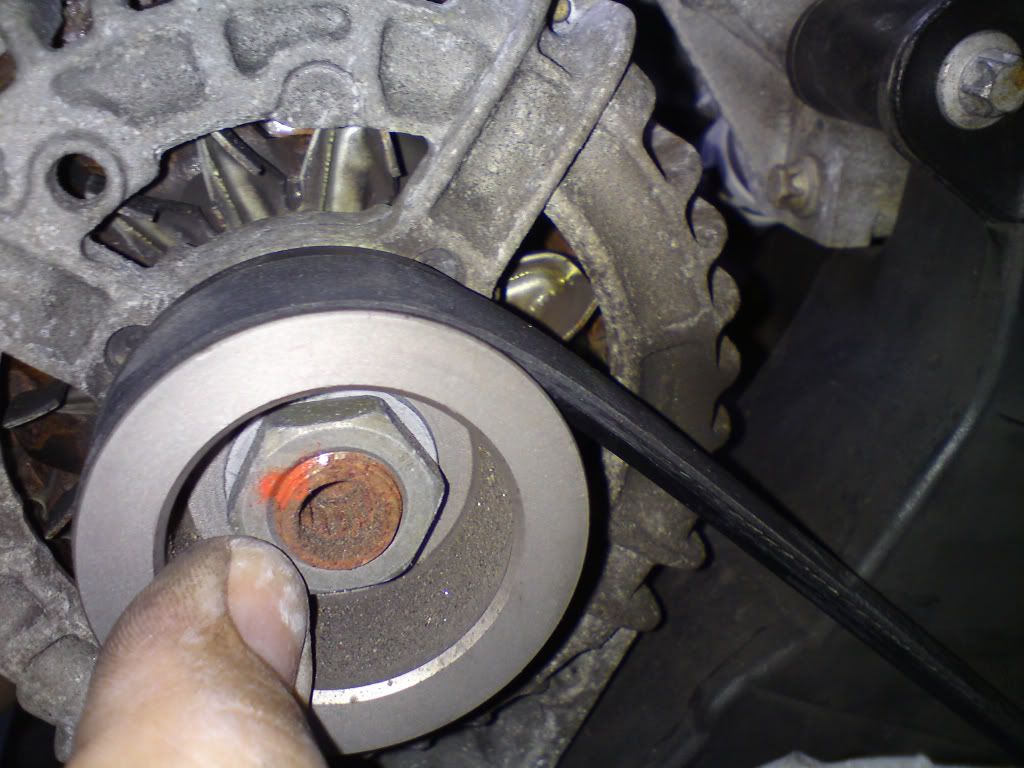
- the original pulley was corroded onto the crankshaft. It took a few hours of tapping with a hammer/levering it off in what is quite a confined space.
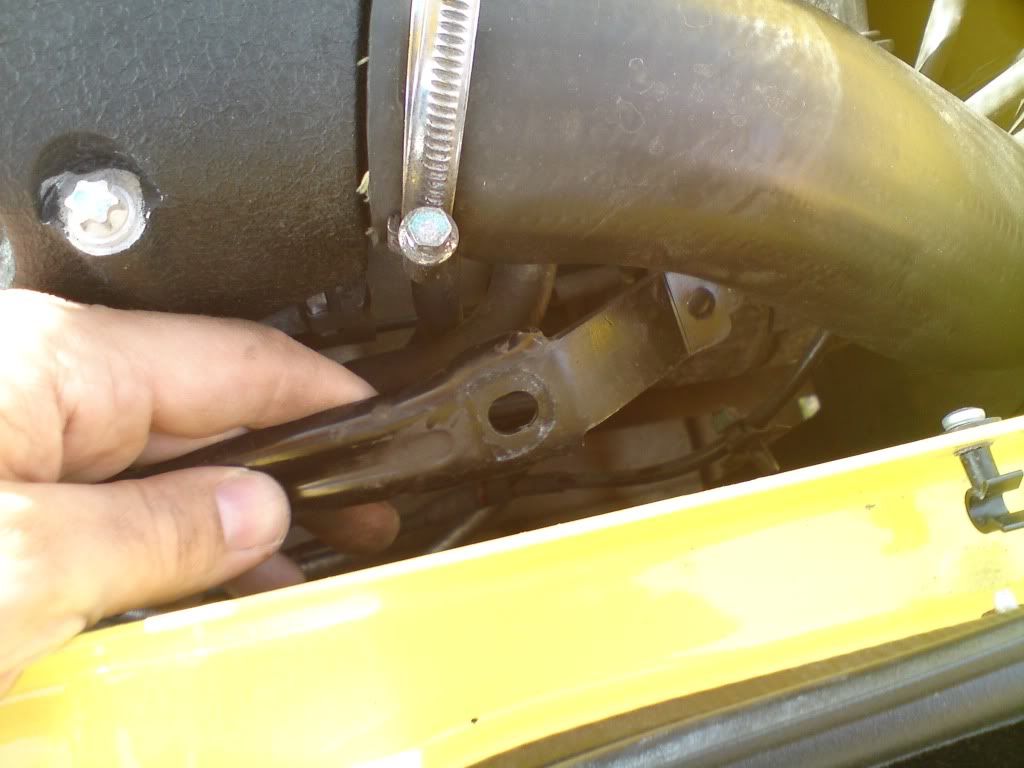
- I had to take the centre section of my undertray off in order to get sufficient access to the orginal pulley to get it off. Might be down to my chargecooler positioning?
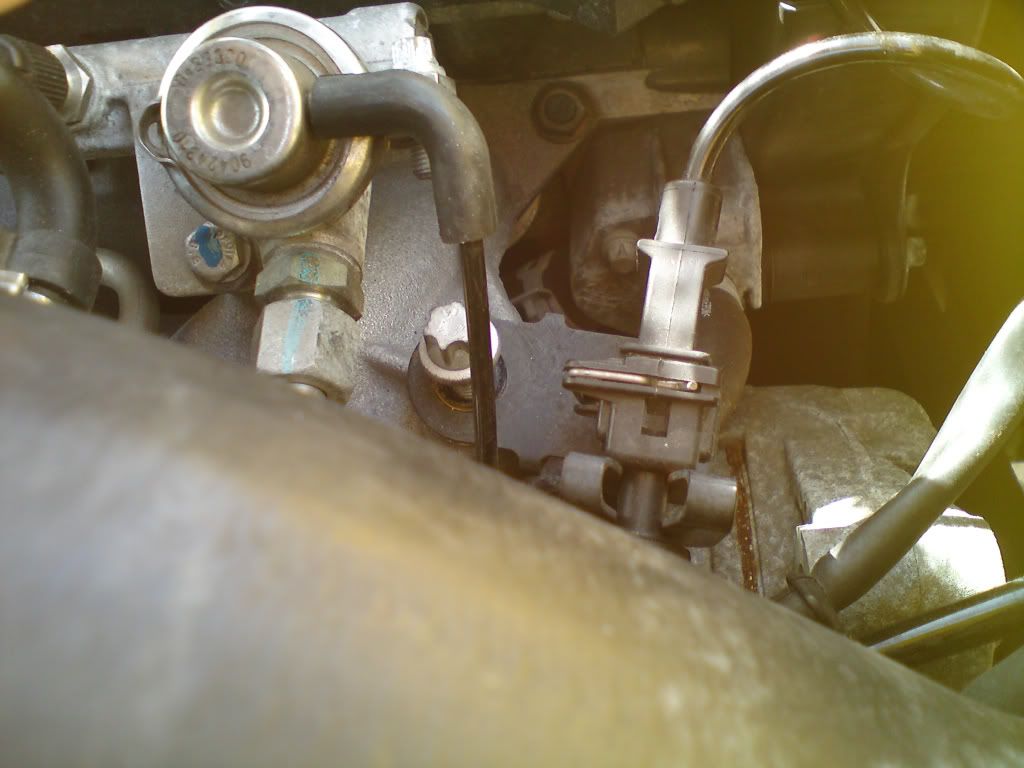
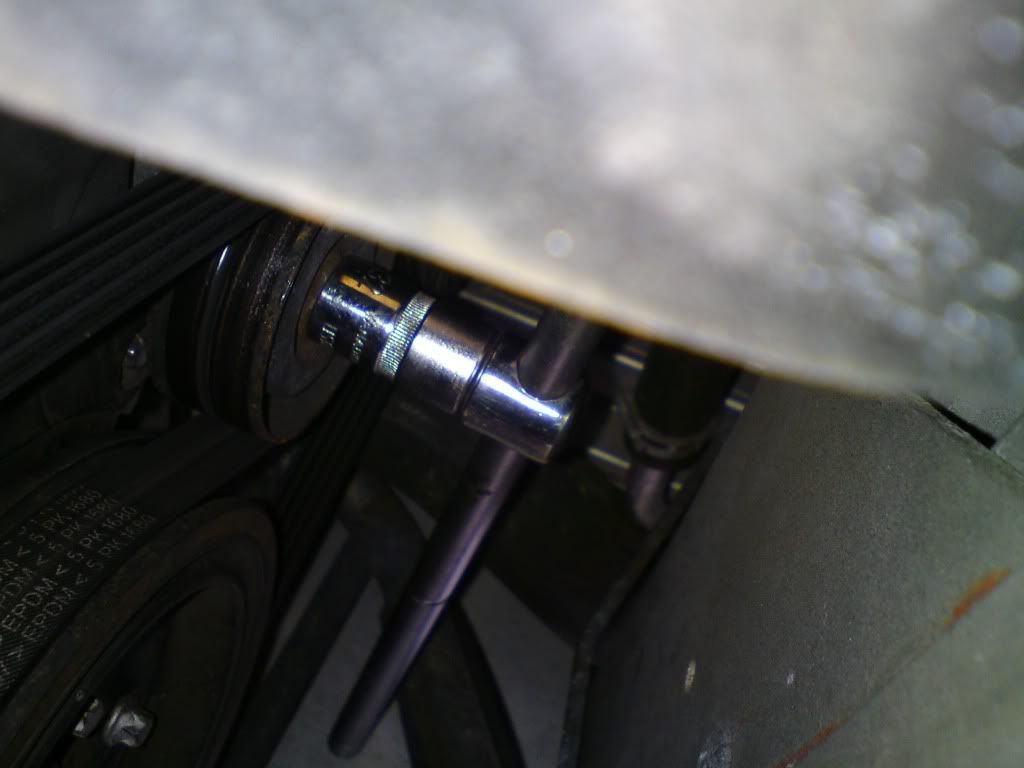
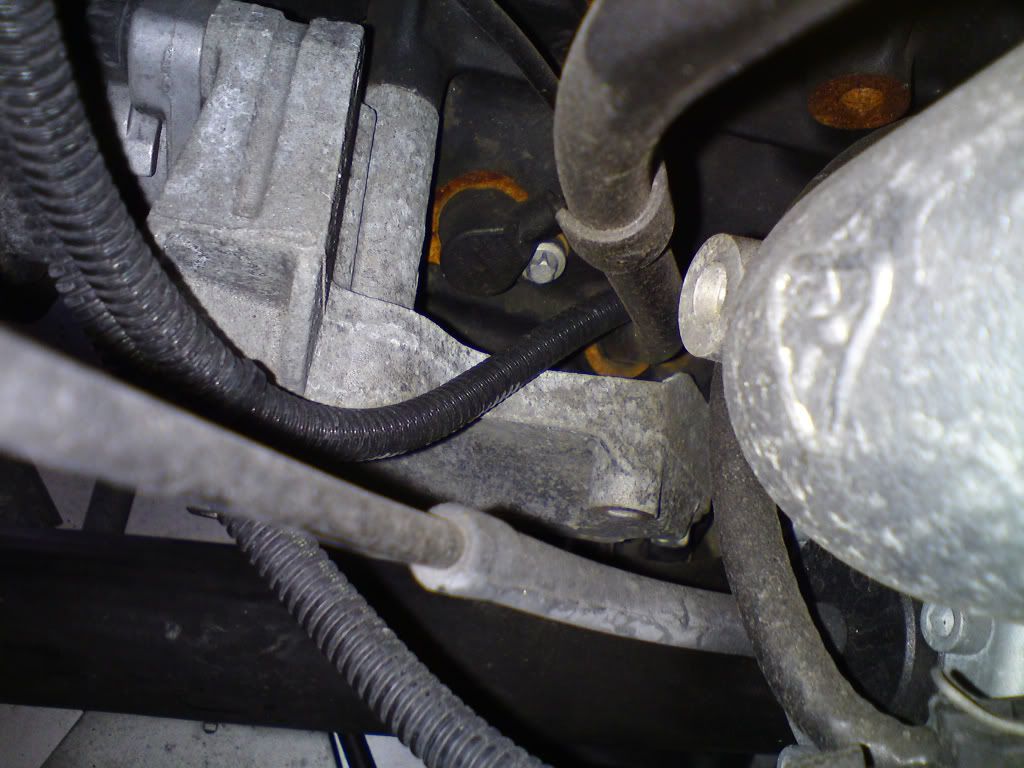
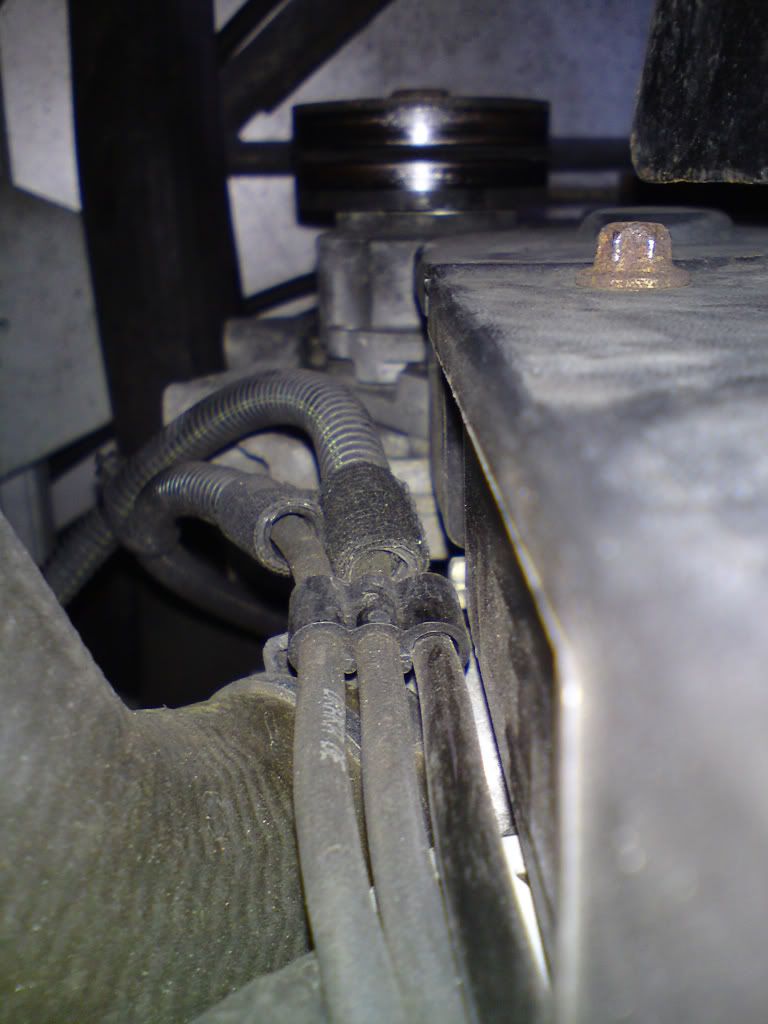
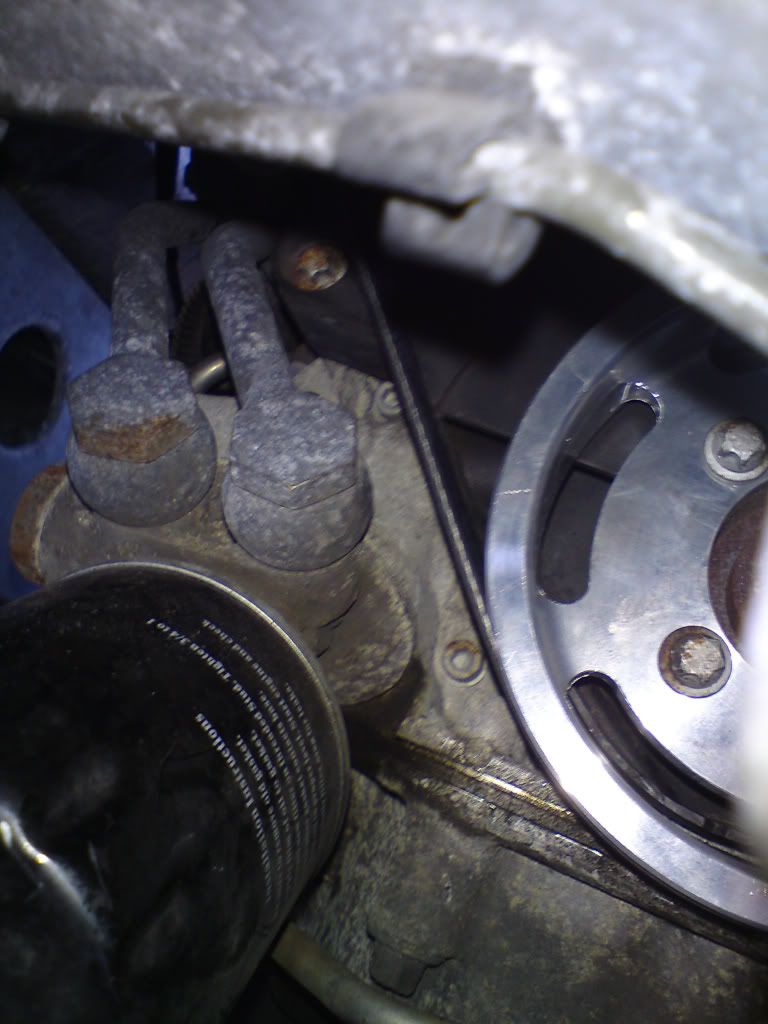
- after loosening the lower alternator 17mm nut / nearside helt bolt was extremely difficult to do it back up due to the limited access to the 17mm nut. I ended up having to use a chisel and socket set socket to jam the 17mm nut in place whilst tightening the nearside hex bolt. Very difficult in the confined space with only 2 hands! I would recommend you have a 17mm ratchet spanner like this before you start this job: Ratchet Spanners
- when putting the undertray back on, one of the captive nuts threaded itself
- my jack broke - it would no longer lift properly, then got stuck in the "up" position. Can anyone recommend a jack servicing place in London?
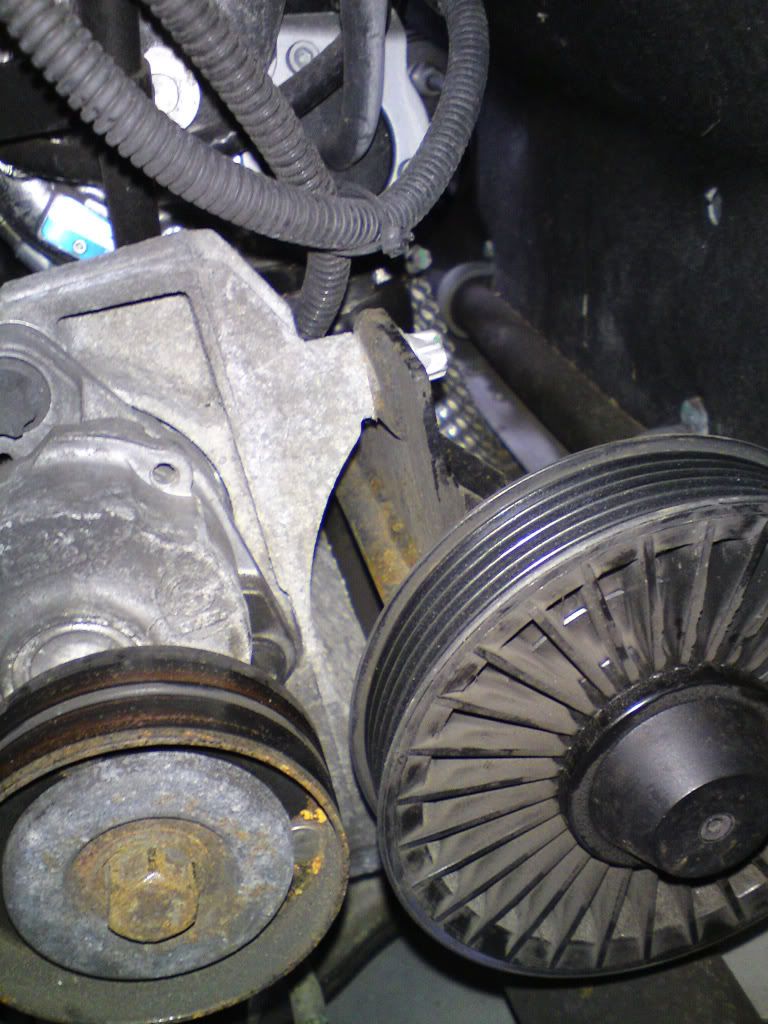
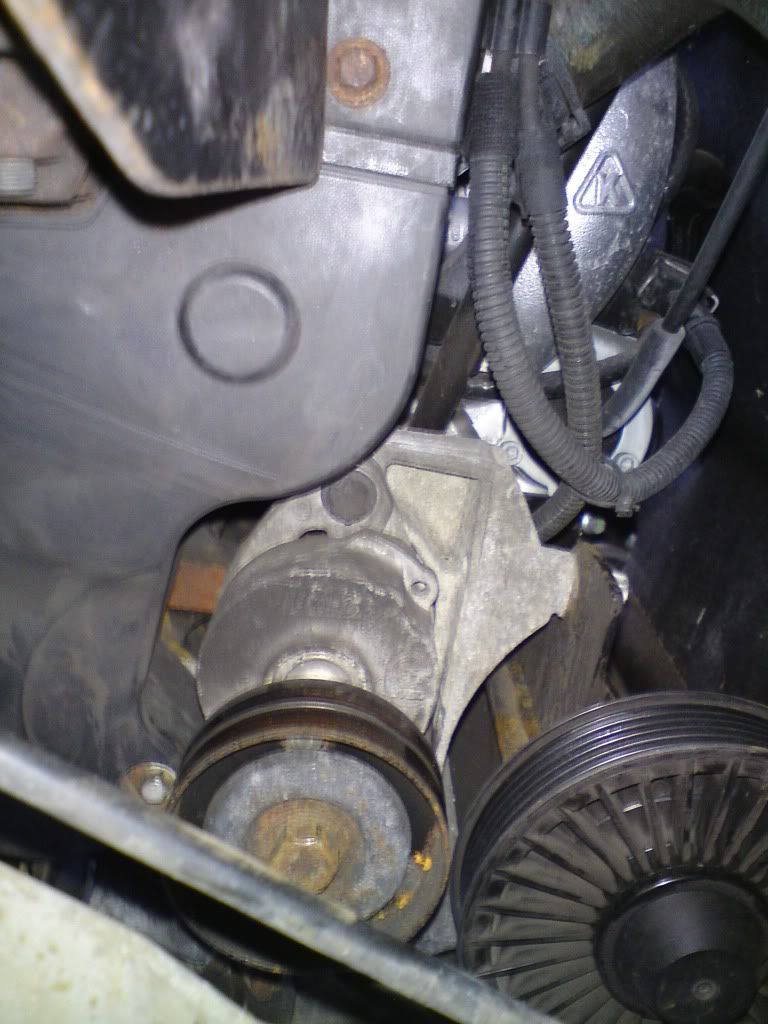
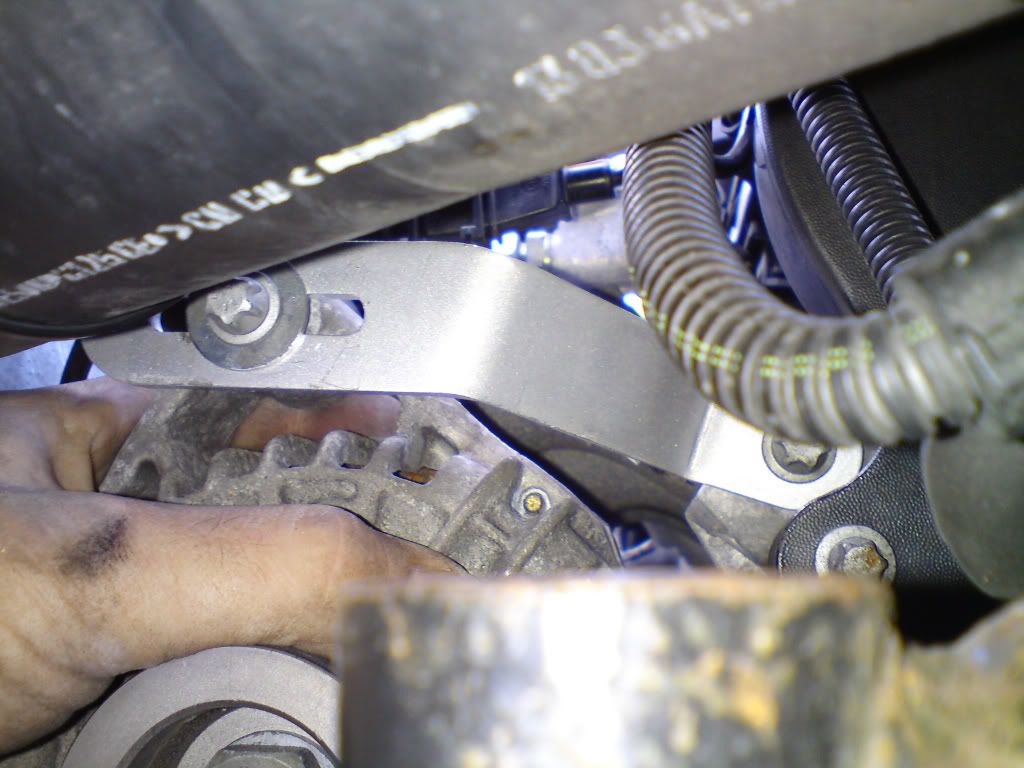
I have a few photos which I'll post when I get time to help anyone else who's fitting one of these.
I am off to Spa on on Wednesday evening, so hoping to feel some improvements. Will report back.
Member

Posted 04 June 2012 - 07:01 AM
Not meaning to upset anyone, but I mentioned these to an engine developer today and they seemed to think they were a really bad idea - especially on an engine that doesn't run a dual mass flywheel
Edited by jfvxt, 04 June 2012 - 07:06 AM.
Super Duper Member

Posted 04 June 2012 - 08:24 AM
Member
Posted 04 June 2012 - 09:47 AM
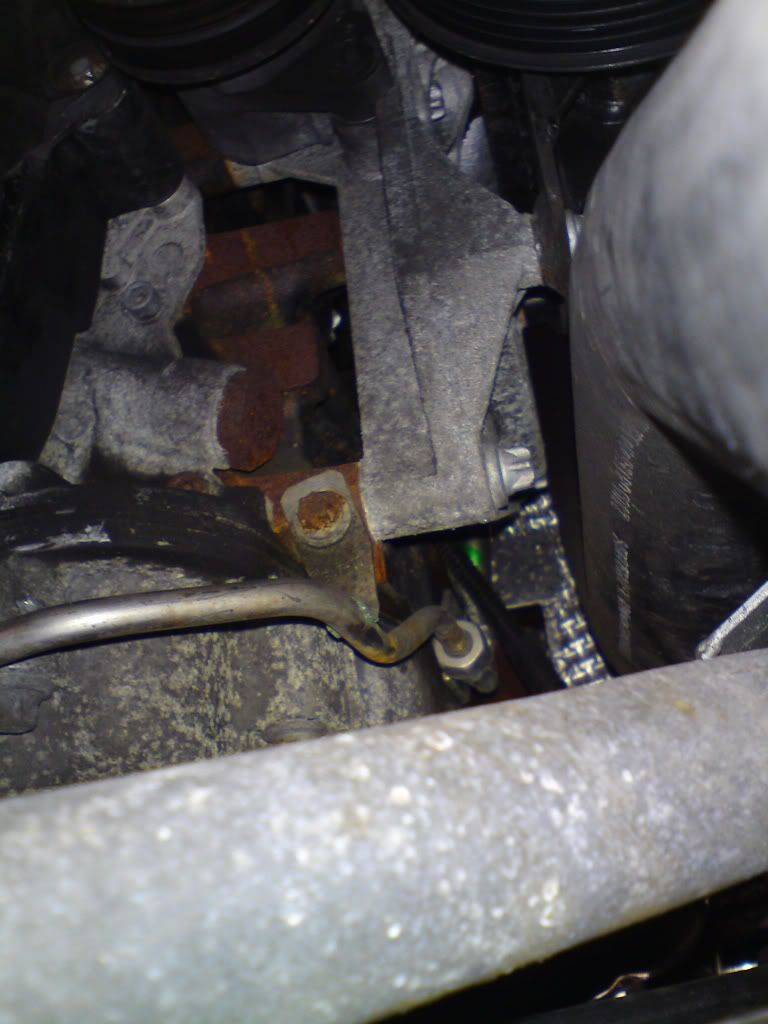
Hi i think there are quite a few of us running the existing pully,you can retain it by fitting a modified bracket for the alternator with an elongated slot for adjustment on it and replacing the belt with a shorter one,there are clearance issues with the oil unions next to the pully but if you have made the bracket correctly this is fine.do a search there's a few threads about this mod,if you need help I'll take some photo' of the modded bracket so you have an idea. Check nev's engine build thread/web pages there's info on there as well.
Member
Posted 01 July 2020 - 09:06 PM
Need to get Out More

Posted 18 July 2020 - 05:42 AM
Scary Internerd

Posted 18 July 2020 - 06:39 AM
Hi Guys,
Does anyone know the part number for a replacement belt in the Courtenay Sport under drive pulley?
Is it the same as the MMG version?
Thanks,
Jon


0 members, 0 guests, 0 anonymous users


