Rabiata Red Na
#21

Posted 16 April 2013 - 01:24 PM
#22

Posted 16 April 2013 - 07:43 PM
Probably yes.
Do you have a scangauge to read the error code?
No, dont have anything to read codes. I disconected the battey for a couple of minutes and that cleared the light, however it came back on later on the drive home from work.
#23

Posted 16 April 2013 - 08:48 PM
Just wait for someone local to pop over with a codereader.
If that fails, your local vauxhall dealer could read it for a few penny's.
I consider the U480 mandatory for anybody fiddeling with the vx.
http://cgi.ebay.co.u...em=281087741469
#24

Posted 27 May 2013 - 08:56 PM
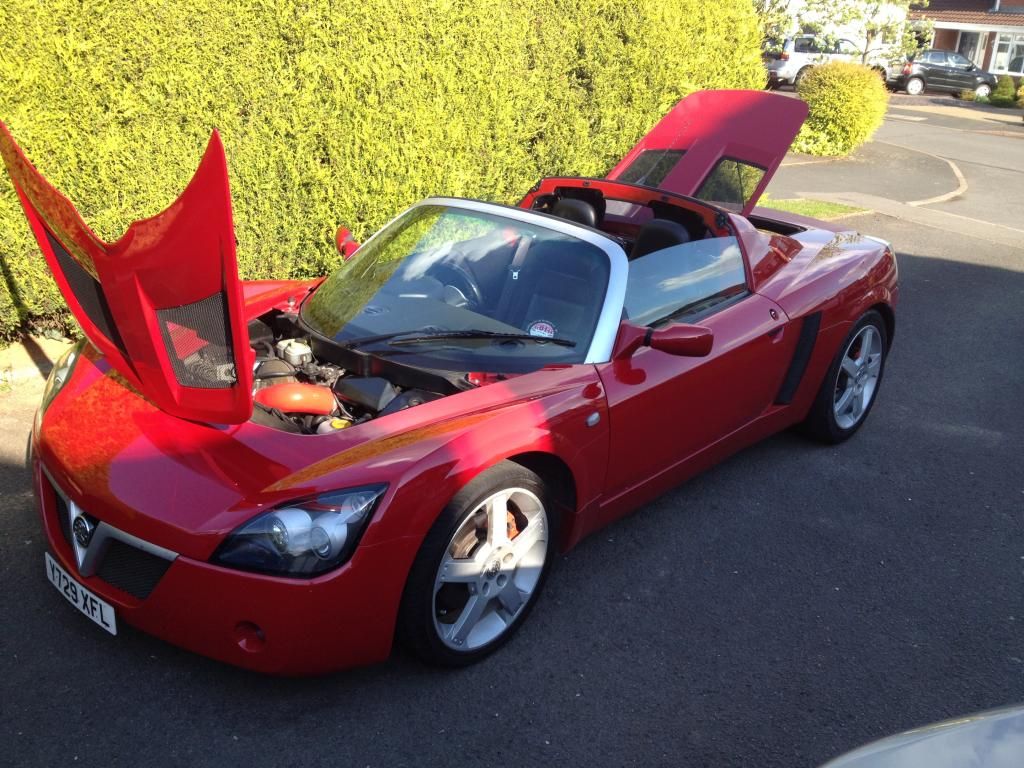
Few updates, the error code im getting is P0141 which after a bit of searching could just be the wire on the 02 sensor, when i have a chance i will inspect it, if not just have to stick a new one in.
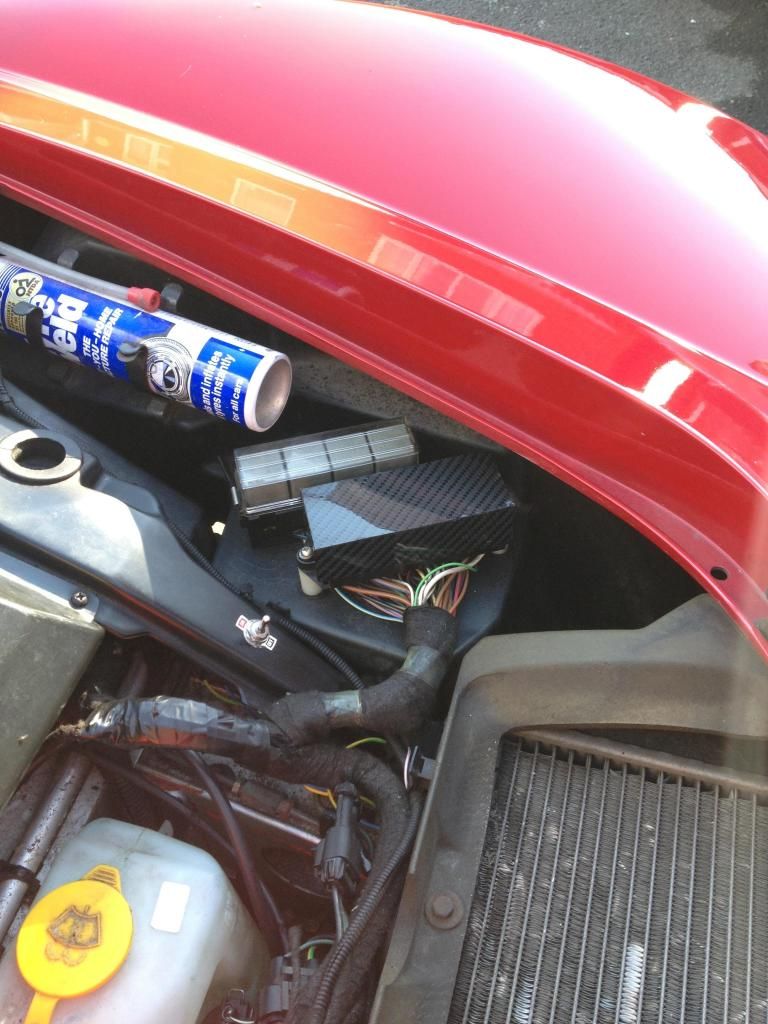
Made up a fuse cover as one didnt come with the car:
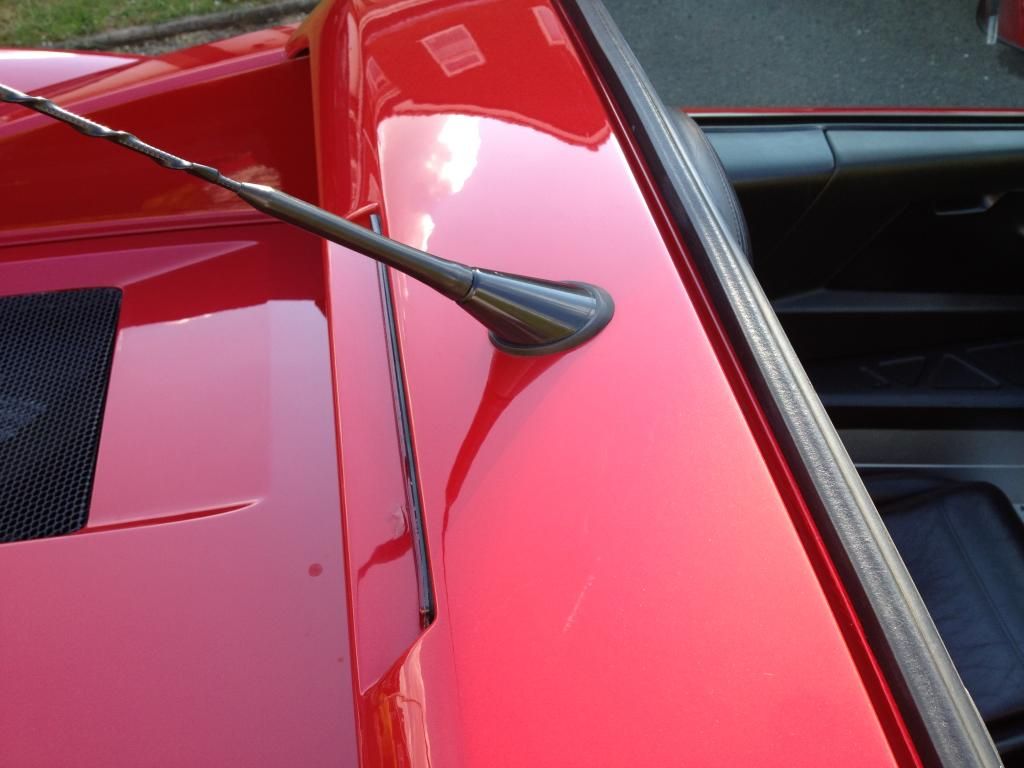
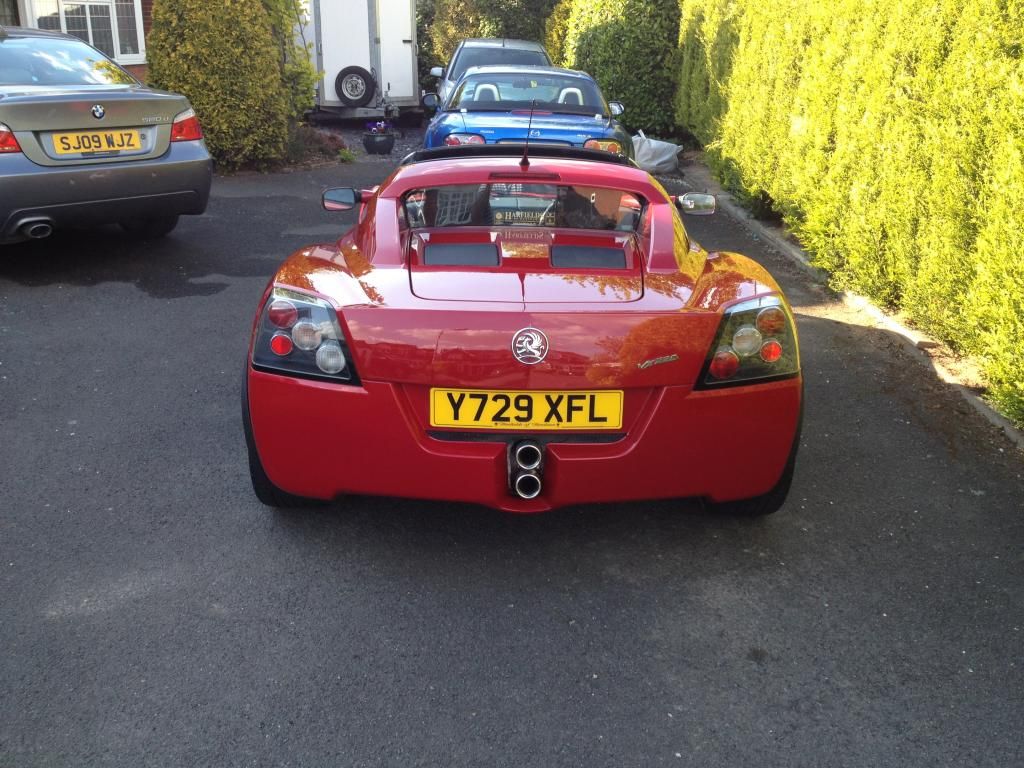
Also fitted a new ariel gromit, 6 or 7 quid off ebay if anyone is interested as the old one had seen better days:
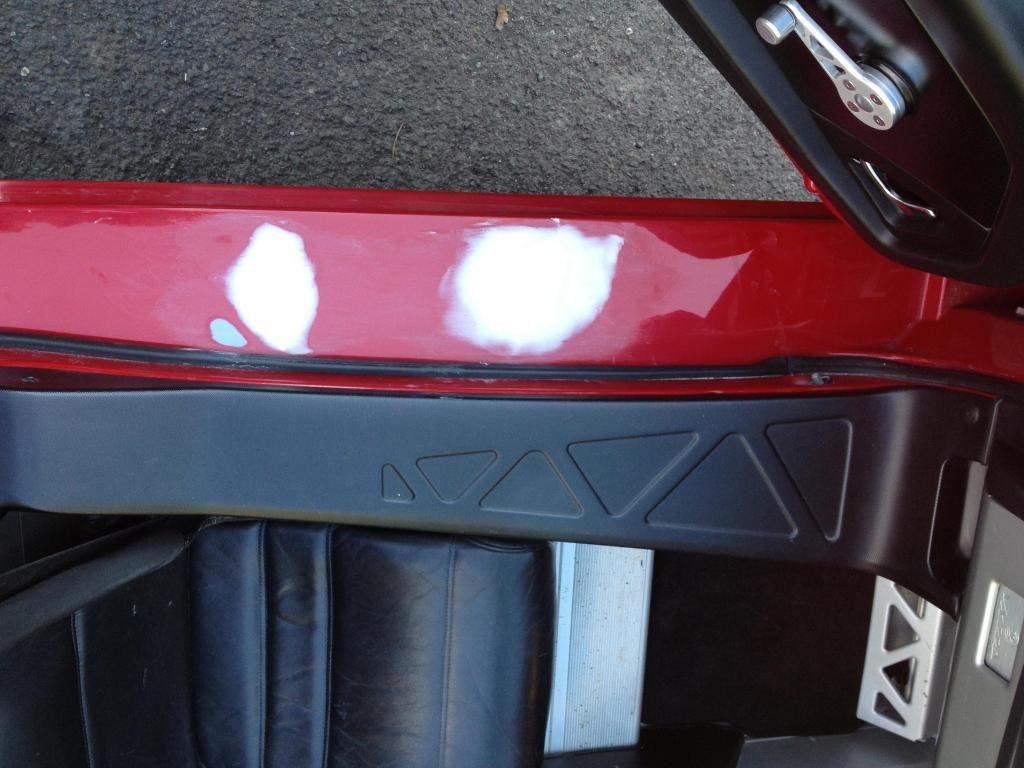
Filled in and smoothed out the sills as they had cracks in, will be painted soon as theres a few little bits i want to get resprayed:
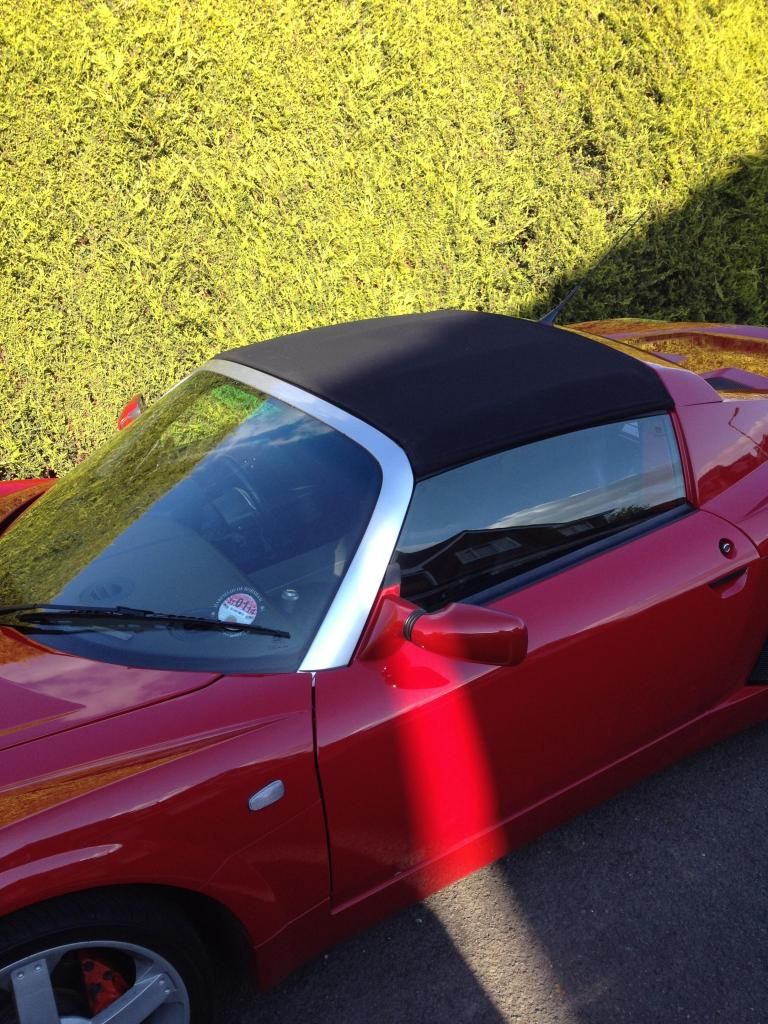
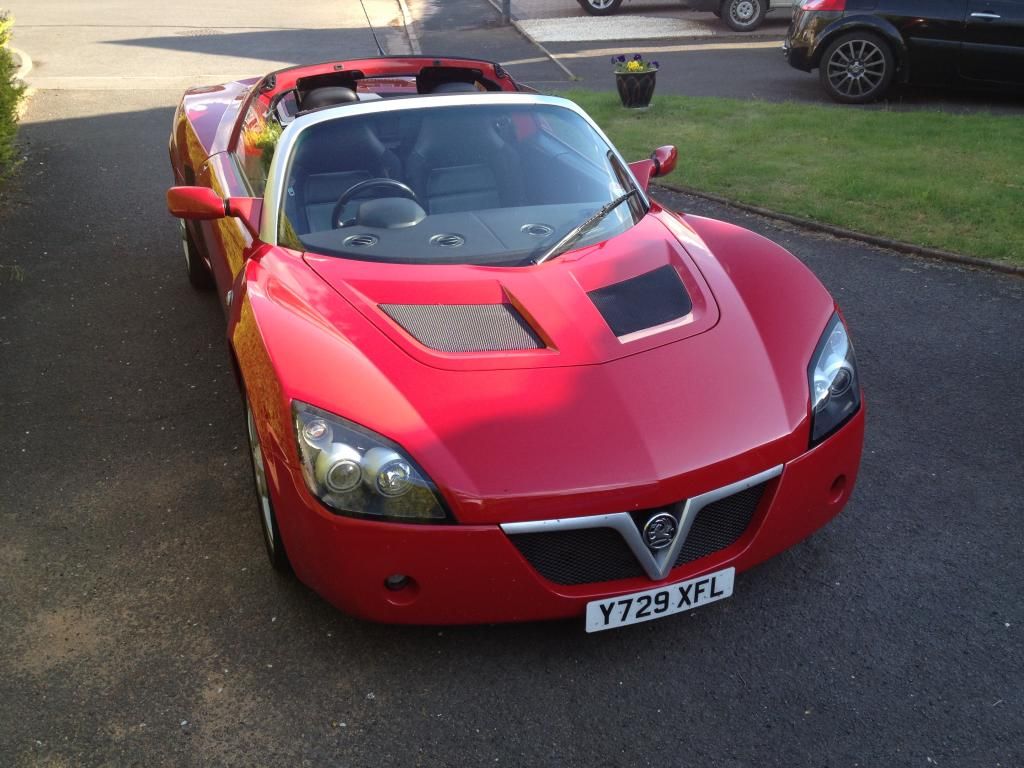
Tightened up the roof, so no more sagging, looks load better now:
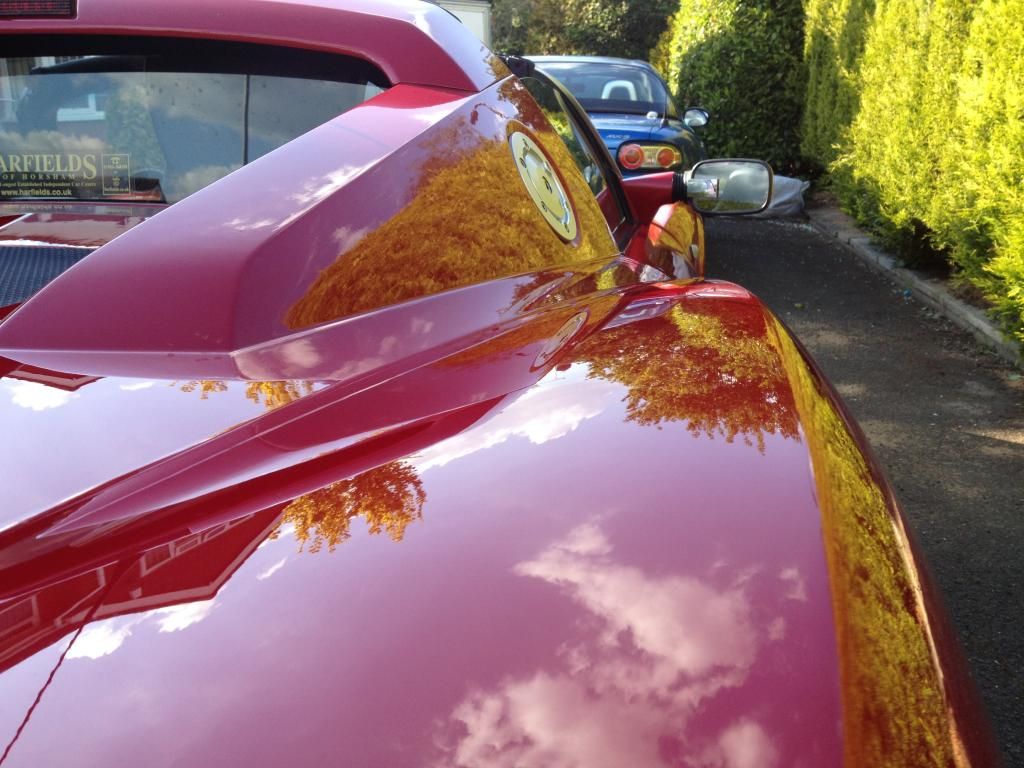
Changed the wiper arm for the EP ones as the old one was rusted and in need of a new blade anyway. Then spent a good few hours washing, claying and plosihing the paint with a G220, then waxed with Dodo Juice rainforest rub wax. Some pics of it all clean:
Then covered in flys after a quick blast
Ian
#25

Posted 13 September 2013 - 04:41 PM
Few updates, did all this a while back but been slow to upload back on here!
First up was the brakes, i would often get the abs kick in and a spongy pedal feel under hard braking, and as a lot of the brake components are 12 years old i wanted to do a thourough overhall on them.
as they were, fronts:
Discs are neary brand new, and pads are fine (though unsure which pads are in)
Rears:
Rear discs were very worn, but again pads were fine.
As it stood:
#26

Posted 13 September 2013 - 04:55 PM
#27

Posted 13 September 2013 - 04:56 PM
so my plans were to carry out:
[*]Braided hoses
[*]Front caliper refurbishment
[*]Fit brand new rear callipers
[*]Mintex 1144 pads
[*]New discs
[*]Change fluid, bleed brakes and clutch
[/list]
So old and new brake hoses:
State of the front callipers, looking quite tired:
So front refurb kit consisted of new pistons, seals, pins, rattle pads and clips:
Gave them a clean up, then masked off, painted with Hycote brake calliper paint in a makeship spray booth:
Brand new rears painted and all fitted:
Fronts fitted:
everything looks a funny colour as it was taken under an awning as it started raining.
#28

Posted 13 September 2013 - 05:09 PM
After bleeding the system ( i purchased a sealy pressure bleeder, http://www.amazon.co...m/dp/B000ROARTI) made the bleeding so easy, if it wasnt for having to keep taking off the front callipers to turn upside down it would be quite a nice job!
Gave everything a good cleaning and machine polised the wheels, they came up better than i was expecting ![]()
and the rears, should have painted the discs before fitting, but i will do that soon when the it comes off the road for the winter.
After all this brakes feel much better, abs kicks in a lot less, clutch also feels smoother to operate also.
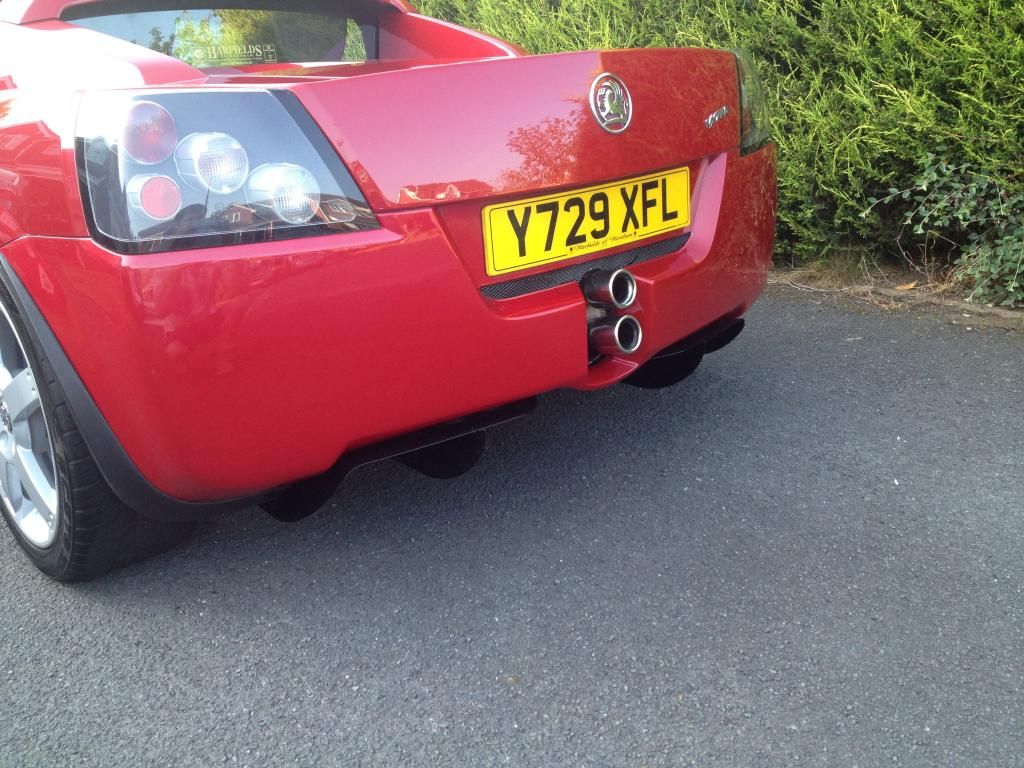
A little while after finishing the brakes, i fitted the diffuser which i got from Ryan aka chef1 on here.
Thats all thats been done to date,
Ian
#29

Posted 13 September 2013 - 05:14 PM
Have you got a link to the ebay aeriel grommet?
#30

Posted 13 September 2013 - 05:25 PM
Had to have a quick search again but found it, this is the exact one i purchased and have fitted:
http://www.ebay.co.u...66835288&_rdc=1
#31

Posted 13 September 2013 - 05:43 PM
Thanks mate, ordered.
#32

Posted 10 January 2014 - 06:54 PM
Lat few months the vx has been garaged for the winter:

The work i had planned was to carry out a full suspension refresh, however once i stripped everything down i couldnt see the need, all the ball joints, tre, etc, were all in very good condition. Once i got the wishbones off and inspected the bushes, again they turned out to be in great condition. so i thought i would leave it for this year, save some money as it needs new tyres and i could do with a new seat so i can fit in the car with a helmet on so i can finally get round to doing some trackdays.
All the effort was not wasted though as i wanted to remove the rear subframe to check for corrosion between the ally chassis and the steel subframe. Stripping down:


Condition before the work:

#33

Posted 10 January 2014 - 07:08 PM
The spring collars look worse for wear, and once the spring was removed from the shock they literraly just crumbled to pieces!

Have cleaned up, painted and fitted new spring collars. will get some pics up when finished.
Got the subframe off, the passenger side was in pretty good condition however the drivers side was a mess due to the galvanic corrosion that had taken place. It was no where near as bad as some of the pictures i have seen on here, but bad enough to deform the sandwich plate and subframe slightly. This is a time consuming job but well worth it, and if it hasnt been done on a vx then it should deffinitley be done as soon as possible imo.


Rear hub assembly before, i attacked this with a wire brush, then covered in hammerite black. Will get a pic up tomorrow.

#35

Posted 11 January 2014 - 09:20 PM
You may consider an egr disablement to make sure the black does not come back.
#36

Posted 11 January 2014 - 09:25 PM
ive seen that on here somewhere, crossed my mind. Does it affect the way the engine runs much removing it?
#37

Posted 11 January 2014 - 09:53 PM
This would be a great time to do the timing chains if they not been done yet.
I think the EGR is just for emissions. Would imagine it would run better if anything.
Edited by Tony H, 11 January 2014 - 09:55 PM.
#38

Posted 11 January 2014 - 10:02 PM
ive seen that on here somewhere, crossed my mind. Does it affect the way the engine runs much removing it?
No.
It was designed to make the emissions norm back in 2000.
Primairily in use during cold start, but the bugger can act up when running normal, and just spits the inlet manifold full of nasty guck.
Search the site for it a bit. Even the blanking plate (fix) has an official vauxhall part number.
#39

Posted 25 January 2014 - 06:35 PM
A few pictures of the progress so far, fitted some powerflex engine mount inserts whilst it was stripped down


subframe after a couple of coats of silver, really pleased with how this has came out, all the prep work cleaning it up paid off

Subframe sandwhich plates were cleaned, straightened out and sprayed

Before refitting the subframe i covered everything in duralac, to prevent any corrosion from building up again. i also applied some to the engine side mounts.

Painted the ends of the subframe too

Replaced all nuts and bolts for the subframe with new, and fitted some upgraded HCB for good measure


#40

Posted 25 January 2014 - 08:33 PM
looks loads better, especially the subframe ![]()
0 user(s) are reading this topic
0 members, 0 guests, 0 anonymous users


