Jump to content


Photo

Project Black Bat


  • Please log in to reply
257 replies to this topic

#181 Ormes

Ormes

    Scary Internerd

  • PipPipPipPipPipPip
  • 4,612 posts
  • Gender:Male
  • Location:Corsham (nr. Chippenham)

Posted 03 May 2017 - 05:36 PM

That mirror thingy sounds interesting. Could you show us some more (really interested in it because 'm also tryingto find a good use for my 3D-printer :) )

Will do :) 
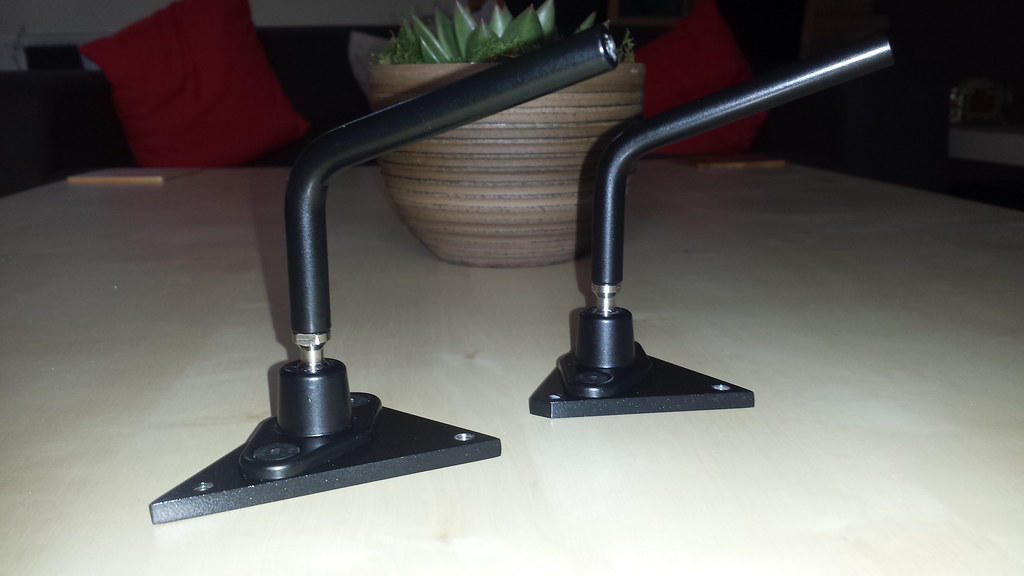
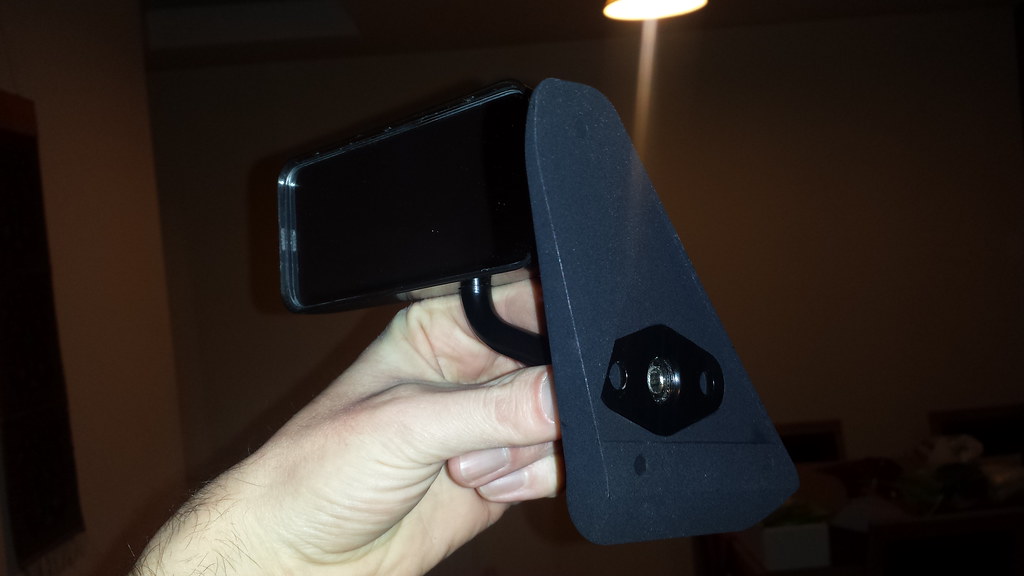
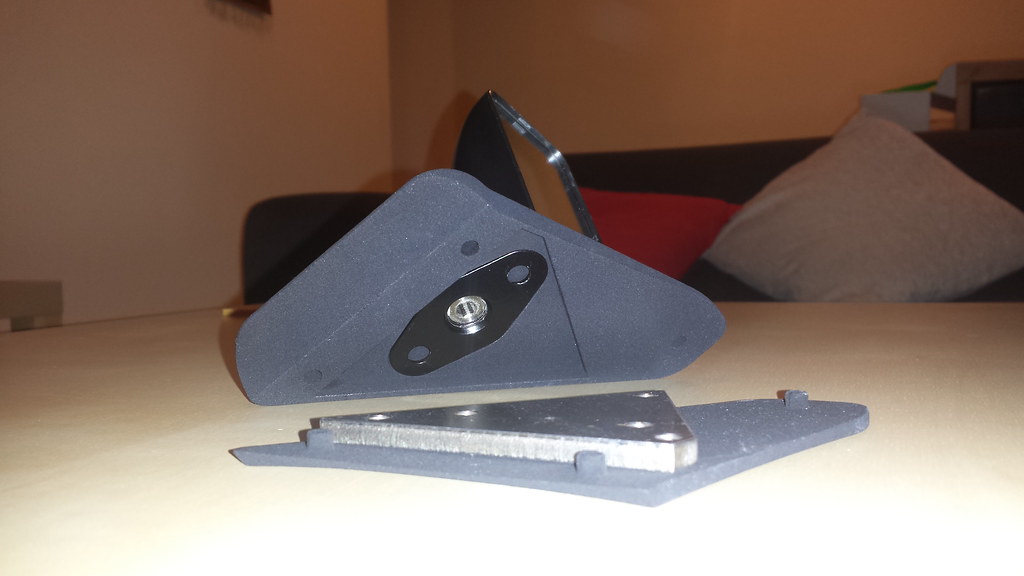
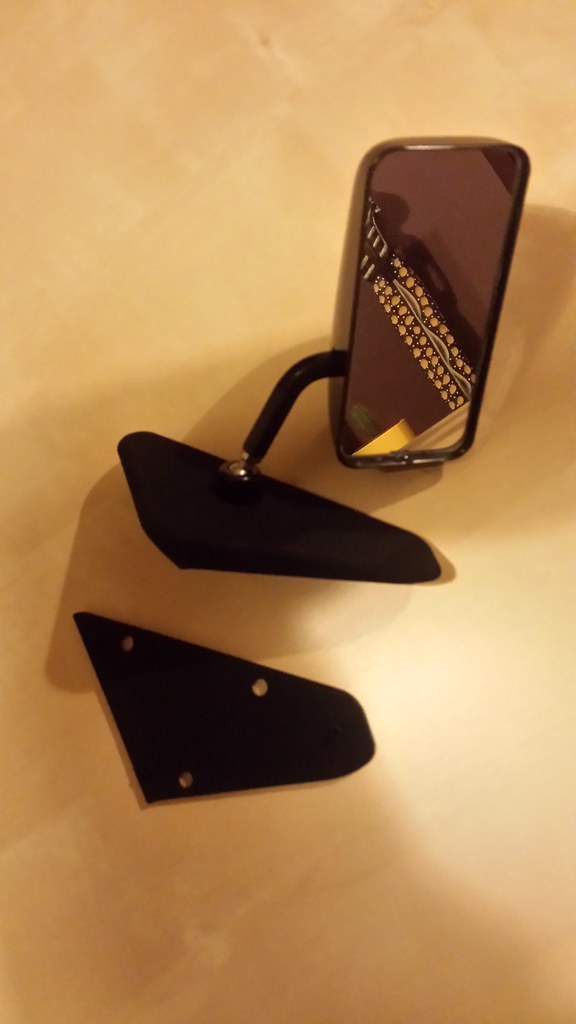
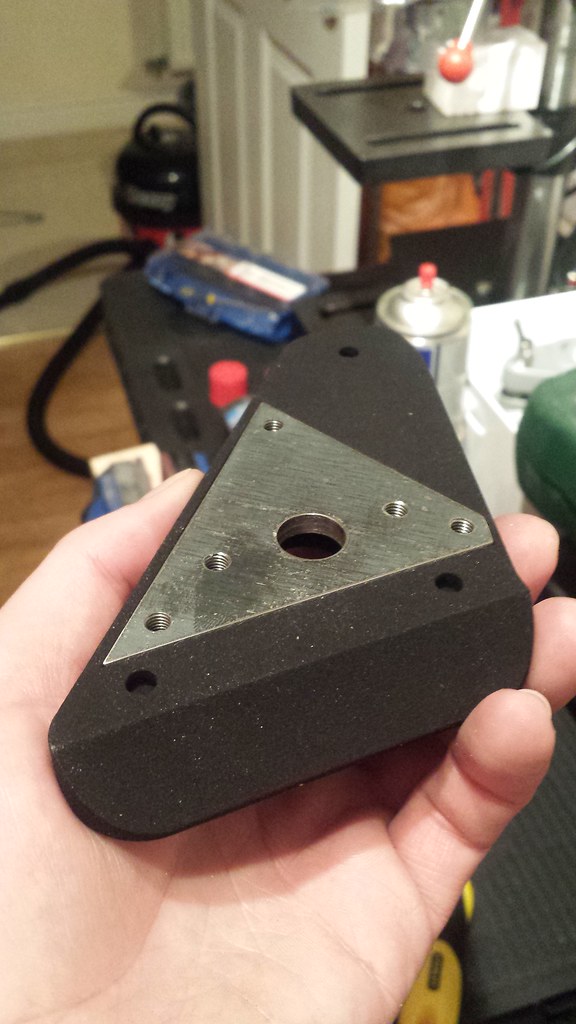
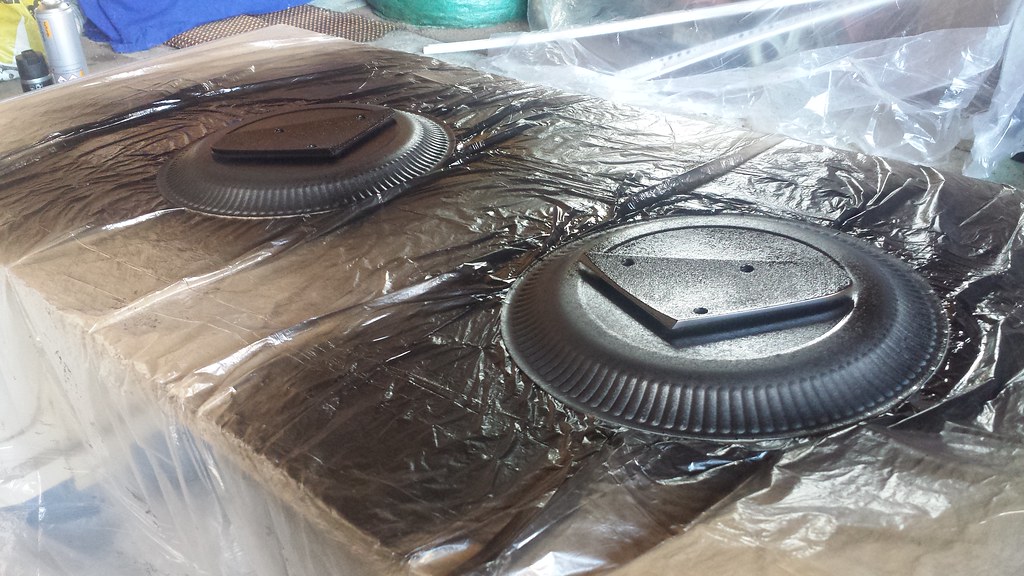
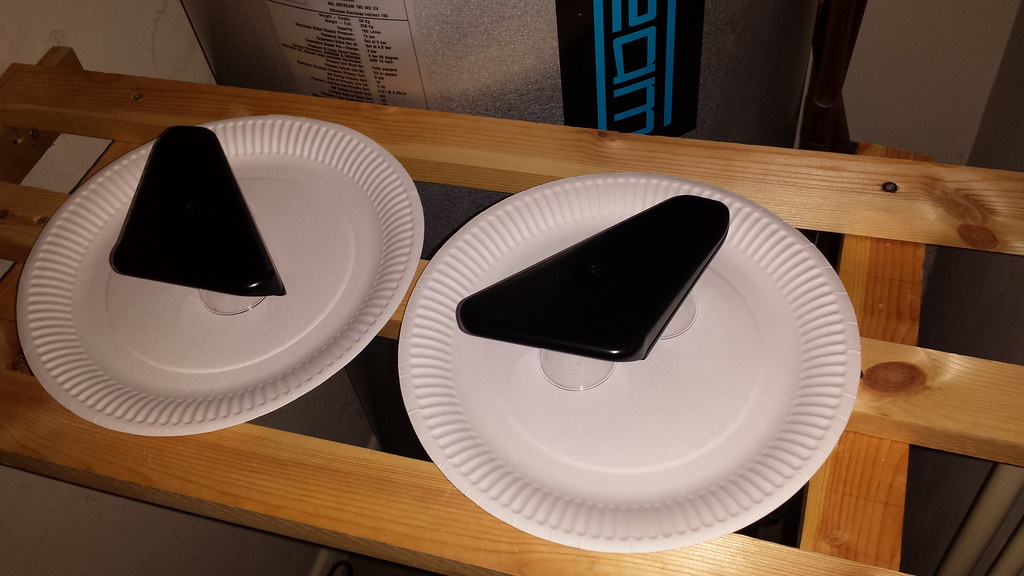
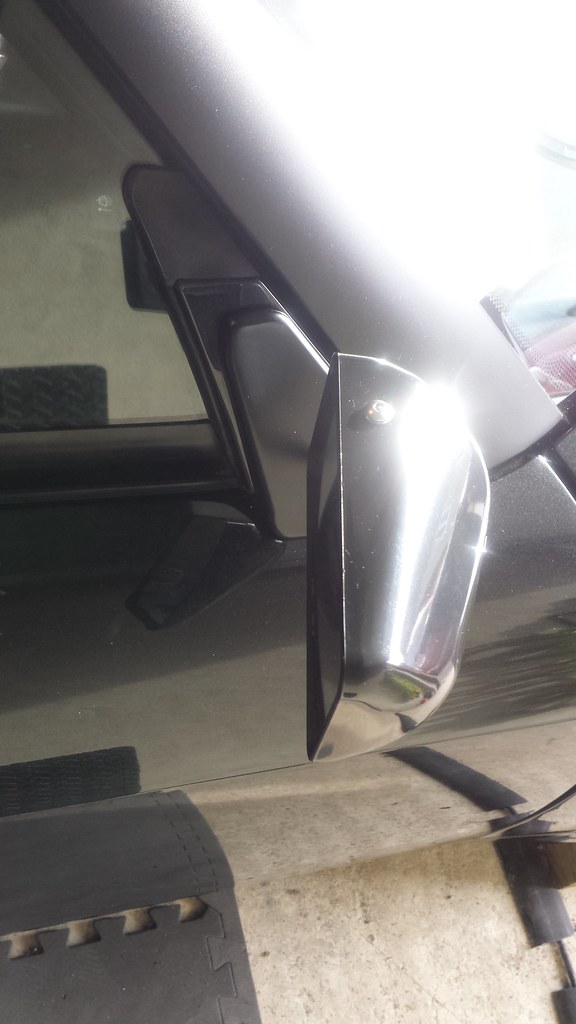
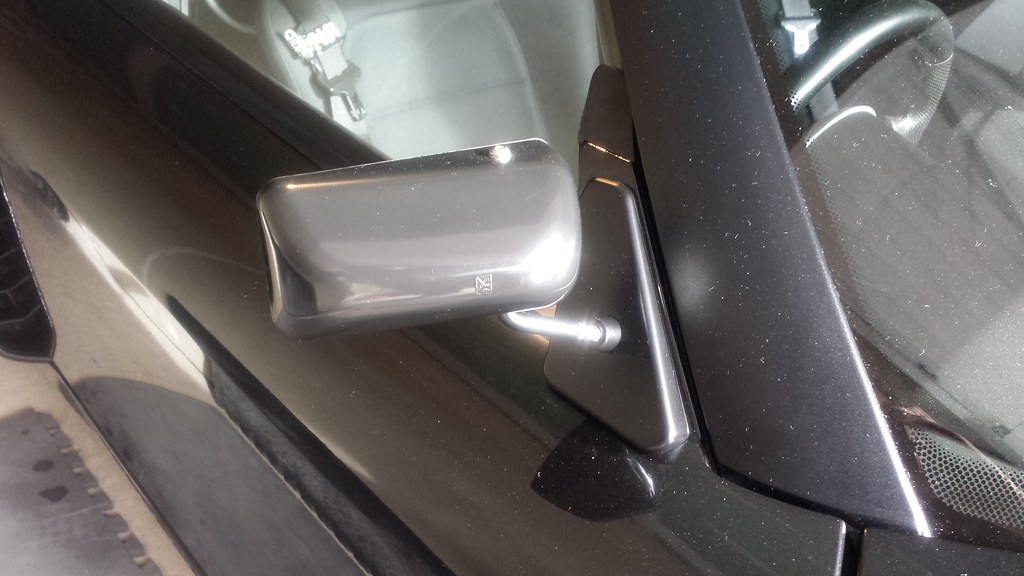
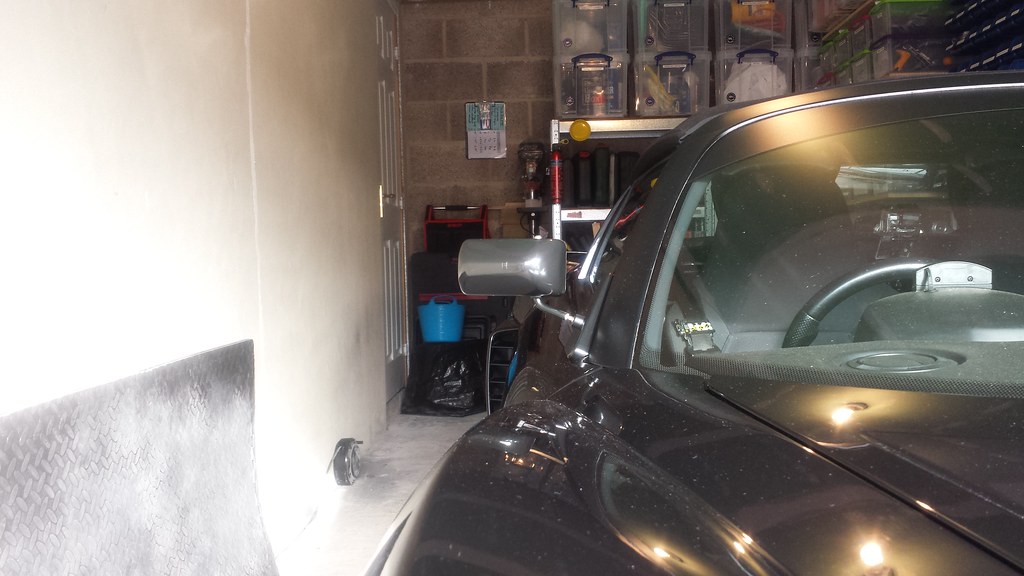
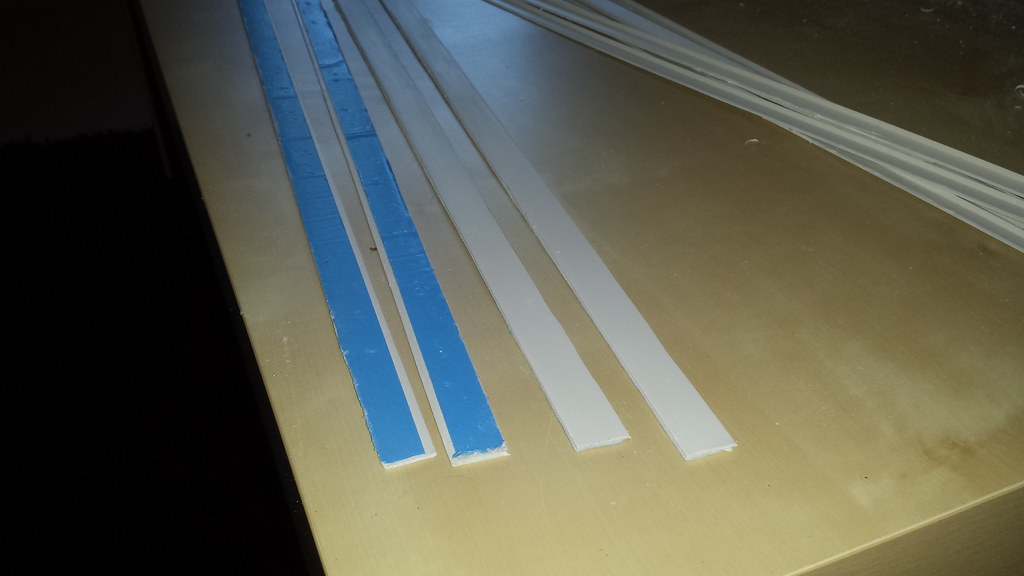
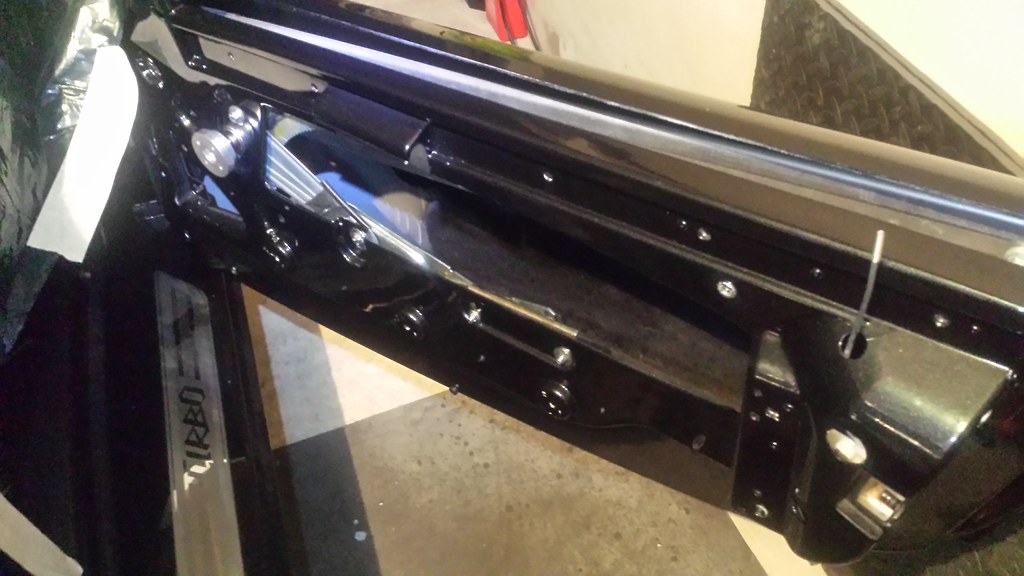
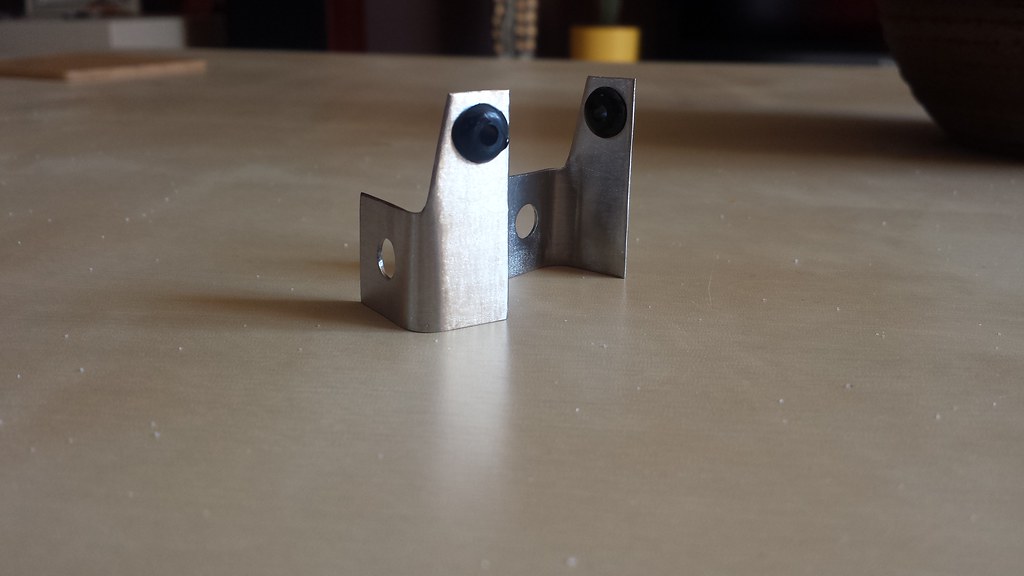
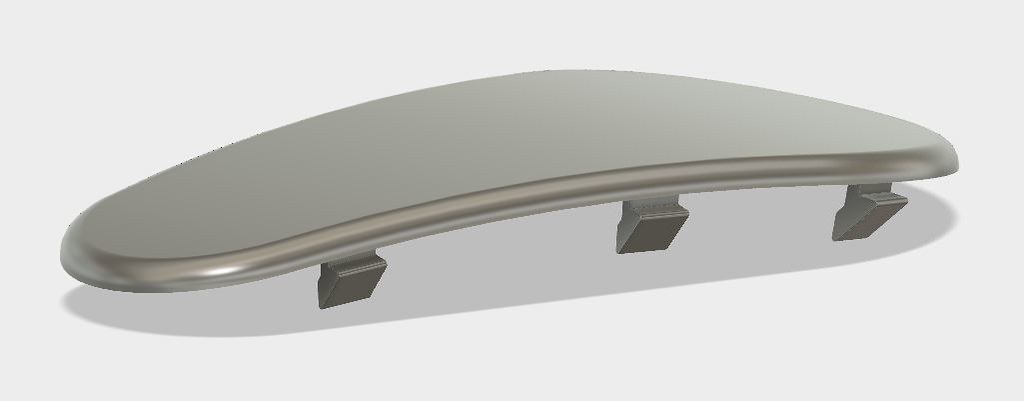
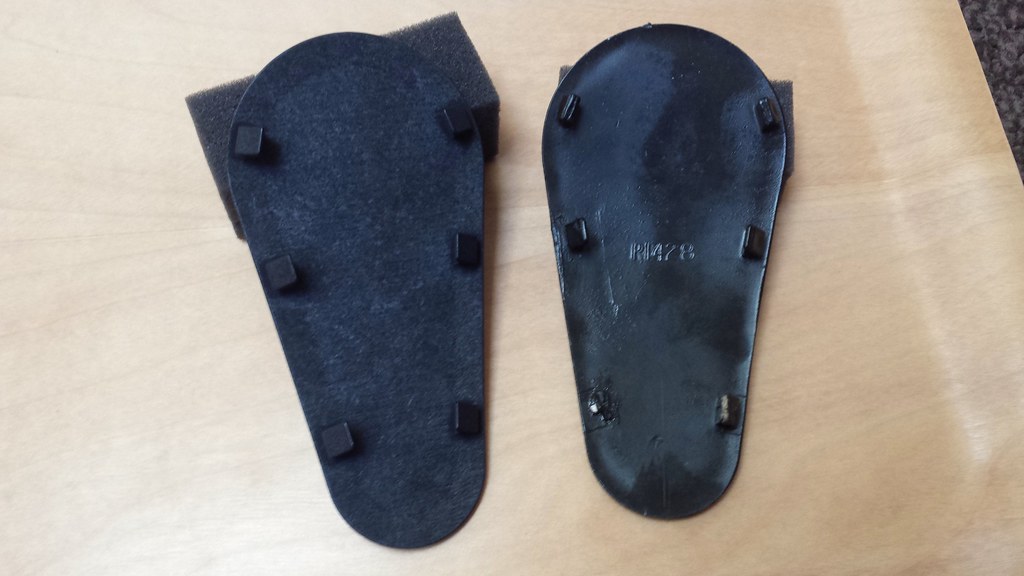
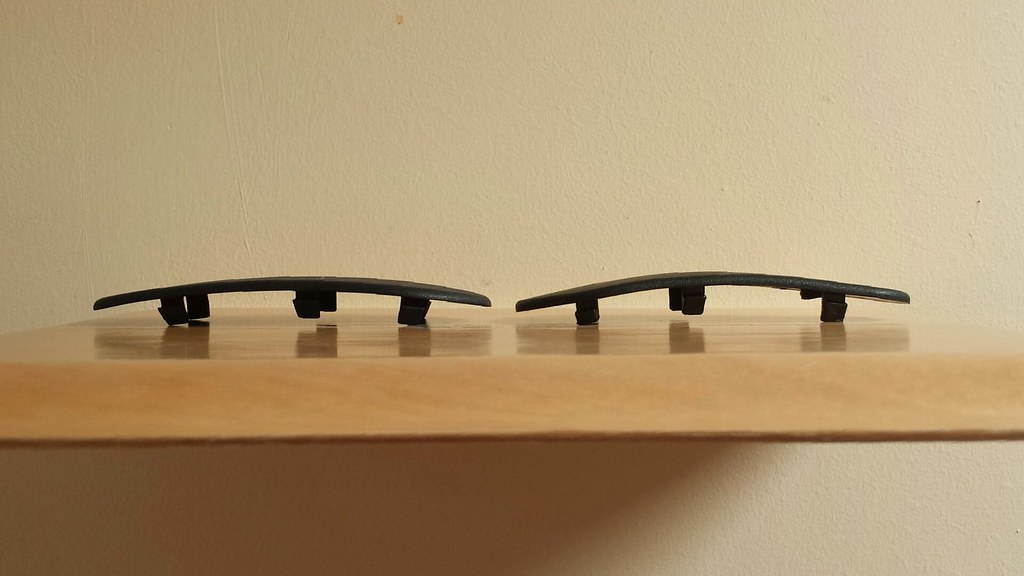
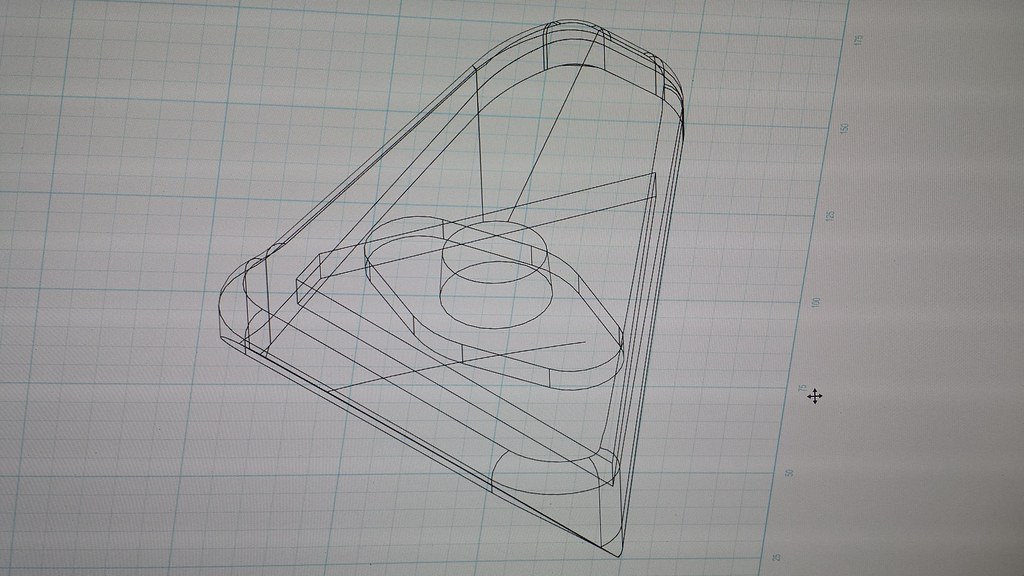
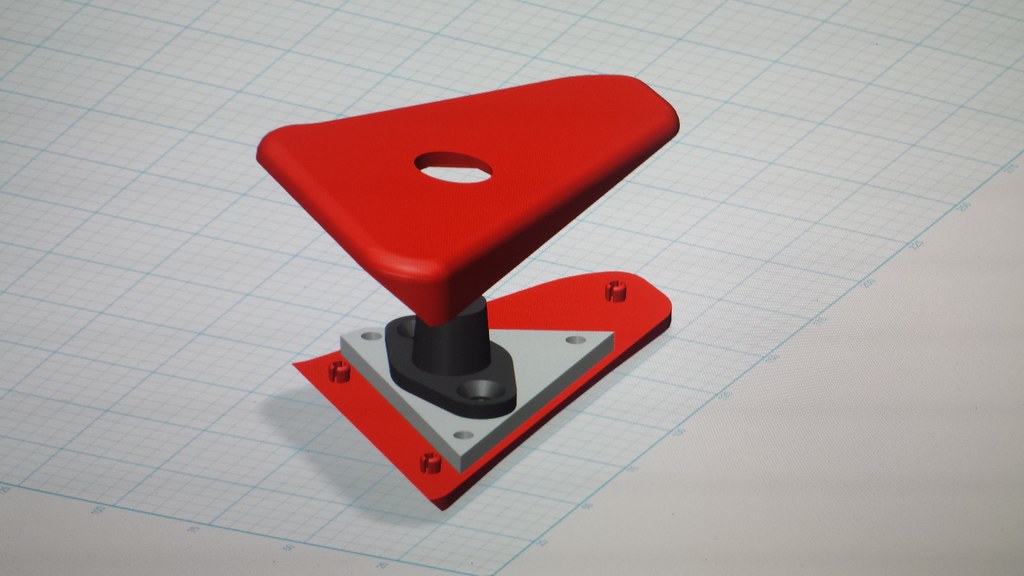
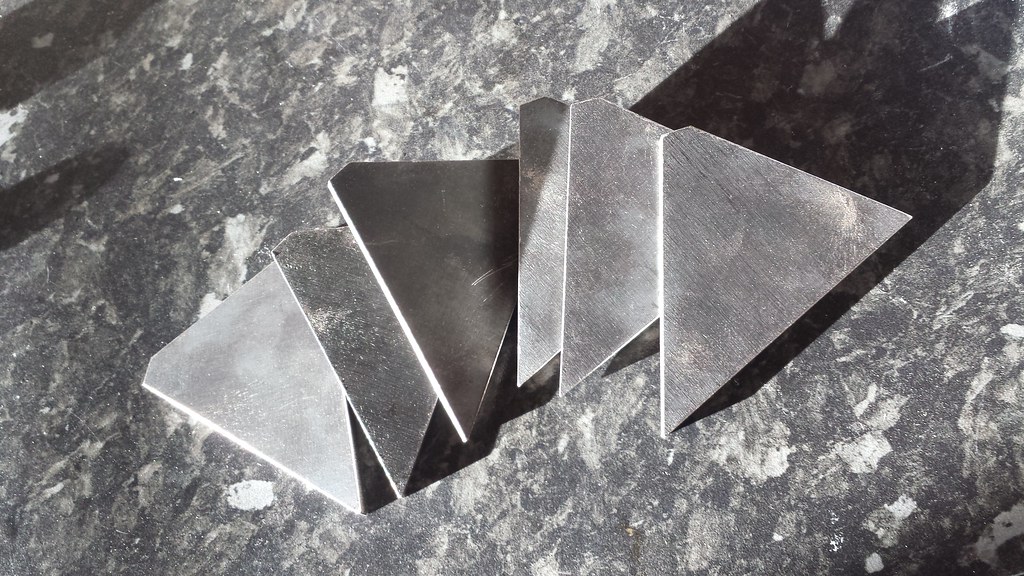
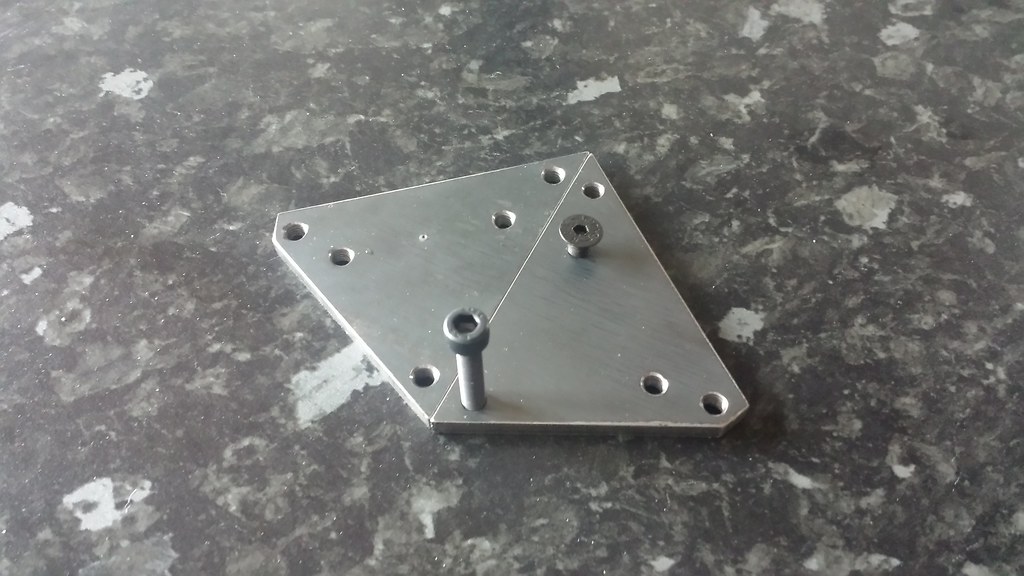
I will hopefully get it fitted within the next few weeks, then I will update the the thread with the whole design/build process. Note that the design is rather complex from a printing perspective, easy for an SLS Printer but not sure about filament type. It is made in 3 parts, a base plate, a steel plate insert and a cover plate. Watch this space :) thumbsup  

I'm missing a door grommet, let me know if you put them in for printing as i'll take one too

Will do, aiming to get a small batch printed in the next few weeks. :) thumbsup

#182 Ormes

Ormes

    Scary Internerd

  • PipPipPipPipPipPip
  • 4,612 posts
  • Gender:Male
  • Location:Corsham (nr. Chippenham)

Posted 13 May 2017 - 04:34 PM

Will do, aiming to get a small batch printed in the next few weeks. :) thumbsup

Ordered a few prototypes today :)
 

Posted Image


#183 fezzasus

fezzasus

    Whipping Boy

  • PipPipPipPipPipPipPip
  • 7,689 posts
  • Gender:Male
  • Location:Oxford

Posted 14 May 2017 - 06:44 AM

Looks good. Hopefully the clips are strong enough


#184 Ormes

Ormes

    Scary Internerd

  • PipPipPipPipPipPip
  • 4,612 posts
  • Gender:Male
  • Location:Corsham (nr. Chippenham)

Posted 14 May 2017 - 07:06 AM

Looks good. Hopefully the clips are strong enough


Only time will tell... I am certainly no engineer (just dabbling in this stuff as a hobby), but changed the design of the pins slightly so that the base of the pins are both wider and thicker, but with a weak point built in along the length of the pin to allow for flex.  Getting the balance between the strength/flex of the material, and the possibility of damaging the GRP of the door is a tricky one.  Just like the original, I am not convinced you will get lots of uses out of the part without the pins snapping.  Once I have tested the prototype, I will consider different more rubberised printing materials which may better for this application, and if the demand is there, may consider an alternative design, and/or alternative manufacturing processes.  I certainly don't need to tell you about the R&D process, but being new to this, I am frankly amazed at the considerations even with making a part seemingly as simple as a bloody door grommet ;) thumbsup


#185 Ormes

Ormes

    Scary Internerd

  • PipPipPipPipPipPip
  • 4,612 posts
  • Gender:Male
  • Location:Corsham (nr. Chippenham)

Posted 03 June 2017 - 08:26 AM

Posted Image

Posted Image

Posted Image

#186 Ormes

Ormes

    Scary Internerd

  • PipPipPipPipPipPip
  • 4,612 posts
  • Gender:Male
  • Location:Corsham (nr. Chippenham)

Posted 21 June 2017 - 06:15 PM

Drove home in the little sh1t box 7 years ago today and joined the place that gets more attention than my girlfriend, my VX and nob combined.  It's been great, and don't plan on divorcing the car or this place any time soon :)


Thanks all... wouldn't have been the same without you thumbsup


#187 Ormes

Ormes

    Scary Internerd

  • PipPipPipPipPipPip
  • 4,612 posts
  • Gender:Male
  • Location:Corsham (nr. Chippenham)

Posted 11 November 2017 - 02:49 PM

A few updates:


Some time ago, whilst doing a track day at Castle Combe, I bought some SPA wing mirrors, at which point I discovered that fitting them in a clean way was not going to be as simple as I first thought.  Part of the problem was that the paint beneath the old mirrors was rubbed and so the brief for the new design, was:


-Must use all OE fixings, so no drilling the car.

-Must look as OE as possible, and sit flush with the compound curve of the mouting base and the door.

-Must cover the footprint of the existing mirror to avoid the need for paint correction on the car.


Set about using my ameature 3d skills in 123D Design (Since moved to Fusion360 for later projects), and came up with a 3 piece design that consists of a base to absorb the curve of the mounting area, a steel mounting assy that everything bolts to, and cap that covers it all up and clips to the base.


I must confess that I nearly wet myself on occassions, as various bits arrived from the 3d printers, laser cutters, and my (kitchen) workshop, and all came together to be something that fits, and that I'm actually happy with.  Some pictures of the process below :)


The design:

Posted Image


Posted Image


(continued...)


#188 Ormes

Ormes

    Scary Internerd

  • PipPipPipPipPipPip
  • 4,612 posts
  • Gender:Male
  • Location:Corsham (nr. Chippenham)

Posted 11 November 2017 - 02:51 PM

Laser cutting arrived:

Posted Image


Drilled and tapped:

Posted Image


(In the kitchen :lol:)

Posted Image


(continued...)


Edited by Ormes, 11 November 2017 - 02:55 PM.


#189 Ormes

Ormes

    Scary Internerd

  • PipPipPipPipPipPip
  • 4,612 posts
  • Gender:Male
  • Location:Corsham (nr. Chippenham)

Posted 11 November 2017 - 03:00 PM

Steel assy painted and mated to the standard SPA mirror mount:

Posted Image


Which fits nicely together with the 3d printed bits:

Posted Image


Posted Image


Posted Image


Posted Image


(continued...)


#190 Ormes

Ormes

    Scary Internerd

  • PipPipPipPipPipPip
  • 4,612 posts
  • Gender:Male
  • Location:Corsham (nr. Chippenham)

Posted 11 November 2017 - 03:04 PM

3d printed parts needed sanding + filler primer + satin black... many, many coats!

Posted Image


Posted Image


Posted Image


Posted Image


(continued...)


#191 Ormes

Ormes

    Scary Internerd

  • PipPipPipPipPipPip
  • 4,612 posts
  • Gender:Male
  • Location:Corsham (nr. Chippenham)

Posted 11 November 2017 - 03:08 PM

All bolted/clipped together and installed:

Posted Image


Posted Image


Posted Image


Posted Image


Posted Image


thumbsup


#192 vocky

vocky

    Moderator

  • 11,969 posts
  • Gender:Male
  • Location:Earth

Posted 11 November 2017 - 05:21 PM

the end product was well worth your effort Imnotworthy


#193 Ormes

Ormes

    Scary Internerd

  • PipPipPipPipPipPip
  • 4,612 posts
  • Gender:Male
  • Location:Corsham (nr. Chippenham)

Posted 11 November 2017 - 05:36 PM

the end product was well worth your effort Imnotworthy

Thanks Vocky thumbsup :)

#194 Ormes

Ormes

    Scary Internerd

  • PipPipPipPipPipPip
  • 4,612 posts
  • Gender:Male
  • Location:Corsham (nr. Chippenham)

Posted 11 November 2017 - 06:31 PM

Another update:


As a part of the wing mirror installation, I felt I had to fix the drivers door window as it was incredibly rattly and there was probably an inch of lateral movement.  Broad steps below:


-Order some new nylon adjusters from ElizP (thumbsup)

-Dismantle the door

-Find one of the rail guides had fallen off the window

-Remove the window

-Find rusty bits and sand them back and paint them

-Refit the rail guide to the window using sikaflex PU adhesive

-Stick cut up electrical trunking to the rails


Posted Image


Posted Image


Posted Image


(continued...)


#195 Ormes

Ormes

    Scary Internerd

  • PipPipPipPipPipPip
  • 4,612 posts
  • Gender:Male
  • Location:Corsham (nr. Chippenham)

Posted 11 November 2017 - 06:34 PM

Posted Image


Posted Image


Posted Image


(continued...)


#196 Ormes

Ormes

    Scary Internerd

  • PipPipPipPipPipPip
  • 4,612 posts
  • Gender:Male
  • Location:Corsham (nr. Chippenham)

Posted 11 November 2017 - 06:42 PM

Then... another diversion.


Decided that I was going to leave all of the trim stripped from the door, with a view to ultimately making my own light weight door cards (yet to be done but plastic ordered).


As per one of the picures above, I've removed the door handle and rod, and the locking rod, and needed a solution to opening the door from the inside.


Designed a mechanism using a bracket, some wire rope and a pull chord...


Posted Image


Posted Image


Posted Image


(continued...)


#197 Ormes

Ormes

    Scary Internerd

  • PipPipPipPipPipPip
  • 4,612 posts
  • Gender:Male
  • Location:Corsham (nr. Chippenham)

Posted 11 November 2017 - 06:47 PM

All fitted...

Posted Image


Posted Image


It works a treat :)


Then did the same with the trim and opener on the passenger side, but didn't fix the window as it's not any where near as bad as the drivers side was.


As I said above, I've ordered the plastic, and will make some simple lightweight door cards as a little project at some point soon.


thumbsup


Edited by Ormes, 11 November 2017 - 06:49 PM.


#198 Ormes

Ormes

    Scary Internerd

  • PipPipPipPipPipPip
  • 4,612 posts
  • Gender:Male
  • Location:Corsham (nr. Chippenham)

Posted 11 November 2017 - 06:52 PM

Another update:


Fitted a micromirror :)

Posted Image


Posted Image


thumbsup


#199 Ormes

Ormes

    Scary Internerd

  • PipPipPipPipPipPip
  • 4,612 posts
  • Gender:Male
  • Location:Corsham (nr. Chippenham)

Posted 11 November 2017 - 06:54 PM

Another update:


-Changed Oil and Oil Filter (02/11/2017).

-Swapped the exhaust bits over ready for MOT.

-Generally got it ready for MOT, pumped up the tyres etc., and gave it a clean.


Now need to find time to get it taxed and tested.


thumbsup


#200 JG

JG

    Newbie

  • 13,609 posts
  • Gender:Male
  • Location:West Berks

Posted 11 November 2017 - 09:51 PM

thumbsup


0 user(s) are reading this topic

0 members, 0 guests, 0 anonymous users