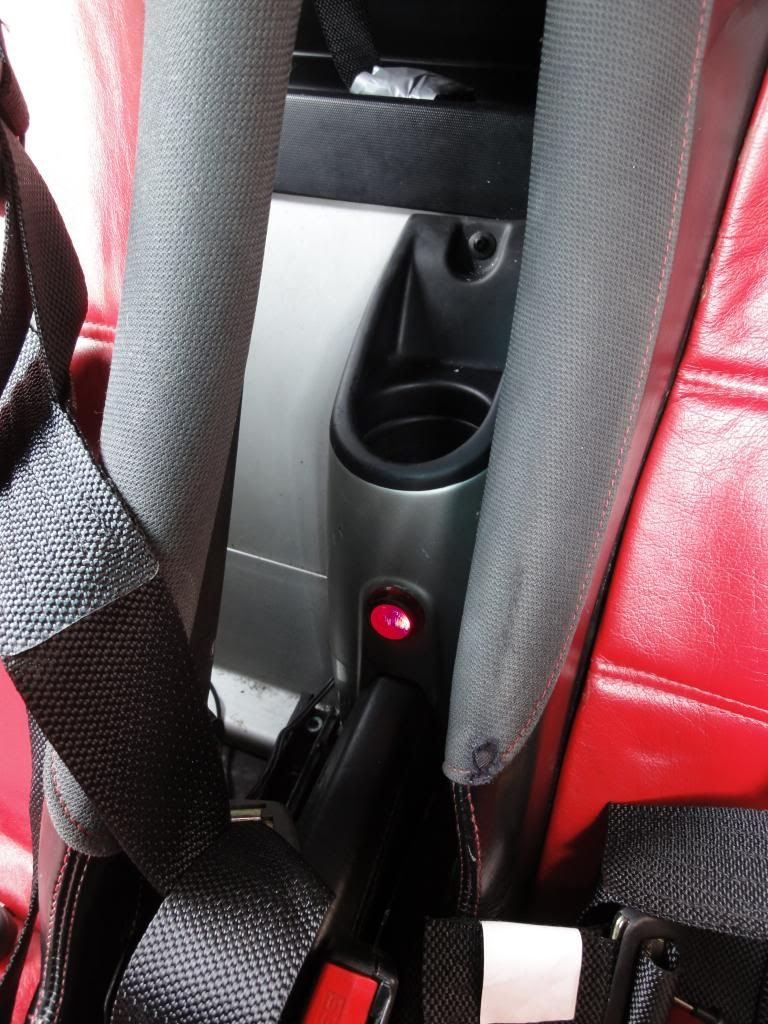
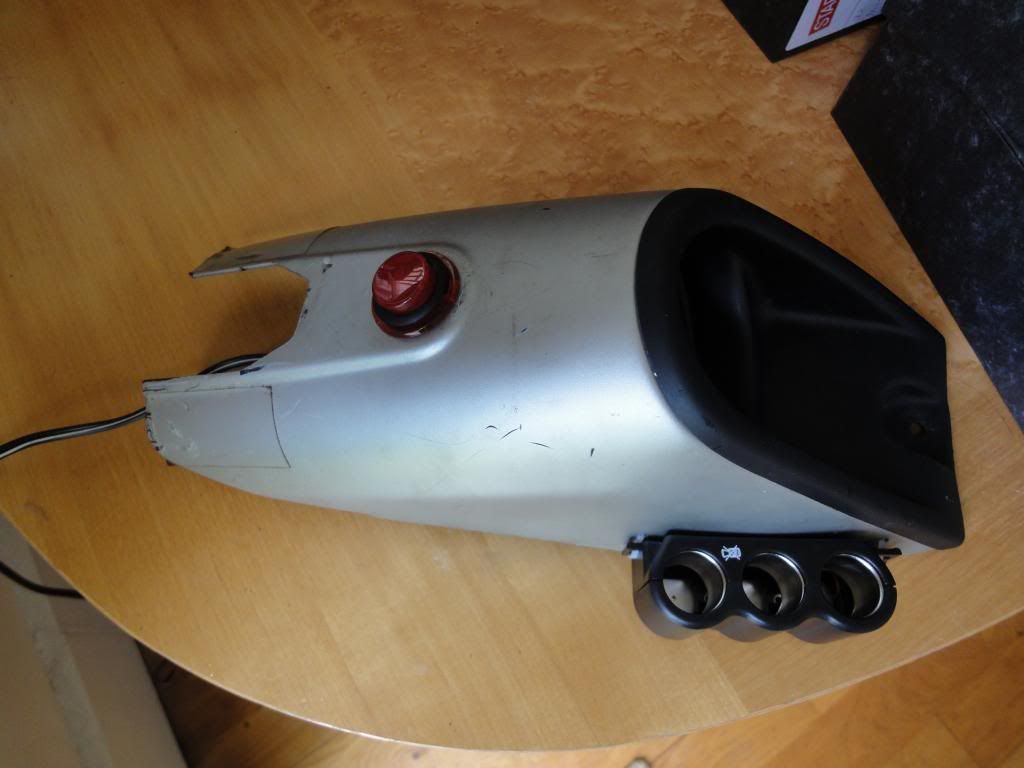
I did a nice little mod over the weekend to remove the cigarette lighter socket, and replace it with a backlit LED pushbutton.
The problem : I had 2 cig lighter extender sockets to give me extra power points, e.g. phone charger between the seats, and satnav under the dash on the RHS. These needed to be plugged in and plugged out if leaving the car for a couple of weeks otherwise they would drain the battery. No big deal, but they added to the clutter, and I found that the cig plug would fall out of the socket when braking on trackdays, so I wanted to move the socket anyway.
The solution : the permanent 12V feed is now switched via the pushbutton and connects / disconnects the 3-way extender under the dash, and another 3-way extender on the side of the cupholder. The LED provides a nice visual indication that I've left the power on to the sockets, and there's no more plugging in and out. And I can brake as hard as I like and it won't slip out!
(note the extenders aren't suitable for cigarette lighters, so give up the smokes or buy some matches!)
Tools & equipment needed :
- pliers
- electrical crimping set
- screwdriver small and large flathead
- 12V pushbutton switch latching DPST £2.99 here http://www.ebay.co.u...d=p5197.c0.m619
- 3-way socket extender(s) - note these are not suitable for cigarette lighters, so best to bin the cig lighter at this stage!
- insulating tape
- sharp blade, stanley knife or similar
- stubby philips head screwdriver to get to the boot fuses
- its a good idea to have a set of car fuses handy in case you need them
- multimeter
- Torx T10 bit (allen key style is best, to access Torx bolt in cig lighter socket)
1) Remove the cupholder by pulling out the plastic rivet on top. This can be reused if you take it out slowly. Get it going with a flathead, then get the nose of a pliers in there and it will eventually come out. It can be pulled upwards a few inches and turned to expose the socket connections at the back.
2) The two main wires go into a combined socket - check which connection is + and which is -, for me the black wire was negative, and purple was positive.
3) Remove the cig lighter fuse from the boot, you'll need a stubby philips head for this. Test voltage before and after to ensure its dead.
4) Pull off all 3 spade connections on the back of the cupholder - they were stiff but came off for me when I grabbed the white plastic bit with a pliers.
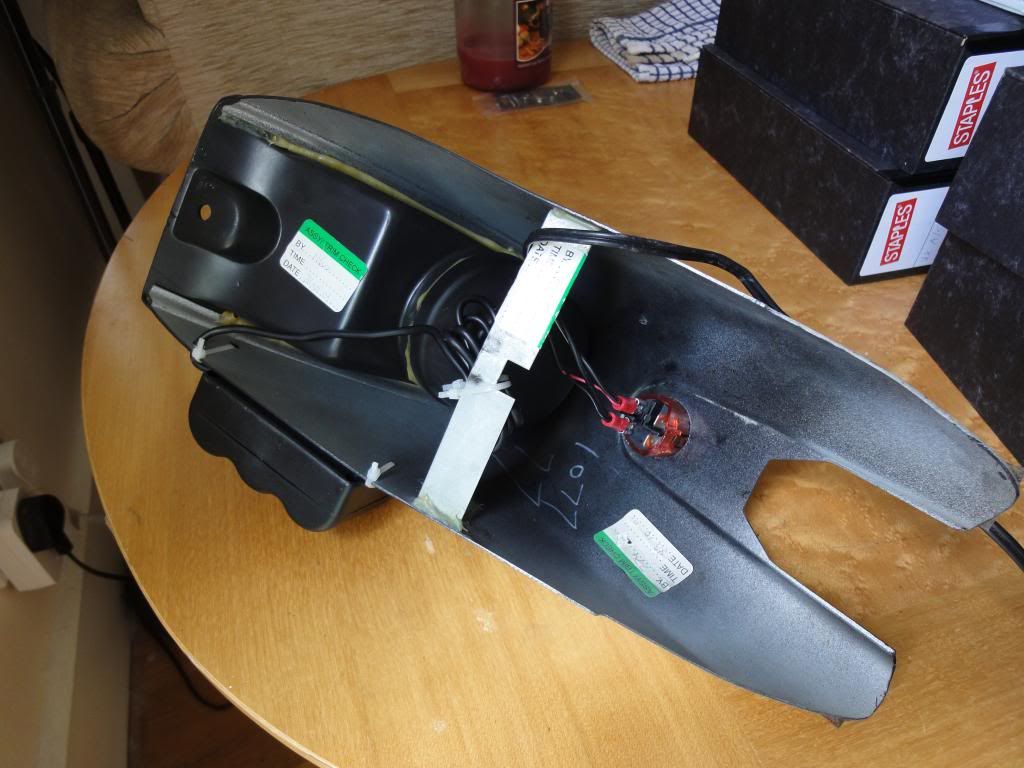
5) Tape the single wire back onto the loom with some insulating tape. This is for the cig lighter surround lighting. Then cut off the other 2 connections (close to the plug, keep as much wire as you can!) and put spade connectors on the end for fitting onto the switch.
6) You can remove the cupholder from the car now and remove the cig lighter assembly. You will be reusing the orange surround so keep that. Undo the internals by removing the T10 torx bolt, then prise off the grey plastic fitting. The metal cylinder can be pushed out by fiddling with the tabs on the orange light surround.
7) You can now push fit the switch into the orange surround. There are 2 protruding tabs on the switch which need trimming to fit properly, but if you shave them off carefully it will go in nicely. When you have the desired fit, test the button is still clicking properly - my button wouldn't work when it was too tight.
7) Mount the 3-way extender onto the side. Keep it as high and as far back as you can and it should clear the seat. I put it on the passenger side as its easier to get to when sitting in the drivers seat. Best to test fit this first to make sure everything fits and you have room to plug your stuff in...
8) Cut off the cig lighter connector(s), strip the ends, and put female spade connections onto them. Make sure both negatives and both positives are in the correct spade connector, if you're not sure, test the wiring. The solid black cable is usually negative. Tidy up and loose wires and tie-wrap them onto the handy brace that Vauxhall provided.
9) Check you have connected the spades to the correct terminals (unfortunately they're incorrect in the pic above!). Terminals 2 and 4 are the outlet side AFAIKR. A bit of trial and error with the multimeter will help you out.
10) Back to the car, and connect up the positive and negative spades from the cig lighter power supply. Check there are no bare or touching wires, and you can test it by putting the fuse back in. The LED should only light up when power is being supplied to the extenders, if not then you have the spade connectors the wrong way round.
11) Fit the other extender (if you have one) under the dash, and route the wire under the sill cover and back to the cupholder. Then put the cupholder in position and replace the plastic rivet. If you mangled the rivet on the way out, Halfords sell them (6mm apparently),
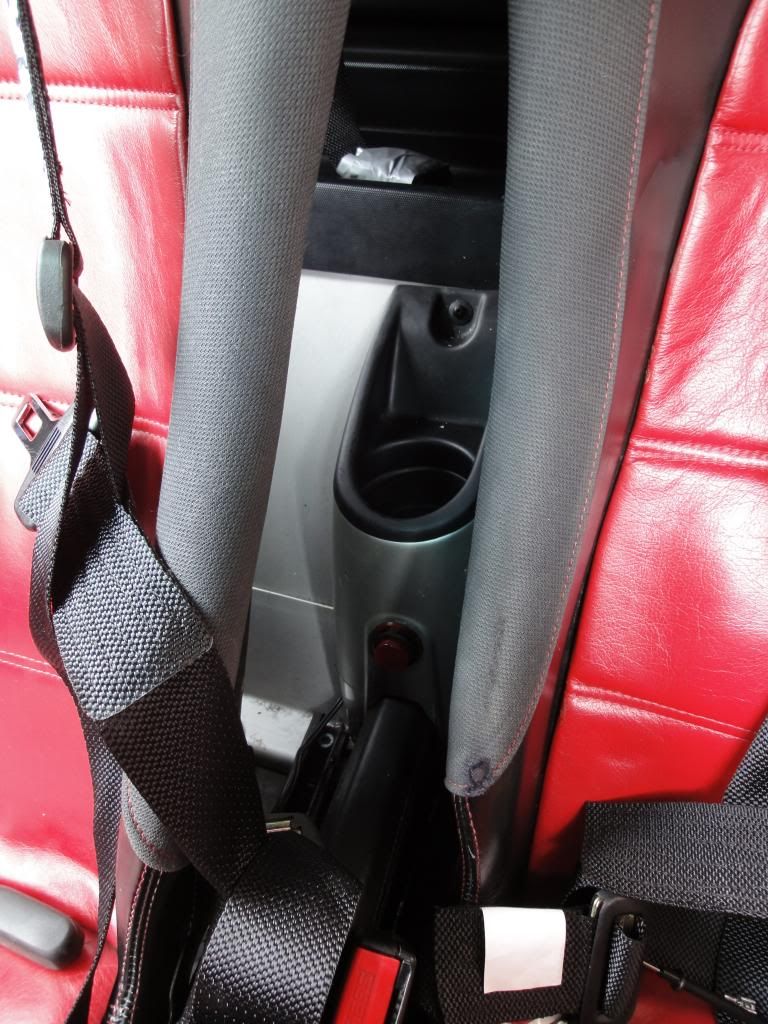
12) Job done:
Power off:
Power on:


