Jump to content


Photo

Vx220 Sc Refresh Project


  • Please log in to reply
103 replies to this topic

#1 GaryK

GaryK

    Member

  • Pip
  • 168 posts
  • Gender:Male
  • Location:Bury St. Edmunds

Posted 03 August 2015 - 01:05 PM

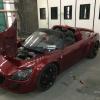
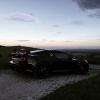
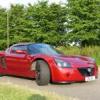
I've had my stage 2 supercharged NA for just over a month now and am getting to grips with what work needs doing and what bits I'd like to tidy up. The engine runs very nicely and the bodywork is spotless but running gear and cockpit are both showing their age.
 
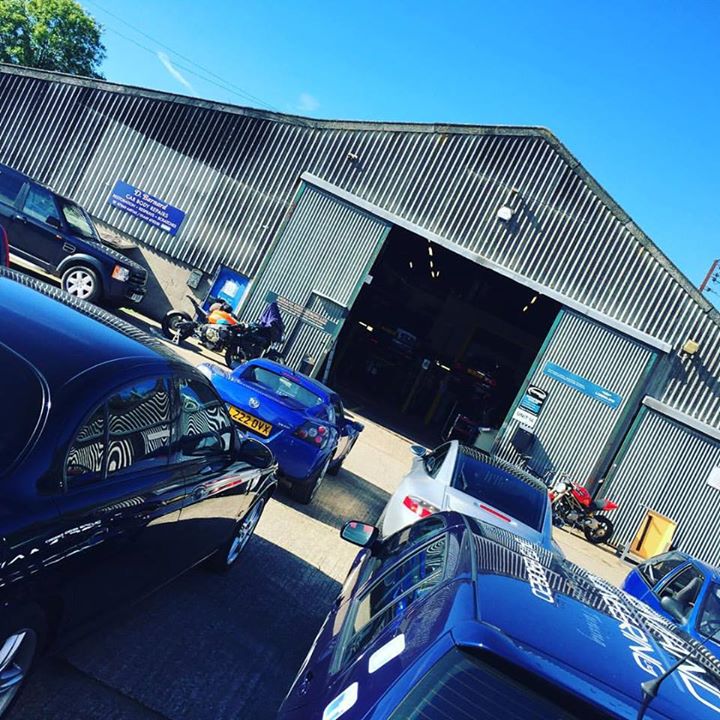
The MOT is due at the end of August... hopefully it will go through without too much trouble. I'll then run it 'til the nights draw in before sticking it in the garage over winter for some tweaks. Below are the bits I would like to address this winter, and I'll use this thread to update on my progress:
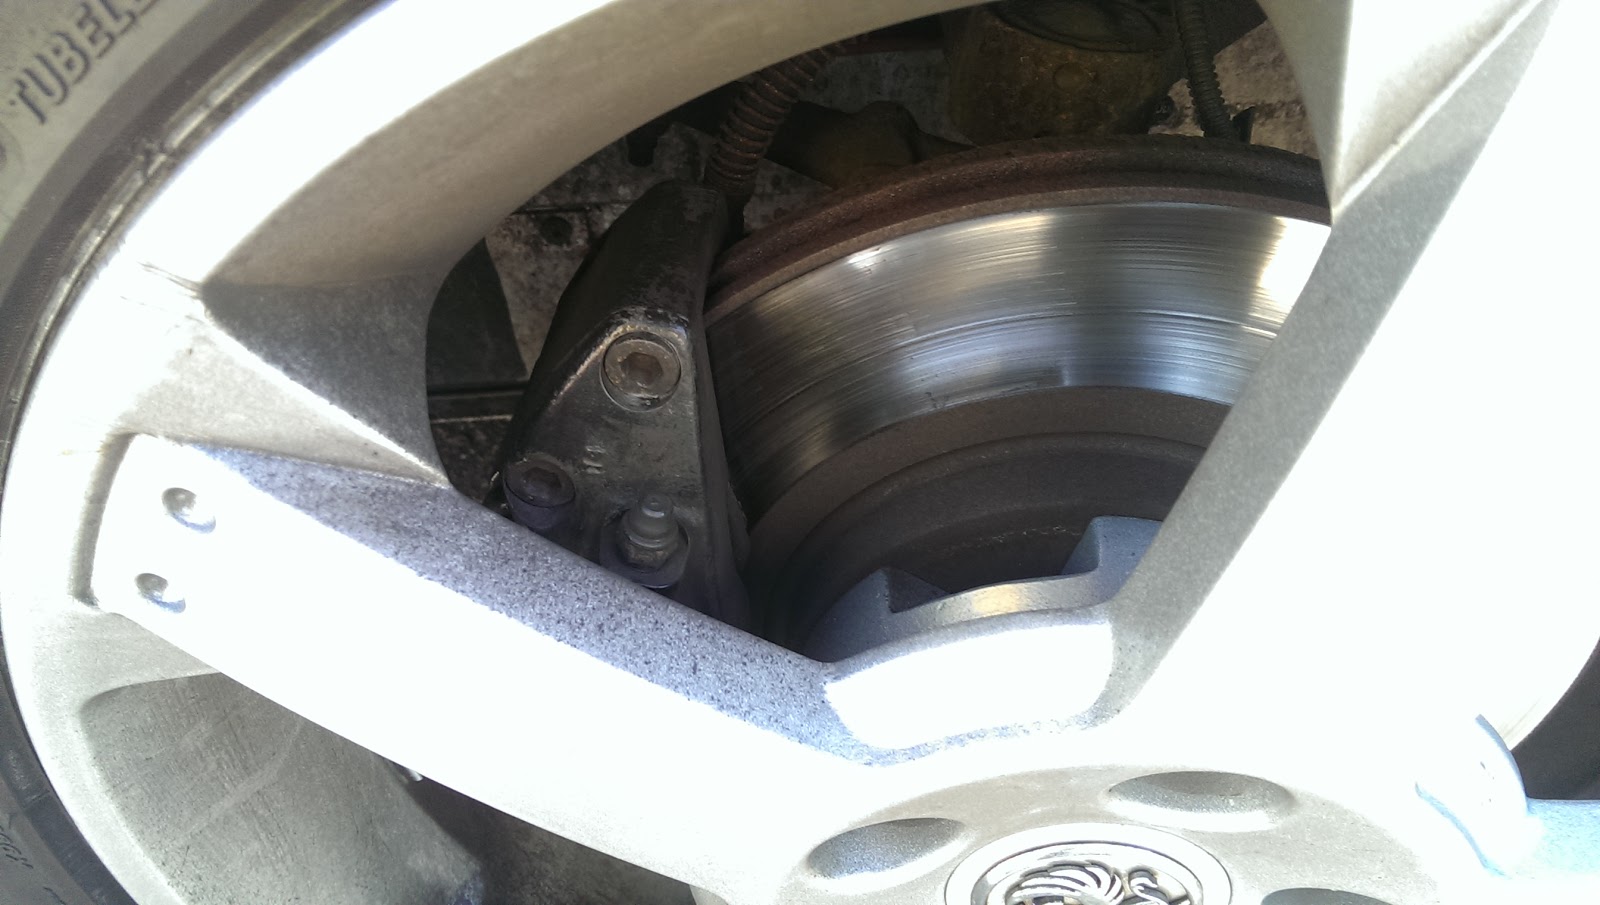
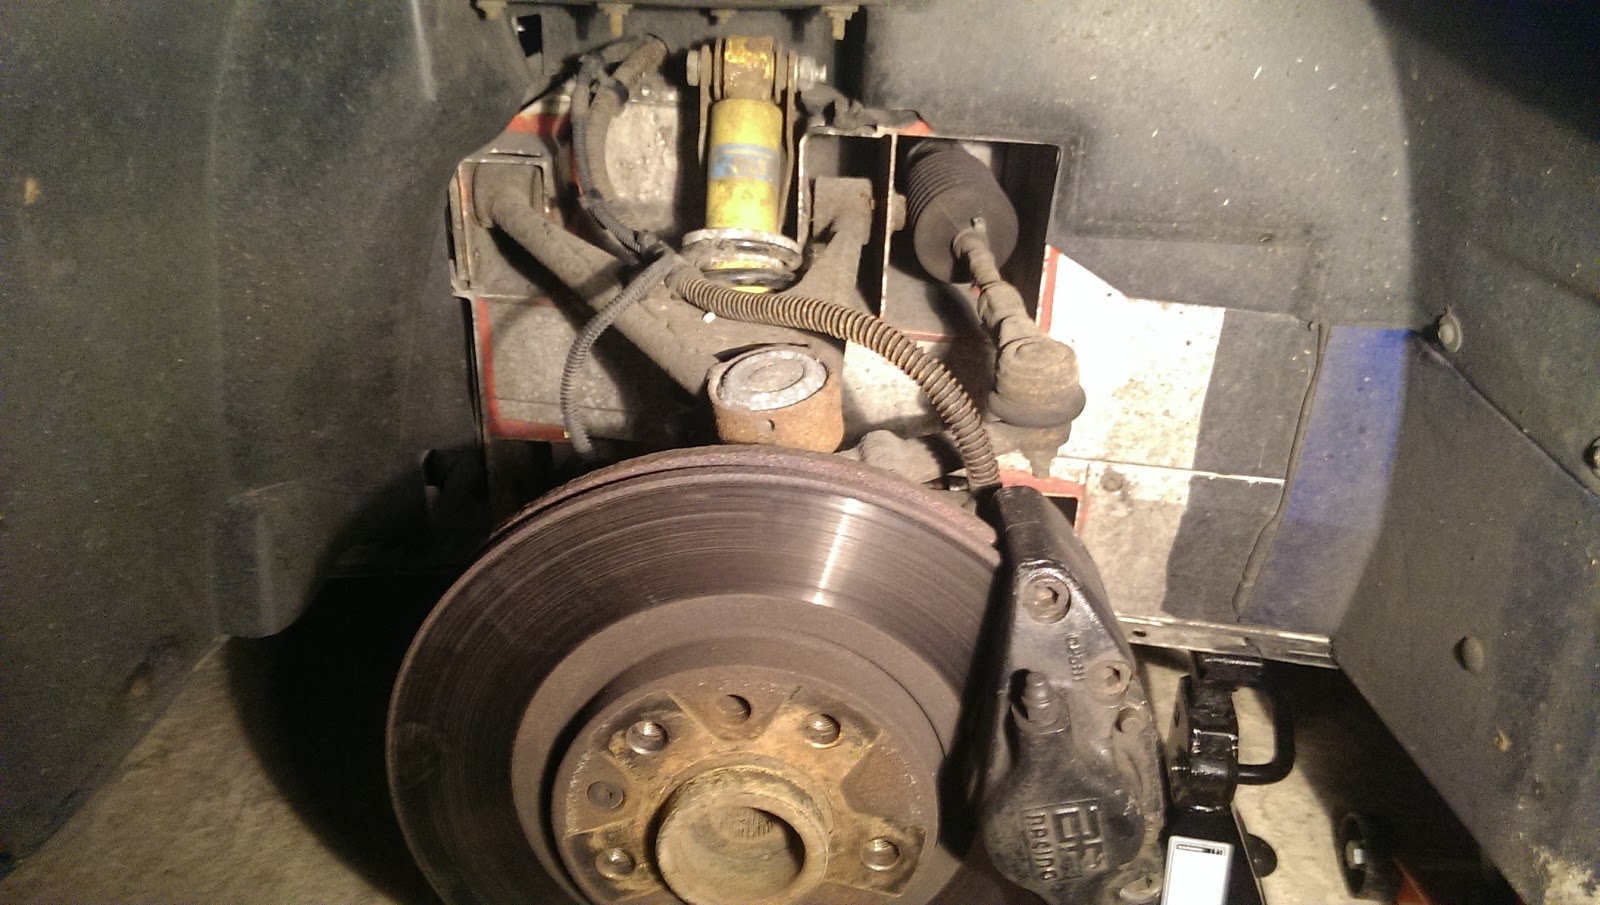
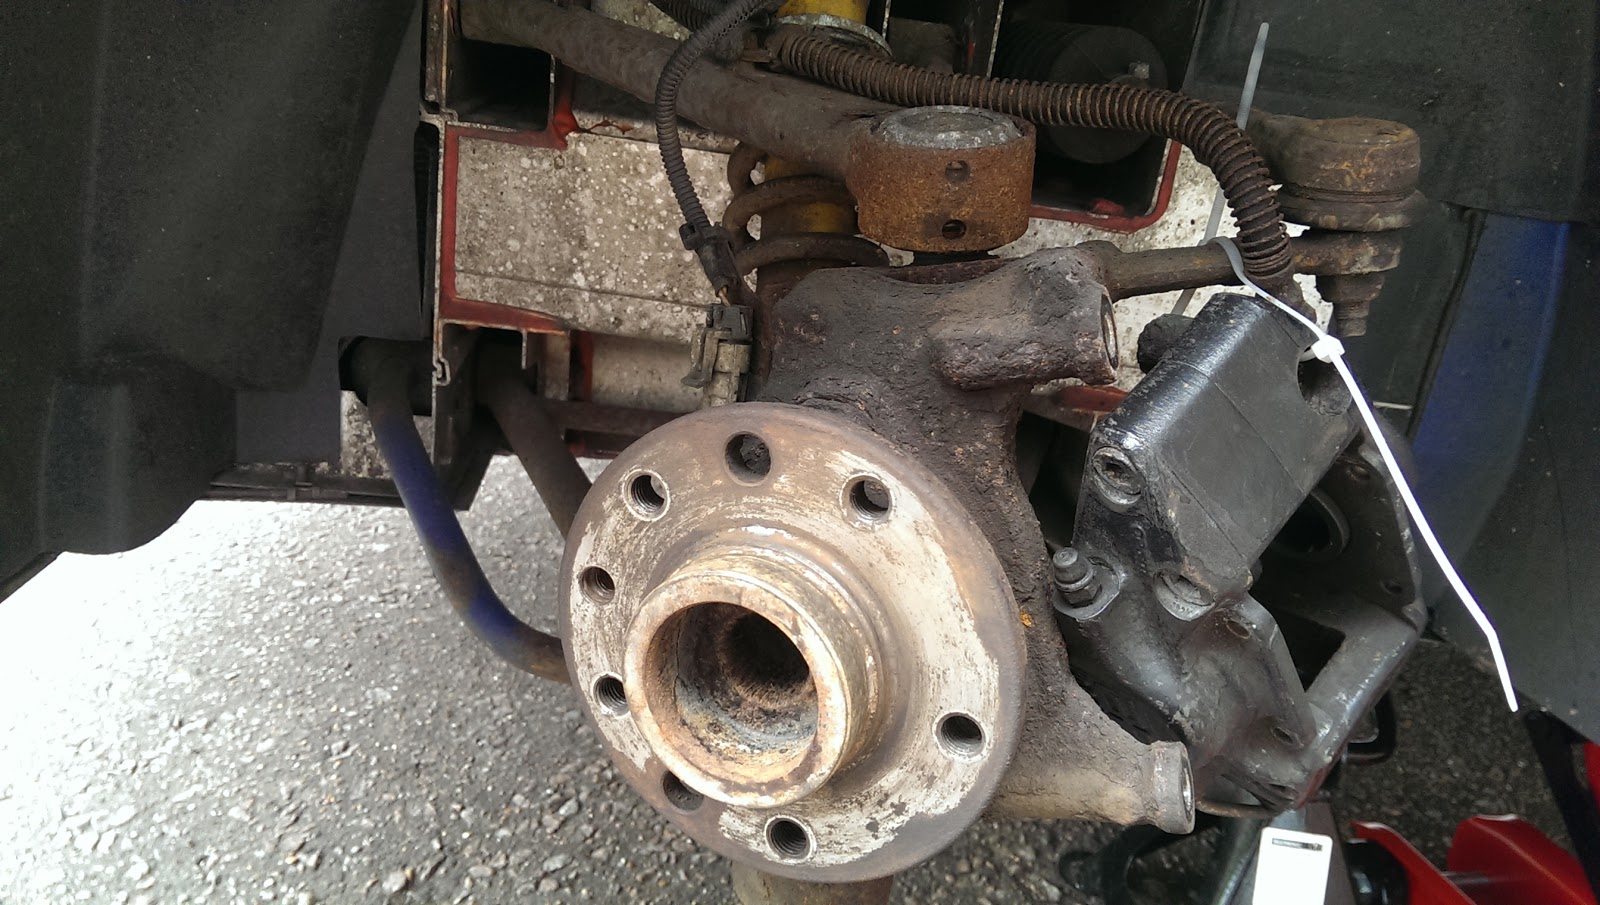
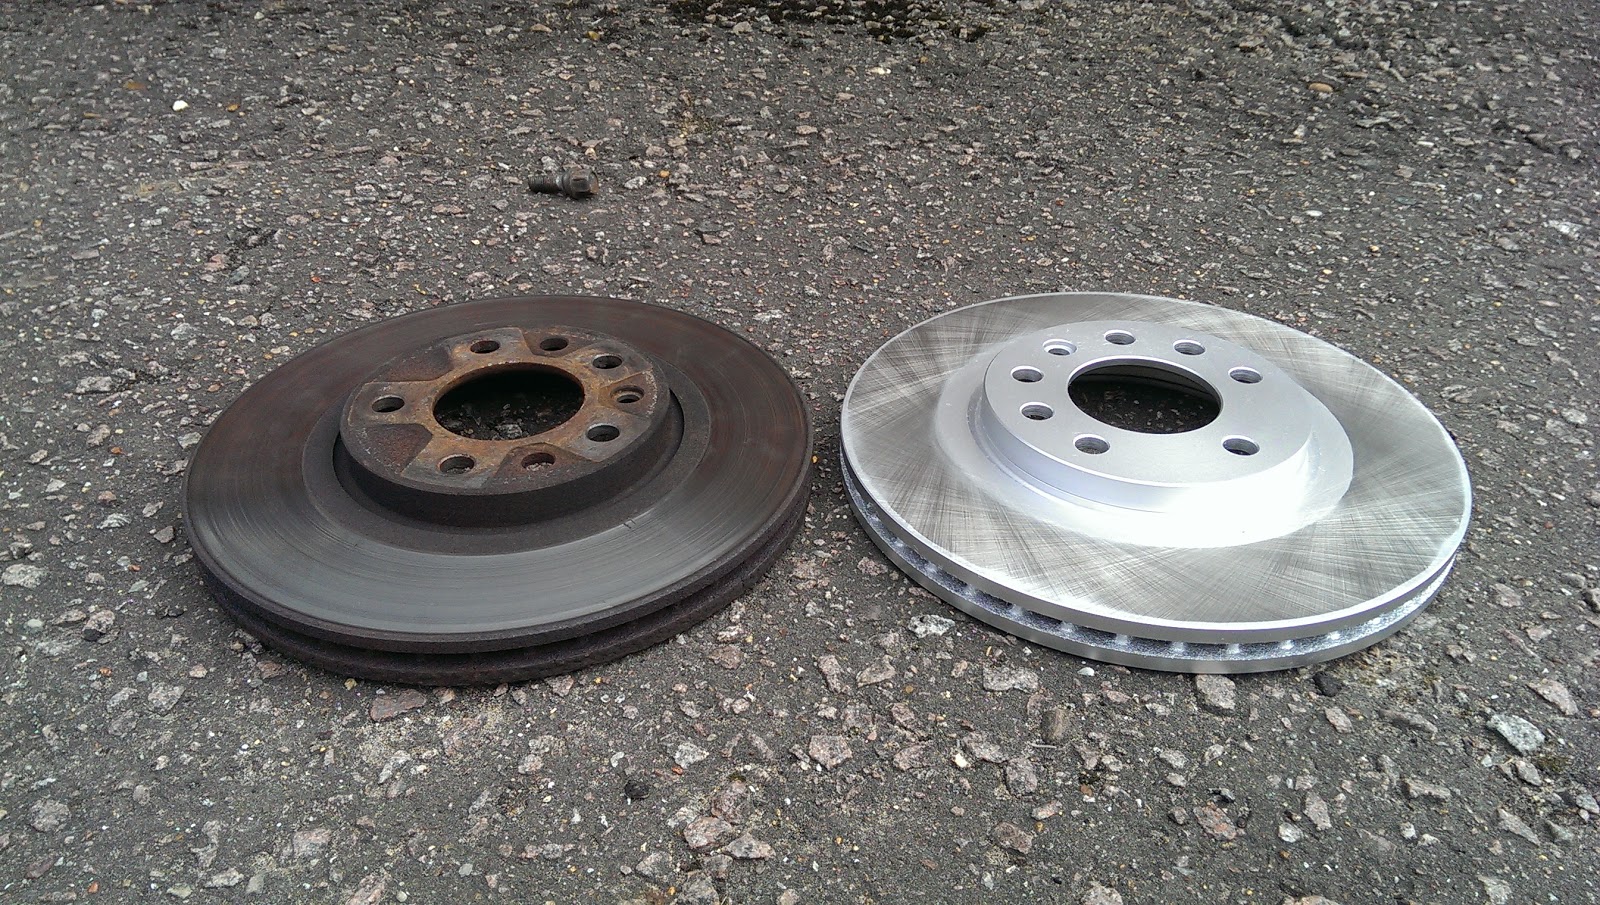
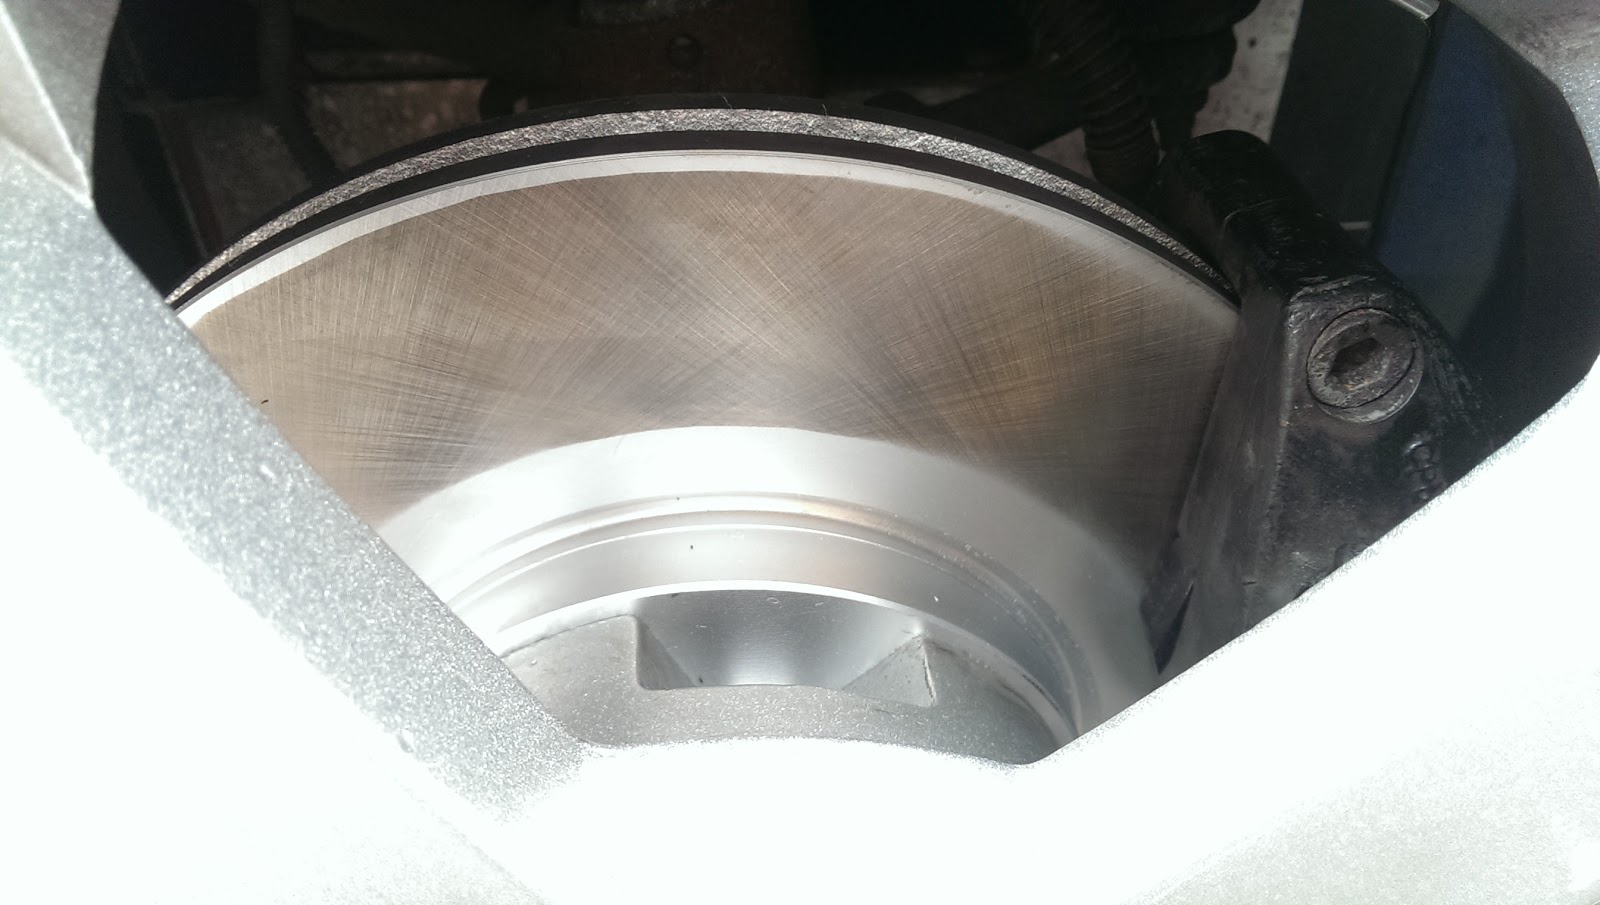
 
Brakes refresh
 
  • Replace worn, grindy old disks with new Camskill discs and Mintex M1155 pads deal. Flush through new brake fluid. Already got parts and will do this job before MOT.
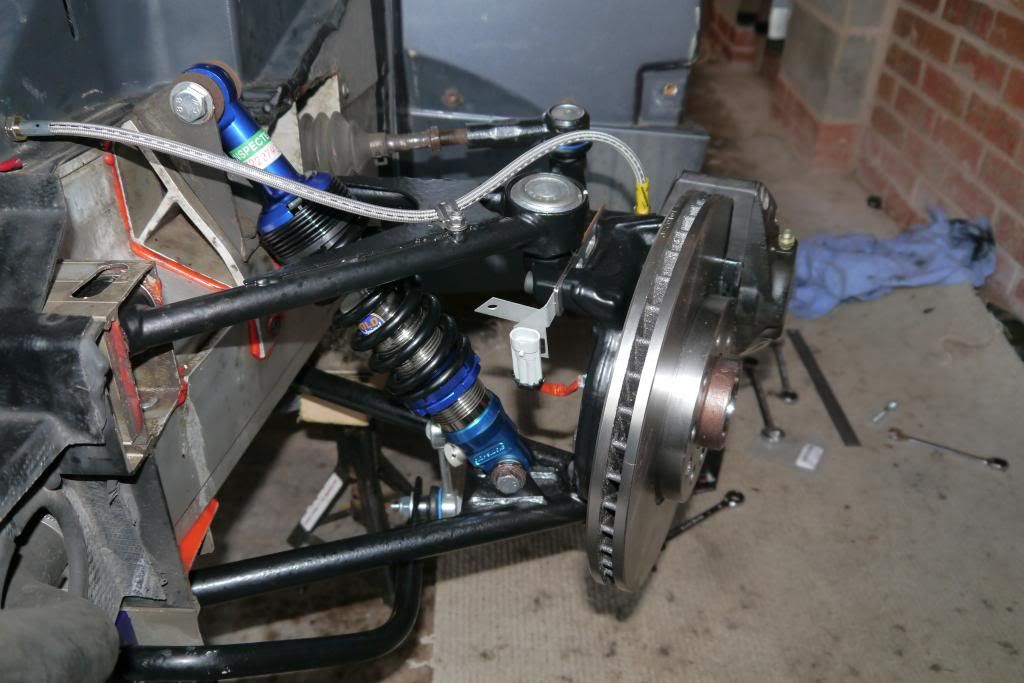
 
Suspension refresh
 
  • Remove all suspension parts, probably using own bodyweight in Plusgas :beat:, remove rust by DIY electrolysis, paint with POR15.
  • Refresh with Seriously Lotus kit incl. OEM-style bushes and Nitron Street Series dampers.
  • Replace toe links at same time?
  • May replace all wheel bearings at the same time... not sure yet.
  • ARB bushes are dry and cracked. May consider Elise Parts uprated 1" ARB if doing bushes.
 
Cosmetic refresh
 
  • Driver seat bolster is torn so I'll get the seats recovered. May try removing some of the arse padding for a lower driving position. Remove whatever detritus is rattling under seats.
  • Replace footwell mats. My left heel sometimes gets caught in the seam around the edge of the triangular raised bits which can be scary when going full pelt.
  • Repaint brake calipers.
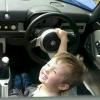
  • Remove then clean up steering wheel, remove and respray steering wheel centre/airbag. Treat leather. Restitch wheel with blue thread poof.
  • New gear knob, handbrake sleeve, gaitors.
  • Replace carbon fibre sills and window winders with OEM ones.
  • Respray all interior silver plastic trim, keeping colour as similar to OEM as possible.
  • Respray exterior black grilles, which are faded/chipped.
 
Assorted other bits that need fixing
 
  • Investigate mystery object rattling in passenger door and fix both sides window rattles.
  • Fix heater knob which is stuck in hot position. Cover vents with wife's undergarments if not already covered by stranger's wife's undergarments.
  • Correct poorly aligned Milltek backbox, investigate rattle from cold (busted baffle?), re-align heat shield and replace scruffy exhaust grille...
 

Edited by GaryK, 03 August 2015 - 01:05 PM.


#2 FLD

FLD

    WANNABE MY LOVER

  • PipPipPipPipPipPipPipPip
  • 13,717 posts
  • Gender:Male
  • Location:Near nantwich
  • Interests:Tugging my todger.

Posted 03 August 2015 - 01:13 PM

When doing your suspension parts I'd recomend blasting rather than electrolysis (I tried).  I'd then recomend plating before painting. thumbsup


#3 Mopeytitan

Mopeytitan

    Billy No Mates

  • PipPipPipPipPip
  • 1,908 posts
  • Gender:Male
  • Location:Yeovil, Somerset
  • Interests:Cars, Motorbikes, well anything mechanical.
    My dogs (love my dogs).
    F1.

Posted 03 August 2015 - 02:25 PM

If your going to do the suspension refresh I'd do everything. That's what I did if your taking it all apart for the sake of around £300 you might aswell change all the bearings. And for piece of mind get the toe links sorted. Also get your Hub carrier bolts and that changed.

#4 FLD

FLD

    WANNABE MY LOVER

  • PipPipPipPipPipPipPipPip
  • 13,717 posts
  • Gender:Male
  • Location:Near nantwich
  • Interests:Tugging my todger.

Posted 03 August 2015 - 02:27 PM

:yeahthat:

New nuts, bolts, washers, locktabs, shims etc.  Do it right, do it once.


#5 JamesC

JamesC

    Need to get Out More

  • PipPipPipPip
  • 991 posts
  • Gender:Male
  • Location:Shropshire
  • Interests:Cars, Beer, Diving, not necessarily in that order....

Posted 03 August 2015 - 02:40 PM

When you come to putting the rusty hubs/ABS brackets/etc back onto shiny uprights and wishbones - I bet you end up replacing them anyway!!


Looks great when done!!


Posted Image


Edited by JamesC, 03 August 2015 - 02:43 PM.


#6 GaryK

GaryK

    Member

  • Pip
  • 168 posts
  • Gender:Male
  • Location:Bury St. Edmunds

Posted 03 August 2015 - 02:49 PM

Makes sense, and will do! Still lots of reading and lots to learn. This is terrifying:


http://www.vx220.org...-poll-and-info/


This is the first time I've ever done any work on a car that wasn't cosmetic. Part of the appeal for me getting a VX was having a car I can learn with and improve, that I don't need every day, so I can take the risk of not finishing a job the same day I start it.


This forum is a fantastic resource - thanks all  thumbsup


#7 techieboy

techieboy

    Supercharger of Doom

  • 22,914 posts
  • Gender:Male
  • Location:Bedford

Posted 03 August 2015 - 02:51 PM

Do it right, do it once.

Did it right, first time, 6 years ago. Ready to do a lot of it again this winter. :wacko:

#8 JG

JG

    Newbie

  • 13,609 posts
  • Gender:Male
  • Location:West Berks

Posted 03 August 2015 - 06:53 PM

me too, evora first though


#9 GaryK

GaryK

    Member

  • Pip
  • 168 posts
  • Gender:Male
  • Location:Bury St. Edmunds

Posted 03 August 2015 - 09:22 PM

On Saturday I spent a few hours replacing my front discs and pads with Camskill discs and M1155 pads. On Sunday I spent just as long failing to replace my rears... The 17mm bolt is completely seized, so I took this as a hint to order myself an impact wrench. This will come in handy during the suspension refresh.


Before:


Posted Image


Wheel off. It's proper filthy under there:


Posted Image


Disc and caliper came off easily. This is *after* I cleaned up the hub:


Posted Image


I painted the new discs with Motip high temperature paint:


Posted Image


Mmmm shiny....


Posted Image


Edited by GaryK, 03 August 2015 - 09:27 PM.


#10 GaryK

GaryK

    Member

  • Pip
  • 168 posts
  • Gender:Male
  • Location:Bury St. Edmunds

Posted 03 August 2015 - 09:26 PM

Once I've done the backs, I will replace the brake fluid. Unfortunately, not only was the 17mm bolt on the rears seized, but a disc retaining bolt rounded off too so I'm awaiting delivery of a 12mm drill bit to drill it out.


Edited by GaryK, 03 August 2015 - 09:29 PM.


#11 Pidgeon

Pidgeon

    Scary Internerd

  • PipPipPipPipPipPip
  • 5,254 posts

Posted 04 August 2015 - 07:02 AM

Hi Gary


I refreshed my underpinnings a couple of years ago, used OE standard components (apparently), my thoughts;


I changed all four wheel bearings.  In the previous 100K miles I think 2 had failed.  In the 25K miles since, two of the new ones have failed.  I'd leave the originals where they are.


POR15 is good stuff, but still fails when the joints are pushed in.  I'll plate if there is a next time.


Don't be too hung up on HCBs  I drove around for years with one sheared - I thought it was a cap head bolt, only when I stripped the upright off did I realise I was looking at the sheared end.


#12 P11 COV

P11 COV

    Whipping Boy

  • PipPipPipPipPipPipPip
  • 7,683 posts
  • Gender:Male
  • Location:MK
  • Interests:Cars, Music, God, Family. Holidays.

Posted 04 August 2015 - 09:14 AM


Do it right, do it once.

Did it right, first time, 6 years ago. Ready to do a lot of it again this winter. :wacko:


Surely its still all shiny with the number of miles done inbetween :P  


#13 GaryK

GaryK

    Member

  • Pip
  • 168 posts
  • Gender:Male
  • Location:Bury St. Edmunds

Posted 06 August 2015 - 09:43 PM

On Sunday I spent just as long failing to replace my rears... The 17mm bolt is completely seized, so I took this as a hint to order myself an impact wrench. 


:beat: Impact wrench didn't make the slightest bit of difference... Oh well - the rear discs and pads are fine anyway so will just have to wait til winter when I get the rear clam off because then I can take a breaker bar to it.


Re: POR15, electrolysis... my thinking was that I wanted to do everything myself. However, I will see how fed up I am by the time I get everything off - I might then want a 'quick fix' to get it all on again (sandblast, plate, powder coat)...


#14 FLD

FLD

    WANNABE MY LOVER

  • PipPipPipPipPipPipPipPip
  • 13,717 posts
  • Gender:Male
  • Location:Near nantwich
  • Interests:Tugging my todger.

Posted 07 August 2015 - 07:54 AM

Gateros plating do some good kits if you want to self plate.  I had mine (and would recomend) triple plating.  Its a plate, acid dip, plate, acid dip, plate passivate process so you get a decent plate layer on things.  The passivation just helps the zinc stay put.  Should last a wee while.


#15 GaryK

GaryK

    Member

  • Pip
  • 168 posts
  • Gender:Male
  • Location:Bury St. Edmunds

Posted 07 August 2015 - 12:48 PM

Thanks FLD. I have your thread saved where you use that kit. Did you find it pretty idiot-proof? Does every part get thrown into the tub and done at the same time? It's an extra £29 for another 10l worth of electrolyte chems so would then be able to do it all I guess.


#16 FLD

FLD

    WANNABE MY LOVER

  • PipPipPipPipPipPipPipPip
  • 13,717 posts
  • Gender:Male
  • Location:Near nantwich
  • Interests:Tugging my todger.

Posted 07 August 2015 - 01:45 PM

The kits are p*ss easy to use.  For wishbones you'll need more electrolyte and a bigger pot as the one you get is quite small.  I must confess to sending big bits out to be done.  The data sheets for the chemicals will scare you but they aren't too bad.  The electrolyte shouldn't be consumed if your parts are reasonably clean, it's the zinc electrode that you'll lose.  You need to take care with the current to get good plating.  The power supplies are a good idea if you're going to do plenty of parts but the battery and resistor wire method does work if you don't mind fiddling about a bit.  I'd do one part at a time but if you want to do multiple bits you can suspend them in the pot from wires on a common support rail and do them all in one go.


#17 Arno

Arno

    Need to get Out More

  • PipPipPipPip
  • 1,233 posts
  • Gender:Male
  • Location:Netherlands

Posted 08 August 2015 - 08:54 AM

With plating mulitple things at the same time you have to keep in mind that you usually need to use more electrodes spread around the bath or you get a 'shadowing' effect of parts where he first in line from the electrodes catches most of the ions and the other parts in it's shadow are getting less and as a result get an insufficient plating result.


Plating basically is a transfer system where the sacrificial electrode is dissolved and it's material gets deposited on the parts to be plated. But nature tends to be lazy and likes to take the path of least resistance so the 'closest' part to the electrode ends up with the best/most plating if you don't take care.


You'll see that commercial platers usually have electrodes all around the edges of  their baths and also agitate the solution a lot or even use systems where they alternate electrode(-plates) and items in holders than need to be plated to get the best coverage.


#18 FLD

FLD

    WANNABE MY LOVER

  • PipPipPipPipPipPipPipPip
  • 13,717 posts
  • Gender:Male
  • Location:Near nantwich
  • Interests:Tugging my todger.

Posted 10 August 2015 - 03:02 PM

You should also bake the parts once plated to avoid any hydrogen embrittlement.  (best wait until she's out for that one)


#19 GaryK

GaryK

    Member

  • Pip
  • 168 posts
  • Gender:Male
  • Location:Bury St. Edmunds

Posted 12 August 2015 - 09:41 PM

Yeah, she wasn't too thrilled that time I cooked up some brake discs for dinner...


Posted Image


#20 GaryK

GaryK

    Member

  • Pip
  • 168 posts
  • Gender:Male
  • Location:Bury St. Edmunds

Posted 12 October 2015 - 04:08 PM

I took the car to Demand Engineering nr. Stowmarket to have a look at the backbox. It was a total wreck. The steel on these Millteks is so thin that it had worn through every weld location for the inner baffles, so I had a nice row of pinholes on the bottom and the baffles were rattling free inside. Saying that, it still only measured at 92db! Anyway, they're now rebuilding me a nice shiny box out of T304... Should be finished tomorrow.


Posted Image


(Picture is from Demand Engineering's facebook page)


Edited by GaryK, 12 October 2015 - 04:09 PM.


0 user(s) are reading this topic

0 members, 0 guests, 0 anonymous users