
So .... LY36 has been in quite a number of hands around this forum, I think it is time to give her a second youth. As of today, the list of things to be done :
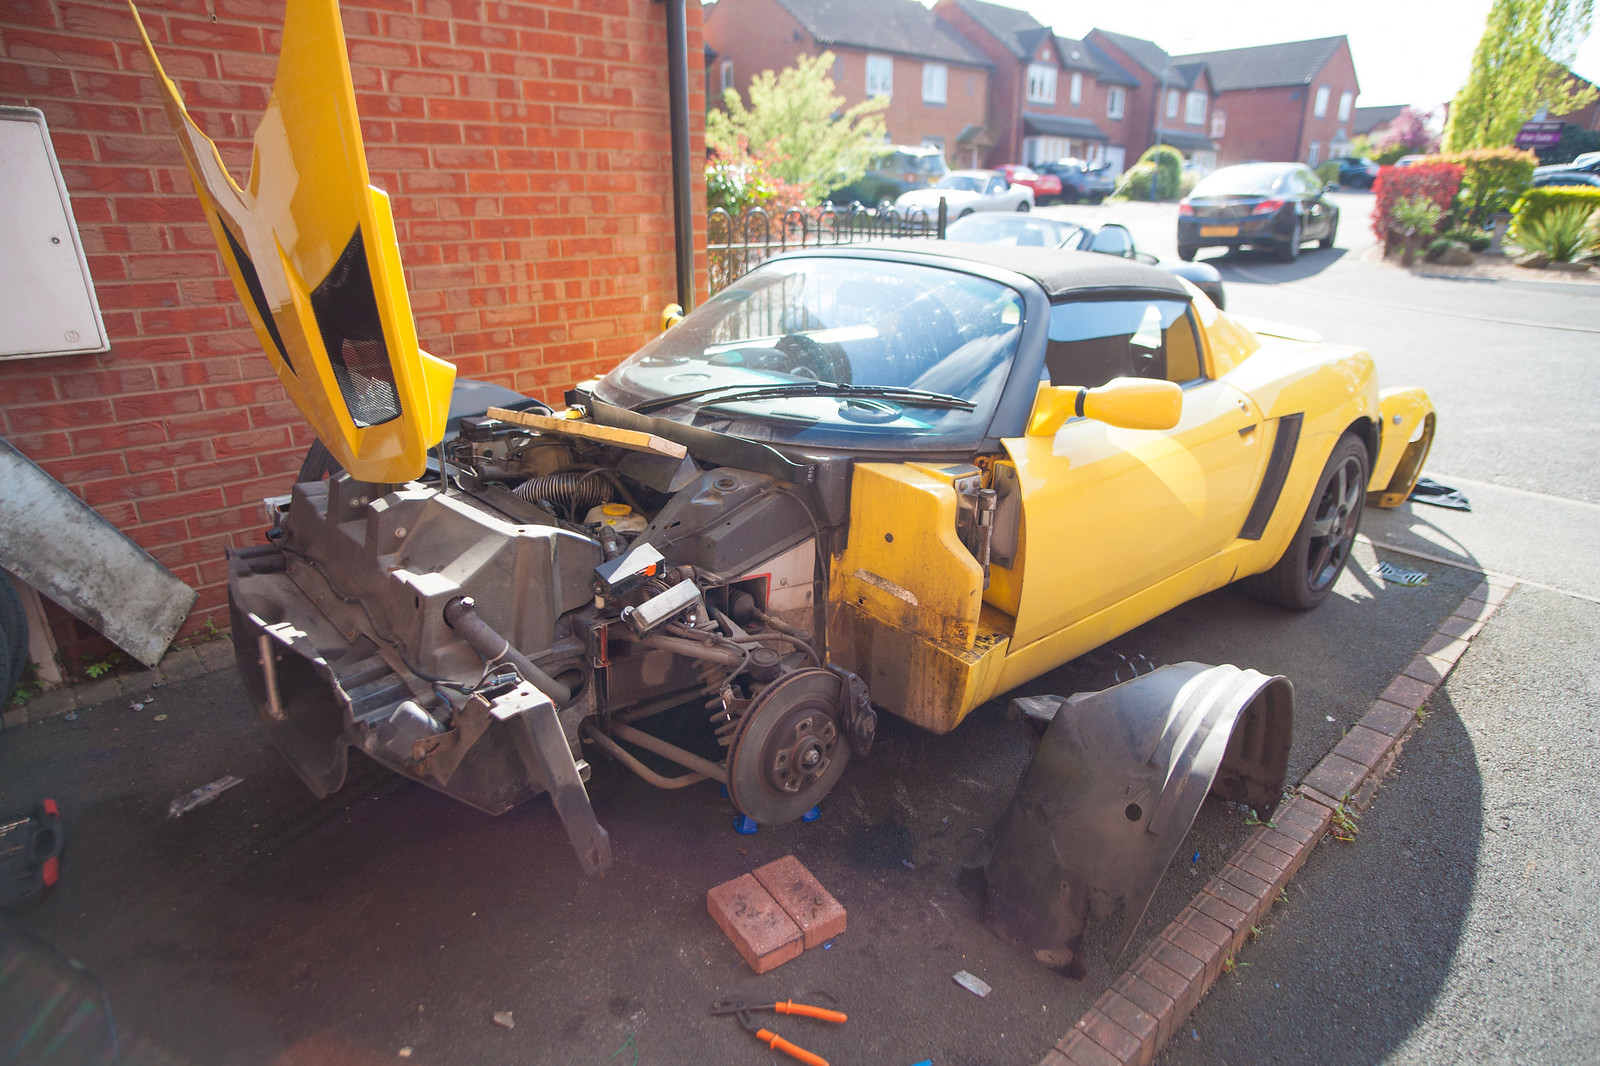
- Front clam repair or change by one of Jon's, as the previously repaired quarter is developing cracks
- Make sure that the passenger side leak is indeed fixed
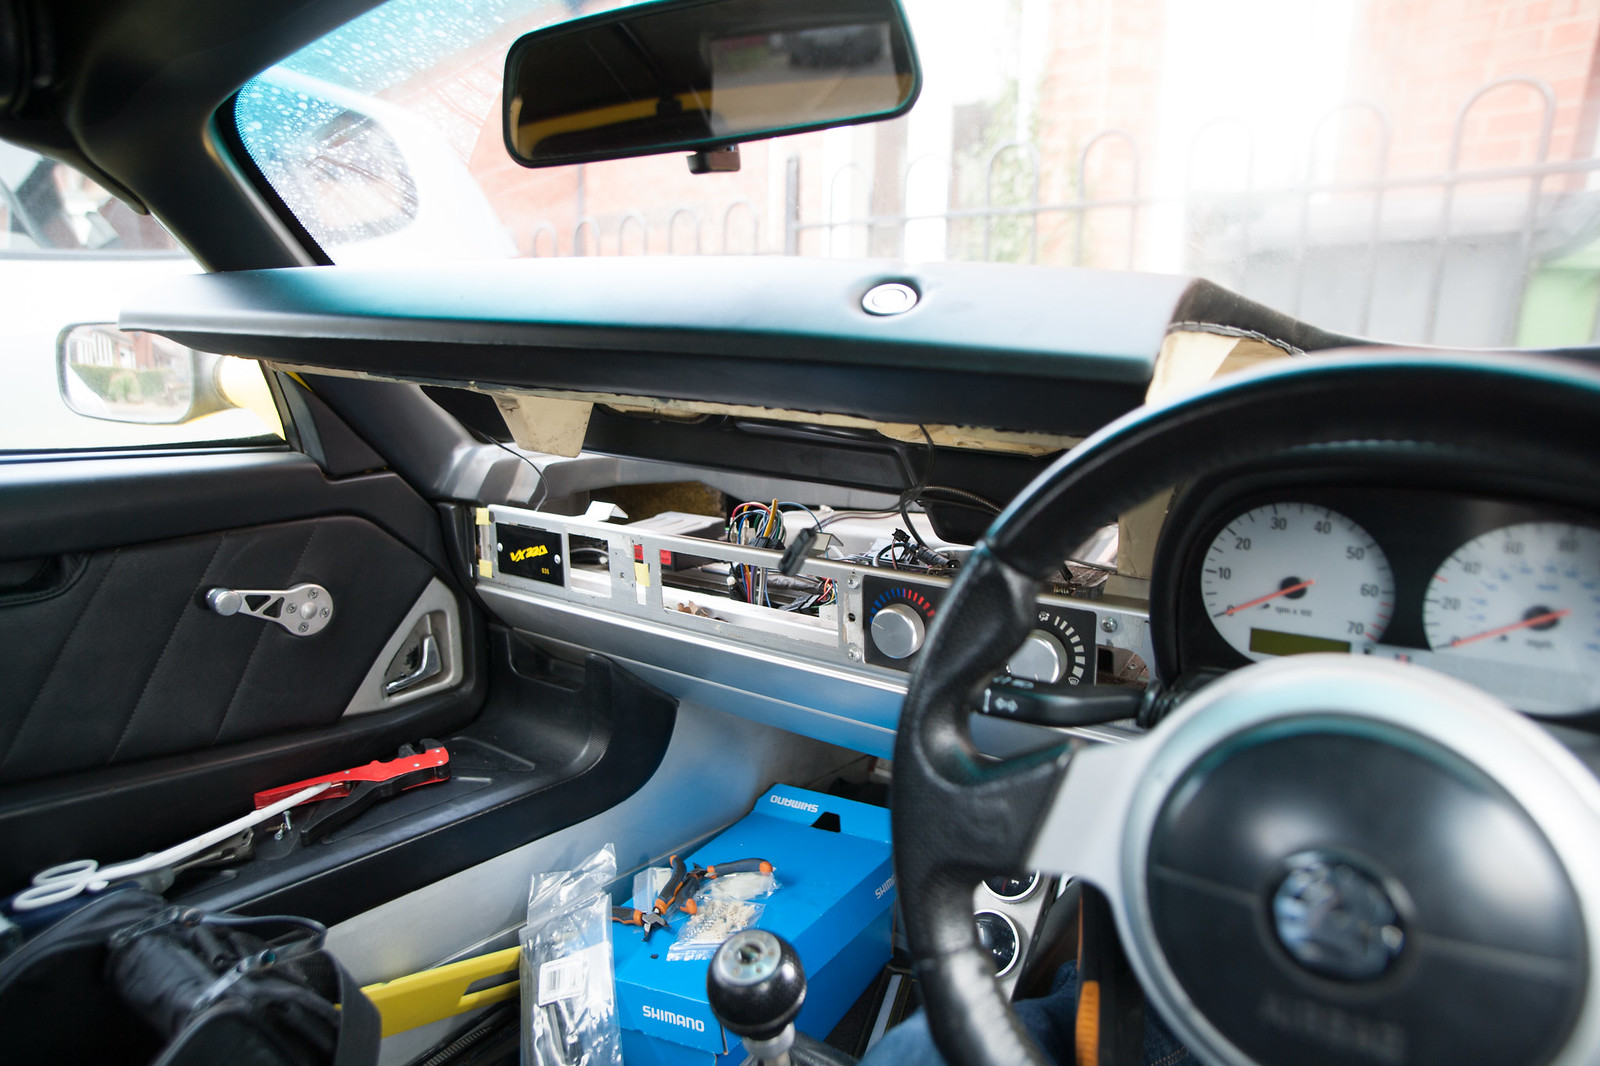
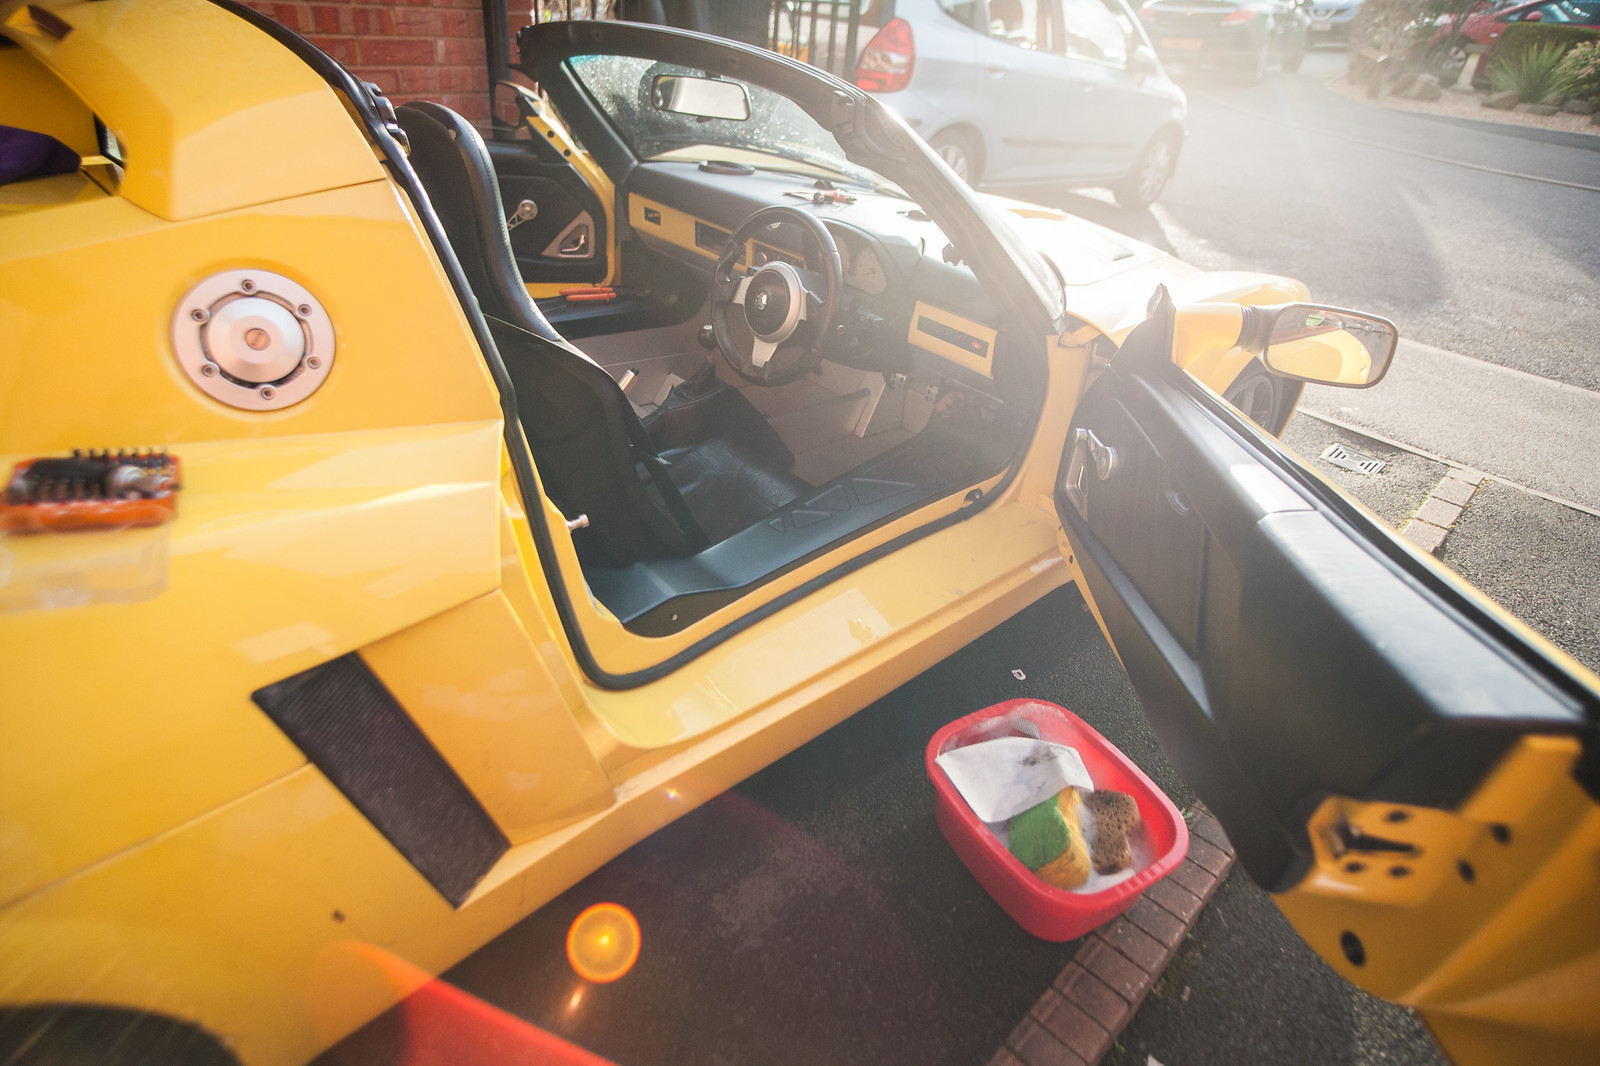
- Fix the wiring for the two extra gauges in the footwell
- Switch the bonnet opening handle that is hanging in there for a T-pull handle
- Put another radio in
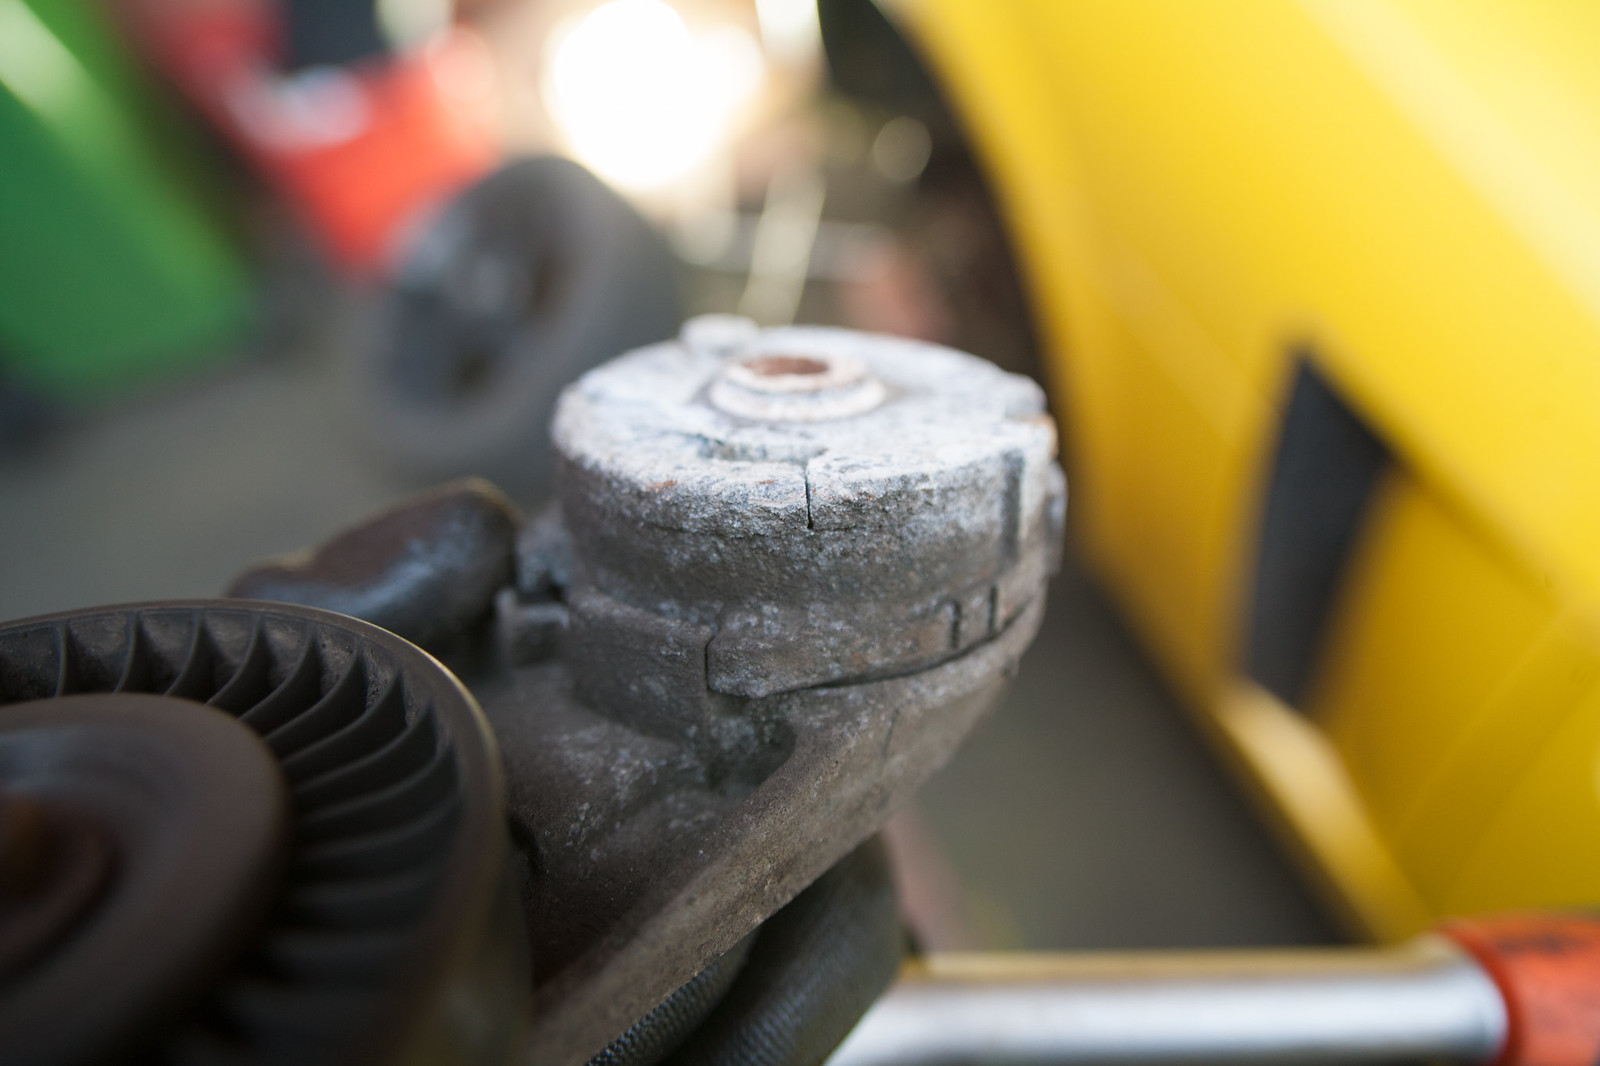
- Clean/overhaul the calipers
- Switch to braided stainless steel lines
- Clean/repair the intake grills
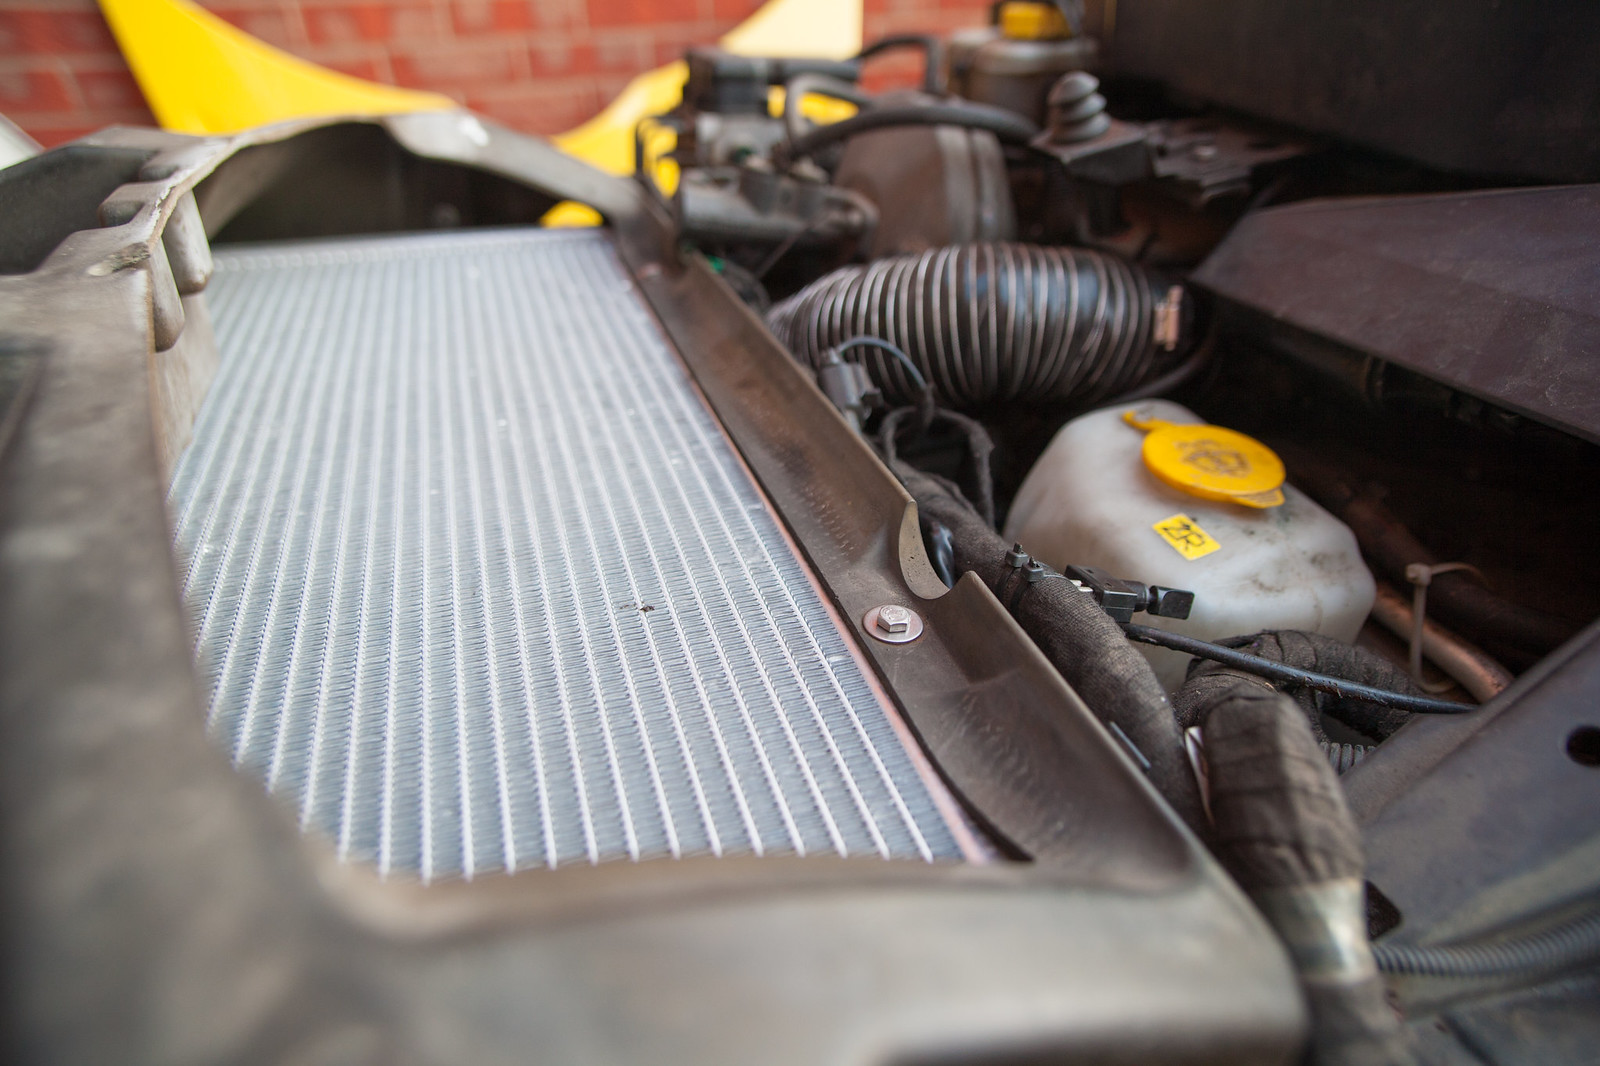
- Double up the radiator fan, change radiator for beefed up version
- Upgrade radiator elbow with bleeder valve for non-leaking silicone one
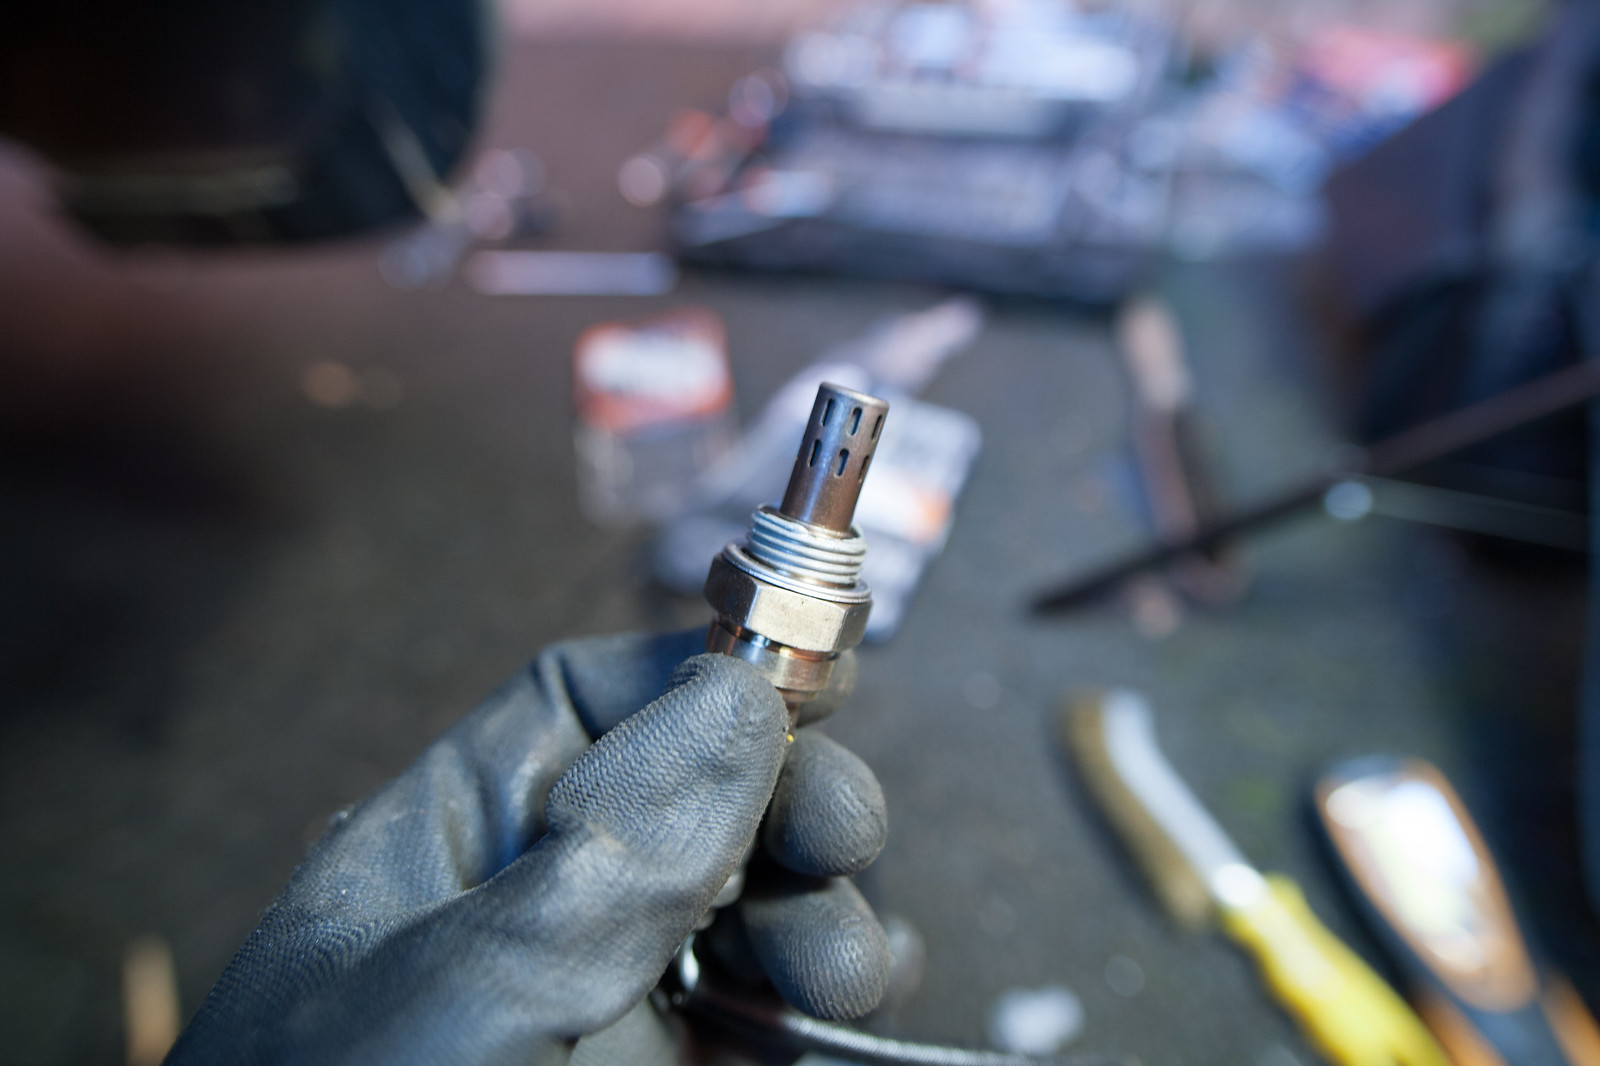
- Get that post-cat lambda sensor out and changed
- Figure out what is wrong with those rear wheel arches holding in there by the power of the driver's thought
- Switch the front lights for the upcoming Fez Xenon ones
- Possibly add an oil temperature gauge
- Relocate ODB plug to somewhere more sensible
- Have a beer
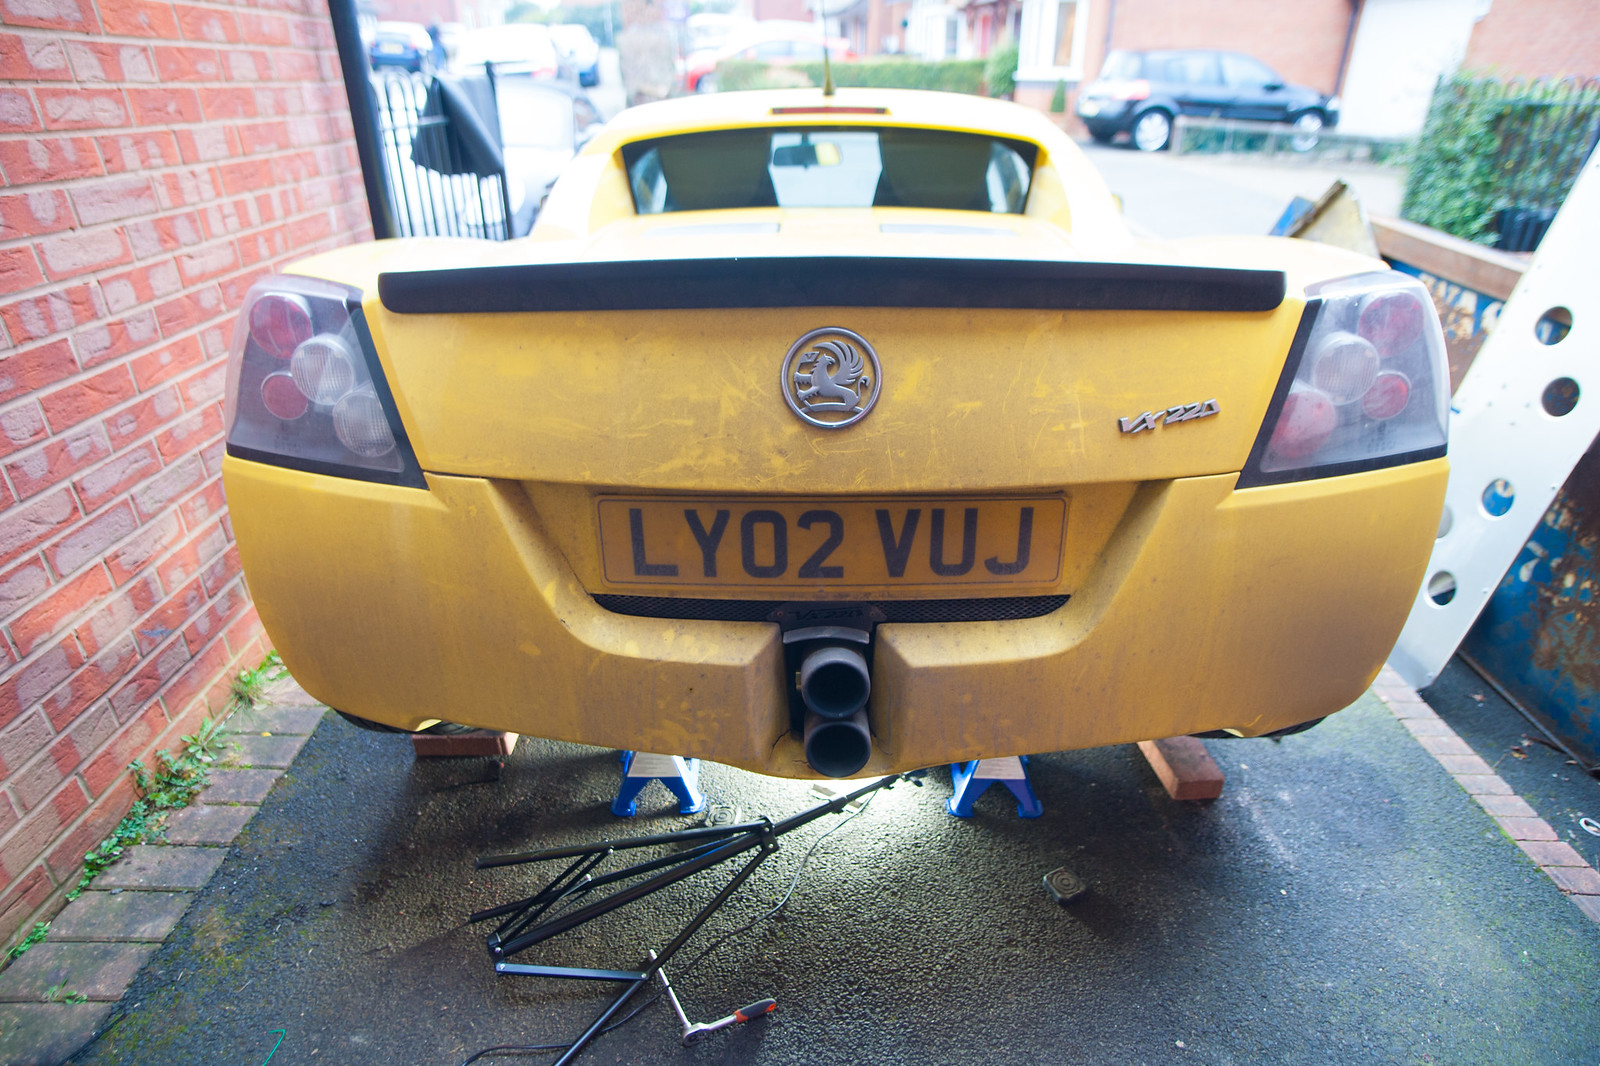
- Have a repaint to fix the faded passenger door
- Fix up some bits on the rear clam
Already done :
- Fixed up some of the under-dashboard electronics
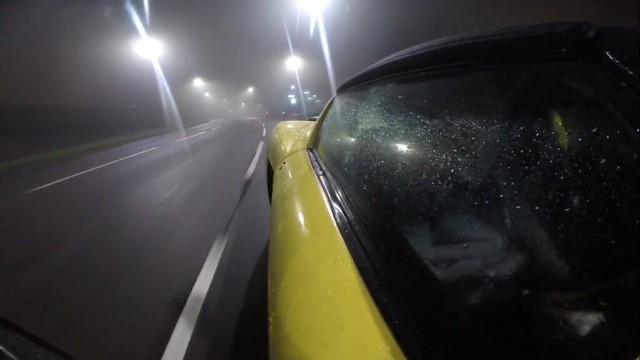
- Fixed air leaks on heating system, fog is an issue of the past
- Geometry fixed, as well as shimmy at 70mph+ (on closed roads  )
)
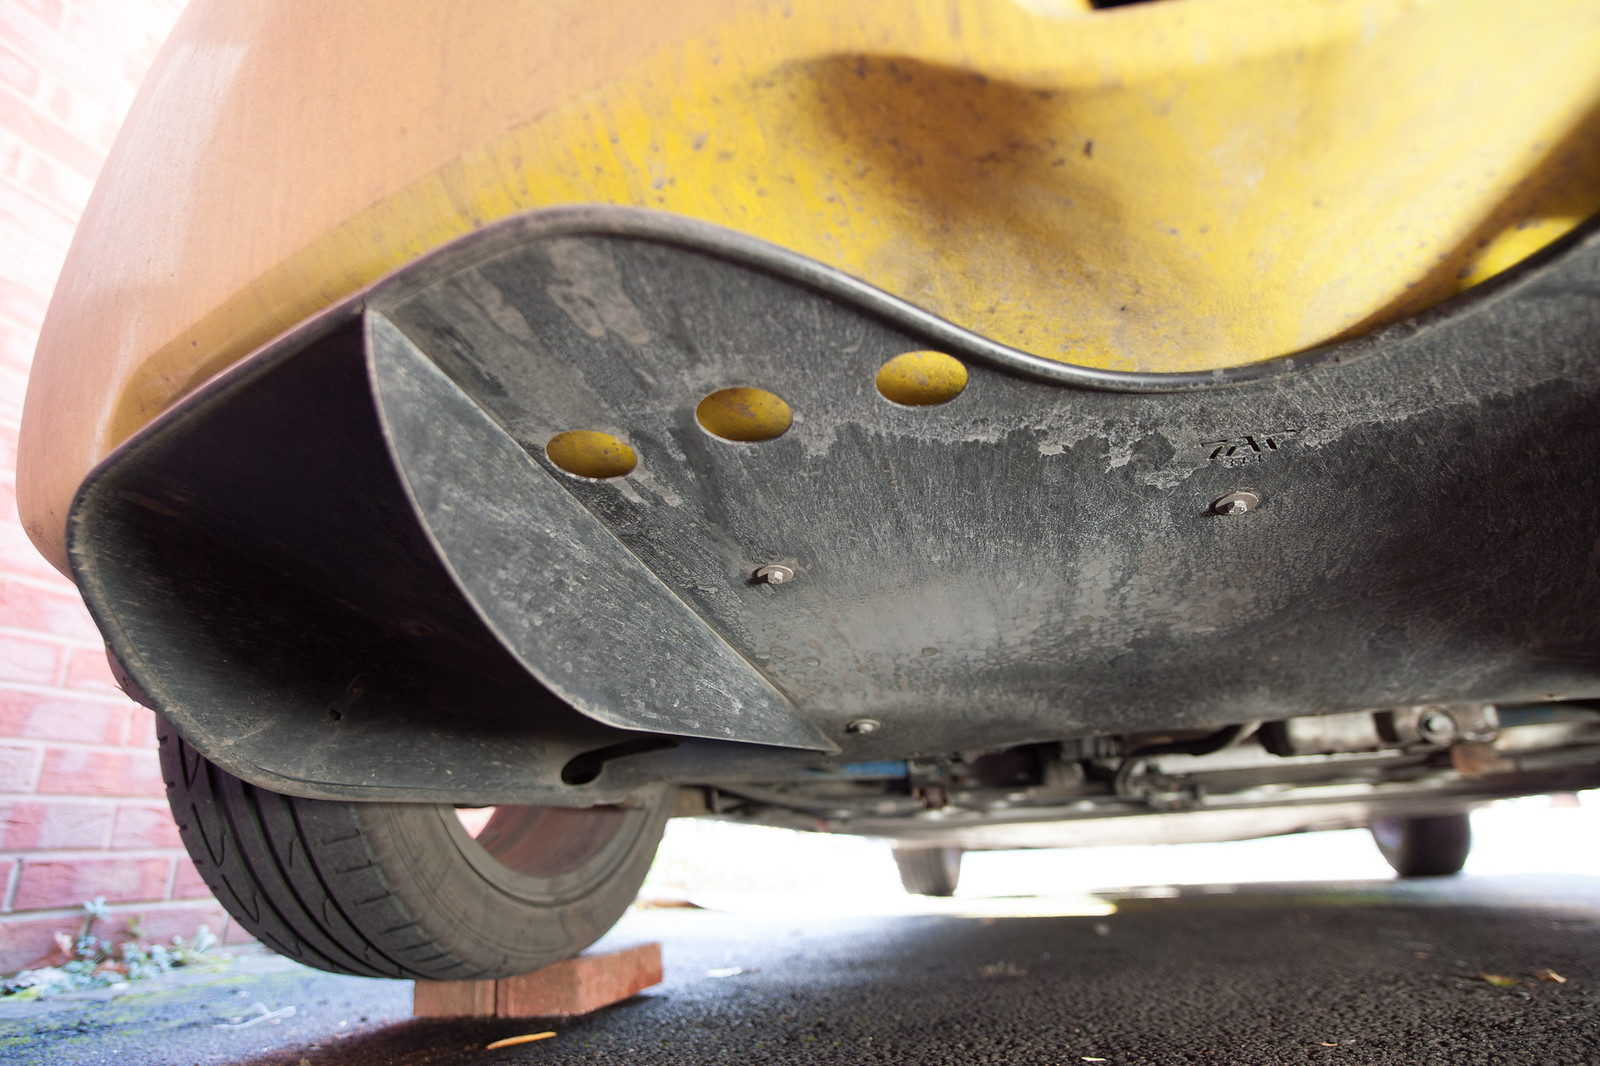
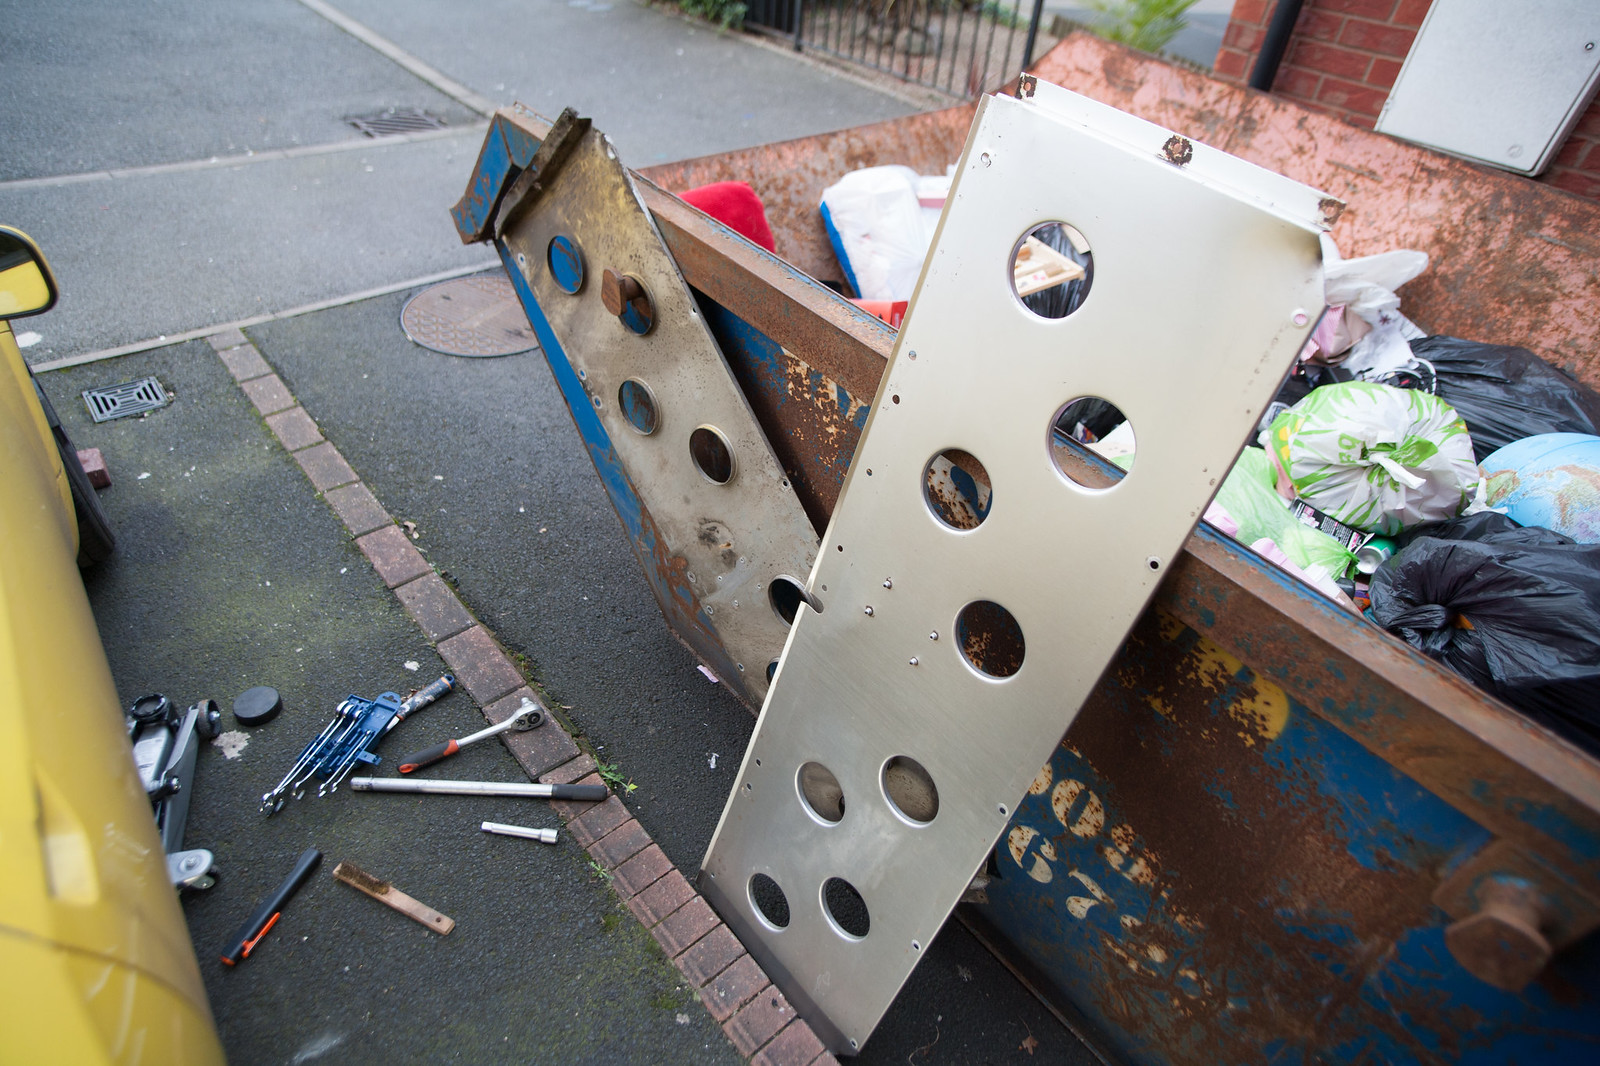
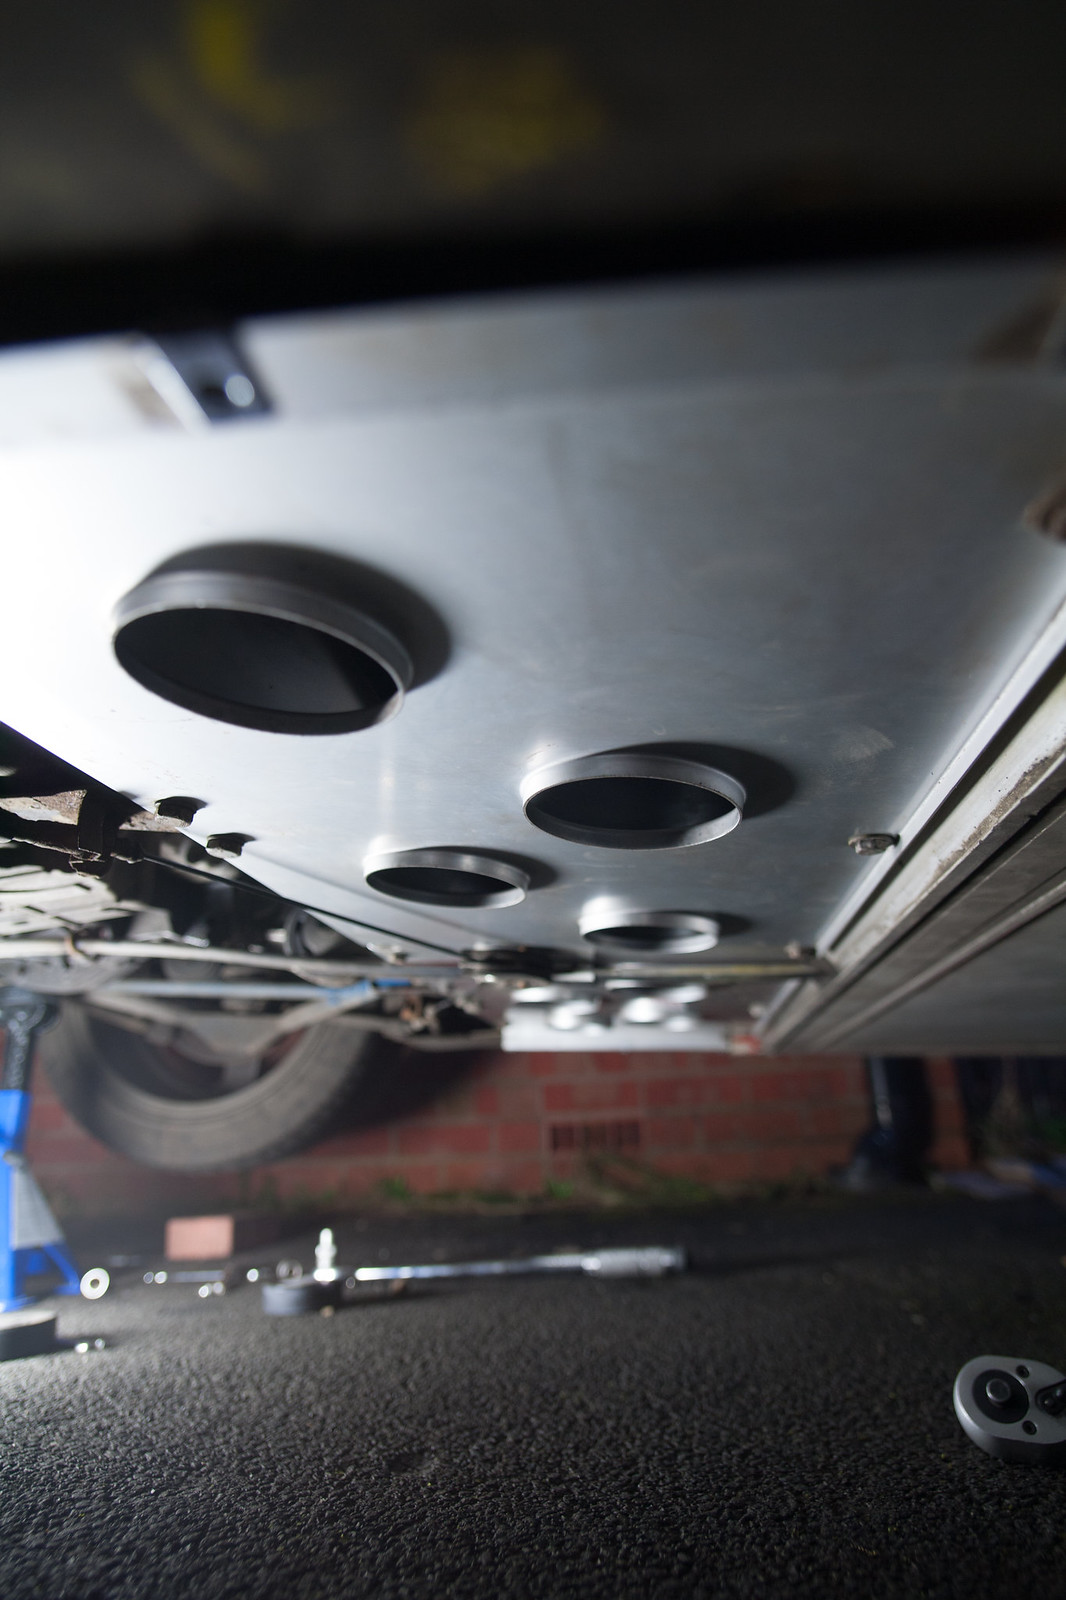
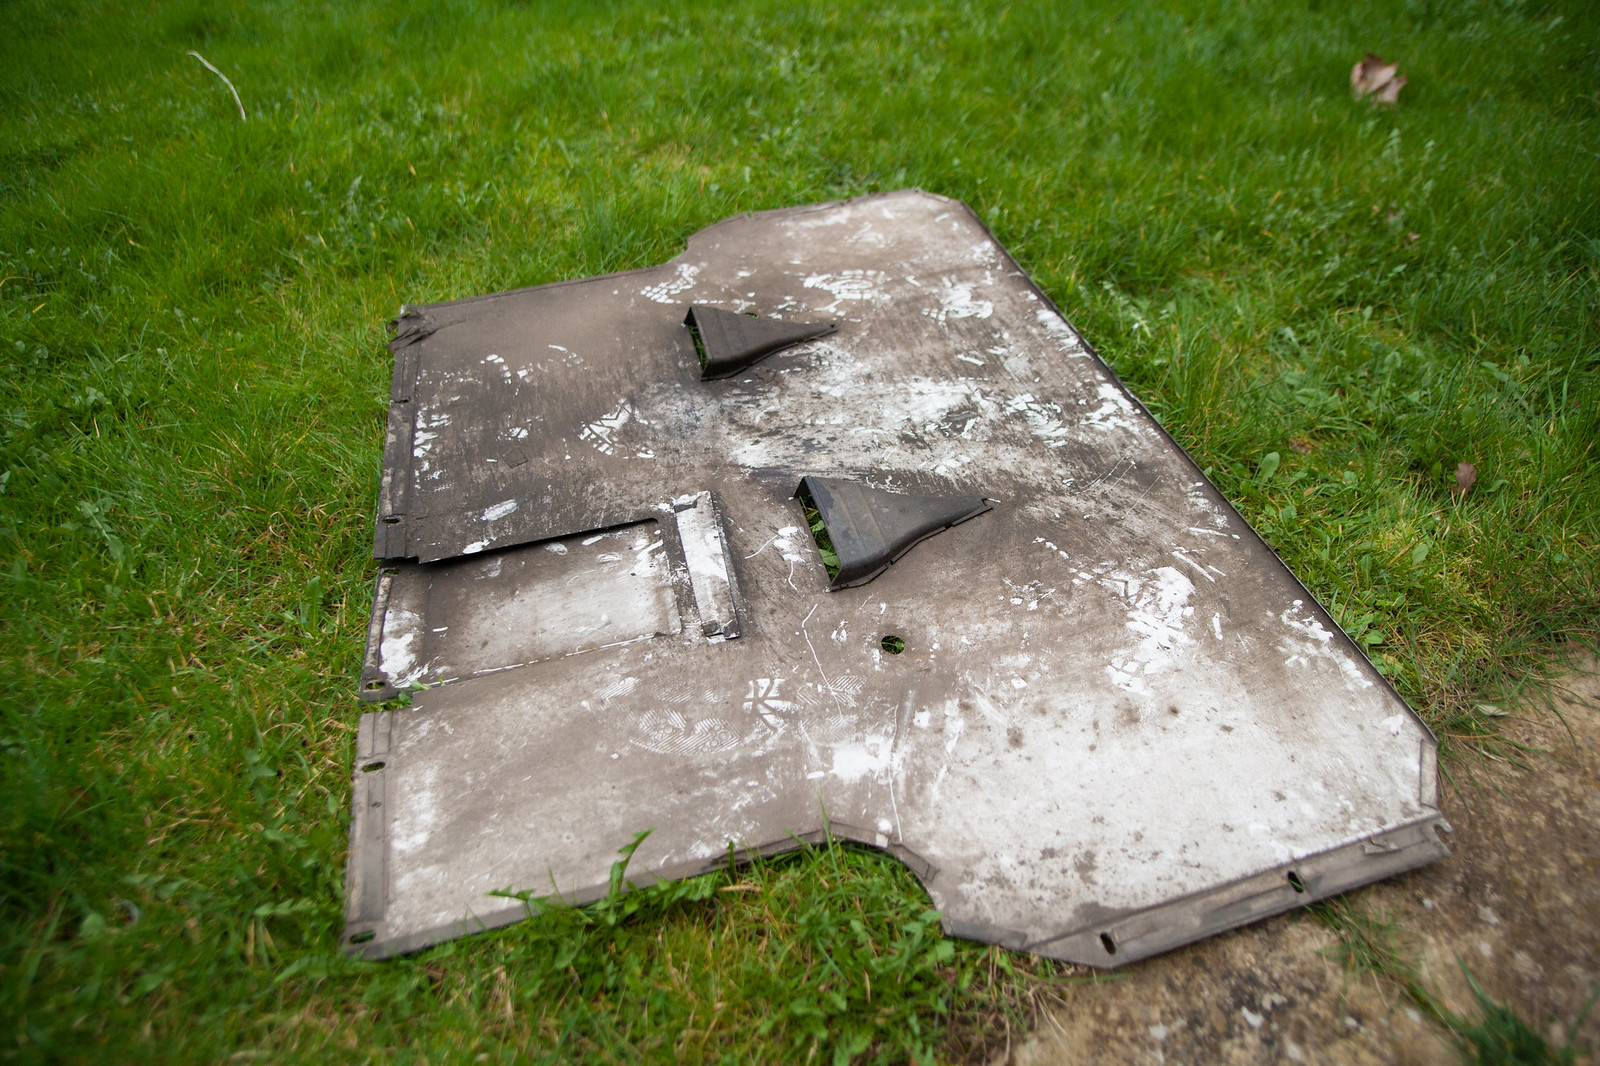
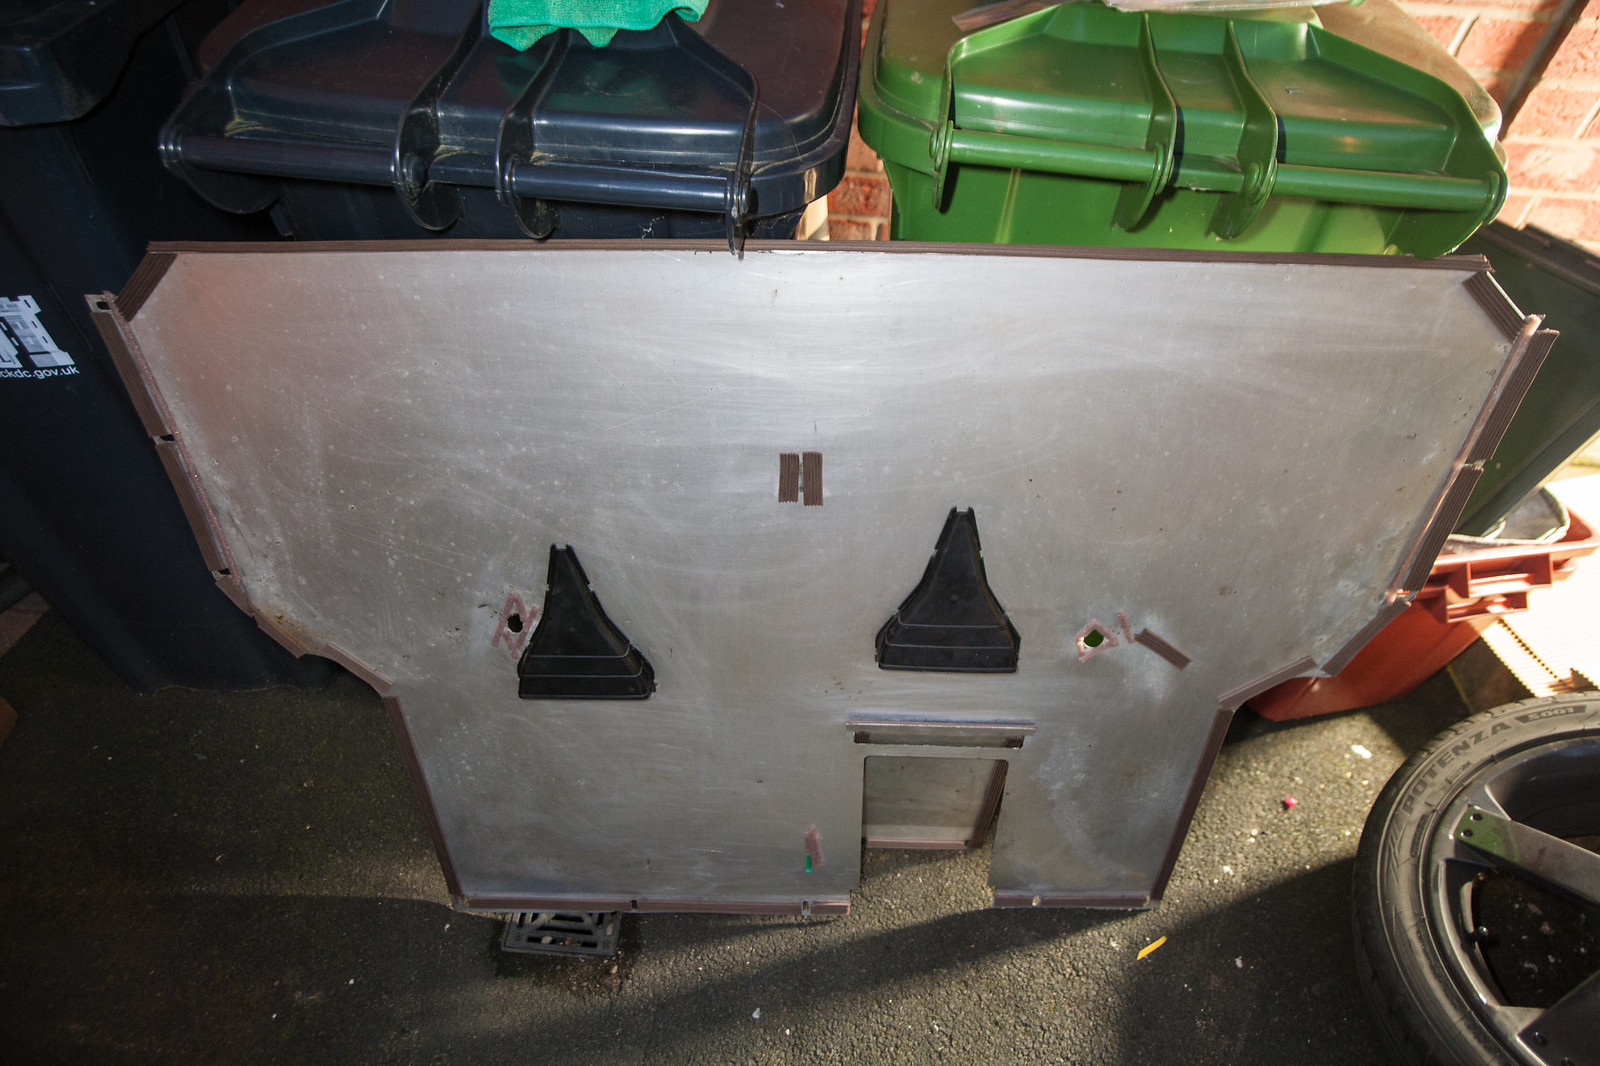
- New former diffuser back in place
Bonus points :
- Rid of all Bowden cables in front section, replace by Arduino-based actuator controller
- Make more compact heater
- Mount camera in front grill tow hook post
- Add more sensors for the Arduino "second" brains
- Add fan override "missile" plug
- Relocate ABS switch to cabin
- Shotblast and repaint all suspension bits that require it (i.e. probably everyone)
- Upgrade all fasteners to stainless steel
I figure this is going to keep me busy for the upcoming year worth of week-ends !