
Back for a second "photo-tutorial". Direct access to the pictures is HERE.
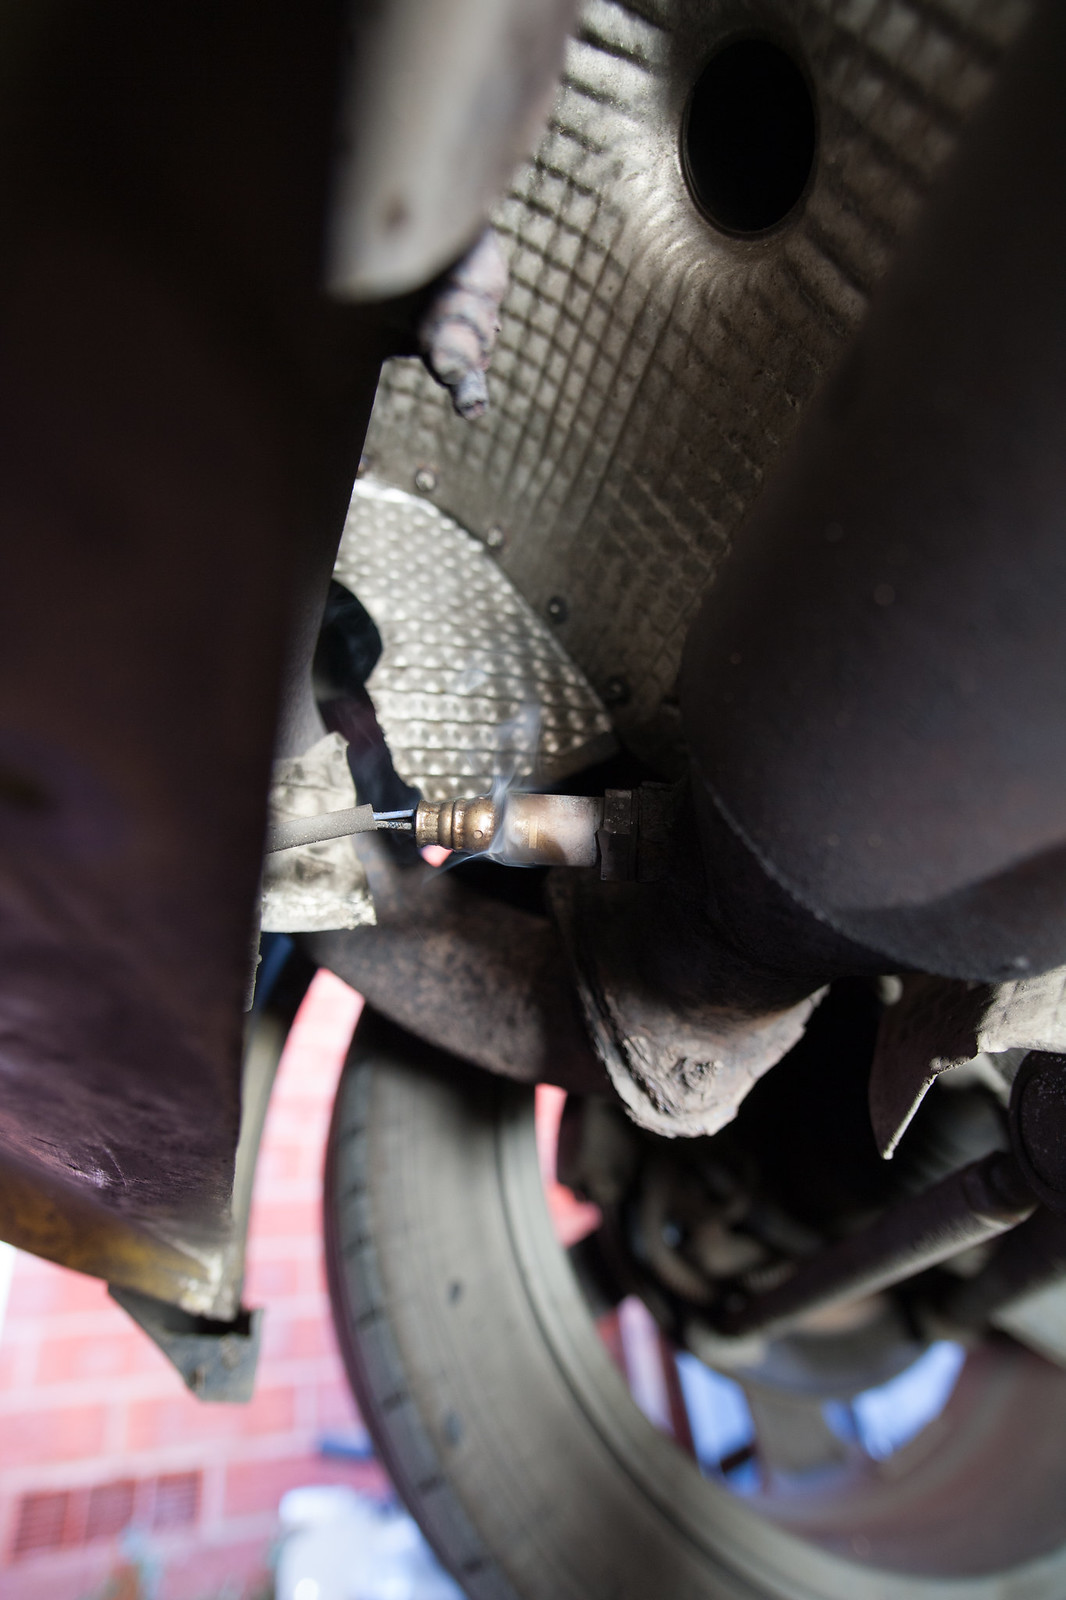
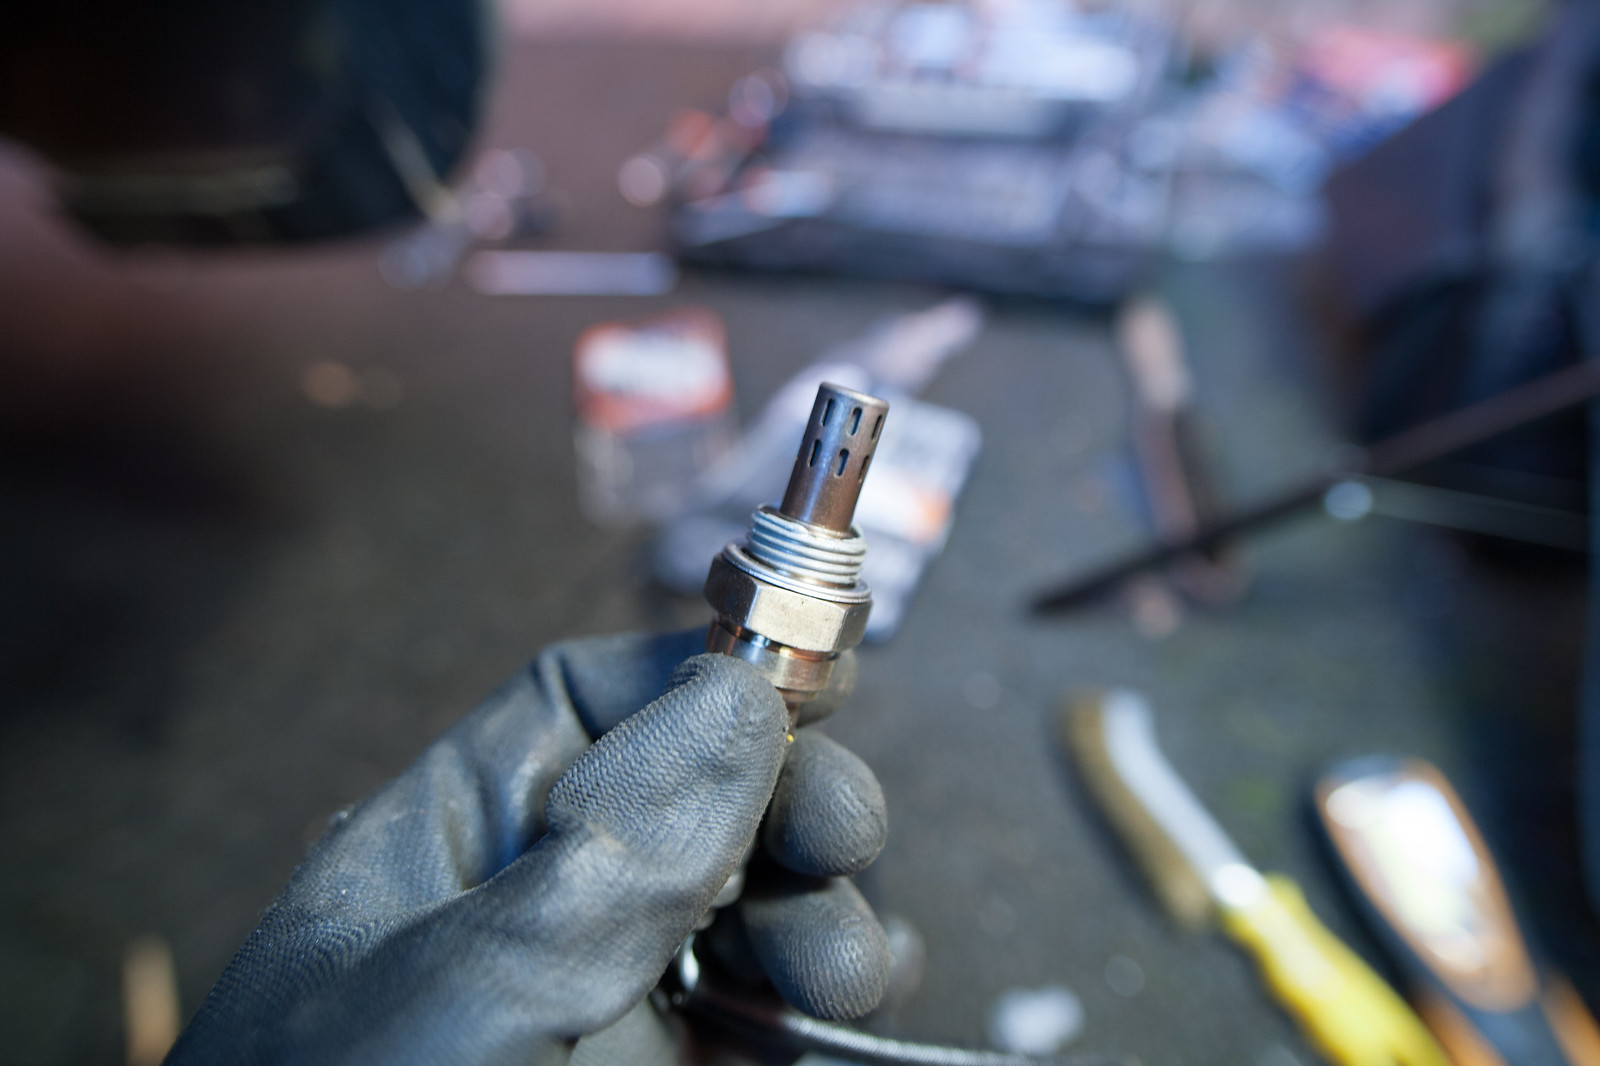
LY36 started developing intermittent lambda sensor issues a while back. Every 60-80ish miles I would get a micro-interruption of the postcat lambda sensor that would trigger a MIL on the dashboard. I tried linking this to either vibrations, humidity, potholes, or something. I couldn't find any other cause than a faulty sensor or wiring.
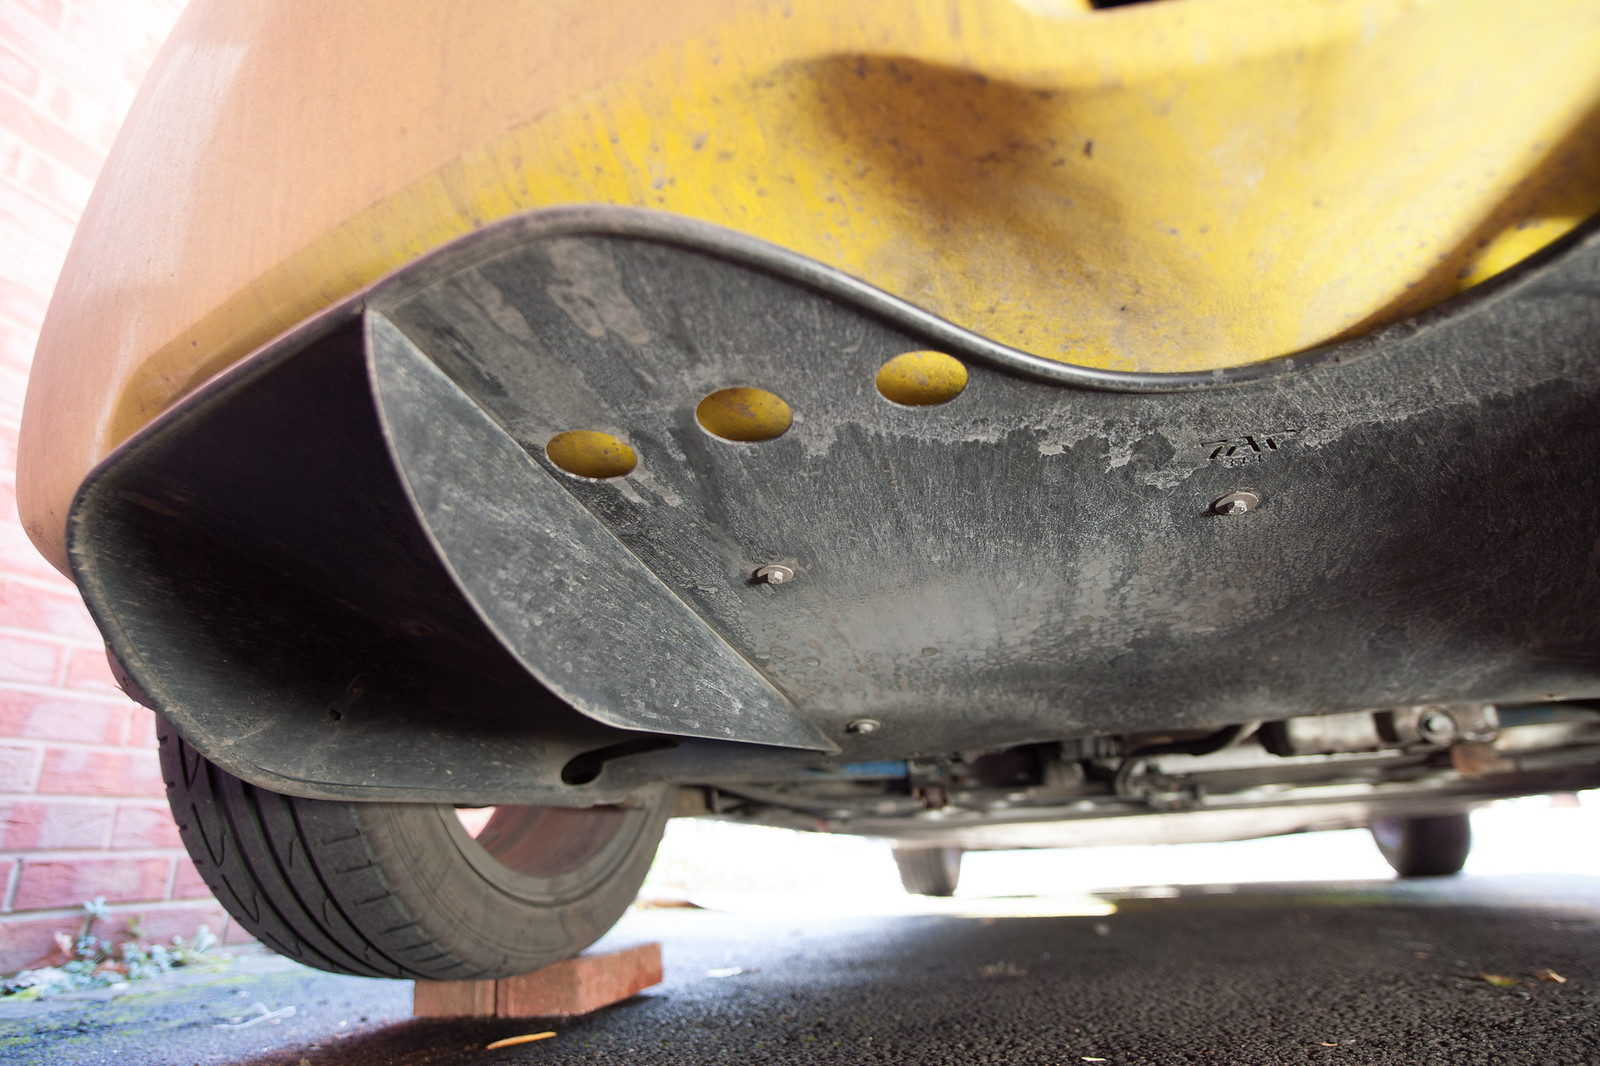
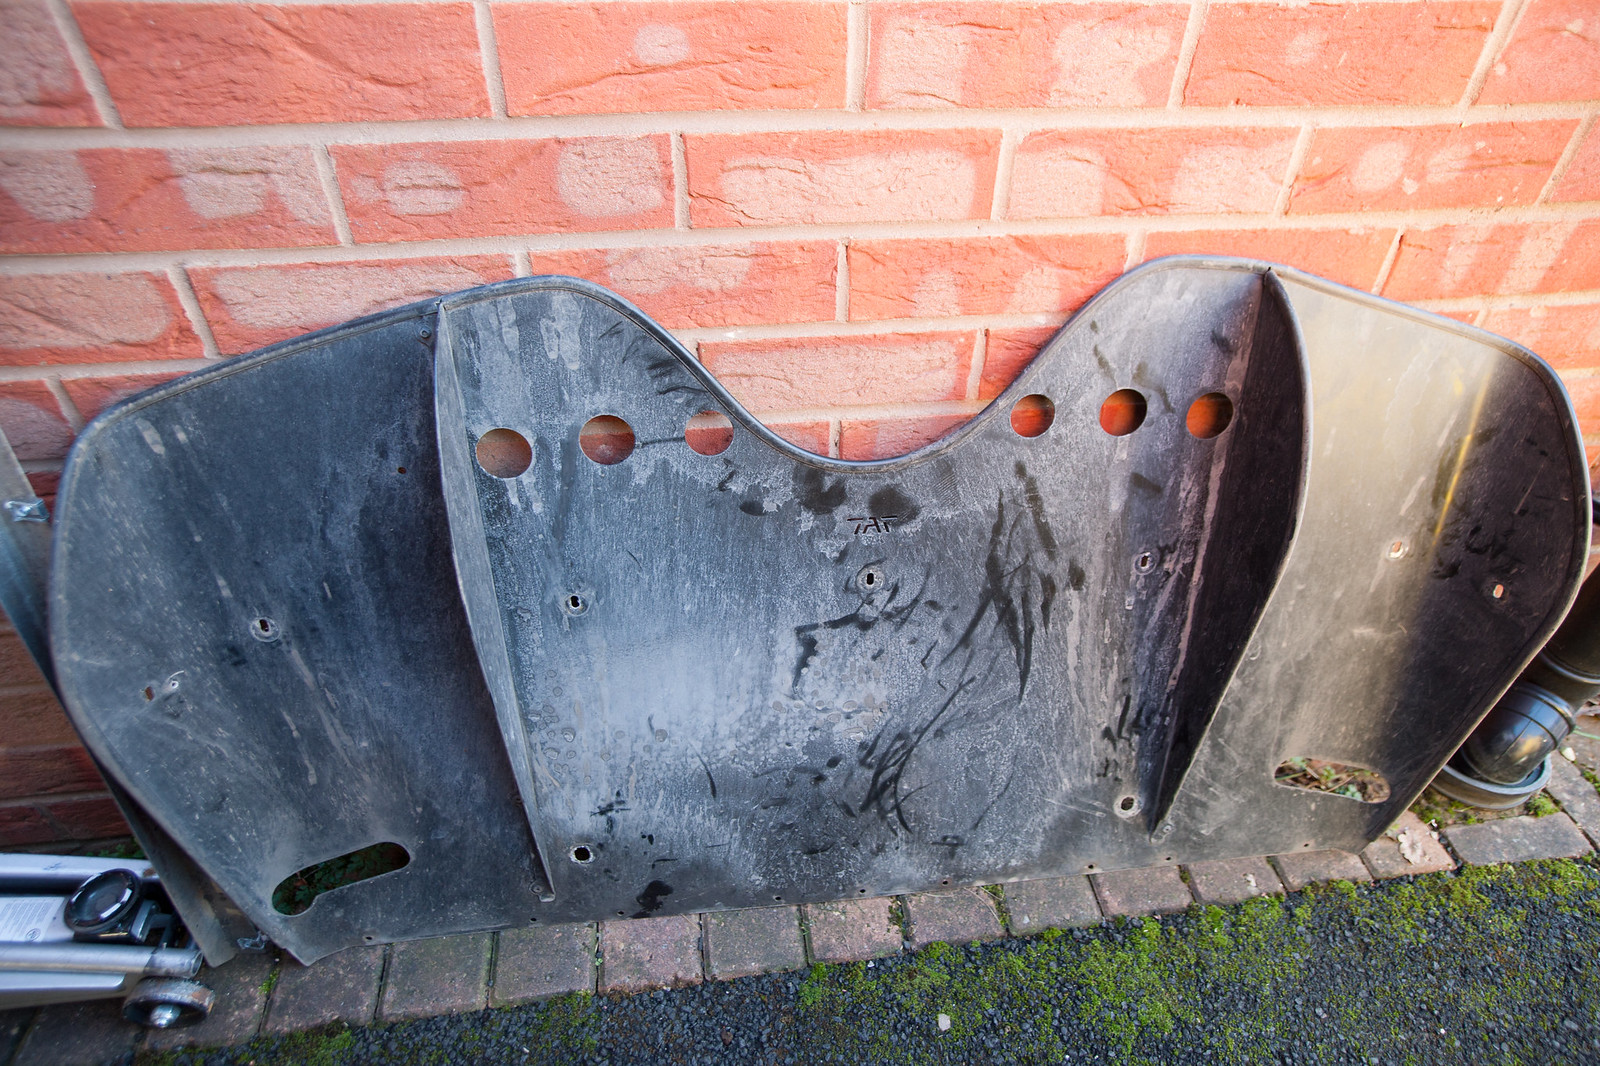
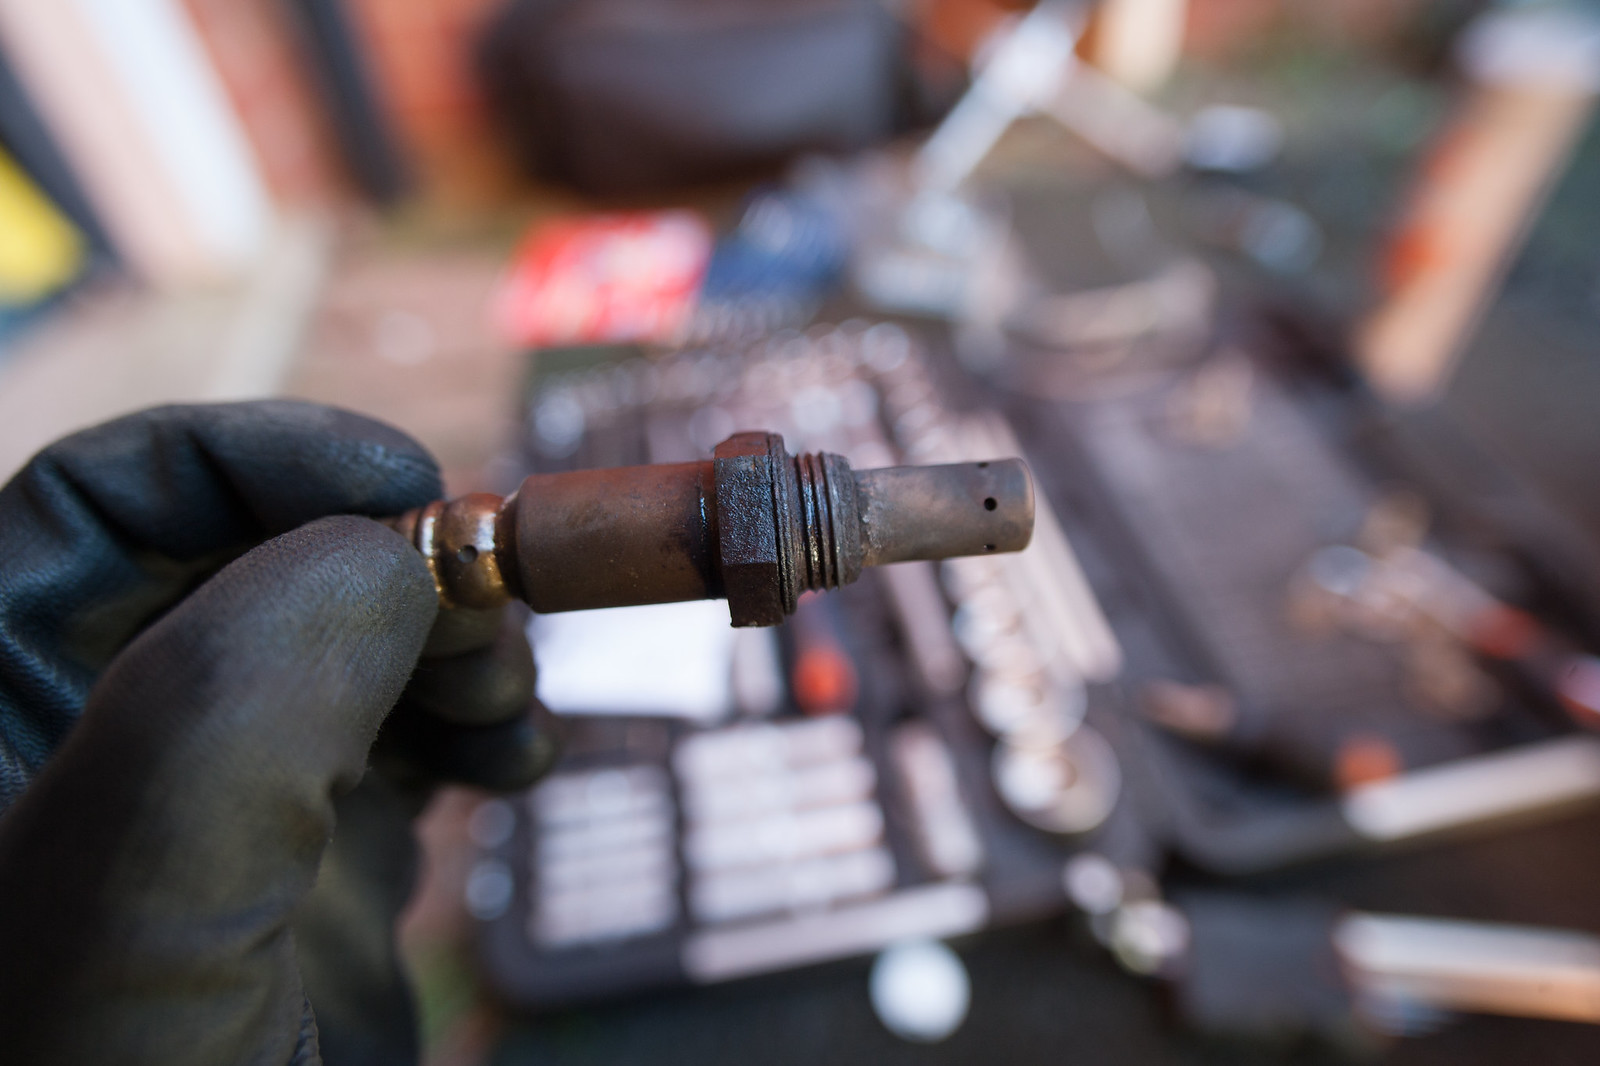
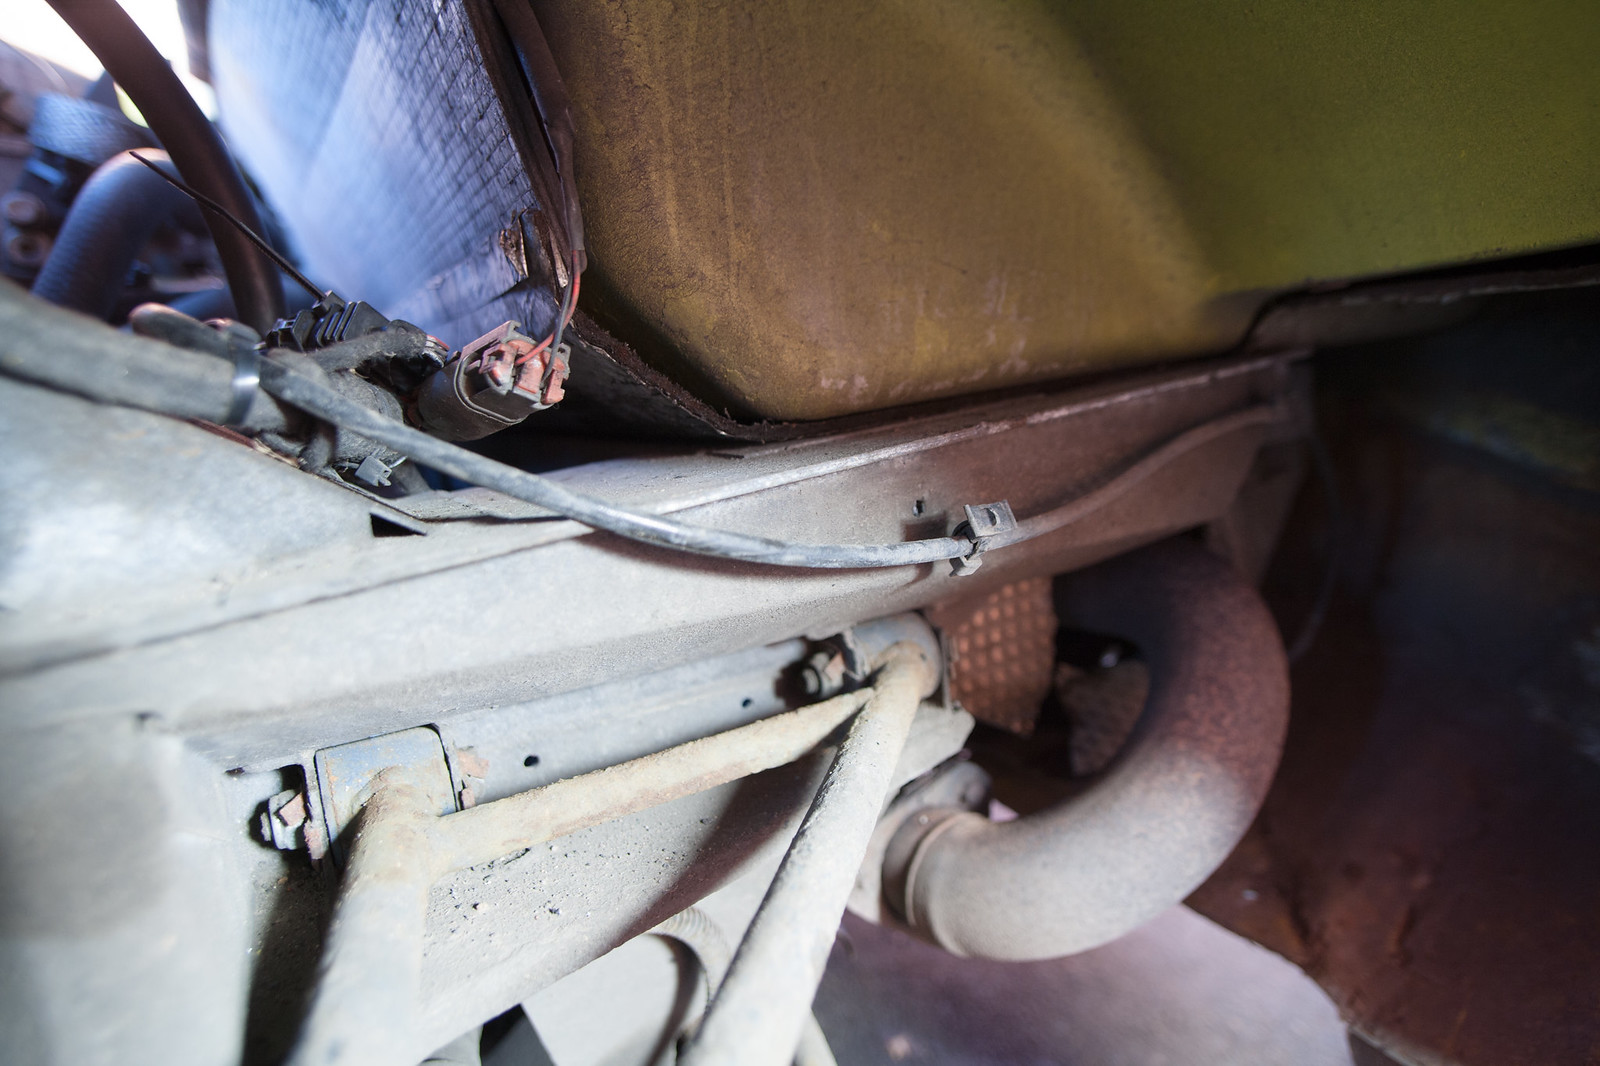
Upon switching the diffuser for a TAT one, I saw that the lambda wires looked tatty, so I decided to change the postcat sensor and see how it goes from there. You can find the postcat sensor for £20-25 easily, be careful to not be mistaken with the pre-cat sensor. Part number is 9201421 , or item 7 on here.
The procedure to change the lambda sensor is not exceptional on the VX compared to other cars, but things can start to go sideways if - like me and so many before me - that pesky little dude has decided to be stuck.
HEALTH AND SAFETY WARNING - You will be working upside down, possibly partially under the car. By all means :
- Wear gloves, you may be late on your tetanos vaccination
- When jacking the car up, either do not work underneath or do not leave the car on the jack. USE AXLE STANDS IF YOU NEED TO GO DOWN ON HER.
- Wear protective eyewear, even if you then look like a dork like me. ESPECIALLY IF YOU HAVE TO USE A BUTANE TORCH
- IF USING A TORCH, have a friend or roommate not very far in case things go awry. Fire extinguishers get you extra points.
- BEER GOGGLES DO NOT QUALIFY AS PROTECTIVE EYEWEAR
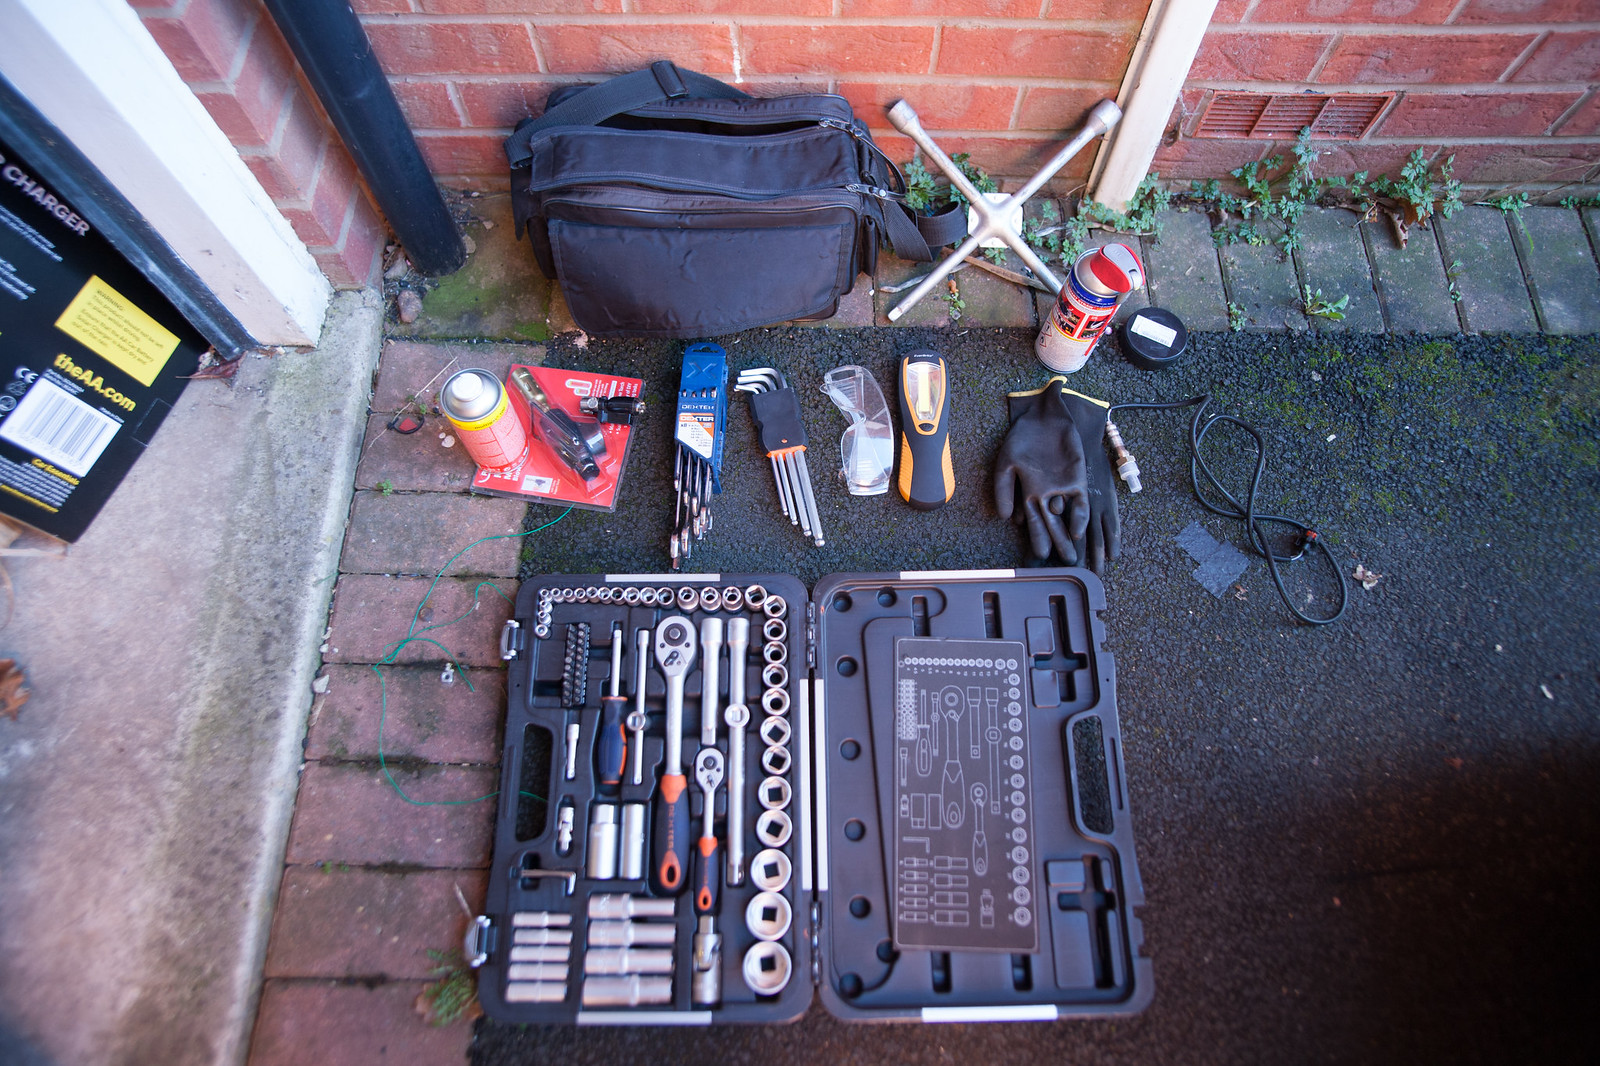
Step 1 : Prepping the tools
In addition to all the PPE I mentioned in the part in bold up there, here is an outline of the tools you may need to undertake this task :
- A 22mm spanner, possibly a flared one
- A breaker bar
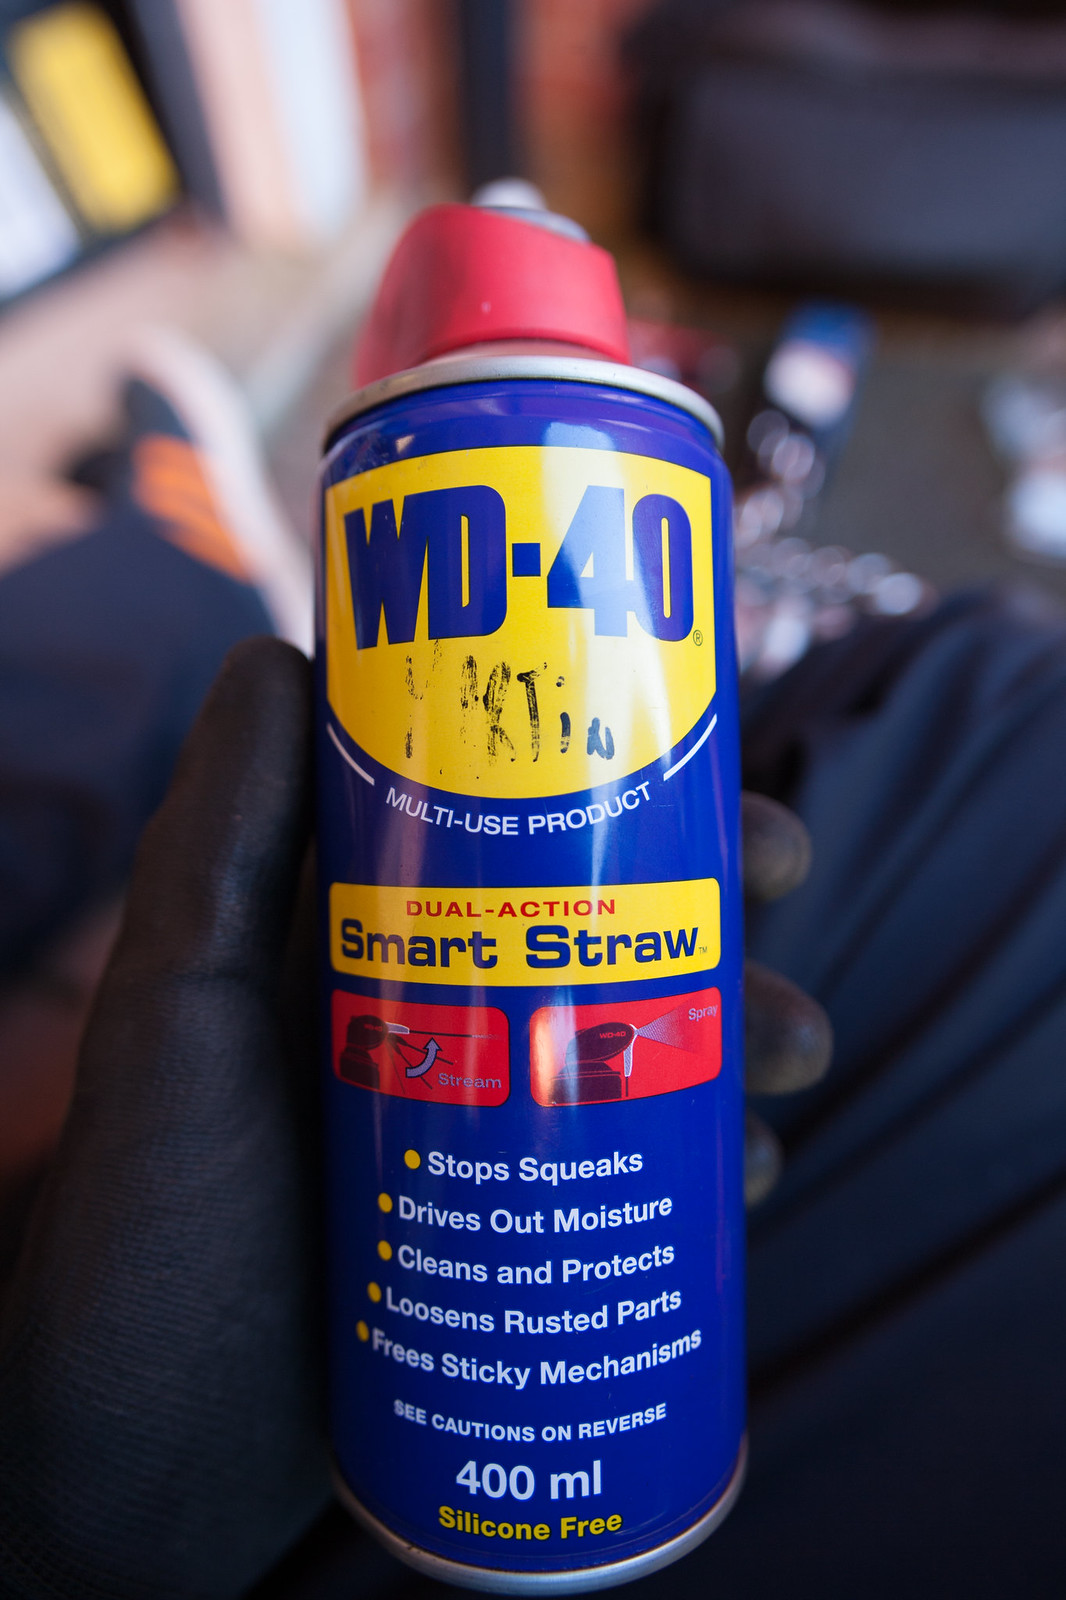
- WD40 or PB Blaster
- An 8mm spanner or socket
- A cruciform screwdriver
- Allen keys
- Zip ties
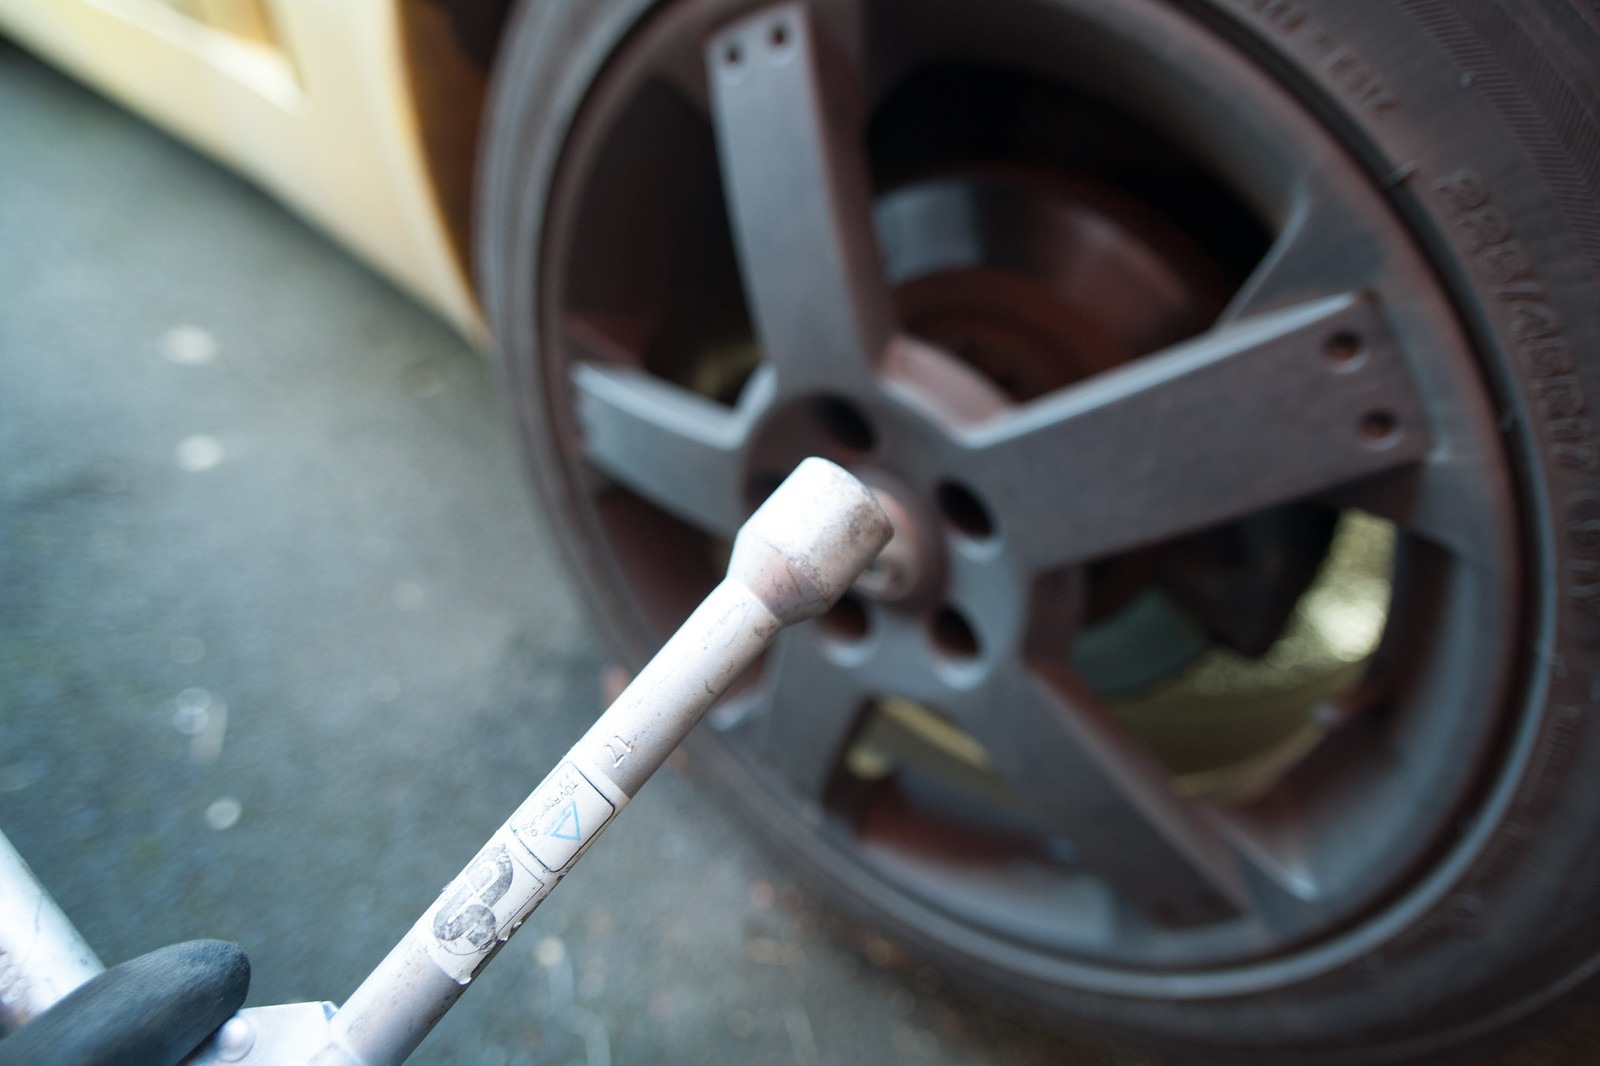
- A wheel nut remover
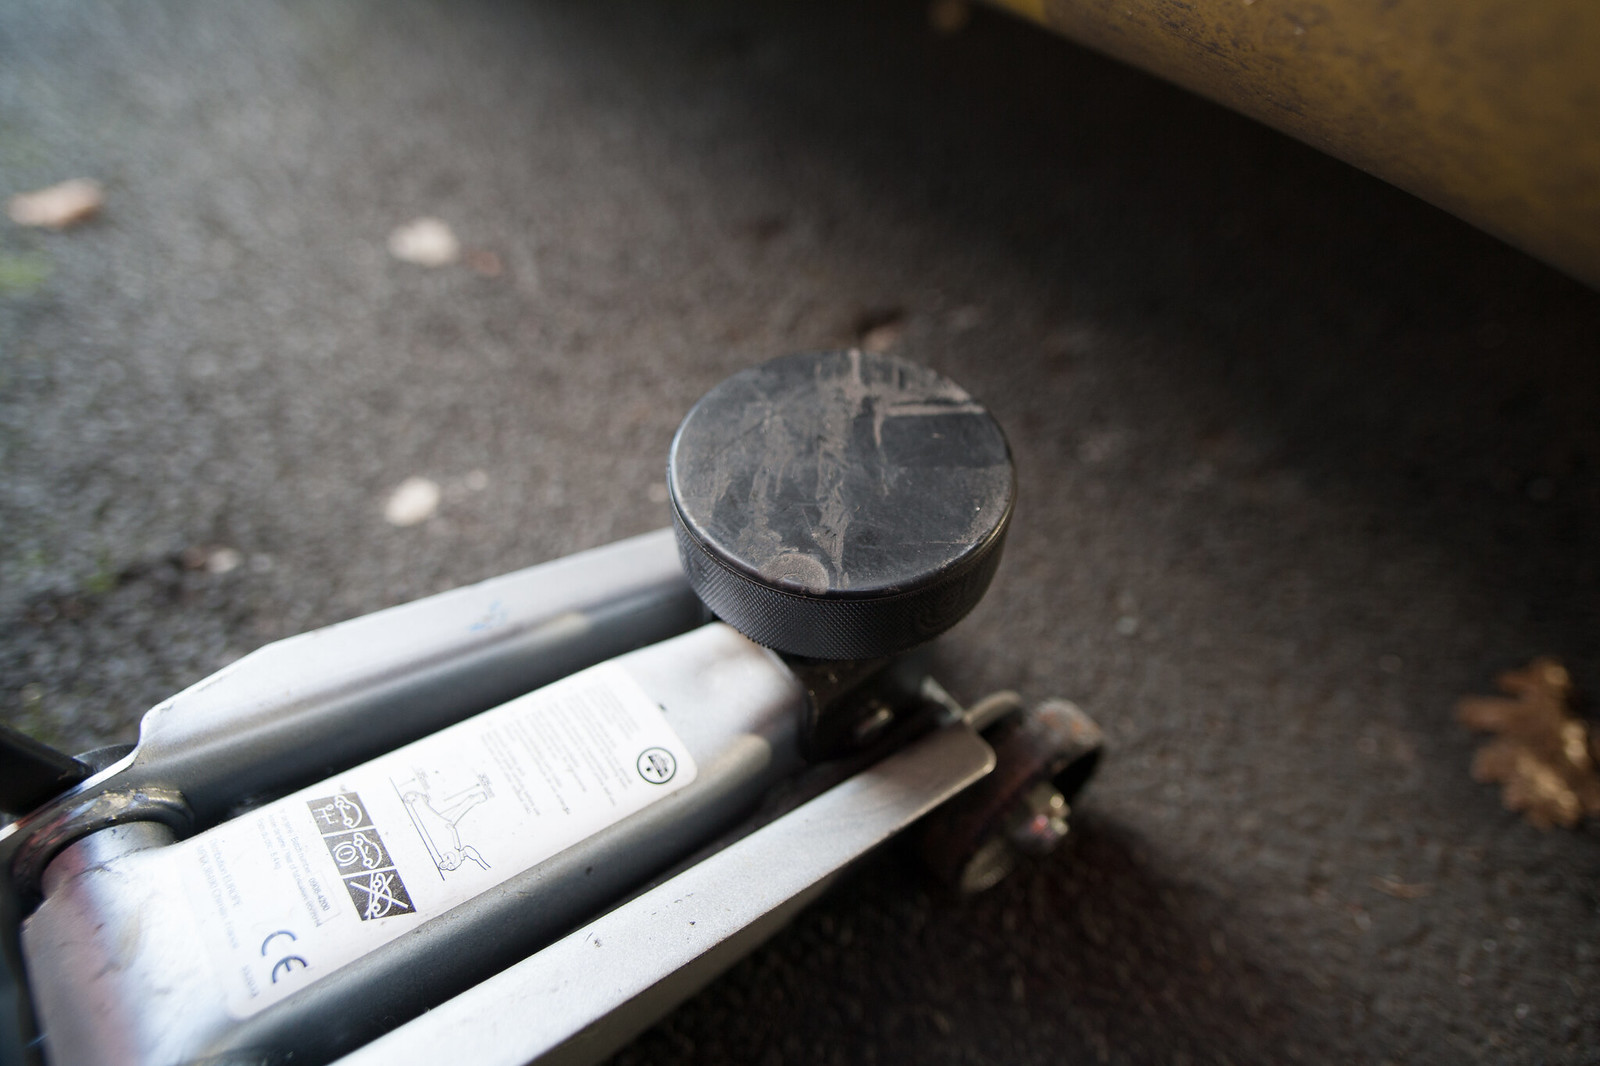
- A jack (and a hockey puck in my case)
- A replacement lambda sensor
- A wire cutter
- A butane or butane/propane torch in case the sensor is REALLY stuck
- A small hammer
This should cover most of your needs for this operation.
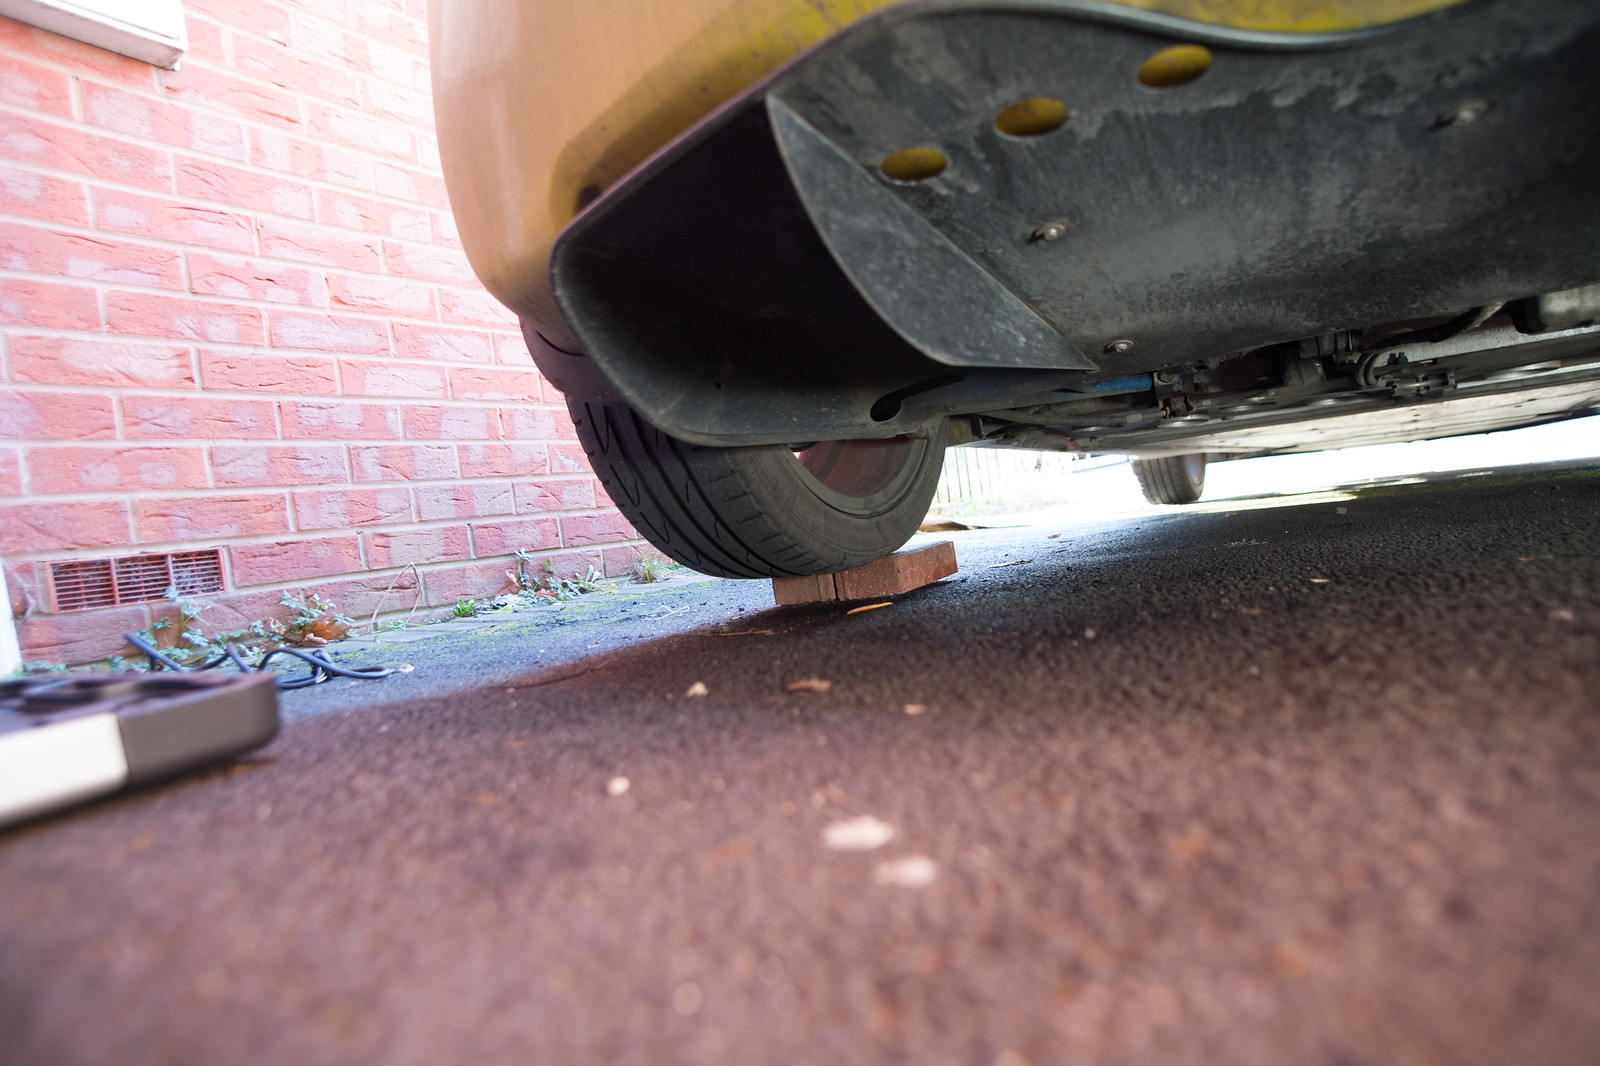
Step 2 : positioning your VX
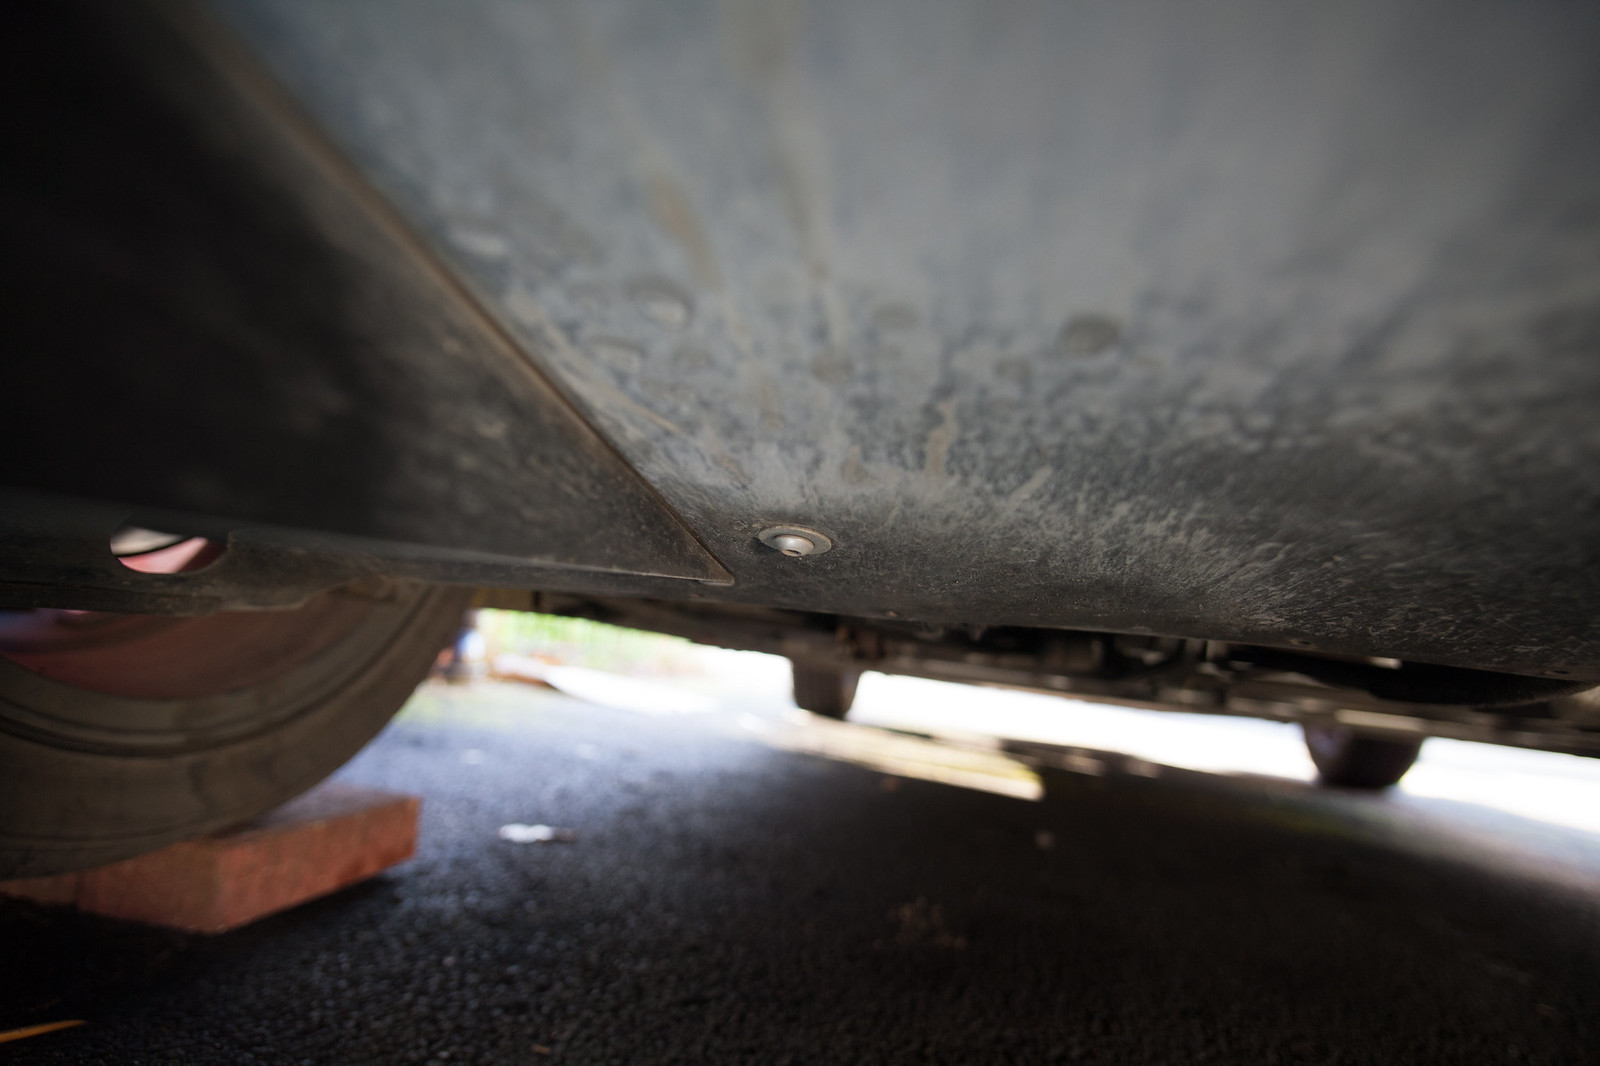
This step is very personal... I like to first balance the rear wheels on two pairs of brick. It allows me to slide my standard height jack in an easier manner with the hockey puck on top, and also it lets me have easier access to the diffuser's screws without actually removing the wheels/jacking up the car.
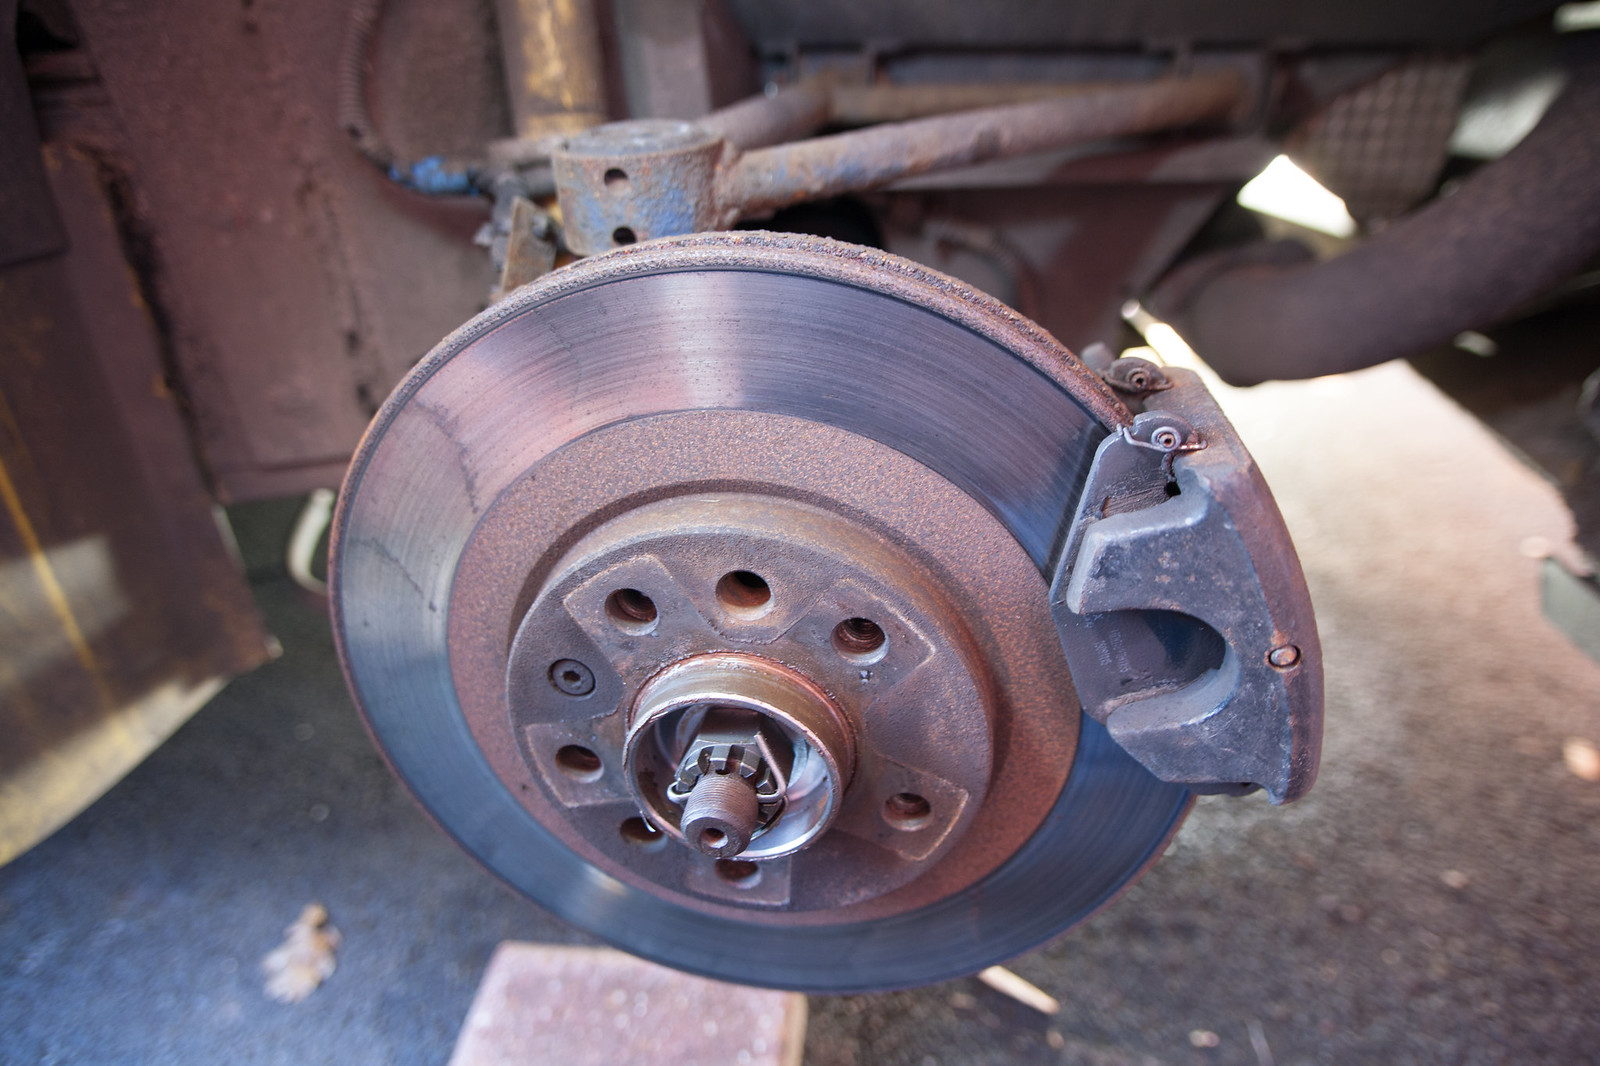
With crazy fingers you could do everything without removing the N/S/R wheel and wheel arch... but I don't have crazy finger.