Jump to content


Photo

Rear Clam Removal Photo Guide

rear clam removal photo guide tutorial

  • Please log in to reply
36 replies to this topic

#1 martinroger

martinroger

    Super Member

  • PipPip
  • 459 posts
  • Gender:Male
  • Location:Munich

Posted 28 May 2017 - 02:08 PM

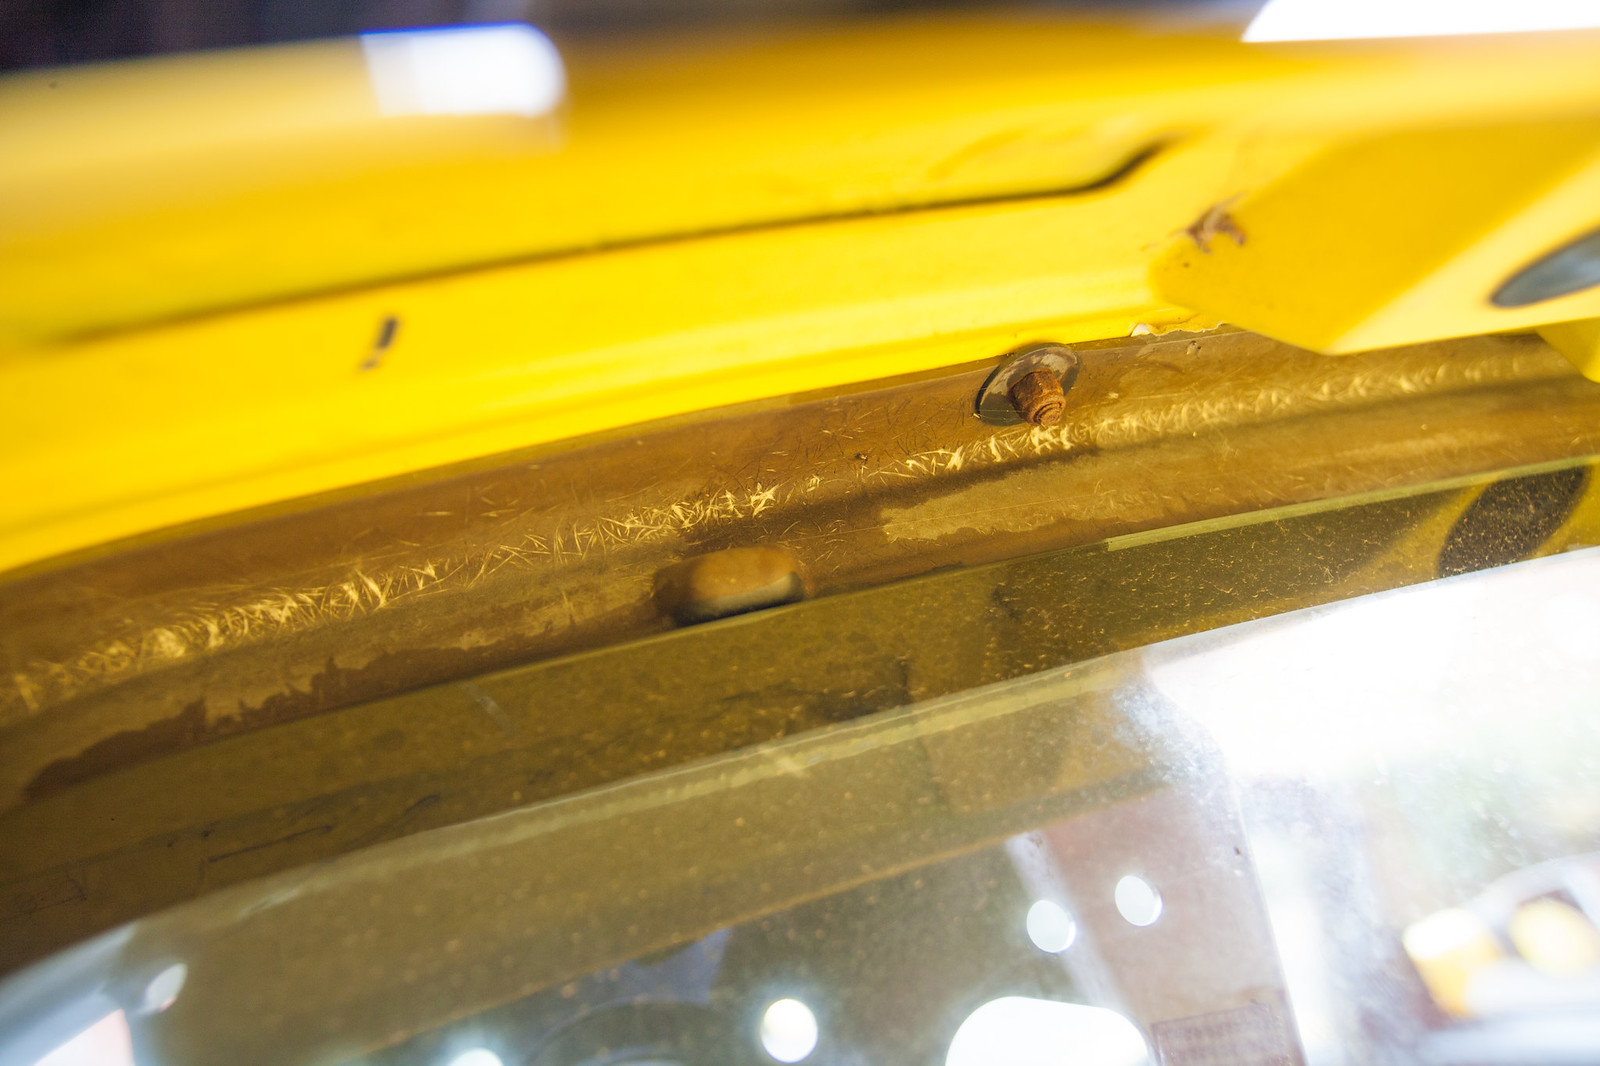
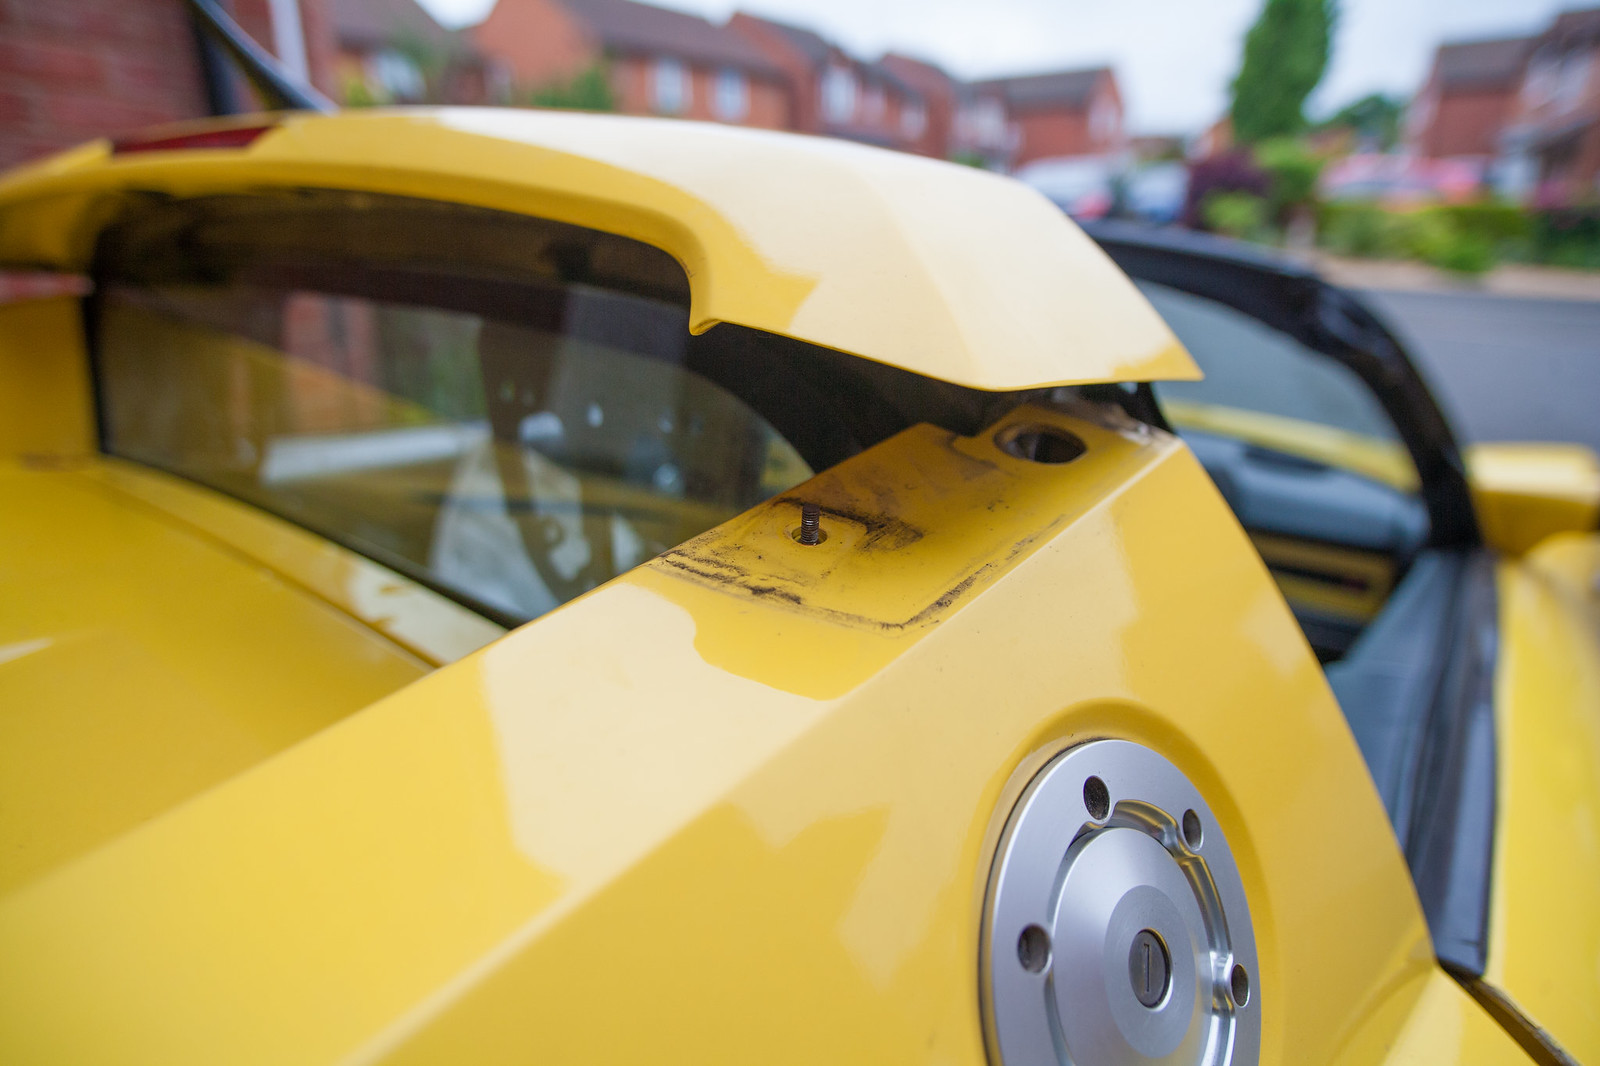
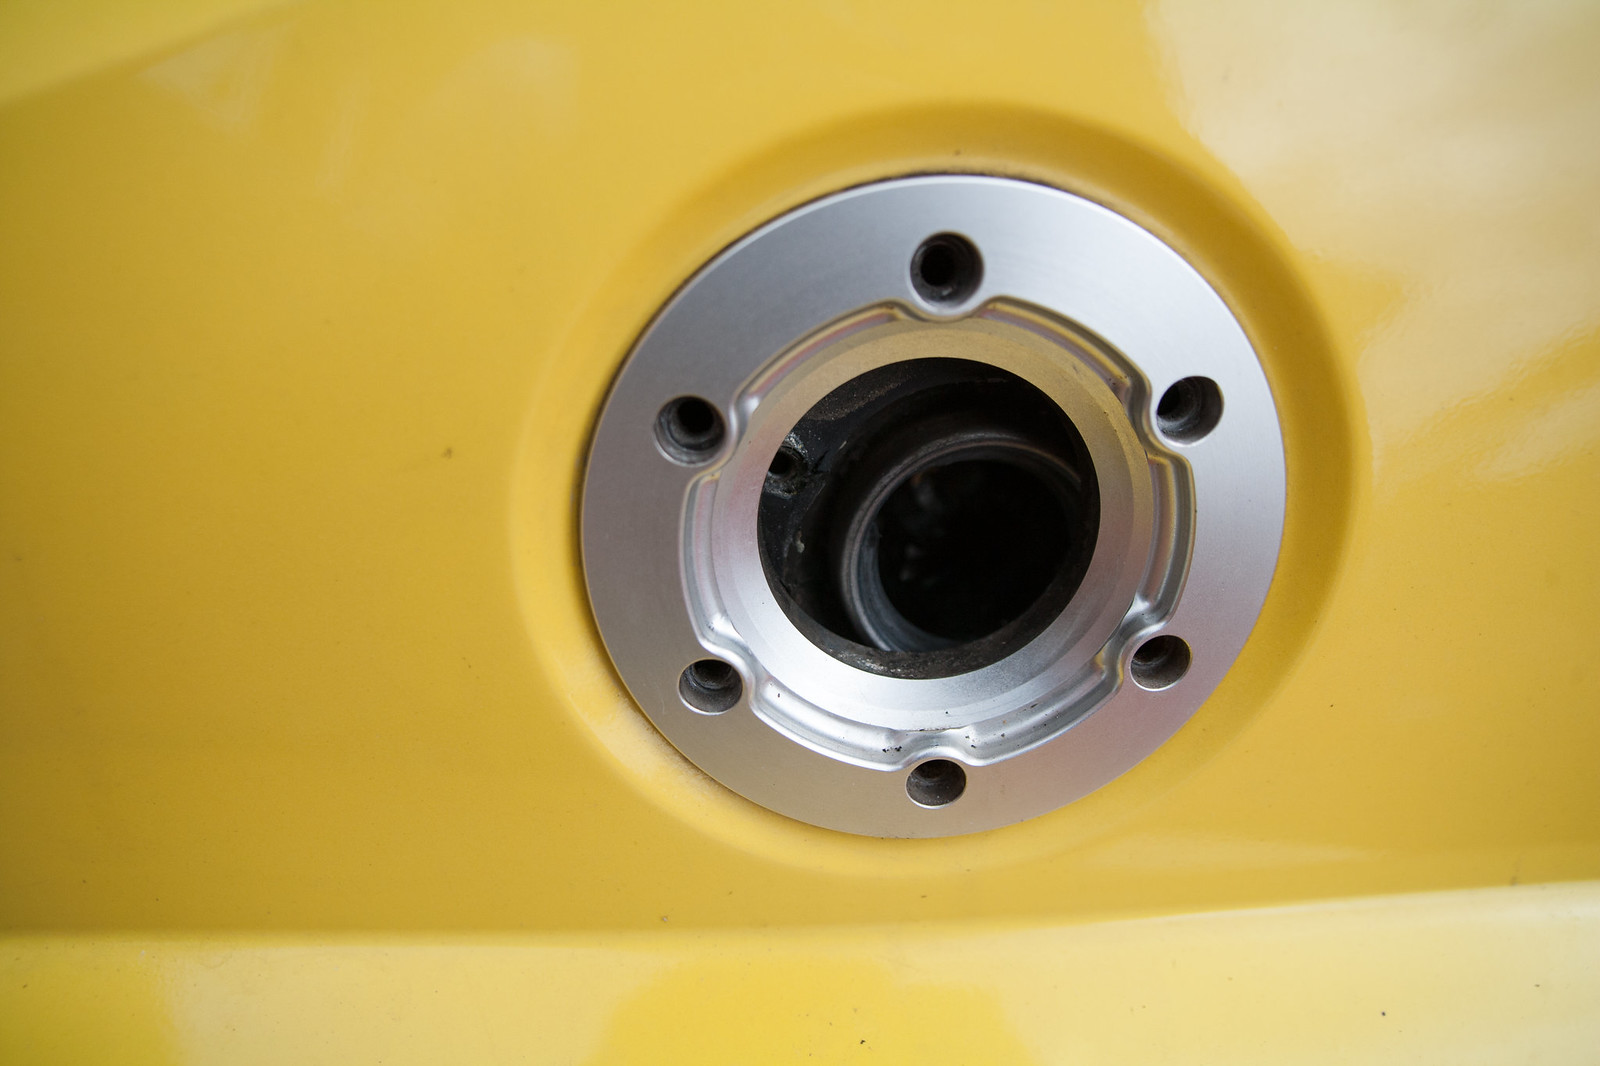
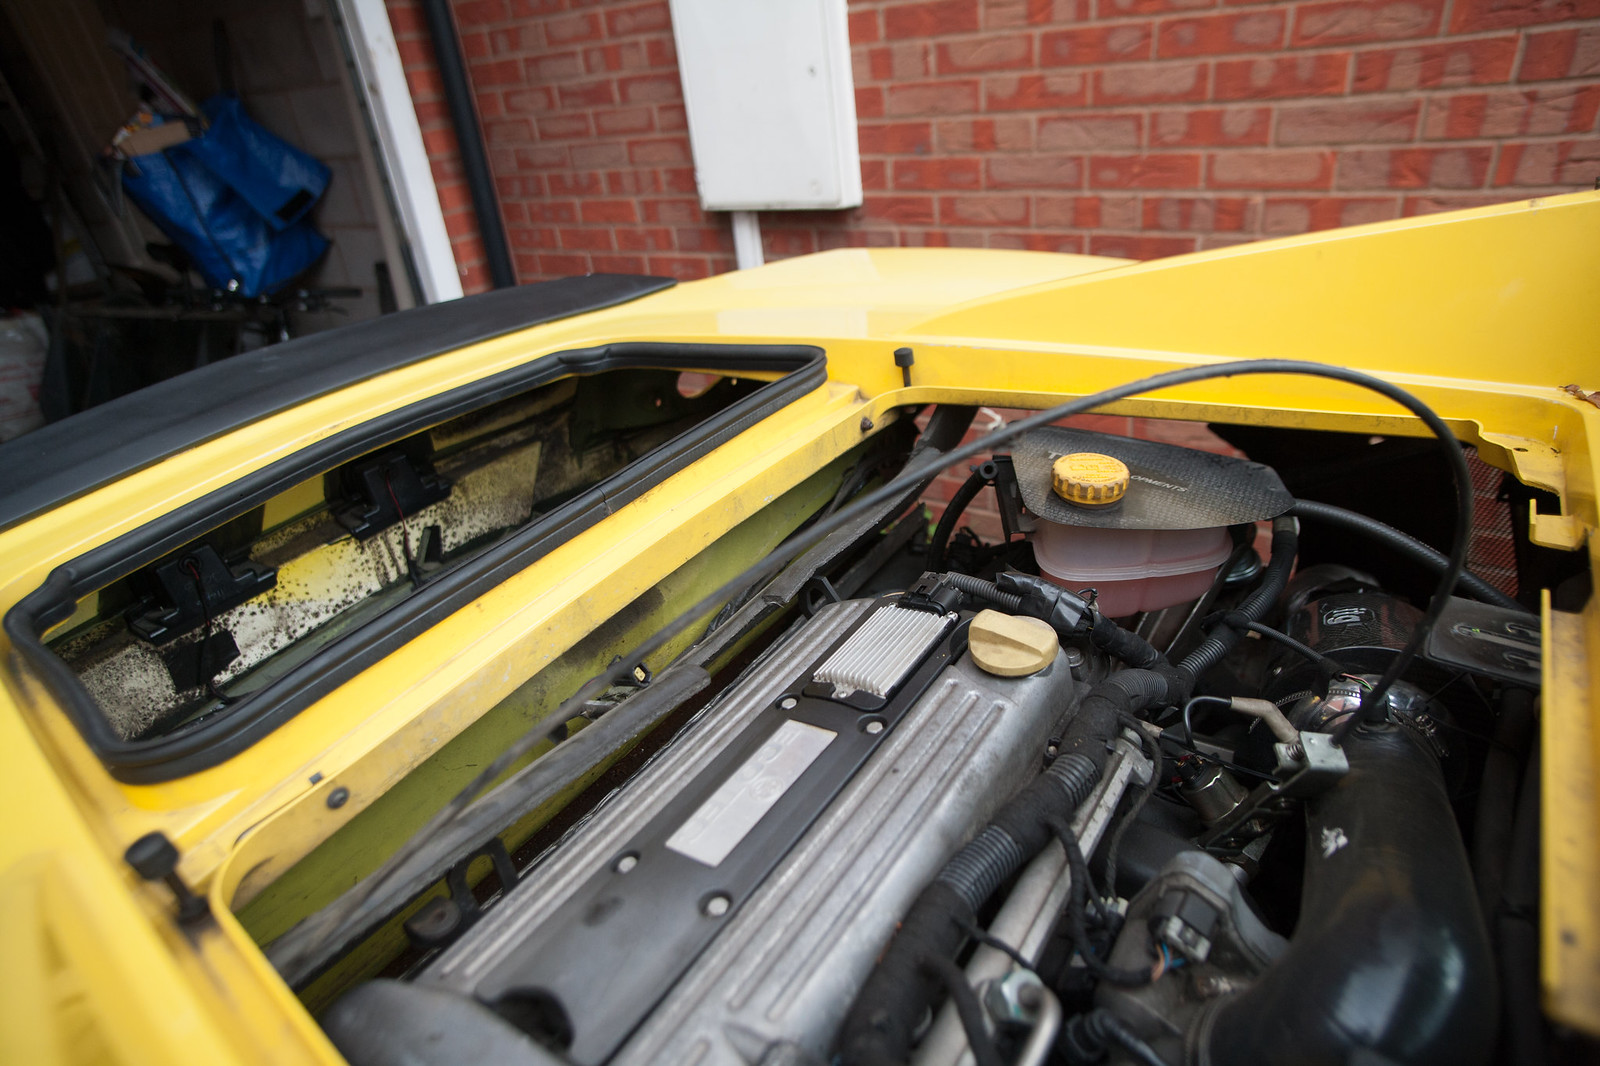
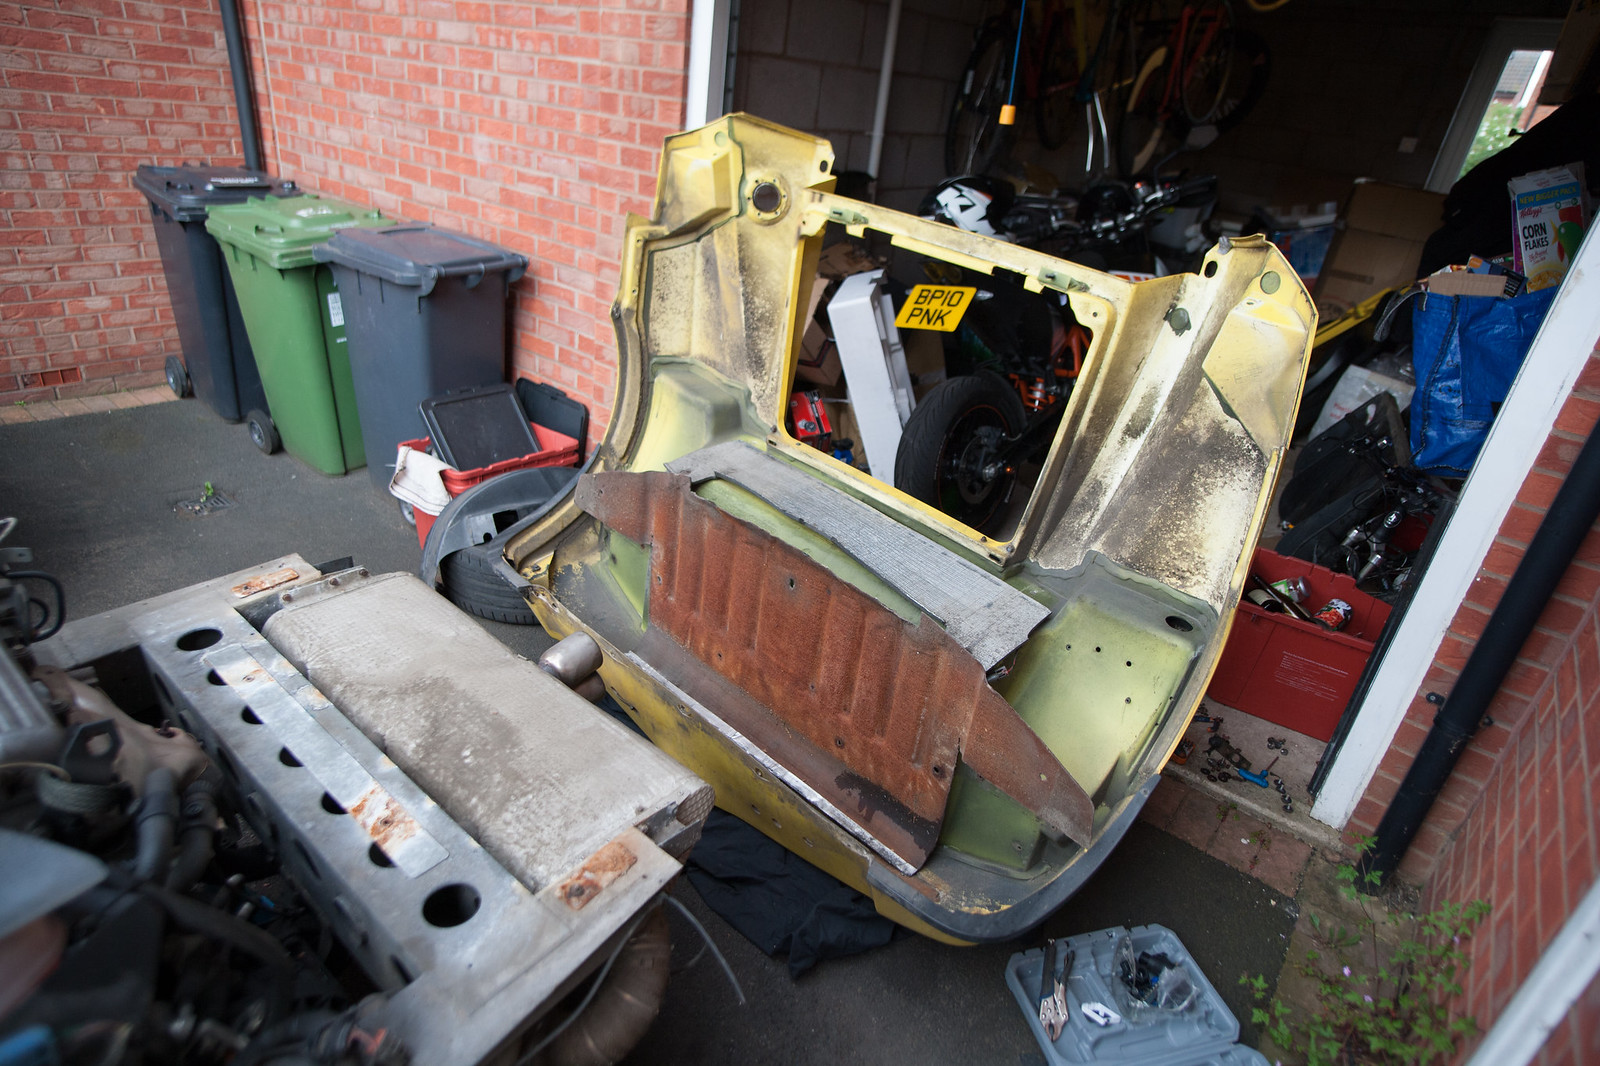
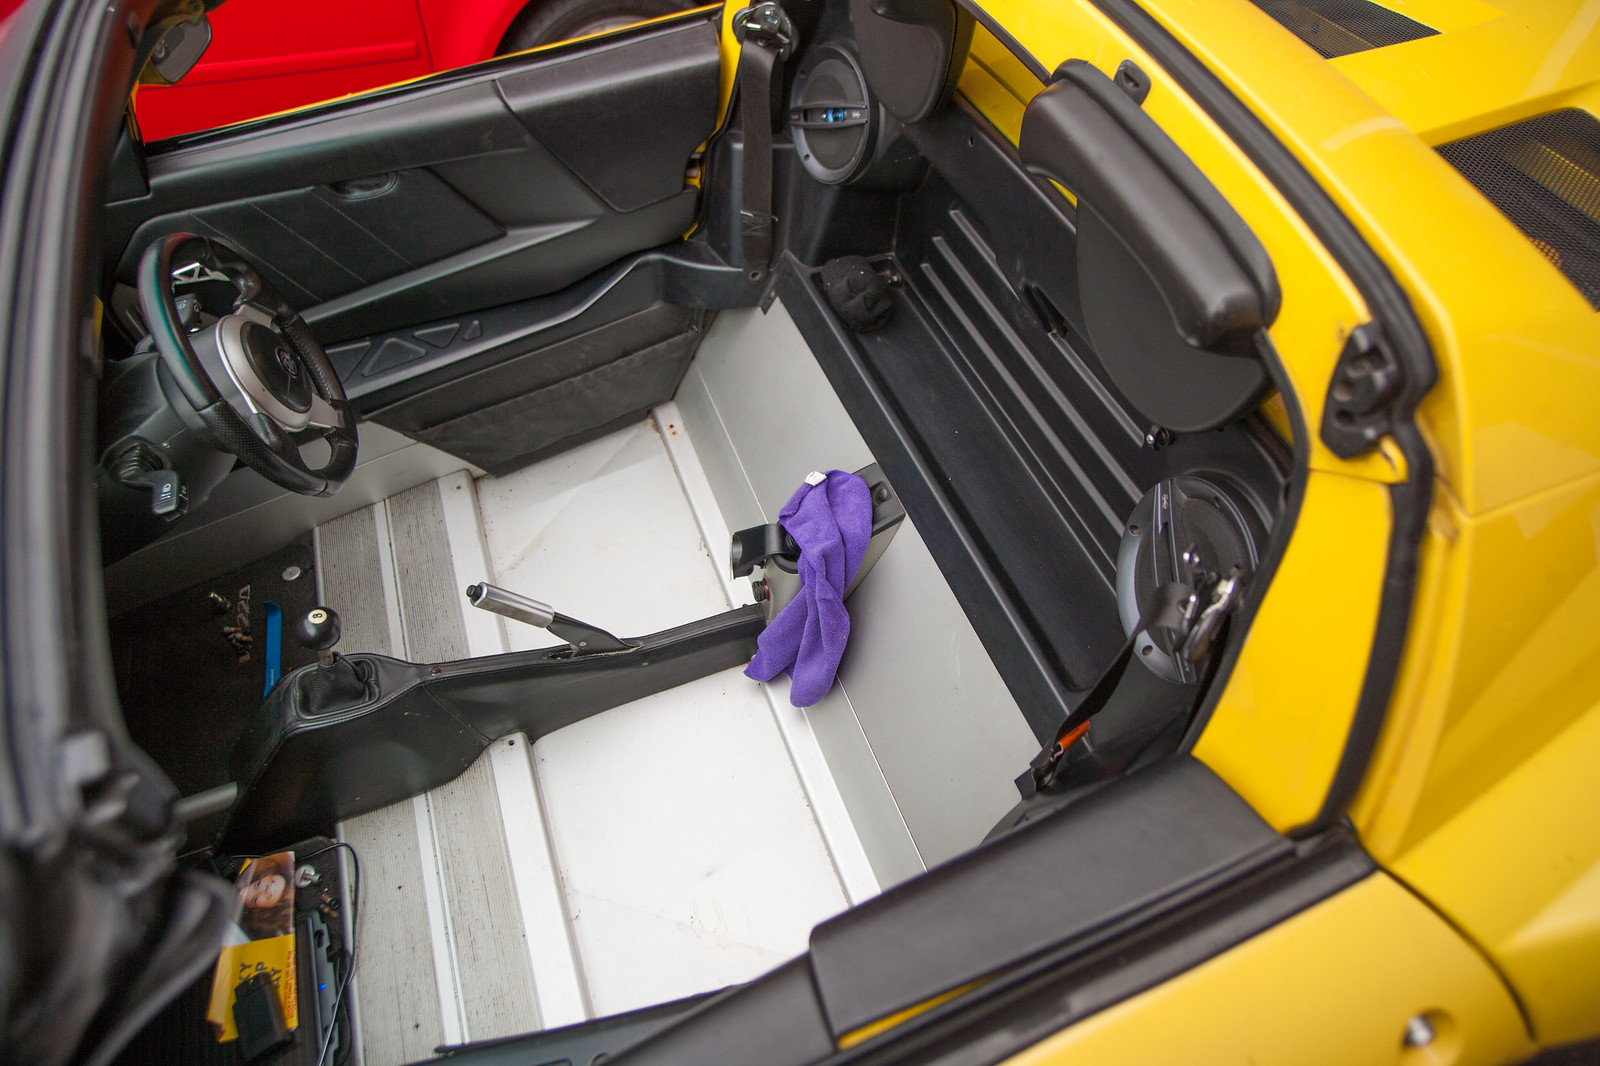
There are already a number of tutorials for the rear clam removal, but for most the pictures are either gone or a bit cryptic.

I had to remove mine to check the state of things before contemplating doing my subframe shims. I took the opportunity to make a photo guide of what is the default method to get the rear clam off... of course there are variants (like not removing the headrests etc etc...


Hence this is the long way around, but at least it is the "safe" way.


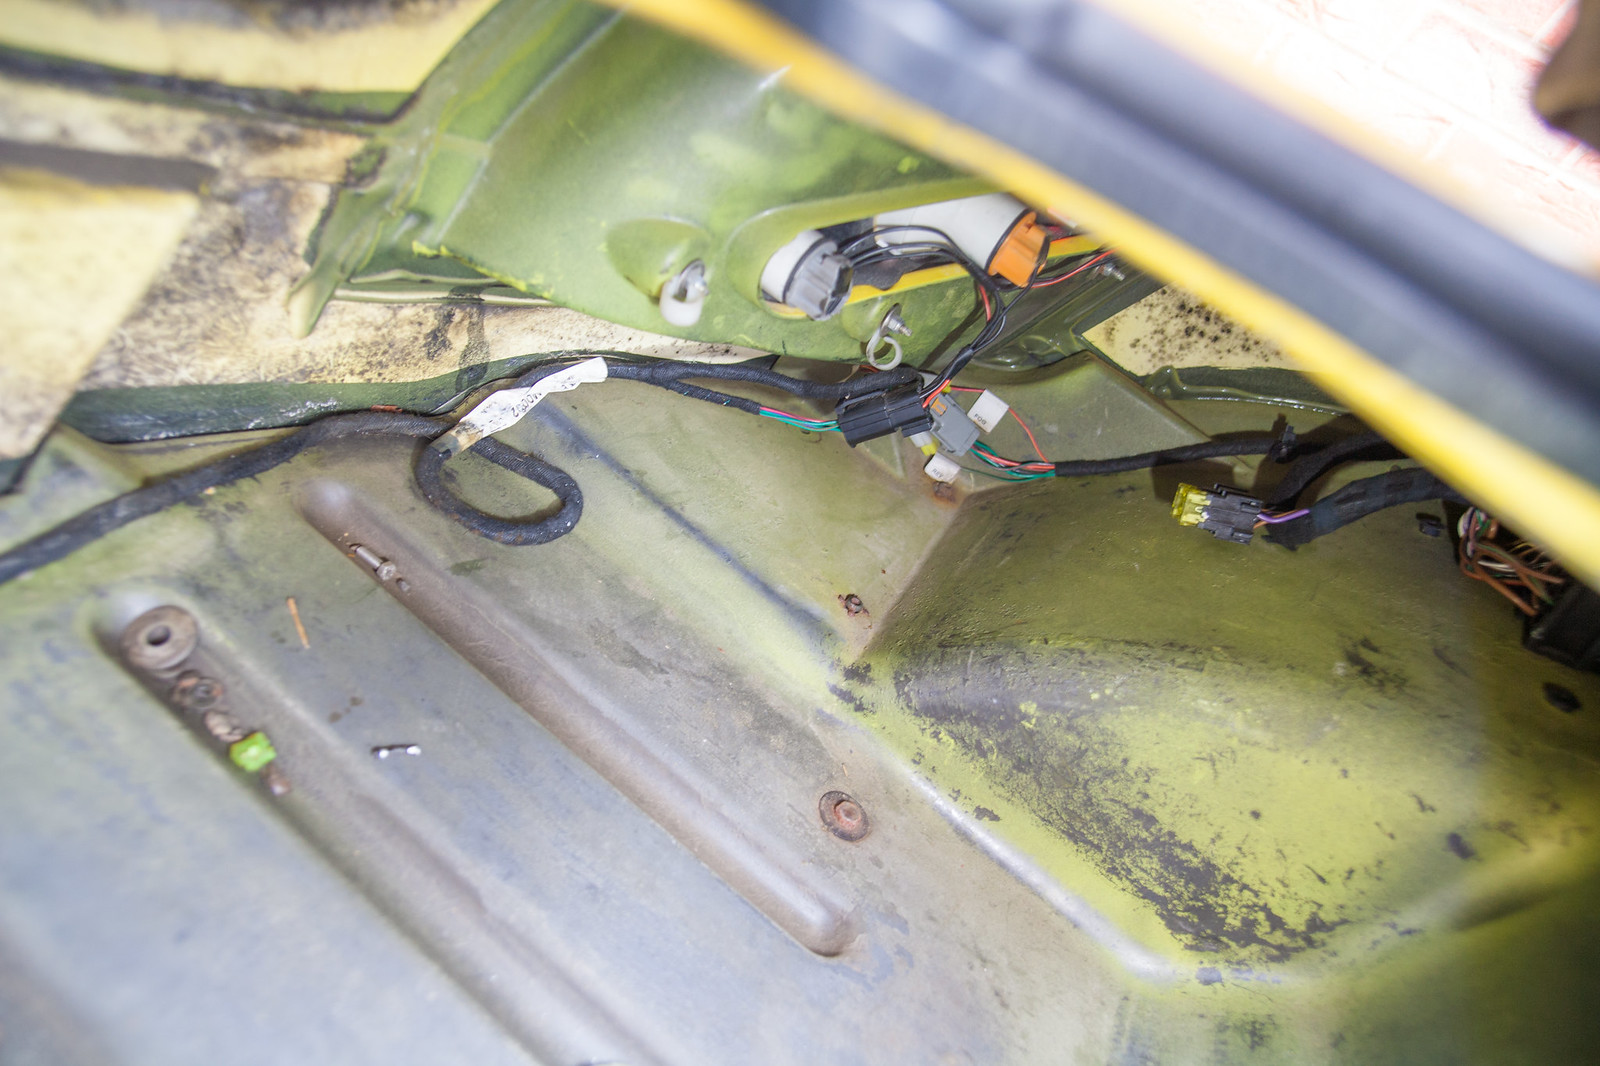
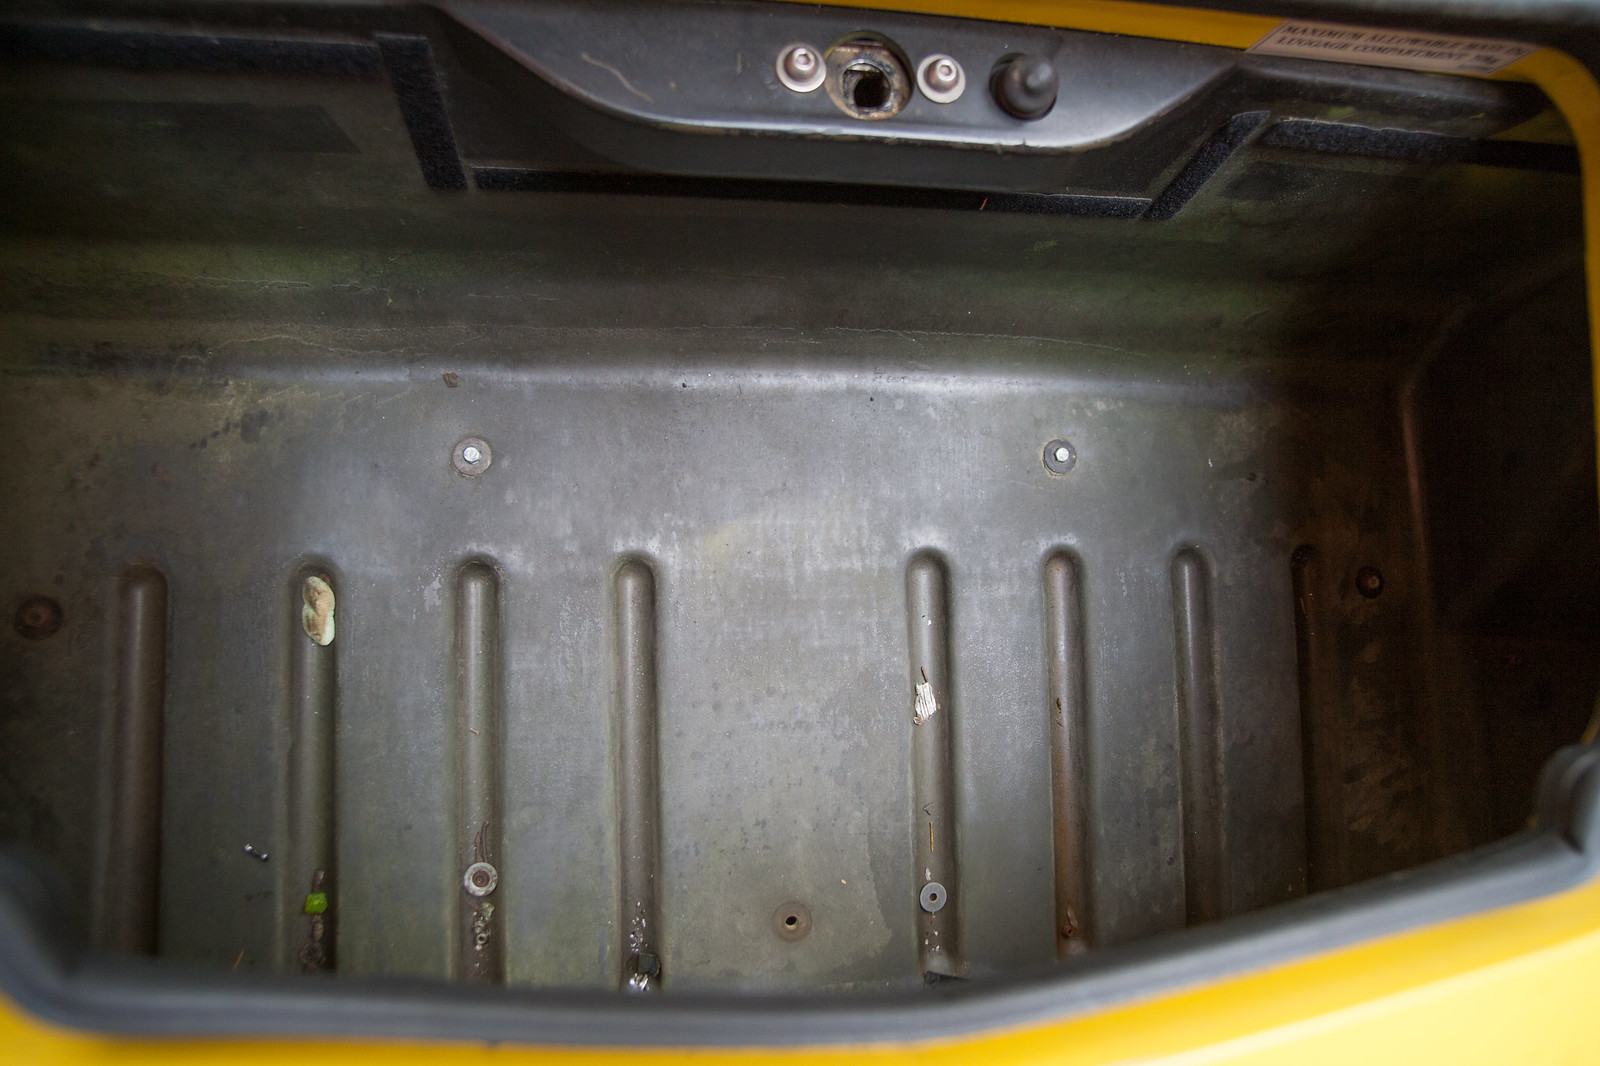
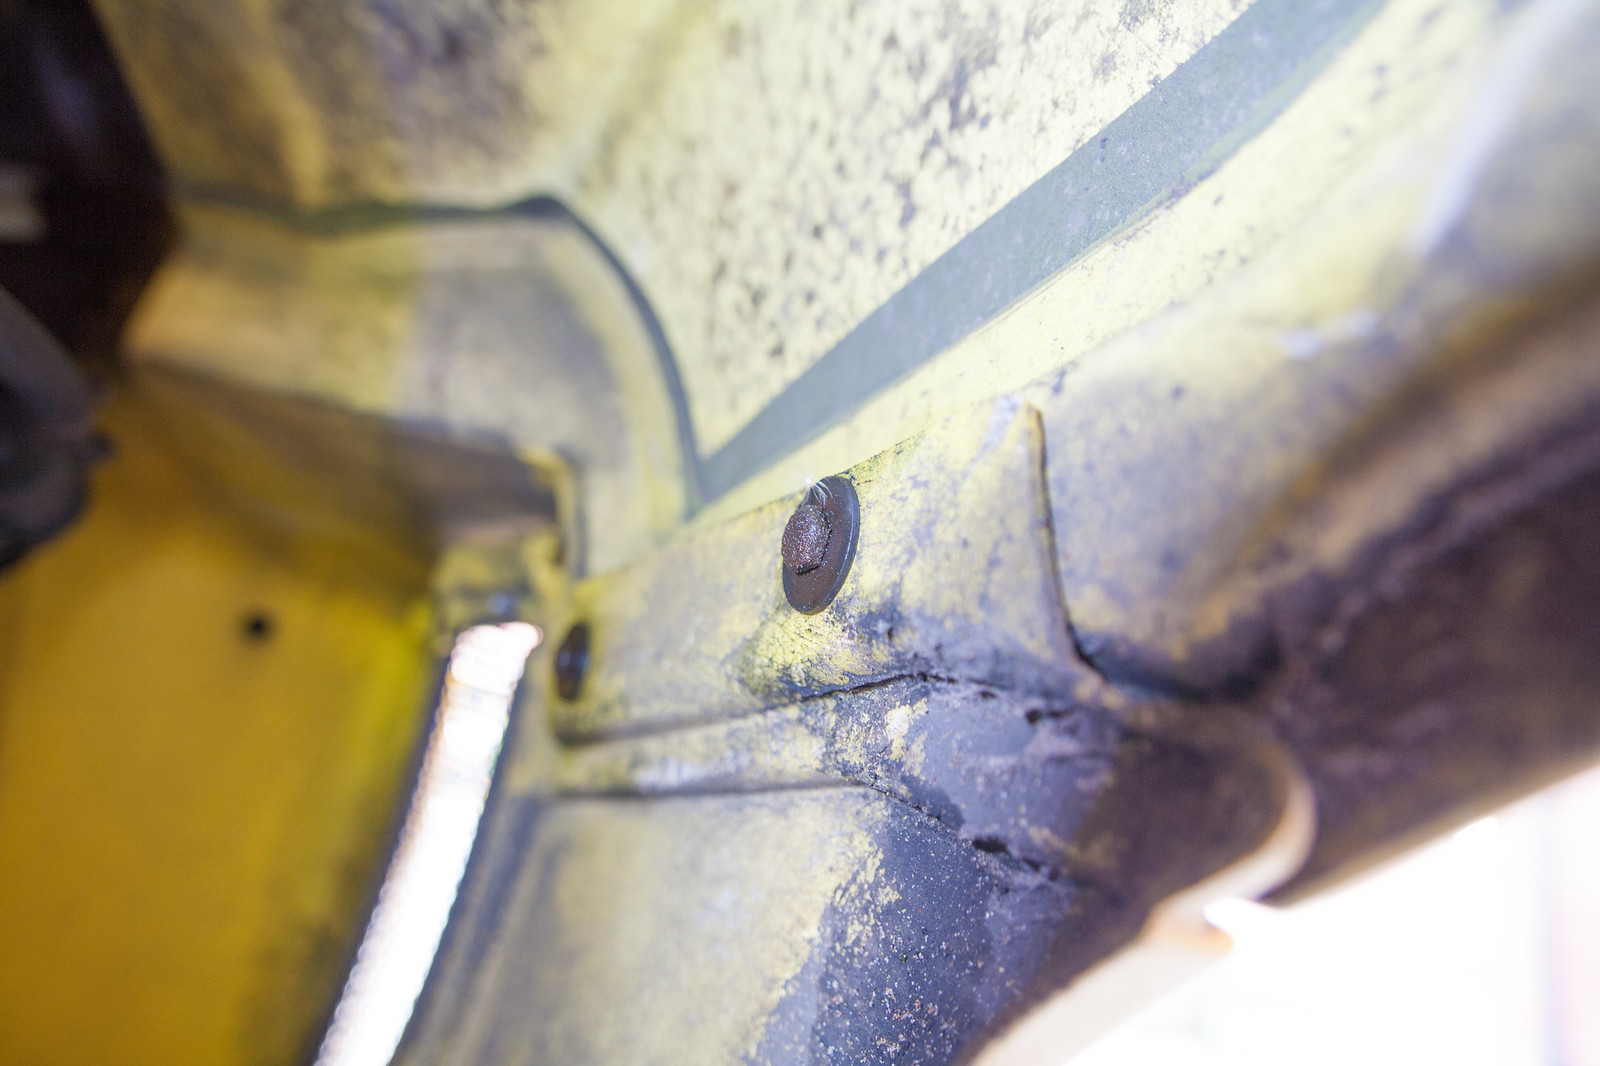
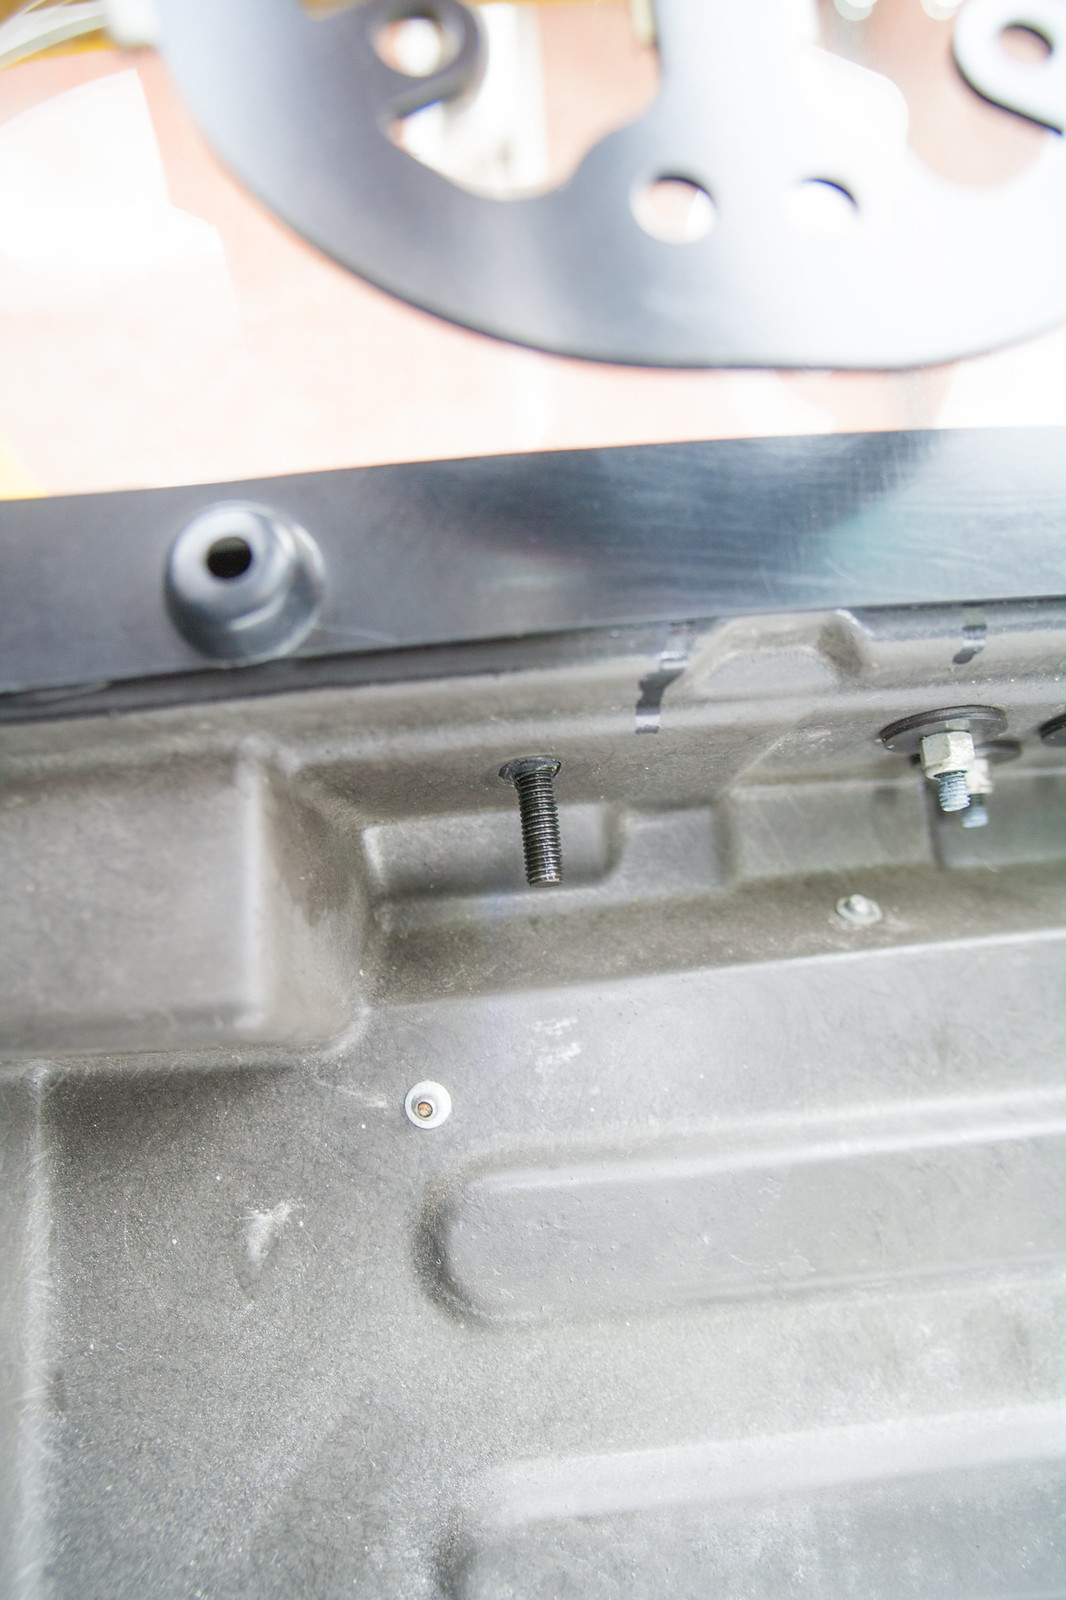
1) Start by removing the seats. If the dreaded passenger screw has already been removed and lost (like on mine) it is a fairly simple thing to do. Use the long extensions added together to get to the passenger rear allen screws without much hassle, and disconnect the safety belt from the seats before extracting them of the tub (17mm socket). It is also a good opportunity to clean the bottom of the tub.


Posted Image
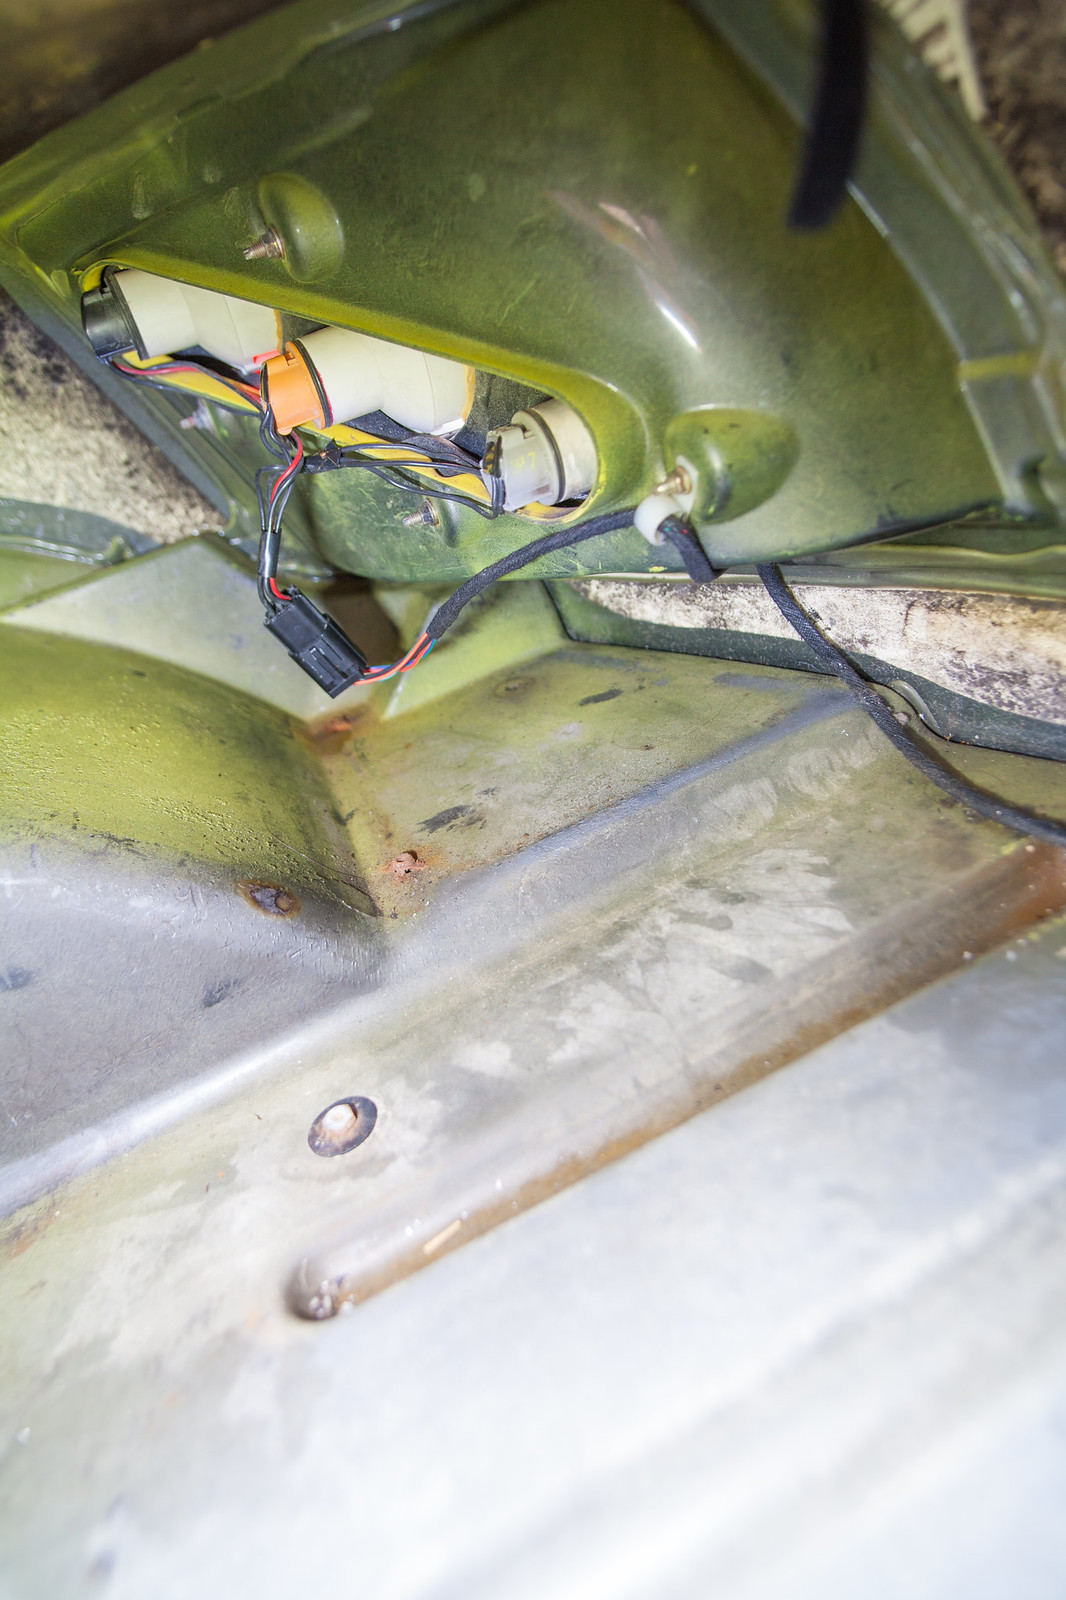
ZF2Y6599.jpg by Martin ROGER, sur Flickr

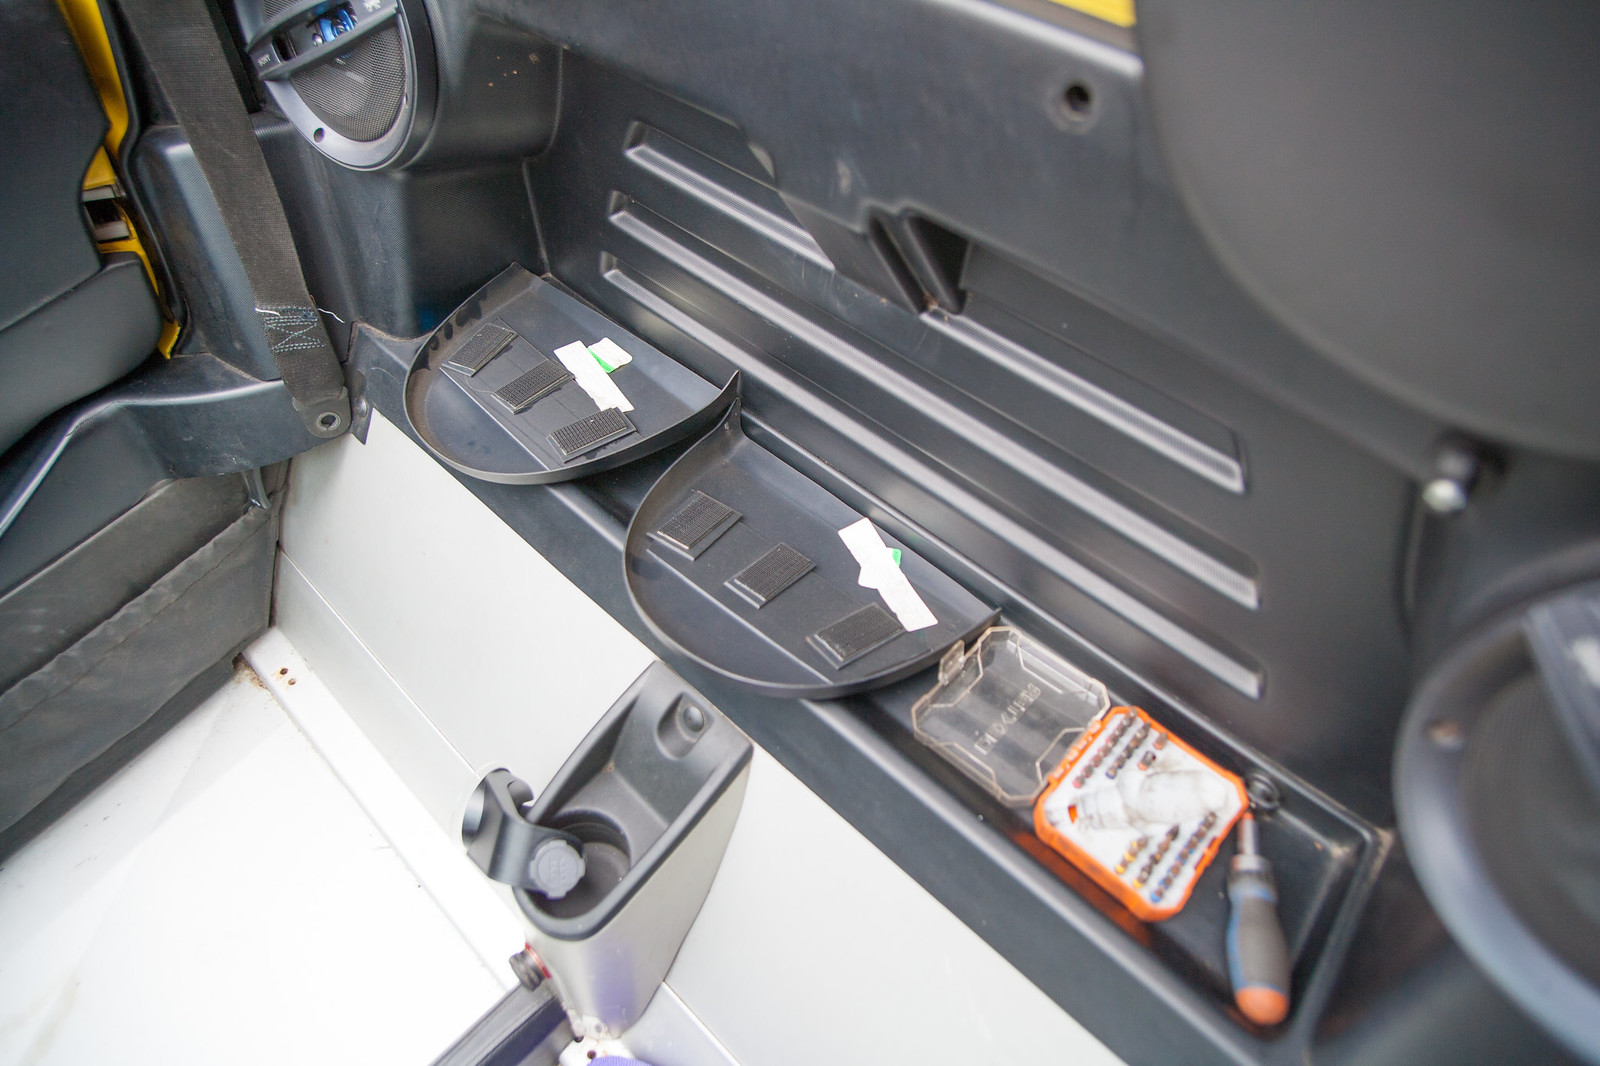
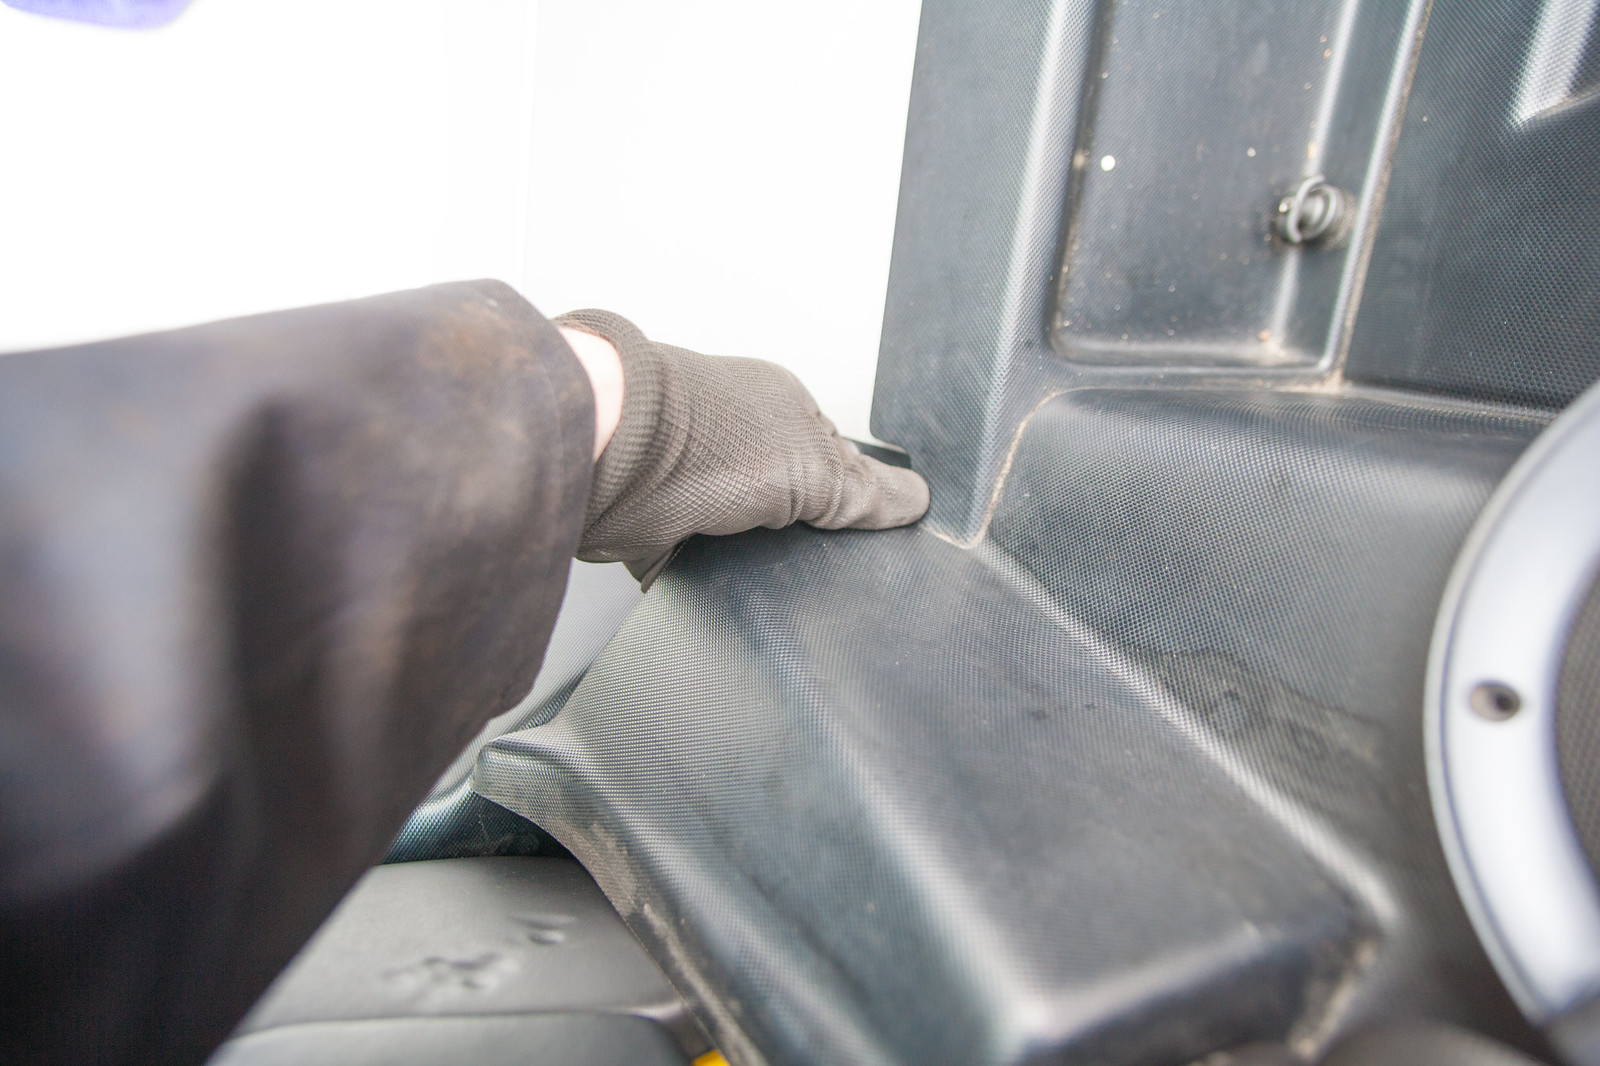
2) [color=rgb(29,33,41);font-size:12px;]Next up are the headrests. You will need to remove them to be able to tilt the roll bar cover forward. Start by gently wiggling the hard plastic cover behind the headrests towards the back window. They are sort of velcroed in place. You can also start removing the plastic rivet screws that hold the central liner in place.[/color]
 
Posted ImageZF2Y6600.jpg by Martin ROGER, sur Flickr
 
[color=rgb(29,33,41);font-size:12px;]This is the behind view of the headrest. As you can see there are three screws (8mm hex head) that you can probably only remove with a flat spanner. It is a good time to have a set of ratcheting spanners, hehehe.[/color]
 
Posted ImageZF2Y6601.jpg by Martin ROGER, sur Flickr


#2 martinroger

martinroger

    Super Member

  • PipPip
  • 459 posts
  • Gender:Male
  • Location:Munich

Posted 28 May 2017 - 02:09 PM

Continuing :


[color=rgb(29,33,41);font-size:12px;]Next is pulling the liner out. I recommend doing this with the doors open, and removing the bolts of the top seat belts attachment points (careful not to lose the spacer). To pull the liner out, start by removing the small tab near the seat belt top point (not pictured), then my technique ™ consists into shoving three fingers down where it is pictured and flexing the liner out. It should come out freely. Repeat on the other side, with the door open as well.[/color]


Posted ImageZF2Y6603.jpg by Martin ROGER, sur Flickr

[color=rgb(29,33,41);font-size:12px;]Pull the liner a bit further down, and gently remove the soundproofing foam. If needed, take a moment to spray PB blaster or Plus gas on any bolts looking rusty, also inspect your antenna connection on the passenger side.[/color]


Posted ImageZF2Y6604.jpg by Martin ROGER, sur Flickr


#3 martinroger

martinroger

    Super Member

  • PipPip
  • 459 posts
  • Gender:Male
  • Location:Munich

Posted 28 May 2017 - 02:12 PM

Continuing :


[color=rgb(29,33,41);font-size:12px;]Next up is the 8mm nyloc nut in the corners of the roll bar cover. You may not be able to squeeze a ratcheting spanner there, so a lot of patience and a flat spanner will do.[/color]


Posted ImageZF2Y6605.jpg by Martin ROGER, sur Flickr


Similarily, the first 10mm nut next to hte 8mm one may not accommodate a ratchet, even with an extension. You should be able to use a ratcheting spanner there, though.


Another 10mm bolt. This central one can be undone with a socket and ratchet.


Posted ImageZF2Y6607.jpg by Martin ROGER, sur Flickr


Then tilt the roll bar cover forward ever so slightly :


Posted ImageZF2Y6608.jpg by Martin ROGER, sur Flickr


You may need to remove the soft top mounting points to get to there. The idea is now to tilt the roll back cover forward in a gentle manner, to clear out the 8mm stud and the dimple. Be careful not to lose the gasket fastened to the underside of the roll bar cover.


#4 martinroger

martinroger

    Super Member

  • PipPip
  • 459 posts
  • Gender:Male
  • Location:Munich

Posted 28 May 2017 - 02:14 PM

Continuing : go towards the boot now ...

[color=rgb(29,33,41);font-size:12px;]Have a look at the wires, and disconnect all connectors. The harness for the driver side lamp and plate lamps can stay in the boot, if you disconnect (press and pull) the grey and black connectors, as well as the rearing and fog lamps (lift tab and pull) connectors.[/color]

Posted ImageZF2Y6611.jpg by Martin ROGER, sur Flickr


Posted ImageZF2Y6612.jpg by Martin ROGER, sur Flickr


[color=rgb(29,33,41);font-size:12px;]Remove the four boot bolts (10mm). The forward central ones should come out easily. The outer ones, in my case... both broke. Use a stud puller to get the stems out later.[/color]


Posted ImageZF2Y6614.jpg by Martin ROGER, sur Flickr


#5 martinroger

martinroger

    Super Member

  • PipPip
  • 459 posts
  • Gender:Male
  • Location:Munich

Posted 28 May 2017 - 02:19 PM

Continuing...

Remove the rear lights - be gentle with the 8mm bolts as you can shear off the plastic mounts very easily ! 


Posted ImageZF2Y6615.jpg by Martin ROGER, sur Flickr


Once this is done, prepare for jacking up : remove rear diffuser, axle stands at the ready and jack up from the elbow under the door. Put an axle stand under each rear suspension mounts (two). I like to put a hockey puck between the stand and the mount, just for the sake of having a gentle contact.


Posted ImageZF2Y6616.jpg by Martin ROGER, sur Flickr


Posted ImageZF2Y6619.jpg by Martin ROGER, sur Flickr


#6 martinroger

martinroger

    Super Member

  • PipPip
  • 459 posts
  • Gender:Male
  • Location:Munich

Posted 28 May 2017 - 02:24 PM

Continuing. 


Having removed your wheel arch liners, Peek into the car, forward of the wheel. There should be two 10mm bolts there. They are not very tightened, but rust growth on their head may make them non-catchable by regular sockets. Use a brass brush and a flat spanner to reveal their edges and gently remove them. 


Posted ImageZF2Y6623.jpg by Martin ROGER, sur Flickr


Then under the headrest, remove the 13mm Nyloc nut and washer secured on the black stud. Be careful when refitting the clam not to overtighten those or you will break the stud (like stupid me managed to do).


Posted ImageZF2Y6624.jpg by Martin ROGER, sur Flickr


Finally, in the cavity behind the door pins, on each side, you should find a 13mm bolt. Remove them as well. 


Posted ImageZF2Y6626.jpg by Martin ROGER, sur Flickr


#7 martinroger

martinroger

    Super Member

  • PipPip
  • 459 posts
  • Gender:Male
  • Location:Munich

Posted 28 May 2017 - 02:29 PM

Continuing

Time to extract the harness from the boot. Undo the relays, undo the screws hodling their supports in place as well. They are rawlnuts, so check from inside the wheel arch that they are not spinning freely.

The push the gasket from the inside out and start feeding the smaller components through the hole : grey and black connector first, Fog and Rear light connectors then, then the two yellow fuses (10A I think). 


You may notice at this stage that the relay holder disassemble by sliding from each other : disassemble them and feed them sideways one by one through the hole.


Pictures of the disassembled/assembled relay holders :


Posted ImageZF2Y6628.jpg by Martin ROGER, sur Flickr


Posted ImageZF2Y6627.jpg by Martin ROGER, sur Flickr


Then disconnect the boot opening sensor. It is located next to the lambda sensor connector : 


Posted ImageZF2Y6629.jpg by Martin ROGER, sur Flickr


#8 martinroger

martinroger

    Super Member

  • PipPip
  • 459 posts
  • Gender:Male
  • Location:Munich

Posted 28 May 2017 - 02:34 PM

Continuing


Your next step is to detach the fuel surround from the swan neck beneath. Remove the fuel cap, and remove the six allen screws. Then push the swan neck inside a little bit.


Posted ImageZF2Y6631.jpg by Martin ROGER, sur Flickr


After this, remove the two screws holding the boot lock in place. Be VERY wary of the number of washers per bolt, especially the thicker washers. If some washers are stuck to the sensor or lock plate by the grease, do not detach them... it will simplify the task for you later when you reassemble everything. Stow the lock sideways on top of the engine, then remove the boot after having marked the hinges positions. Be careful to not lose the shims that are on the hinges, and set the hinges in horizontal (closed) position.


Posted ImageZF2Y6632.jpg by Martin ROGER, sur Flickr


Finally, lift up the front end of the clam gently, then slide it backwards while lifting it up. It is doable alone, but will be easier if there are two of you.


Posted ImageZF2Y6633.jpg by Martin ROGER, sur Flickr


#9 Goodie

Goodie

    Member

  • Pip
  • 191 posts
  • Location:Birmingham

Posted 28 May 2017 - 04:01 PM

Great guide, always handy with pictures, would like to do mine, but fit it back on runners/hinges to make access easier.

#10 martinroger

martinroger

    Super Member

  • PipPip
  • 459 posts
  • Gender:Male
  • Location:Munich

Posted 28 May 2017 - 07:28 PM

Great guide, always handy with pictures, would like to do mine, but fit it back on runners/hinges to make access easier.

Thanks !


It isn't that hard, and there are techniques to go faster, like passing through the speaker hole to get to the bolts behind the seats, but it is a bit tricky.


Runners/hinges have been done, but it looked difficult !!


#11 mementaurum

mementaurum

    Member

  • Pip
  • 91 posts
  • Gender:Male
  • Location:Belgium
  • Interests:Fast, small cars

Posted 29 May 2017 - 11:07 AM

Good tutorial, thinking of using quick release?


#12 martinroger

martinroger

    Super Member

  • PipPip
  • 459 posts
  • Gender:Male
  • Location:Munich

Posted 29 May 2017 - 11:07 AM

Good tutorial, thinking of using quick release?

Nope!

#13 hairy

hairy

    Moonlander

  • PipPipPipPipPipPip
  • 5,829 posts
  • Gender:Male
  • Location:Bristol
  • Interests:cars, beer, nature

Posted 16 June 2017 - 07:12 PM

Thanks for taking the time to document this thumbsup


#14 martinroger

martinroger

    Super Member

  • PipPip
  • 459 posts
  • Gender:Male
  • Location:Munich

Posted 16 June 2017 - 07:14 PM

Thanks for taking the time to document this thumbsup

My pleasure! Tomorrow I will try to add a few more about the method without removing the seats

#15 hairy

hairy

    Moonlander

  • PipPipPipPipPipPip
  • 5,829 posts
  • Gender:Male
  • Location:Bristol
  • Interests:cars, beer, nature

Posted 16 June 2017 - 07:23 PM


Thanks for taking the time to document this thumbsup

My pleasure! Tomorrow I will try to add a few more about the method without removing the seats


Your timing is perfect!


#16 martinroger

martinroger

    Super Member

  • PipPip
  • 459 posts
  • Gender:Male
  • Location:Munich

Posted 17 June 2017 - 10:06 AM


Thanks for taking the time to document this thumbsup

My pleasure! Tomorrow I will try to add a few more about the method without removing the seats  

  Your timing is perfect!

So I tried ... there is one bolt I couldn't get to with everything still on. The seats have to go in my case!

#17 Andrew aka Stuwy

Andrew aka Stuwy

    Made In England

  • PipPipPipPipPipPipPip
  • 8,731 posts
  • Gender:Not Telling
  • Location:At Sea
  • Interests:most things are intersting

Posted 20 June 2017 - 01:25 PM

there is no need to remove the rear lights, as you say the mounts are weak and best left be


#18 martinroger

martinroger

    Super Member

  • PipPip
  • 459 posts
  • Gender:Male
  • Location:Munich

Posted 20 June 2017 - 03:27 PM

there is no need to remove the rear lights, as you say the mounts are weak and best left be

Agreed... but I didn't want to scratch the lenses by putting the clam upright!

#19 Tareim

Tareim

    Member

  • Pip
  • 80 posts
  • Location:Somerset

Posted 20 June 2017 - 06:45 PM


So I tried ... there is one bolt I couldn't get to with everything still on. The seats have to go in my case!


which bolt is that?


#20 martinroger

martinroger

    Super Member

  • PipPip
  • 459 posts
  • Gender:Male
  • Location:Munich

Posted 20 June 2017 - 08:16 PM

  So I tried ... there is one bolt I couldn't get to with everything still on. The seats have to go in my case!  

  which bolt is that?

The one roughly under the headrests, 13mm. Couldn't get my hand there.


Also tagged with one or more of these keywords: rear, clam, removal, photo, guide, tutorial

0 user(s) are reading this topic

0 members, 0 guests, 0 anonymous users