Jump to content


Photo

Dash Removal / Replacement


  • Please log in to reply
37 replies to this topic

#21 james141

james141

    Whiiiiiiiiiiiiiiiiiiiiiiiiiiiiiiiiiiiiiiiiiiiine

  • PipPipPipPipPipPip
  • 3,667 posts
  • Gender:Male
  • Location:Northampton

Posted 13 February 2008 - 02:45 PM

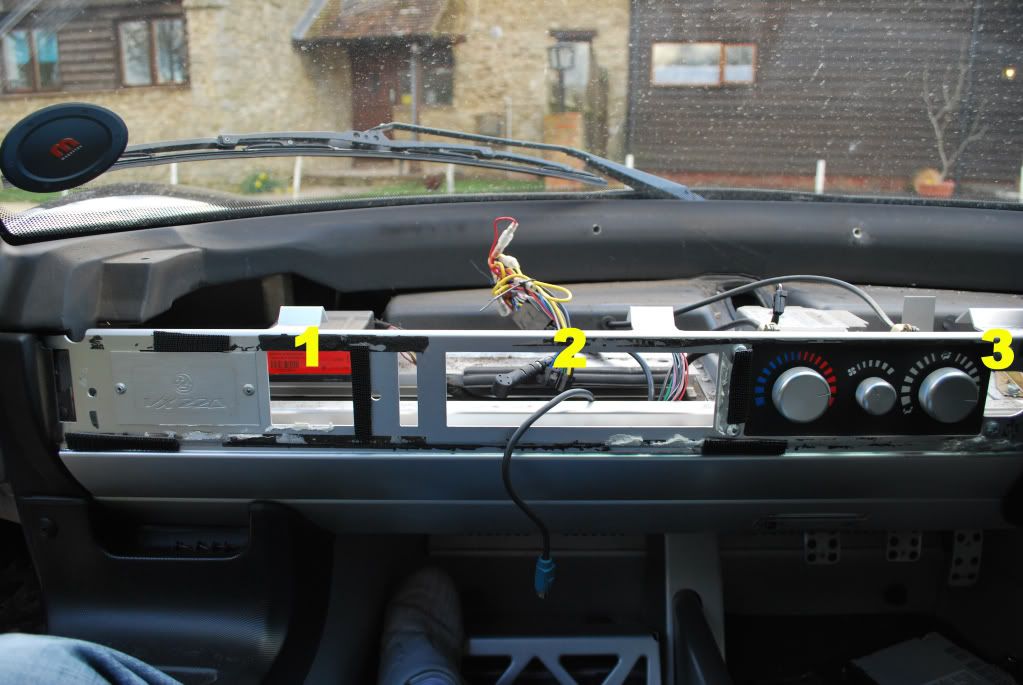
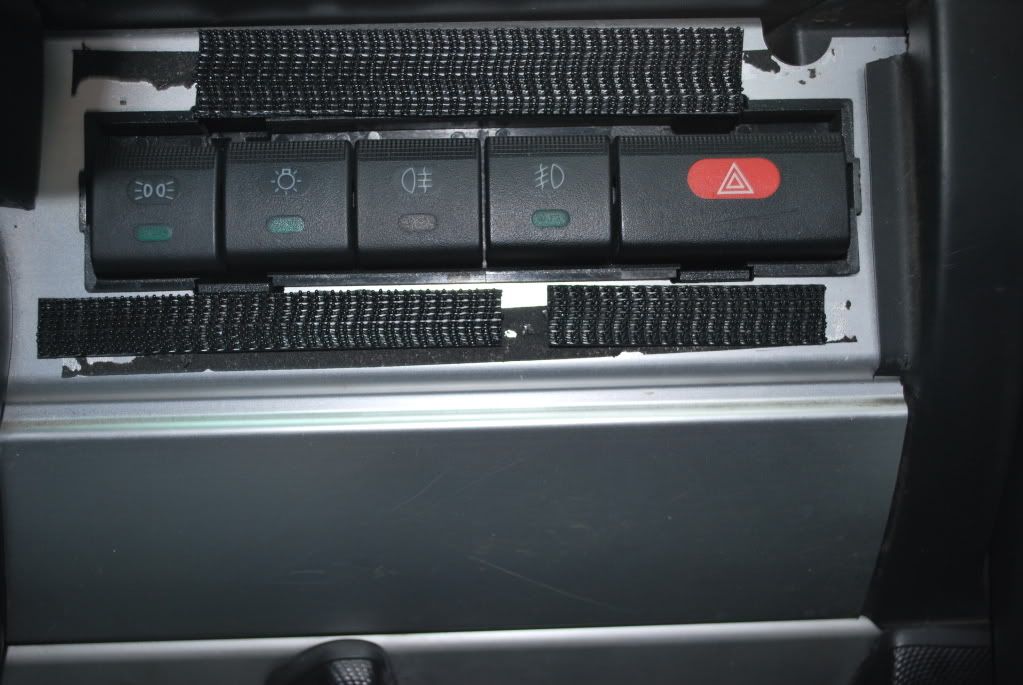
ive got the 4 screws out, got the dash part loose however its stuck on the cowling for the fake stack

bit wrried its just going to rip the instrument pod out


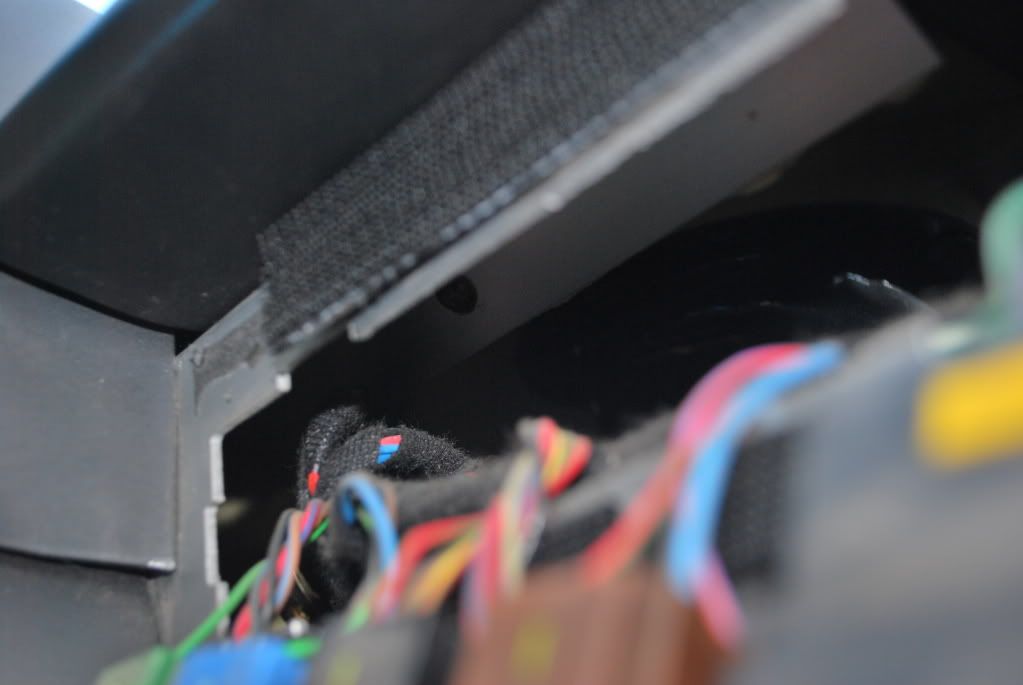
Try and pull the stack binnacle towards you at the same time as lifting the dash up. Bit of force and it'l come out.


:yeahthat:

Just pull really hard :D

#22 Guy182

Guy182

    Scary Internerd

  • PipPipPipPipPipPip
  • 4,459 posts
  • Gender:Male
  • Location:Grimsby

Posted 13 February 2008 - 02:59 PM

without removing the stack or anything?? just yank on the suround?

#23 A13X

A13X

    Need to get Out More

  • PipPipPipPip
  • 1,053 posts
  • Gender:Male
  • Location:Burton on Trent, staffs

Posted 13 February 2008 - 03:10 PM

without removing the stack or anything?? just yank on the suround?


Yeah pull the plastic binnacle towards you, it wont move much but helps a little. Push the dash towards the screen and pull up and out. Its stuck on the metal lip and just needs abit of force

#24 Guy182

Guy182

    Scary Internerd

  • PipPipPipPipPipPip
  • 4,459 posts
  • Gender:Male
  • Location:Grimsby

Posted 13 February 2008 - 03:25 PM

ok will give it a go cheers

#25 Guy182

Guy182

    Scary Internerd

  • PipPipPipPipPipPip
  • 4,459 posts
  • Gender:Male
  • Location:Grimsby

Posted 13 February 2008 - 03:48 PM

sorted cheers apart from starter button wire is stopping me taking it off now :rolleyes:

#26 scoob

scoob

    Member

  • Pip
  • 65 posts
  • Location:Nuneaton

Posted 13 February 2008 - 04:14 PM

this helped me when i had to take mine off to replace the alarm module (wireless doorbells)

http://www.hairymome...s/vx220sub.html

mine was an 04 with 6 screws 1 hidden behind the logo plate

the start button wires if you trace them back from the button after about 5 inchs you should feel/see a small black plastic connector you can unplug the starter button from there

Edited by scoob, 13 February 2008 - 04:19 PM.


#27 Guy182

Guy182

    Scary Internerd

  • PipPipPipPipPipPip
  • 4,459 posts
  • Gender:Male
  • Location:Grimsby

Posted 13 February 2008 - 06:30 PM

yeah i found that black connector but couldnt find where it splits in two was working in garage with little light, so will have a go tomorrow day .

#28 techieboy

techieboy

    Supercharger of Doom

  • 22,914 posts
  • Gender:Male
  • Location:Bedford

Posted 13 February 2008 - 06:50 PM

yeah i found that black connector but couldnt find where it splits in two

was working in garage with little light, so will have a go tomorrow day .


There's a little catch that needs to be lifted on one of the narrower sides of the connector, finger nail under it and it should pull aprt easily. thumbsup

#29 Recio

Recio

    Member

  • Pip
  • 16 posts

Posted 22 March 2009 - 03:05 PM

Hi, I cant watch the pictures with the screw locations, can anybody post them again.

#30 mandarinvx

mandarinvx

    King of First Replies

  • PipPipPipPipPipPipPipPip
  • 12,621 posts
  • Gender:Male
  • Location:West Mids / Oxfordshire

Posted 22 March 2009 - 03:22 PM

You can see the approx location of the screws by the holes in part number 11 here thumbsup

#31 mandarinvx

mandarinvx

    King of First Replies

  • PipPipPipPipPipPipPipPip
  • 12,621 posts
  • Gender:Male
  • Location:West Mids / Oxfordshire

Posted 29 March 2009 - 03:35 PM

Took some pics yesterday whilst sorting the stereo

Posted Image

1)
Posted Image

2)
Posted Image

3)
Posted Image

And the 4th one behind the light switches :)

Posted Image

Posted Image

#32 petrolhead1

petrolhead1

    Need to get Out More

  • PipPipPipPip
  • 936 posts
  • Gender:Male
  • Location:Wantage, Oxfordhsire
  • Interests:Windsurfing and Sailing
    Karting
    My family

Posted 08 April 2010 - 12:11 PM

An 03 plate NA with six screws under the dash! Just another variation to be aware of. The layout is as follows : The extra one behind the logo plate that some later VXTs have. Mine went back to the factory for paint so that extra one may have been added then. One through the square hole next to the logo One behind the radio One either side of the instrument stack which makes Two behind the light switches ie one at each end of the switch pod. I think most people only had one here Decided I will not rivet the logo panel back but maybe use flat headed scrivets as any metal fixing would start corrosion.

#33 petrolhead1

petrolhead1

    Need to get Out More

  • PipPipPipPip
  • 936 posts
  • Gender:Male
  • Location:Wantage, Oxfordhsire
  • Interests:Windsurfing and Sailing
    Karting
    My family

Posted 11 April 2010 - 03:14 PM

I found 2 more sources of potential air leaks for the heater fan air supply under the dash. Firstly the plenum chamber supplying air to the dash vents has been sealed to the underside of the dash with lots of screws and a very feeble self adhesive foam seal. It also looks as if there were a couple of extra vents designed to supply air straight to the screen all the time. These are also partially sealed with the foam. I re-sealed with plenty of flexible sealant and metal tape. Secondly where the plenum chamber matches up to the bulkhead air hole there was another badly fitted feeble foam seal. Took this off and replaced it with a thicker layer of denser self adhesive foam tape. Now I just need to work out how to suck all the crap out from under the dash. Mr Dyson is struggling. Hopefully when it all goes back together I will be able to suck small animals and children off their feet when I turn on the blower! :D

#34 christhegasman

christhegasman

    Scary Internerd

  • PipPipPipPipPipPip
  • 5,316 posts
  • Gender:Male
  • Location:Leicester
  • Interests:cars
    motorsport especially BTCC
    rugby
    eating out
    keeping fit

Posted 31 October 2010 - 12:59 PM

hi as a newbi need a little help my alarm flashes the lights if activated but no siren i guess its faulty how do i change it where is it any one know a supplier now the stupid bit lots of threads say remove the dash plates (how ) i get the stereo needs taking out but what holds the plates on while i have your help my car has been through a salvage yard an is a cat d so i only have 1 key 1 alarm fob and no code card any ideas hepl with suppliers would be good i wa shoping to traced the previous owner on here but no reply yet RL 02 BZN METALIC GREEN cheers

#35 Dave E

Dave E

    I LOVE SNETTERTON

  • PipPipPipPipPipPip
  • 3,116 posts
  • Gender:Male
  • Location:Bishops Stortford

Posted 24 February 2012 - 11:56 AM

Another pic that might be of help

Posted Image

#36 Ormes

Ormes

    Scary Internerd

  • PipPipPipPipPipPip
  • 4,612 posts
  • Gender:Male
  • Location:Corsham (nr. Chippenham)

Posted 05 May 2013 - 04:45 PM

Thanks a million Dave E - that picture is fantastic and really helped me remove my dashtop for the first time very easily thumbsup As noted above, mine had number 6 in the picture above so had to drill a rivet out of the VX220 Logo plate and swivel it around to gain access to it. :)

#37 casino

casino

    Hamilton is a Pop Star

  • PipPipPipPipPipPip
  • 5,061 posts
  • Gender:Male
  • Location:Casino’s Drinking Den
  • Interests:ADVERTISING. F1
    Wrote and produced the VXT launch film.

Posted 30 October 2019 - 06:45 PM

1. take off dash plates2. Remove stereo3. undo three phillips screws at either end and near stereo4. Lift off dash (remembering the start button which I didn't so I snapped it off, I now start my car with a paper clip :rolleyes:


Errrrrr, how many paperclips have you gotten through over the years?
Anyone else use a paper clip?

#38 paul_mck

paul_mck

    Super Member

  • PipPip
  • 284 posts
  • Location:NI

Posted 30 October 2019 - 07:15 PM

I used a wee piece of wire when I had my dash off recently. annoying.


0 user(s) are reading this topic

0 members, 0 guests, 0 anonymous users