Jump to content


Photo

Fitting Heated Seat Kit


  • Please log in to reply
41 replies to this topic

#1 Boss VX

Boss VX

    Super Duper Member

  • PipPipPip
  • 644 posts
  • Gender:Male
  • Location:Stroud (Glos)

Posted 04 November 2010 - 09:56 PM

I use my VX as my everyday vehicle and through the winter. This will be my 5th winter and I am keen to make it as comfortable as possible. Last year I re-sealed the heaterbox and dash (see my guide) and also had a heated screen fitted. Alongside the lined hardtop this is a great winter combination. However one of my main gripes is how the thin seats suck the heat out of your body on a frosty morning. I used to sit sideways to keep off the freezing seat.

Having heard a few Lotus boys and a few on this site had fitted heated seat kits, I decided to give it a go.

I bought my kit from WAECO through ebay for just over £60. I think you can also buy direct.
http://cgi.ebay.co.u...=item563fc85c5d

http://www.waeco.com/en/4381_5964.php

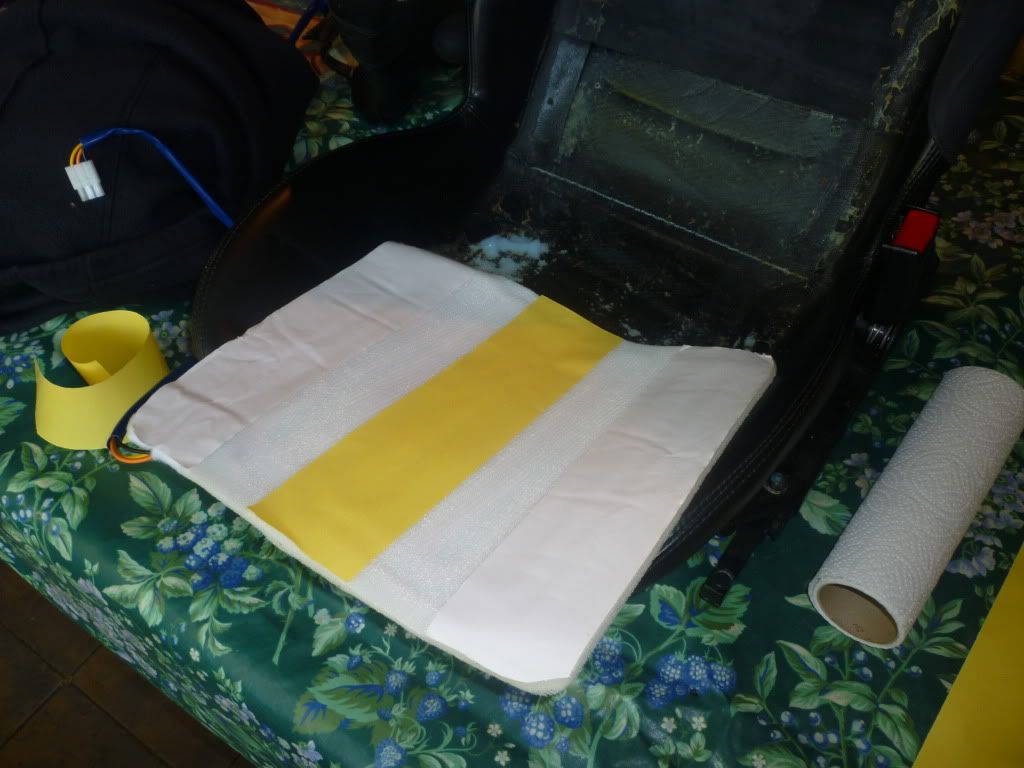
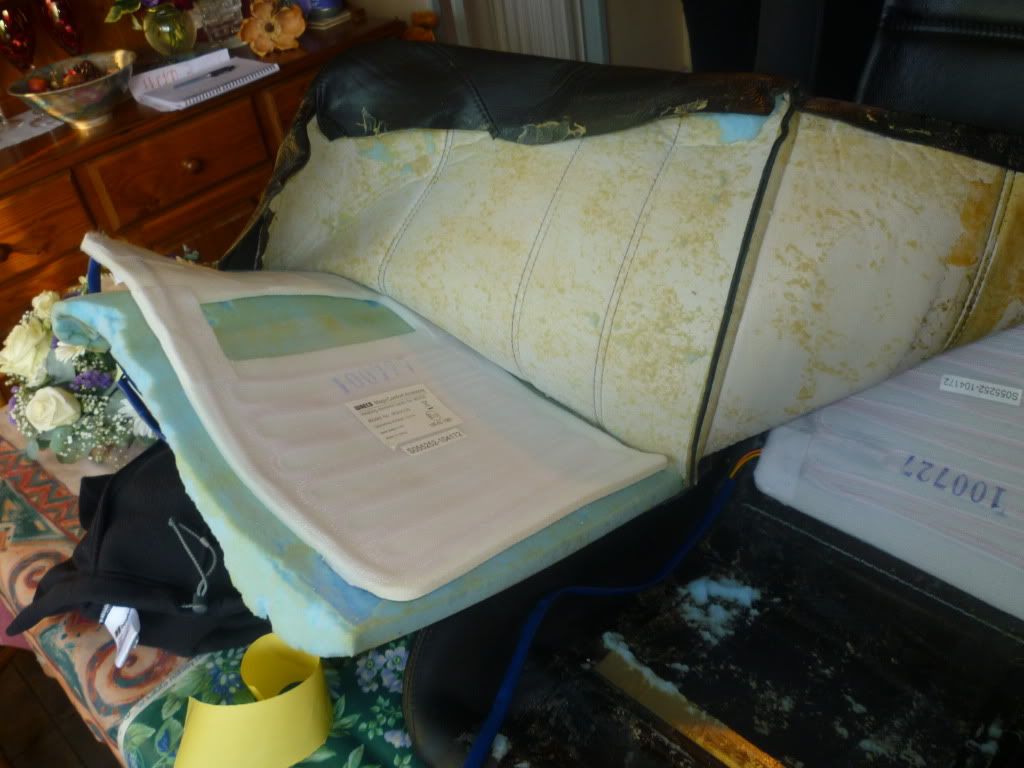
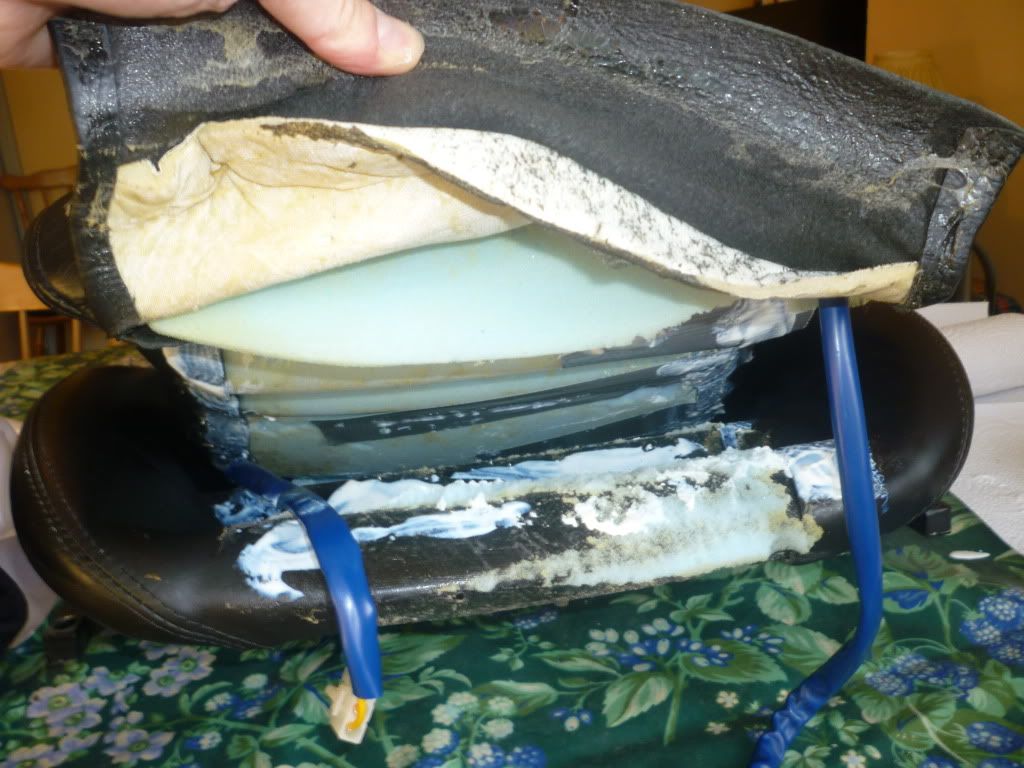
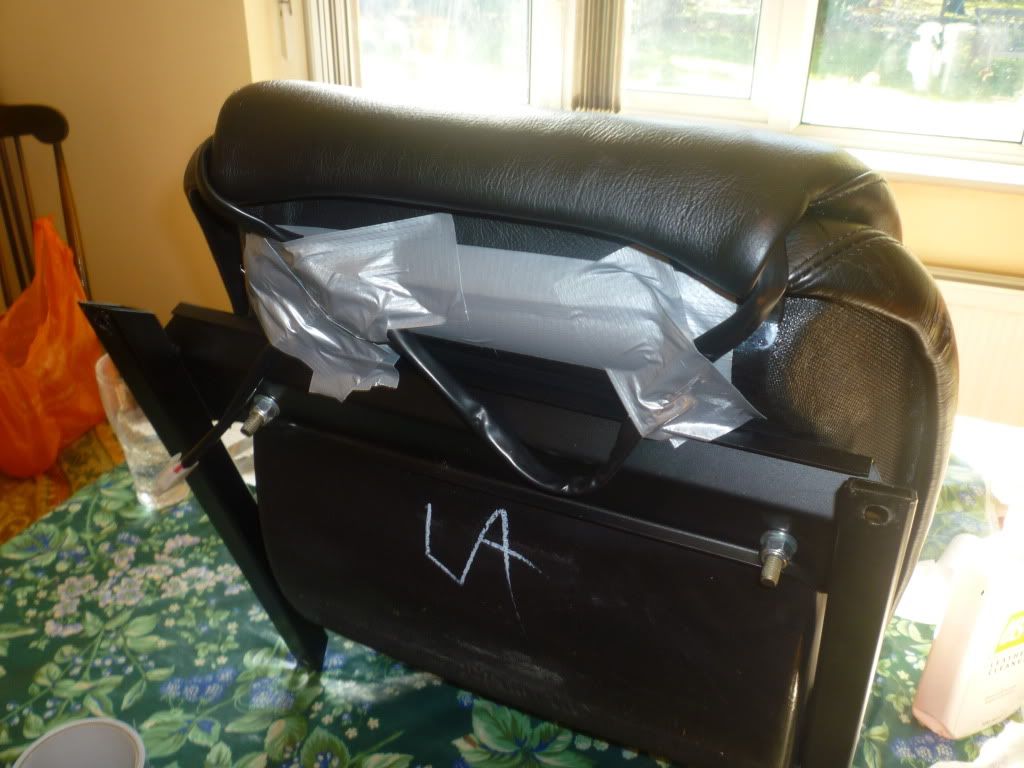
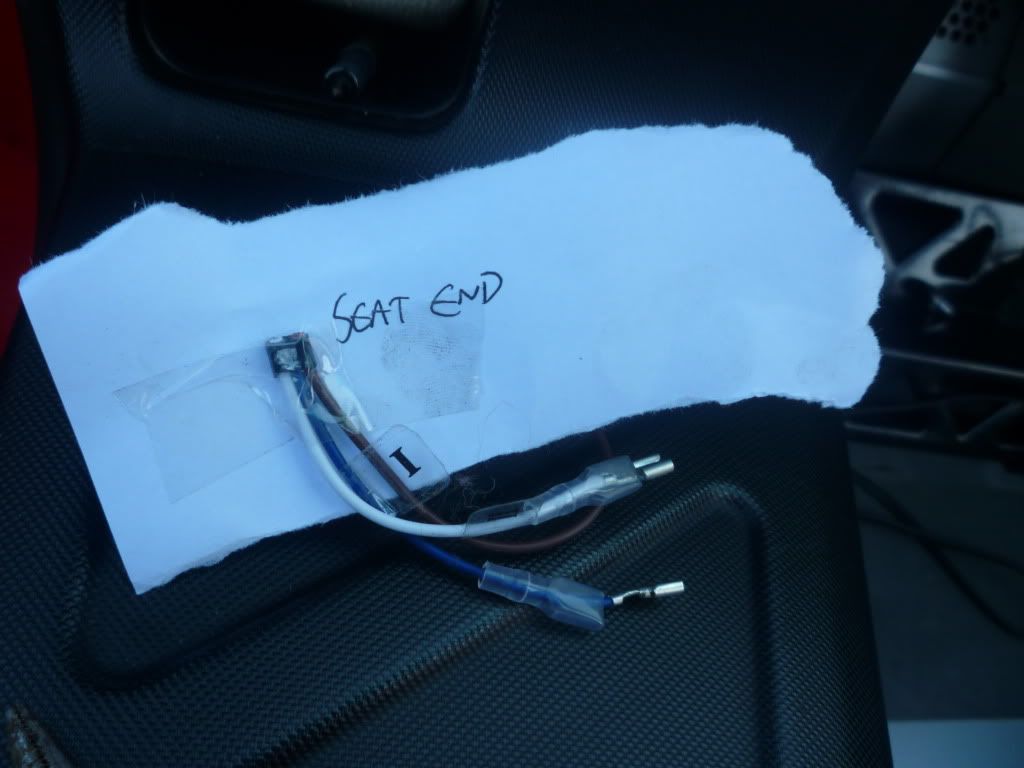
The quality of the kit is spot on. The pad sizes seem perfect for the OEM VX seats. The instructions are fairly limited but have the important circuit details. All instructions are on the website in PDF too. I am chuffed to bits with the results. You have a warm a** and back within minutes of turning the seat/seats on. Not yet used on a frosty morning but Im sure by the time you had started your car and scraped your windows they would be warm. They also offer a slight bit more padding and comfort.

Great, great mod. Took me 10+ hrs but much of that was cleaning and stood thinking. Hopefully my guide will speed things up and give others the confidence!

Thanks for the advice from a few members on the wiring inc Steve A.

This is how I did it – I take no responsibility if you melt your car!

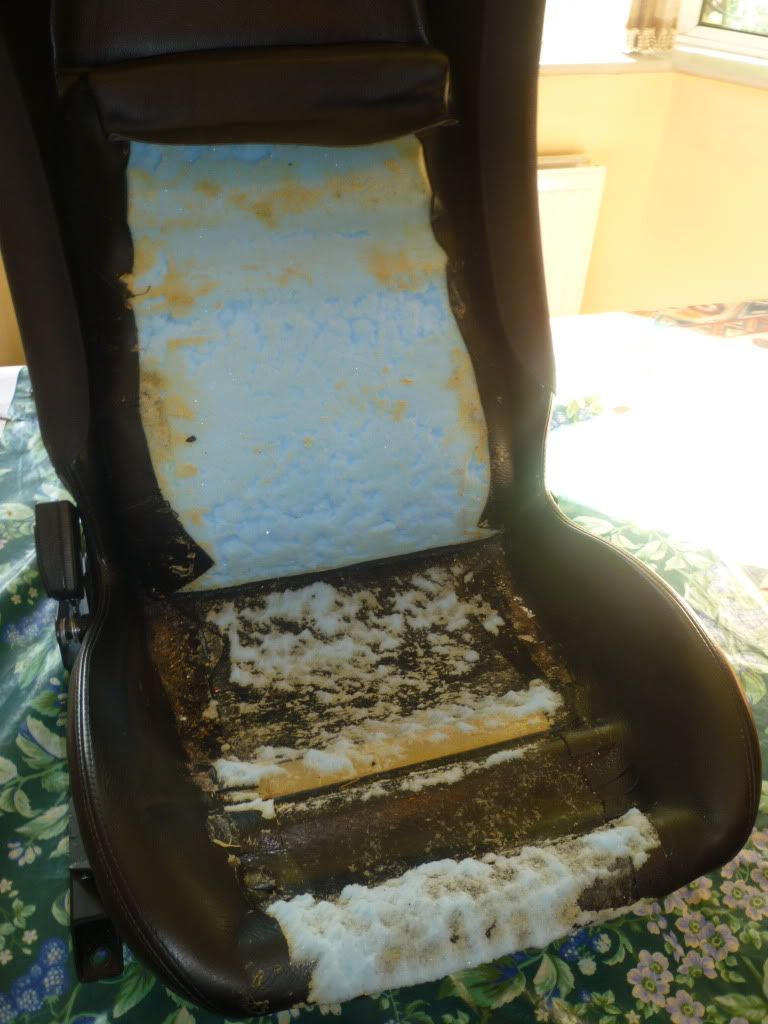
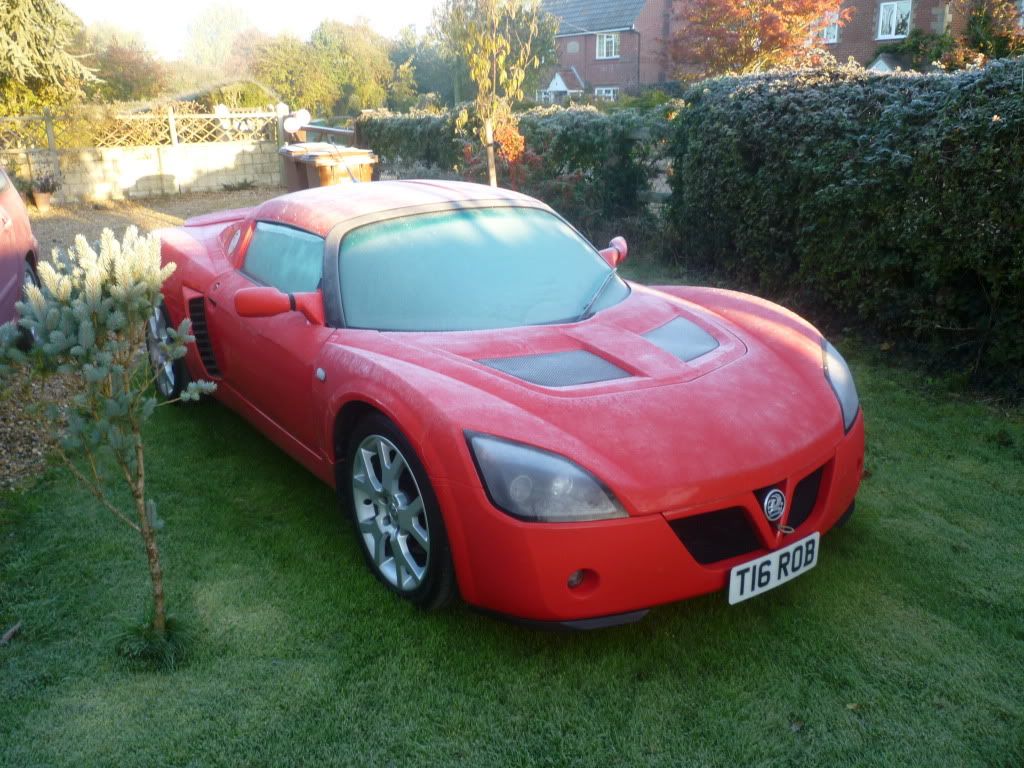
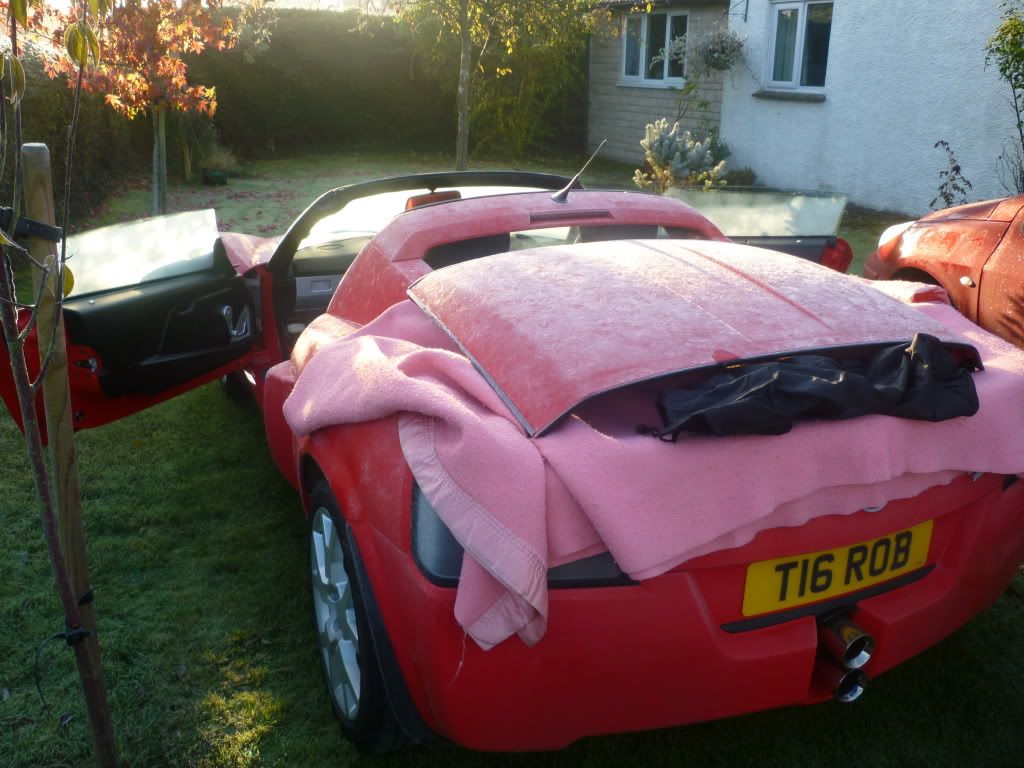
Here is the reason I did it:
Posted Image

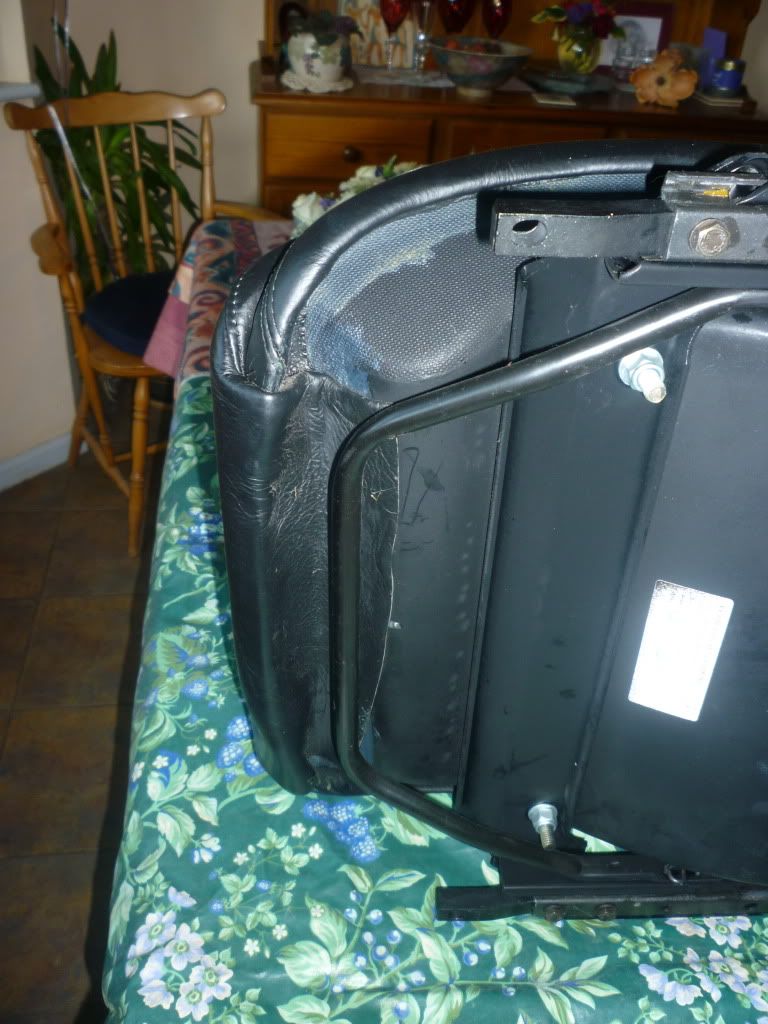
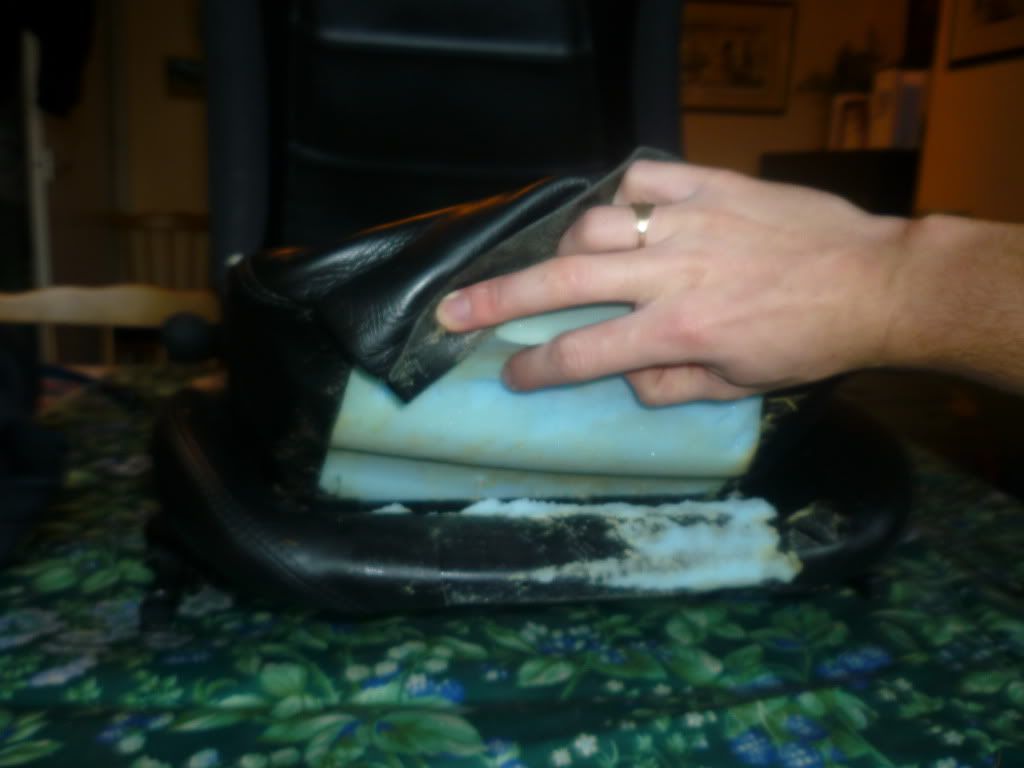
1, Firstly remove hardtop/soft-top so you can get your seats out.
Posted Image

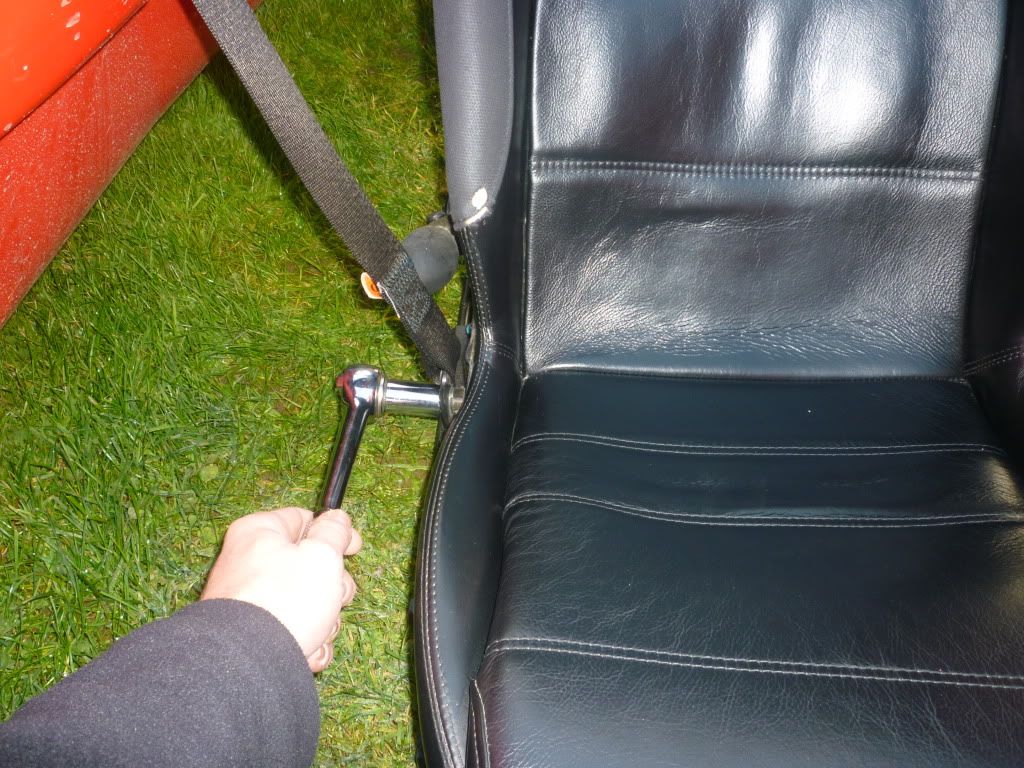
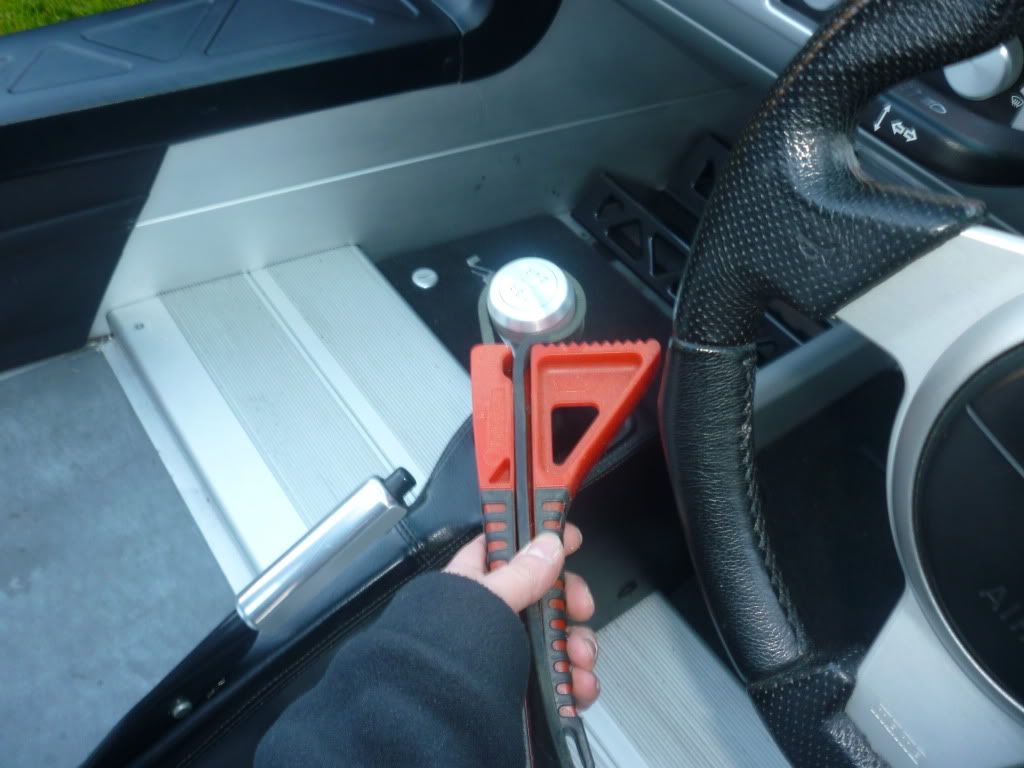
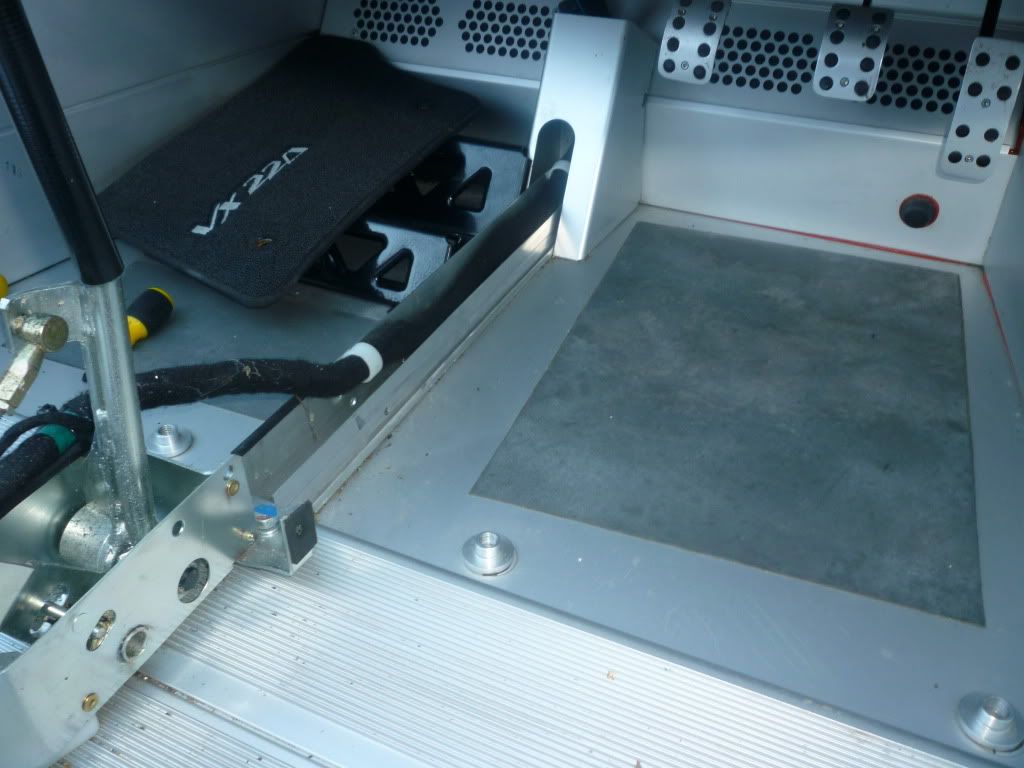
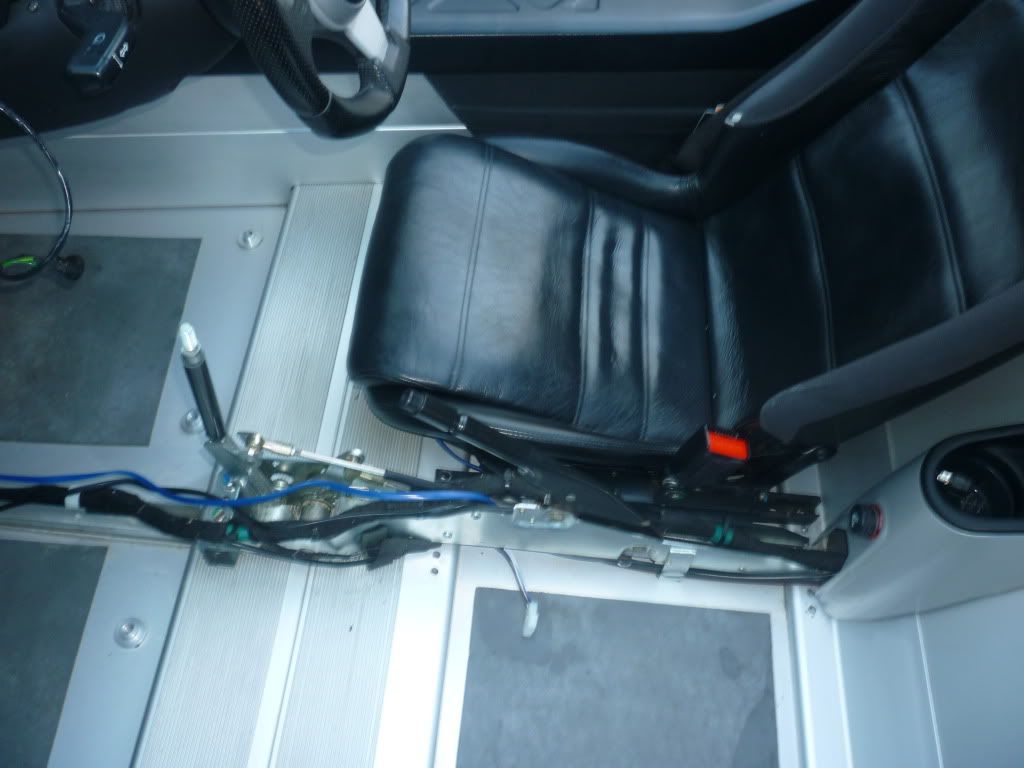
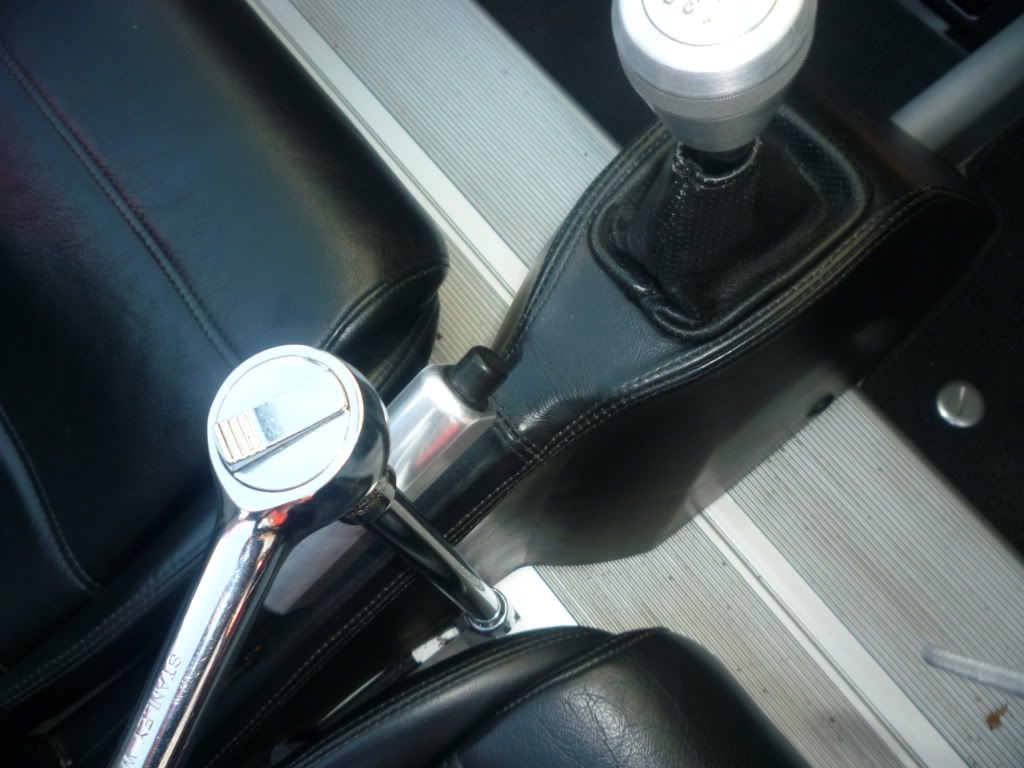
2, Remove your first seat. The drivers has 2 hex heads at the back and 2 cap heads at the front. Access them by sliding seat front or back. Keep the bolts and associated metal parts somewhere safe.
Posted Image
Posted Image

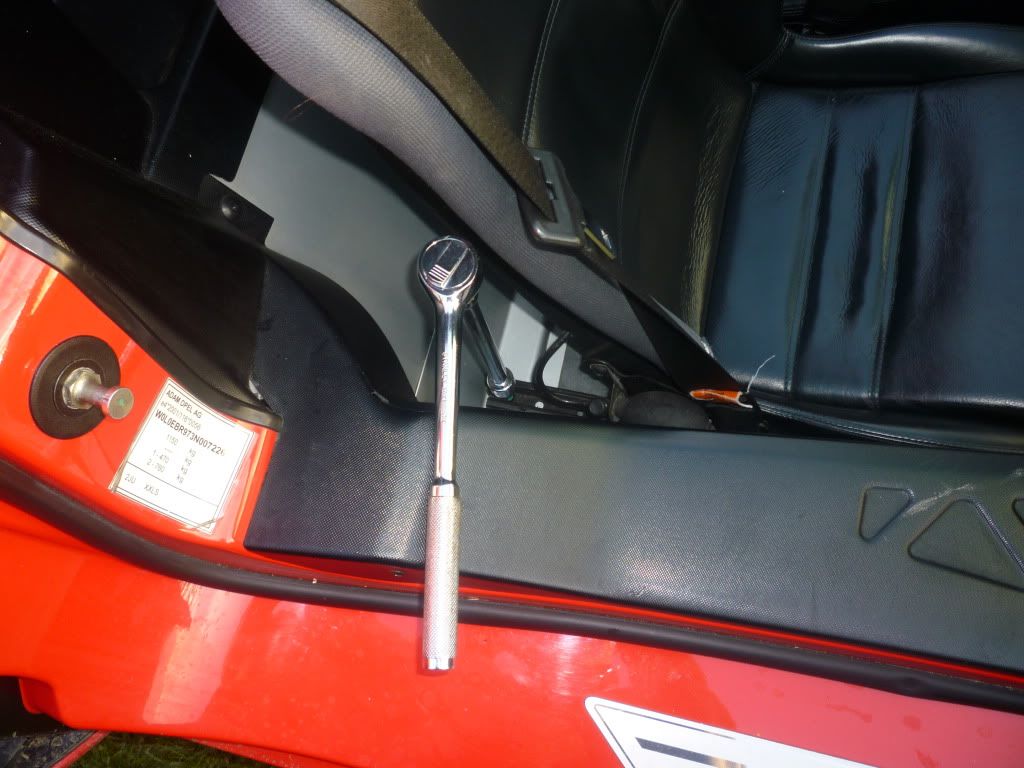
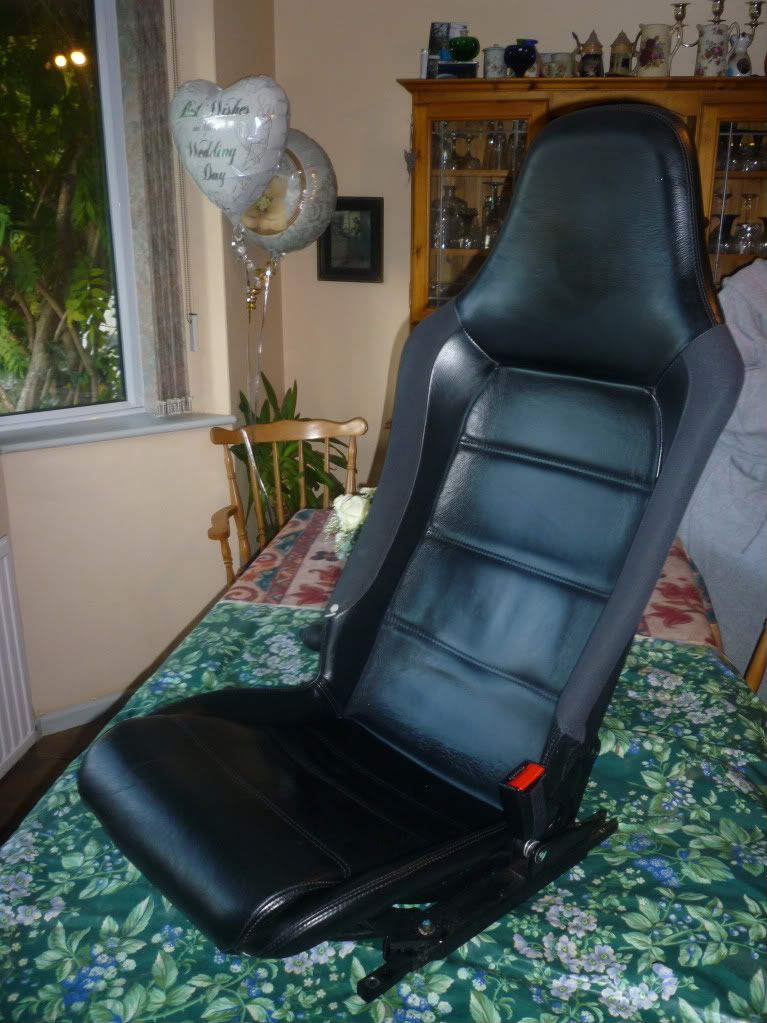
3, Carefully lift seat out of car and place by car so you can remove the seatbelt. 17mm socket if I remember correctly.
Posted Image

#2 Boss VX

Boss VX

    Super Duper Member

  • PipPipPip
  • 644 posts
  • Gender:Male
  • Location:Stroud (Glos)

Posted 04 November 2010 - 09:57 PM

4, Place you seat somewhere sensible for stripping/putting back together.
Posted Image

5, Start to pull the leather away from the back of the seat. It is held with glue and comes away fairly easy.
Posted Image
Posted Image

The base part of the seat has its leather folded under the front. Peel it back carefully.

Posted Image
Posted Image

#3 Boss VX

Boss VX

    Super Duper Member

  • PipPipPip
  • 644 posts
  • Gender:Male
  • Location:Stroud (Glos)

Posted 04 November 2010 - 09:57 PM

6, Gradually release the foam from the bottom of the seat, trying to keep the foam in one piece. Gradually scrape away with your fingers. The whole lower seat should come free and then you can remove enough material for the back heater pad. I hovered up the dust etc and leather cleaned dirty areas.
Posted Image
Posted Image
Posted Image
Posted Image

#4 Boss VX

Boss VX

    Super Duper Member

  • PipPipPip
  • 644 posts
  • Gender:Male
  • Location:Stroud (Glos)

Posted 04 November 2010 - 09:58 PM

7, I installed the heater pad between the foam and the leather. This means you need to strip back the leather to slip the pad between. I worked from one side leaving the other stuck in place. No need to strip both sides.
Posted Image

8, Firstly secure your back pad in place. I used the square pad for this as the other pad is longer and suited the seats profile better (IMO). Now you will notice there is nothing but leather and plastic behind your back! Use the double sided tape provided to secure the pad. Remember to save a bit for all 4 pads. I had the cable at the bottom and fed through to the front of the seat. I did consider making a hole in the plastic and feeding out the back but didn’t as it would get messy and spoil the seat.
Posted Image

9, Next I positioned the seat base pad on top of the foam. Under the foam I think would be a bad idea as it would take ages to get heat through to your body. Again I positioned the wire at the front so it could be wrapped under the front.
Posted Image

10, With both pads held loosely in place with tape you need to start gluing back together. I used the impact adhesive shown below (5£). Steve A suggested this. It’s great as if you make a mess it dries and rolls off easily. I do wonder if some form of spray glue would be better for sticking the foam to the leather and covering the large surfaces. I spooned the adhesive on.
Posted Image
Posted Image

The side of the seat cushion needs gluing too. I used gaffer tape to hold it in place. This is all a bit tricky as everything needs sticking at once. Make sure you pull the side tight and to its original position.
Posted Image

Carefully apply glue to the edges of the leather to attach back to the seat. Try not to make a mess!

#5 Boss VX

Boss VX

    Super Duper Member

  • PipPipPip
  • 644 posts
  • Gender:Male
  • Location:Stroud (Glos)

Posted 04 November 2010 - 09:59 PM

10, The impact adhesive is excellent for the final part of re-sticking. You need to pull the leather tight and under the seat front. Make sure the contoured foam is sat correctly and your cables are positioned correctly. Apply glue to the underneath and evenly stick down. The glue grabs the leather so well – I would use nothing else for this.
Posted Image
Posted Image

11, I now held the cables in place with some gaffer tape to keep things tidy when refitting. Black tape would be better! I ended up leaving it like this as it can’t be seen and keeps the wires tidy.
Posted Image

12, Finally I put the seat on the floor and sat in it to push all the surfaces together and help it stick. Also a welcome break. Finished seat:
Posted Image

#6 Boss VX

Boss VX

    Super Duper Member

  • PipPipPip
  • 644 posts
  • Gender:Male
  • Location:Stroud (Glos)

Posted 04 November 2010 - 09:59 PM

13, Repeat process for the passenger seat. You will probably need to cut down an allen key to remove the passenger seat front caphead screw. Many threads on this. A few pics from second seat.
Posted Image
Have in mind where you wires are going as you route and stick them.
Posted Image
Each seat takes around 1 hour. Nice indoors job however! I would suggest getting the seats out and doing the seats one evening, leaving refit and wiring for a full day.

14, With both seats done you obviously need to prepare for the wiring. Remove gear knob. I needed a strap wrench.
Posted Image

15, Remove handbrake handle (2 x 2.5mm grub screws). Remove center console by taking out the 2 plastic screws. I couldn’t help myself but give the interior a quick clean whilst the seats were out.
Posted Image

16, The aim is to send the wires down the center console following the path of the others from the engine.
Posted Image

#7 Boss VX

Boss VX

    Super Duper Member

  • PipPipPip
  • 644 posts
  • Gender:Male
  • Location:Stroud (Glos)

Posted 04 November 2010 - 10:00 PM

17, Remove dash. Plenty of threads on this but as a quick guide, you need to remove the dash plates. Originals will have plastic clips and also tape. Mine were done for me previously and now I just use tape.
Posted Image
Posted Image

Undo the 3 screws as shown below. Note some models have an extra screw behind the name-plate I believe.
Posted Image
Posted Image
Posted Image

#8 Boss VX

Boss VX

    Super Duper Member

  • PipPipPip
  • 644 posts
  • Gender:Male
  • Location:Stroud (Glos)

Posted 04 November 2010 - 10:00 PM

18, Disconnect battery negative.
Posted Image

19, Lift the dash and disconnect the starter button switch before you snap the wire. The dash will pivot on 2 studs at the front. Push it up and pull the instrument binnacle towards you so its clip comes free. The dash can then be lifted and rotated anti-clockwise and out. Tricky but you will get there.
Posted Image

20, The idea is to thread the harness along the center on the floor (see section 16) and up into the dash through the rubber harness grommet above your passengers footwell. To get the wires up and through you need to cut the ready-made harness for both seats at the switches.
Posted Image
All wires are labeled, but keep the switches in a safe place.
Posted Image

#9 Boss VX

Boss VX

    Super Duper Member

  • PipPipPip
  • 644 posts
  • Gender:Male
  • Location:Stroud (Glos)

Posted 04 November 2010 - 10:01 PM

21, Route both cables (cable tie after refitting seats). I followed the vehicle harness. It is tricky poking the wires through the tight grommet but persistence should pay off. They will appear in the dash. I used some bent wire to grab and pull to hands reach.
Posted Image
Posted Image
Leave the cables until you have fitted the seats and then you can pull tight and tidy up.

22, Now refit your seats and connect your harness connectors at the same time. Organise where things are before securing your seats.
Posted Image

23, With your second seat connected and secured you can pull your harness wires tight and cable tie in place. Make sure you have enough slack for adjustment of the drivers seat.
Posted Image

24, Warning – I routed my cables down inside the handbrake area through a small gap and near the gearbox cables. I also had the 2 cables slightly interfering with 2nd gear. This resulted in nastly noises selecting 2nd. Not sure which caused the problem. Avoid all gear cables and check your gear stick movement before refitting your center console. My wires now come down the sides of the center console to the floor and not through the center of the mechanism.

#10 Boss VX

Boss VX

    Super Duper Member

  • PipPipPip
  • 644 posts
  • Gender:Male
  • Location:Stroud (Glos)

Posted 04 November 2010 - 10:02 PM

25, Now you need the other end of your harness ( the bit with the relay and fuses) to come from the battery compartment into the dash. I found the grommet too tight so I drilled a hole and fed the wires through.
Posted Image
Posted Image
Remove the wiper motor cover to get access:
Posted Image
Pull wires through. Again wire is useful.
Posted Image
Later I fit a protective grommet and silicone once wires are fixed in position.

26, A circuit diagram is in the instructions. Firstly I removed the small ring connector from the earth wire as a larger one would be needed later.
Posted Image

#11 Boss VX

Boss VX

    Super Duper Member

  • PipPipPip
  • 644 posts
  • Gender:Male
  • Location:Stroud (Glos)

Posted 04 November 2010 - 10:02 PM

27, To make sure the seats go on/off with the ignition you need to supply a feed to the relay. I used the feed from the cars interior fan. This is the thick green wire which goes to the 20amp fuse number 3 (see owners manual).
Posted Image

28, To find the wire going to this fuse was tricky as I couldn’t remove the fuse box (nuts spinning). By removing some harness wrap and waggling wires I found it was the thick green one. I double checked this by removing a little sheeth and checking continuity with a multimeter.
Posted Image

Sorry – photos now taken with mobile!

29, You need to connect the green wire to the orange wire on the heated seats harness. The orange wire comes from pin 15 on the relay. I snipped off the ring terminal and connected using a 25p scotch block (blue connector in 2nd picture).
Posted Image
Posted Image

You could branch and solder together but I didn’t want to cause too much damage to the cars original loom. Scotch blocks should be fine so long as you cover in tape and keep dry.
Posted Image
Black tape will cover the blue later! I also taped up the slightly exposed fuse.

#12 Boss VX

Boss VX

    Super Duper Member

  • PipPipPip
  • 644 posts
  • Gender:Male
  • Location:Stroud (Glos)

Posted 04 November 2010 - 10:03 PM

30, Now you need to connect your red wire (pin 30 from relay – see diagram in instructions) to the battery positive terminal. I made some extensions with suitable wire and large enough ring terminals. Use heatshrink and solder the wires together for a professional job. I protected the wire with some air hose.
Posted Image
Posted Image

31, Repeat a make an extension for your black ground wire (ring connector removed in section 26). The ground wire is from pin 31 on the relay (see diagram in instructions or website). I attached the ground to the plate which holds the battery in place.
Posted Image
Posted Image

#13 Boss VX

Boss VX

    Super Duper Member

  • PipPipPip
  • 644 posts
  • Gender:Male
  • Location:Stroud (Glos)

Posted 04 November 2010 - 10:04 PM

32, I now re-connected battery and fitted washer bottle and secured wires. I should probably have left re-connecting battery until the soldering and refitting of dash was done but I did this another day. I kept the bulk of the harness under the wiper motor cover for some protection. The relay fitted nicely on the threads you see below.
Posted Image
Posted Image
Posted Image

#14 Boss VX

Boss VX

    Super Duper Member

  • PipPipPip
  • 644 posts
  • Gender:Male
  • Location:Stroud (Glos)

Posted 04 November 2010 - 10:05 PM

33, With all the wires tied and fitted on the battery side you can now re-link the harness in the dash (best done with battery disconnected and ignition off!). I soldered all the wires I previously cut back together having removed excess wire in between. I considered fitting new spade connectors but the originals fitted perfectly on the switches and had nice plastic covers so I kept these. Solder and heatshrink finished the wiring.
Posted Image
Posted Image
Bit of protective spiral wrap.
Posted Image

34, Next I fitted a rubber grommet and siliconed the drilled hole. Made wires tidy with cable ties.
Posted Image

35, Refit dash. Top tip – push the screws through tape and tape to your screwdriver before trying to fit. Otherwise you w ill keep dropping into the dash area. Once screwed in, pull tape off.

#15 Boss VX

Boss VX

    Super Duper Member

  • PipPipPip
  • 644 posts
  • Gender:Male
  • Location:Stroud (Glos)

Posted 04 November 2010 - 10:05 PM

35, 2 x 20mm holes were drilled in the dash plate using an electric hand drill and stepped hole cutter (looks like a small metal Christmas tree). Worth spending a lot of time on this to get right. Notice the switches are in this position as there is a gap in the aluminium!
Posted Image
Posted Image
Posted Image

I think Steve A put his switches on the center cup holder. I guess put them where you want.

36, I think that’s it. Test them out. Make sure they go off with the ignition. Happy winter motoring.

#16 Steve B

Steve B

    Need to get Out More

  • PipPipPipPip
  • 964 posts
  • Gender:Male
  • Location:Oxfordshire / West Berkshire
  • Interests:Mountain Biking and Cars

Posted 04 November 2010 - 10:57 PM

Good work and great write up thumbsup

#17 Ben NA

Ben NA

    Super Member

  • PipPip
  • 480 posts
  • Gender:Male

Posted 04 November 2010 - 11:12 PM

Great guide! The buttons look really OEM. Seems like a lot of hard work for a warm bum though :P

#18 J4EY D

J4EY D

    Bob Maloogaloogaloogaloogalooga

  • PipPipPipPipPipPip
  • 3,236 posts
  • Gender:Male
  • Location:Sidcup, Kent (SE London)

Posted 04 November 2010 - 11:15 PM

Great guide... im very tempted to do this now!!

I see you keep your locking wheel nut key under the bonnet Posted Image Posted Image

#19 fred666

fred666

    All Show, All Go

  • PipPipPipPipPipPip
  • 2,291 posts
  • Gender:Male
  • Location:S Wales

Posted 05 November 2010 - 12:41 AM

Top guide mate. Have the Waecos fitted in mine, had the trimmer bash them in while i had the retrim then wired them up myself :)

#20 2.2_na

2.2_na

    No Compromise

  • PipPipPipPipPipPipPip
  • 6,323 posts
  • Gender:Male
  • Location:London

Posted 05 November 2010 - 02:33 AM

Great photos & guide thumbsup


1 user(s) are reading this topic

0 members, 1 guests, 0 anonymous users