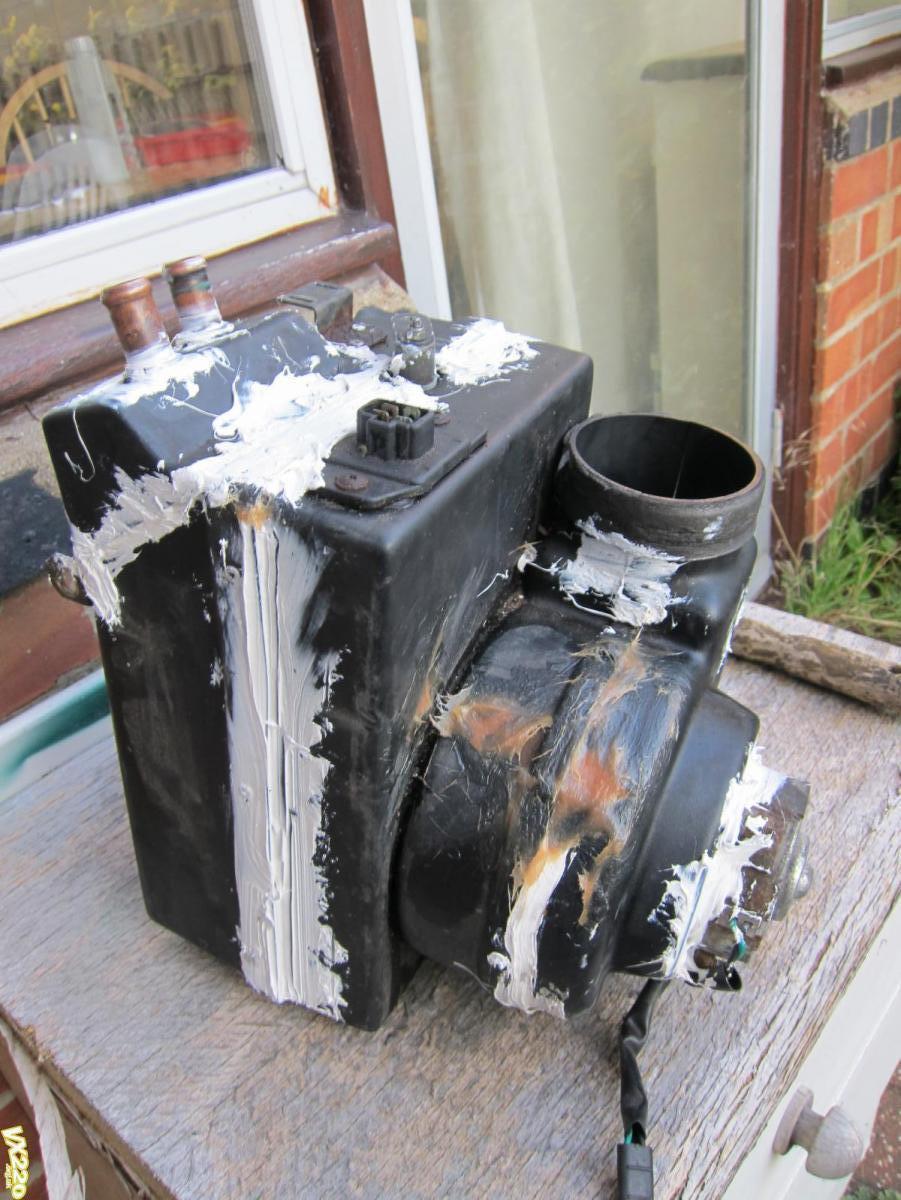
Decat
10 years old and no one has done this yet.
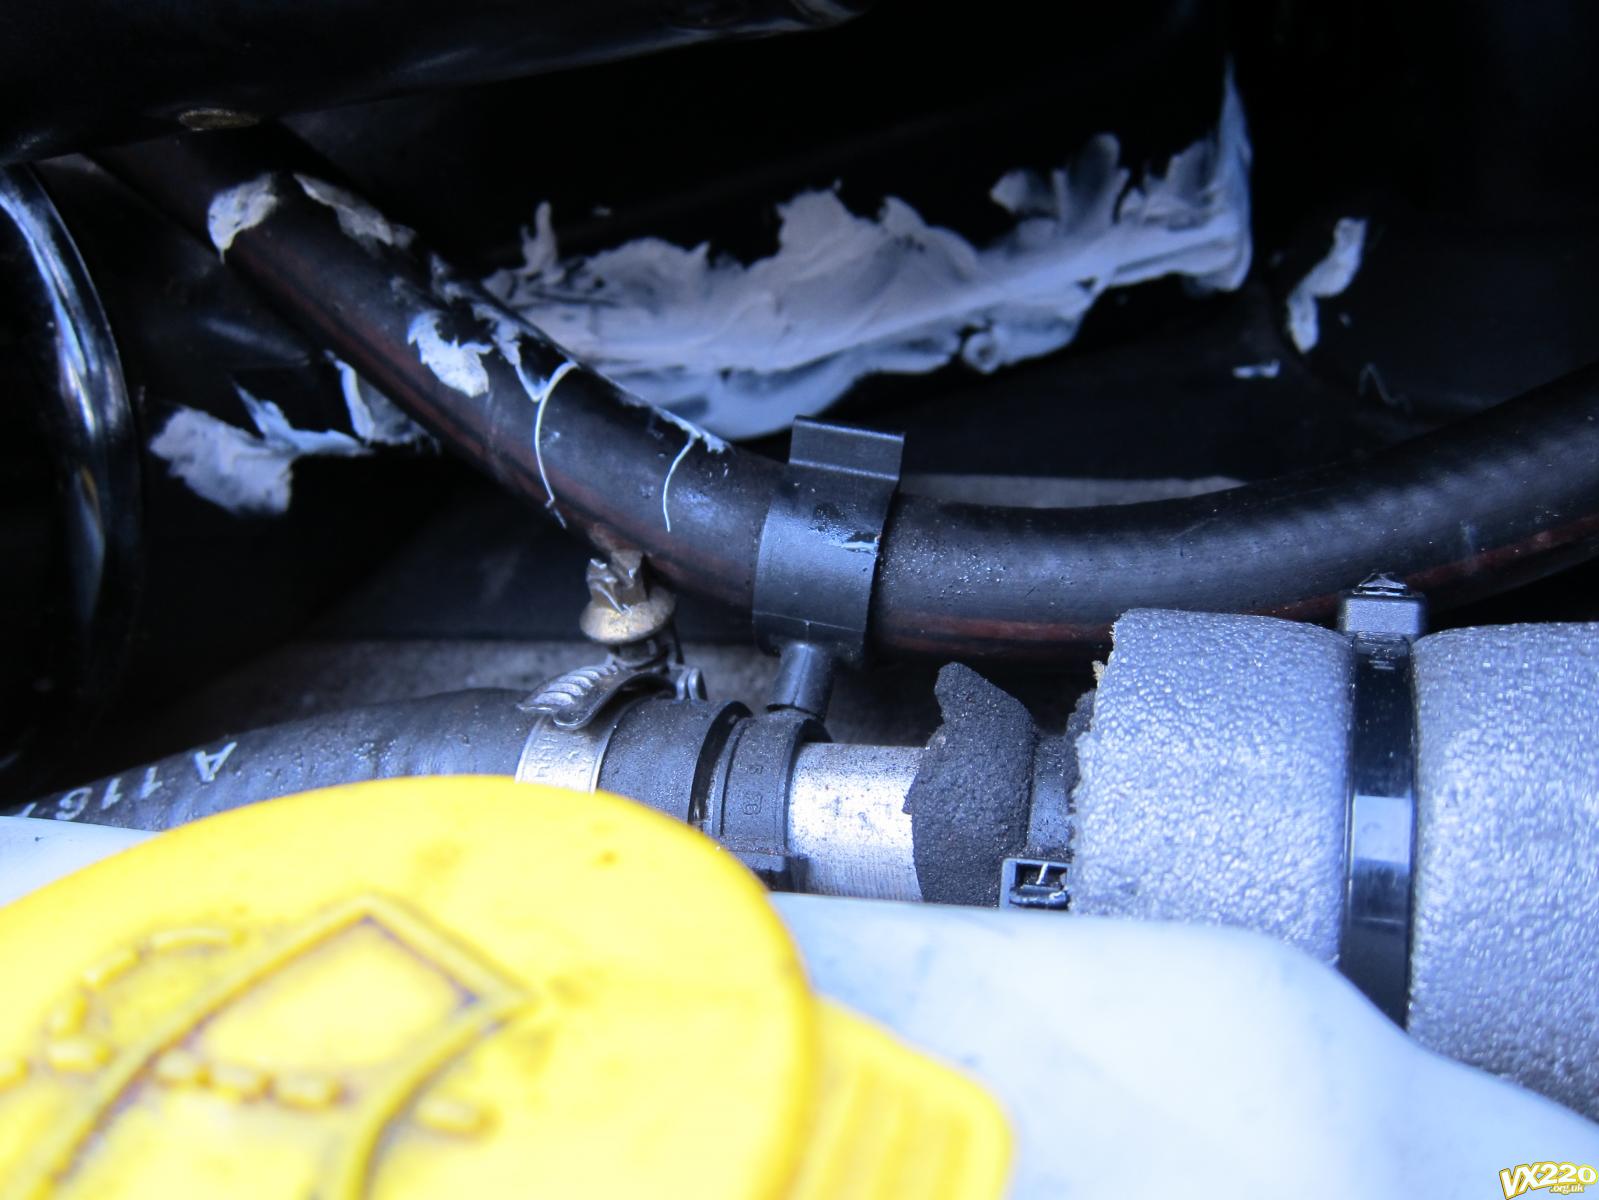
Downpipe out
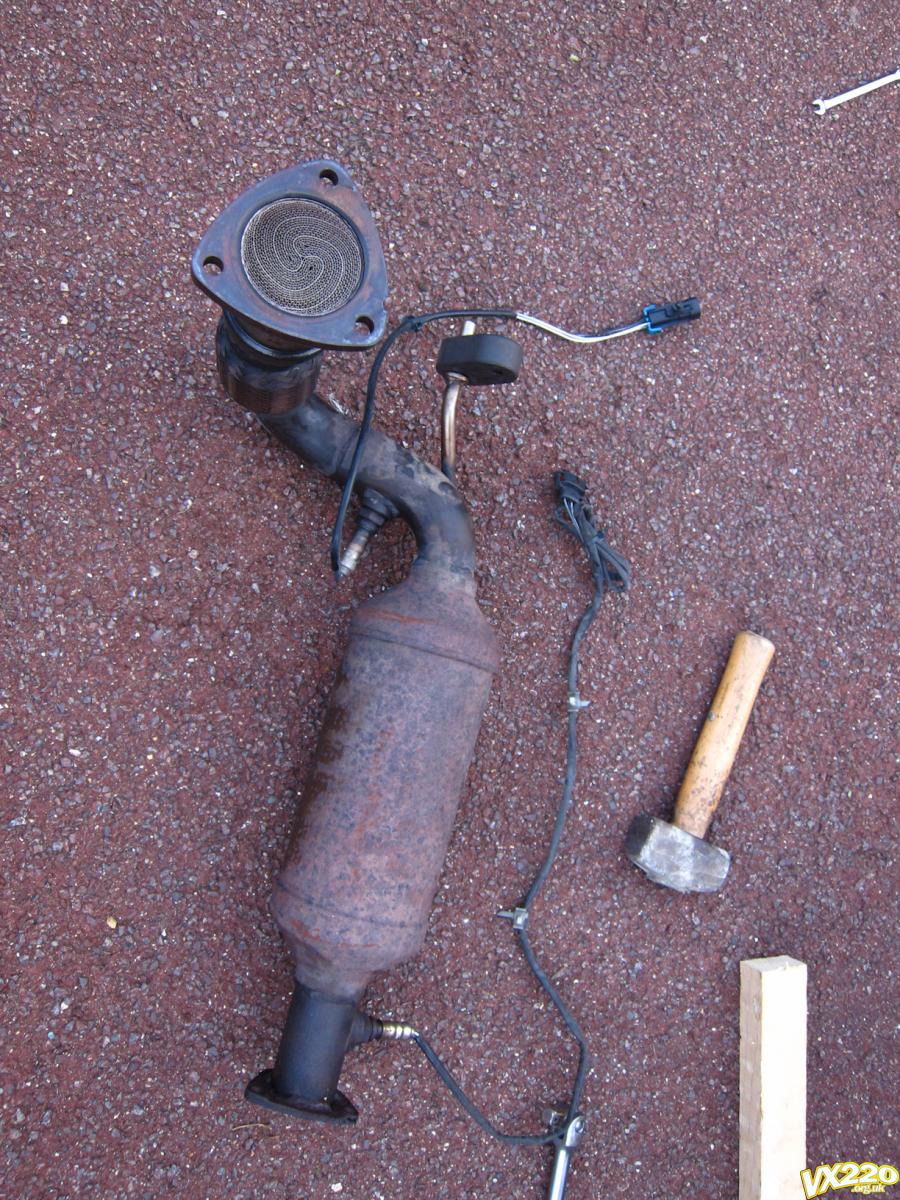
Precat out
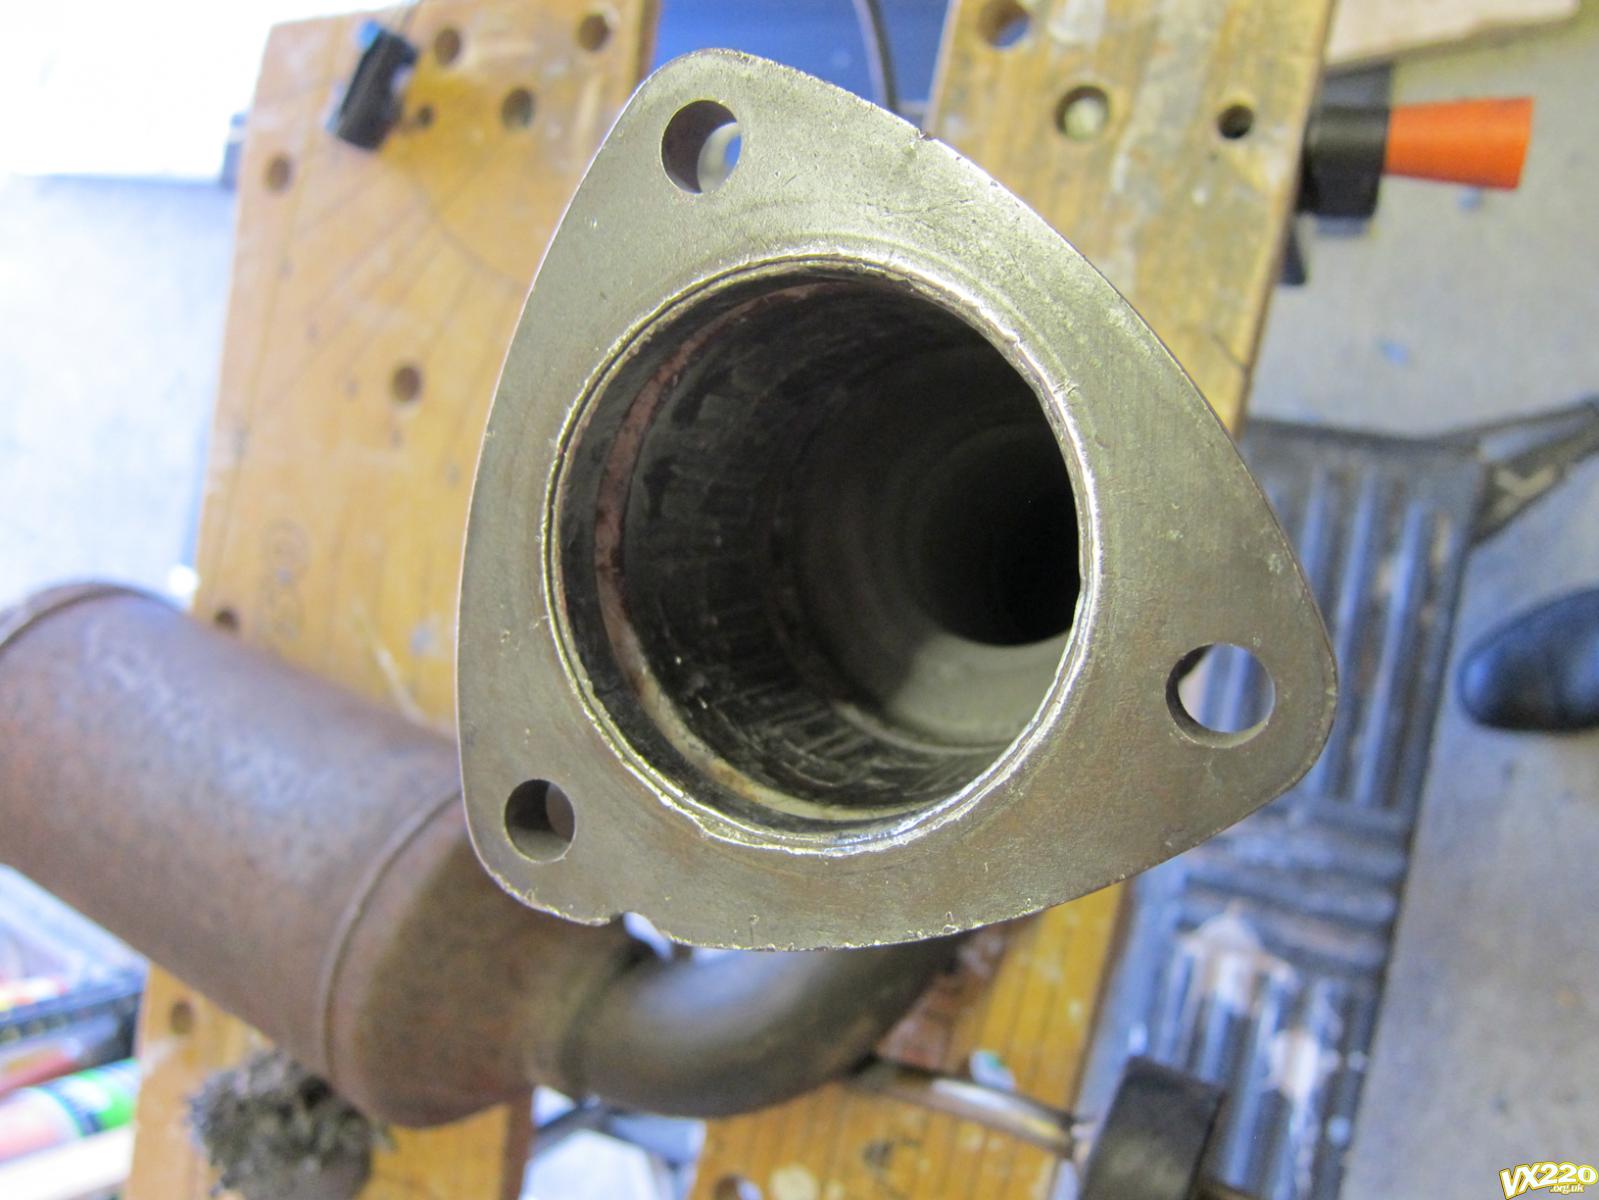
Used the same approach as everyone else; lots of drill bits and lots of force. While the exhaust was out I used the chance to adjust the positioning of the Larini; when it was fitted the cat and backbox were rubbing, now there's an inch clearance.
Gearbox oil change
there's a guide somewhere that lost it's pictures, so i thought i'd take a few for this.
Oil: should be 75W-80. Look for API GL-
x, where increasing x is increasing protection; 4 is general applications, 5 is high torque. I bought the cheapest one I could find with both sets of claims.
Step 1. Remove the undertray
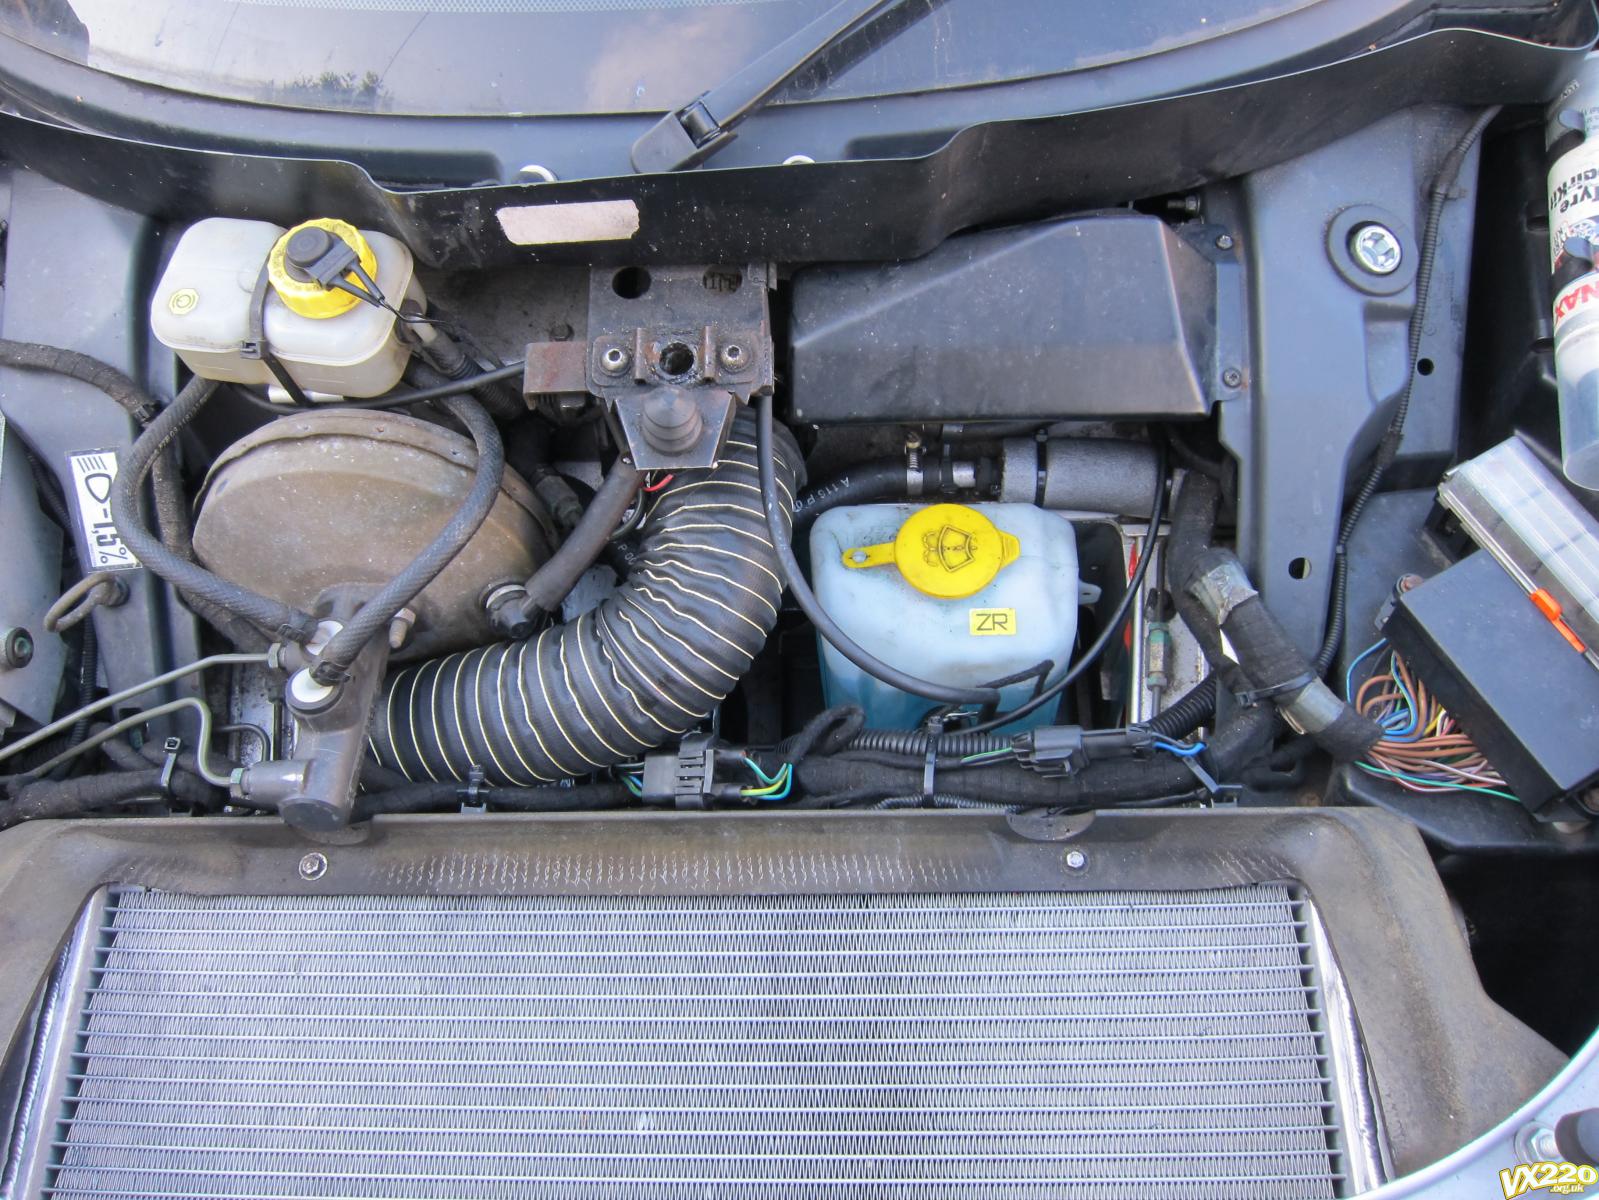
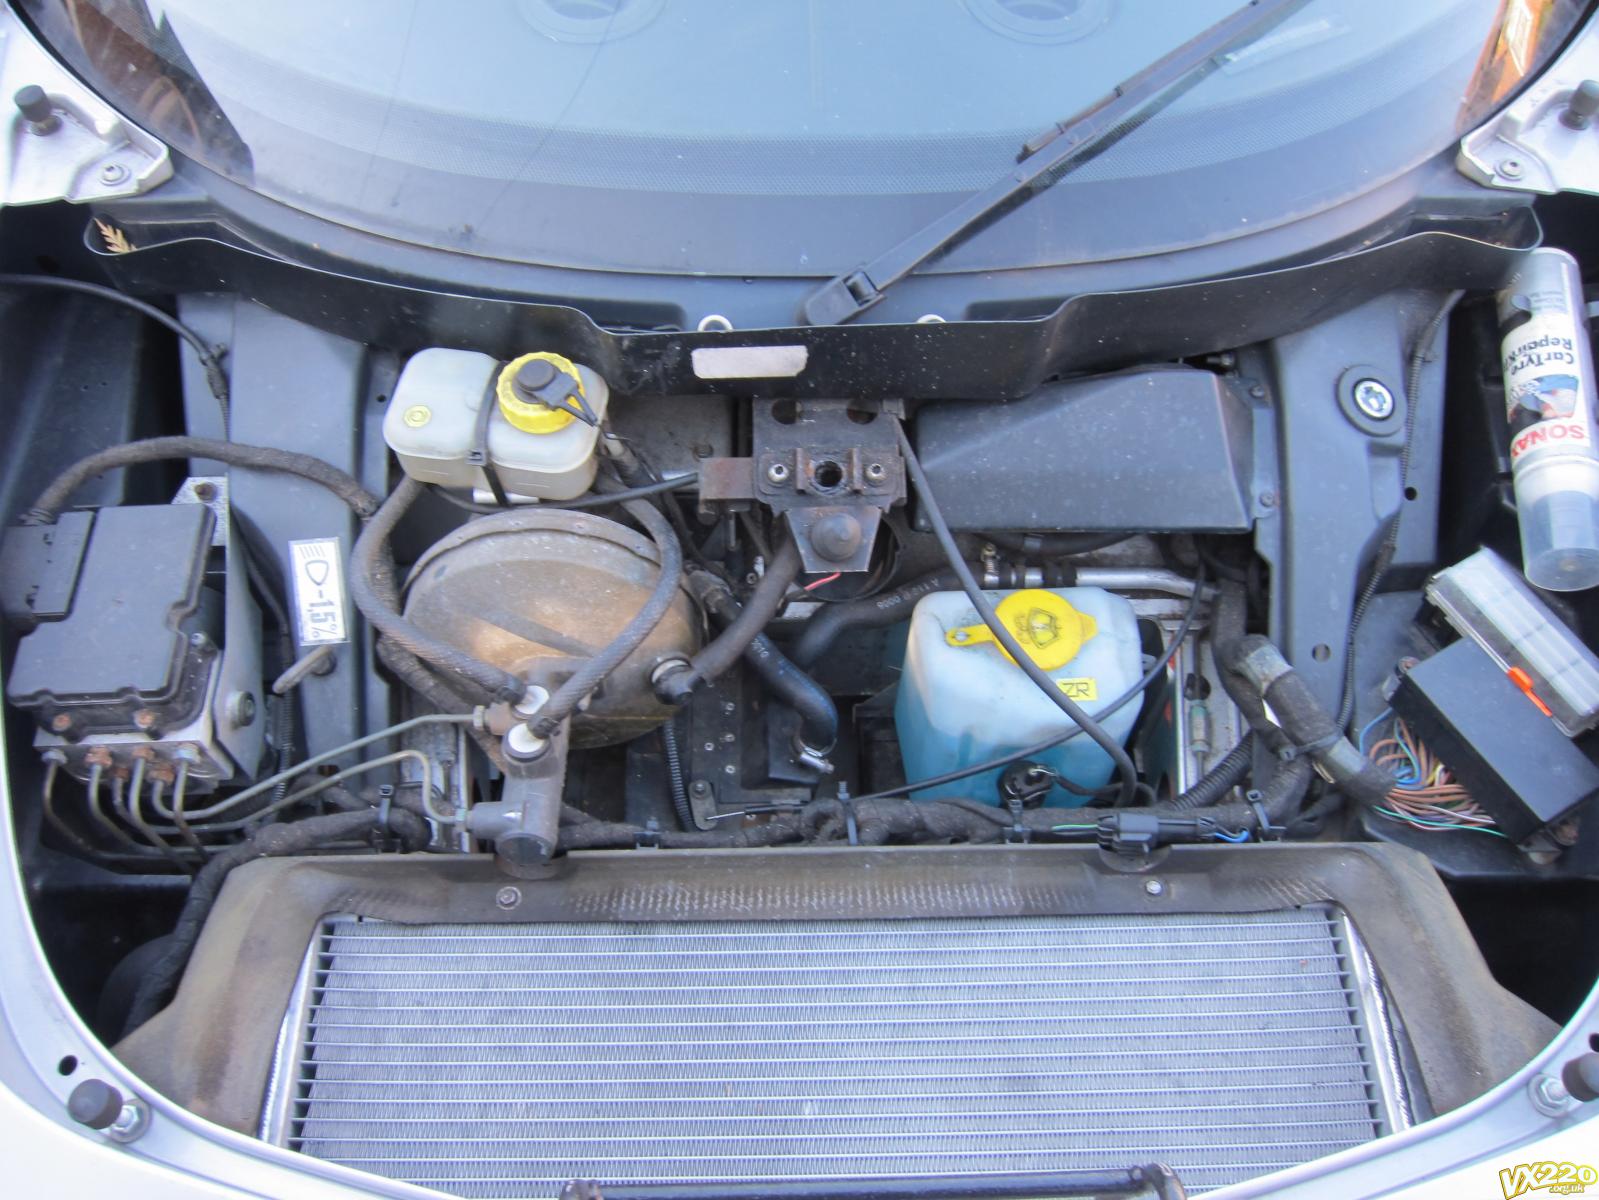
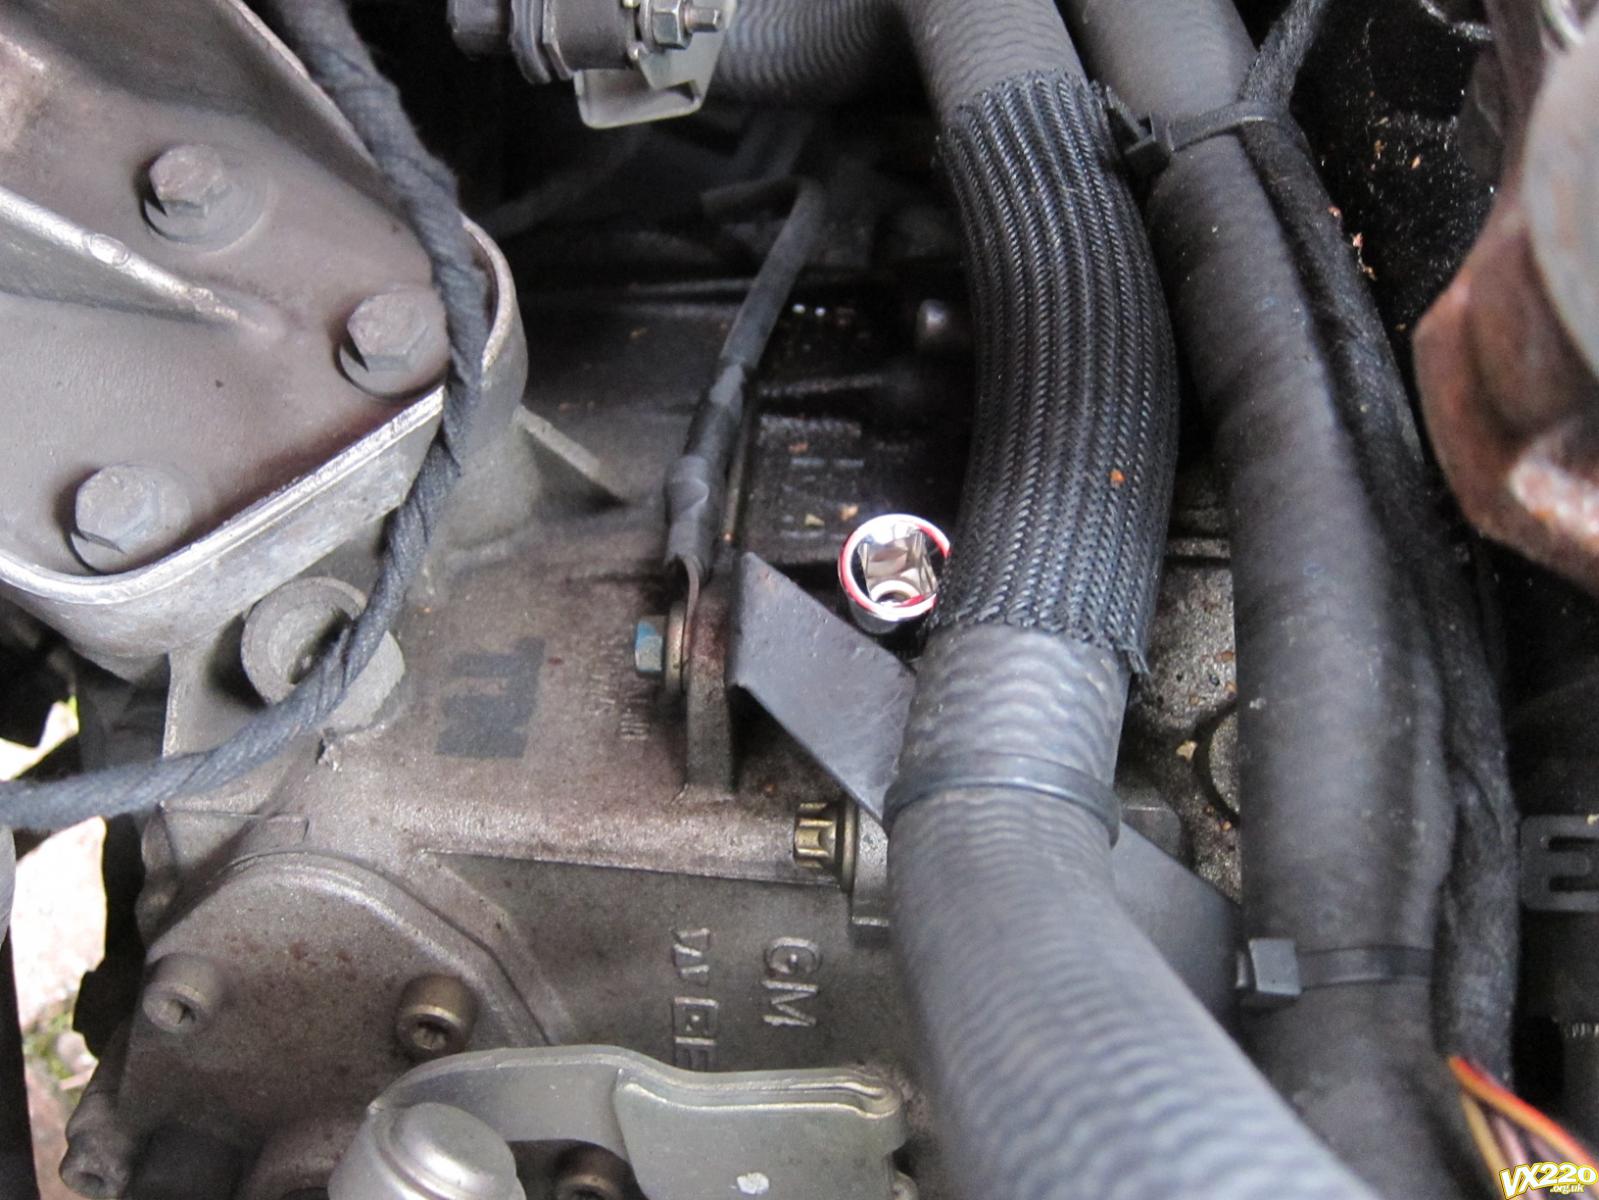
Step 2. Locate the filler bolt, accessed from the top of the engine bay under the coolant tank - loosen with a 8 mm hex head (in picture), but do not remove completely yet
Step 3. Locate the drain plug on on the gear box from under the car; it's under the drive shaft going from the gear box to the NSR wheel.
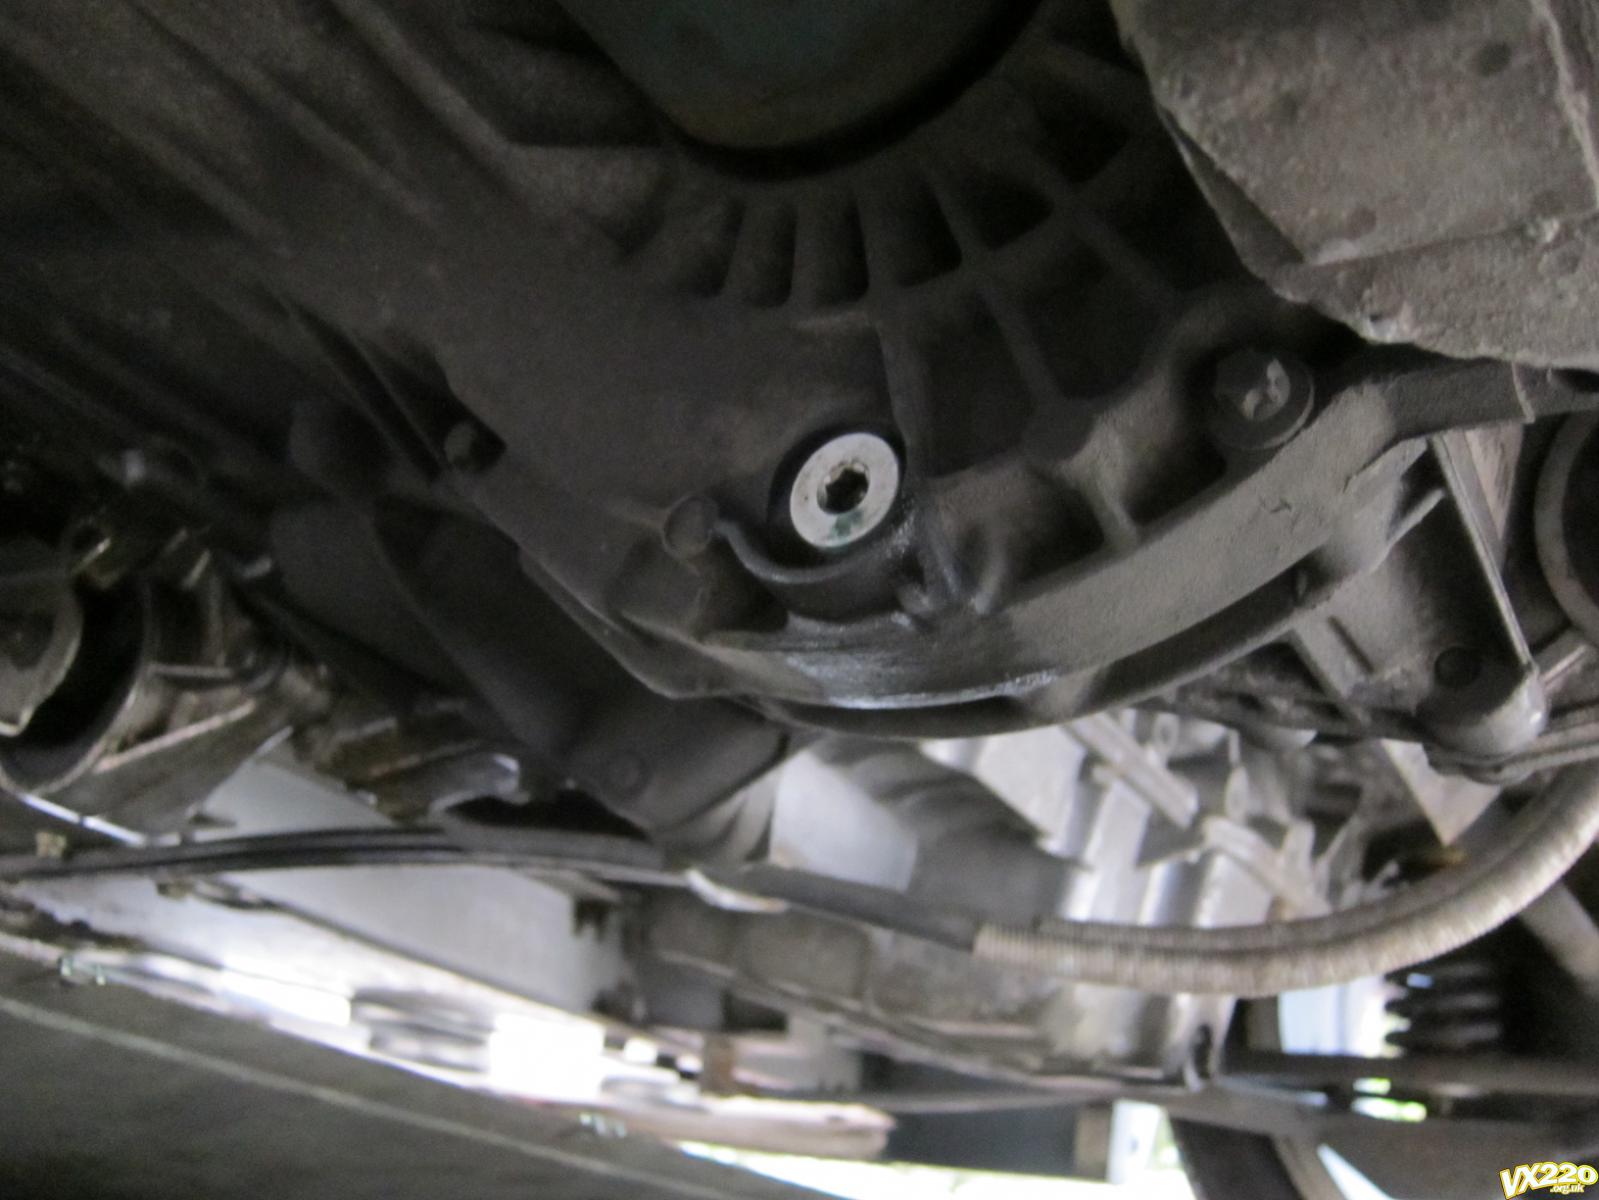
Step 4. Undo drain plug with 8 mm hex head.
Step 5. Drain oil. Measure the volume that comes out
Step 6. Clean and refit drain plug
Step 7. Attach a length of tubing to making filling easier.
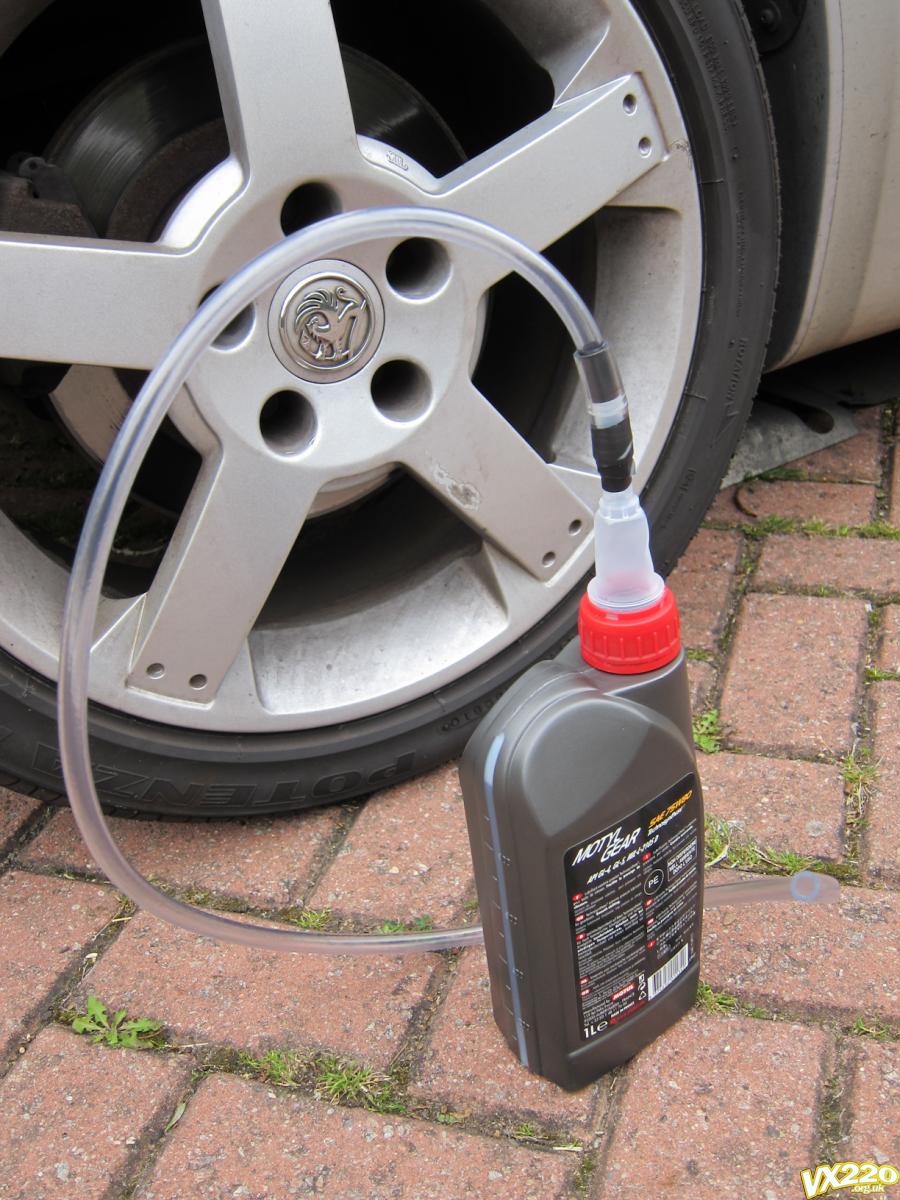
Step 8. Remove the filler plug (Step 2) completely, insert the tubing and start to fill.

Step 9. Get a tea (takes about 10 - 20 minutes per 1 L to fill)
Step 10. Once you've added the same volume of oil that came out, refit the filler plug.
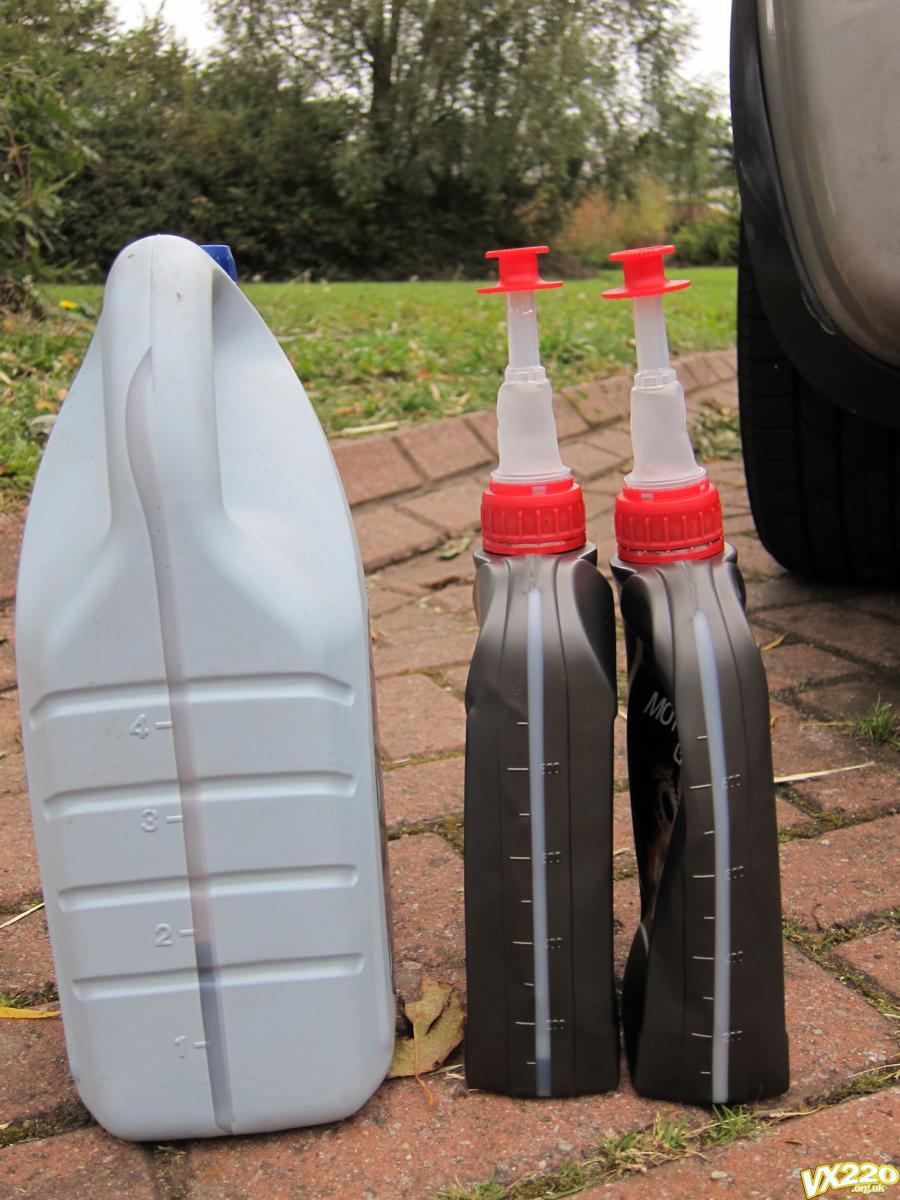
(same volume in as out)
That's it, done!
Edited by fezzasus, 09 October 2011 - 03:14 PM.


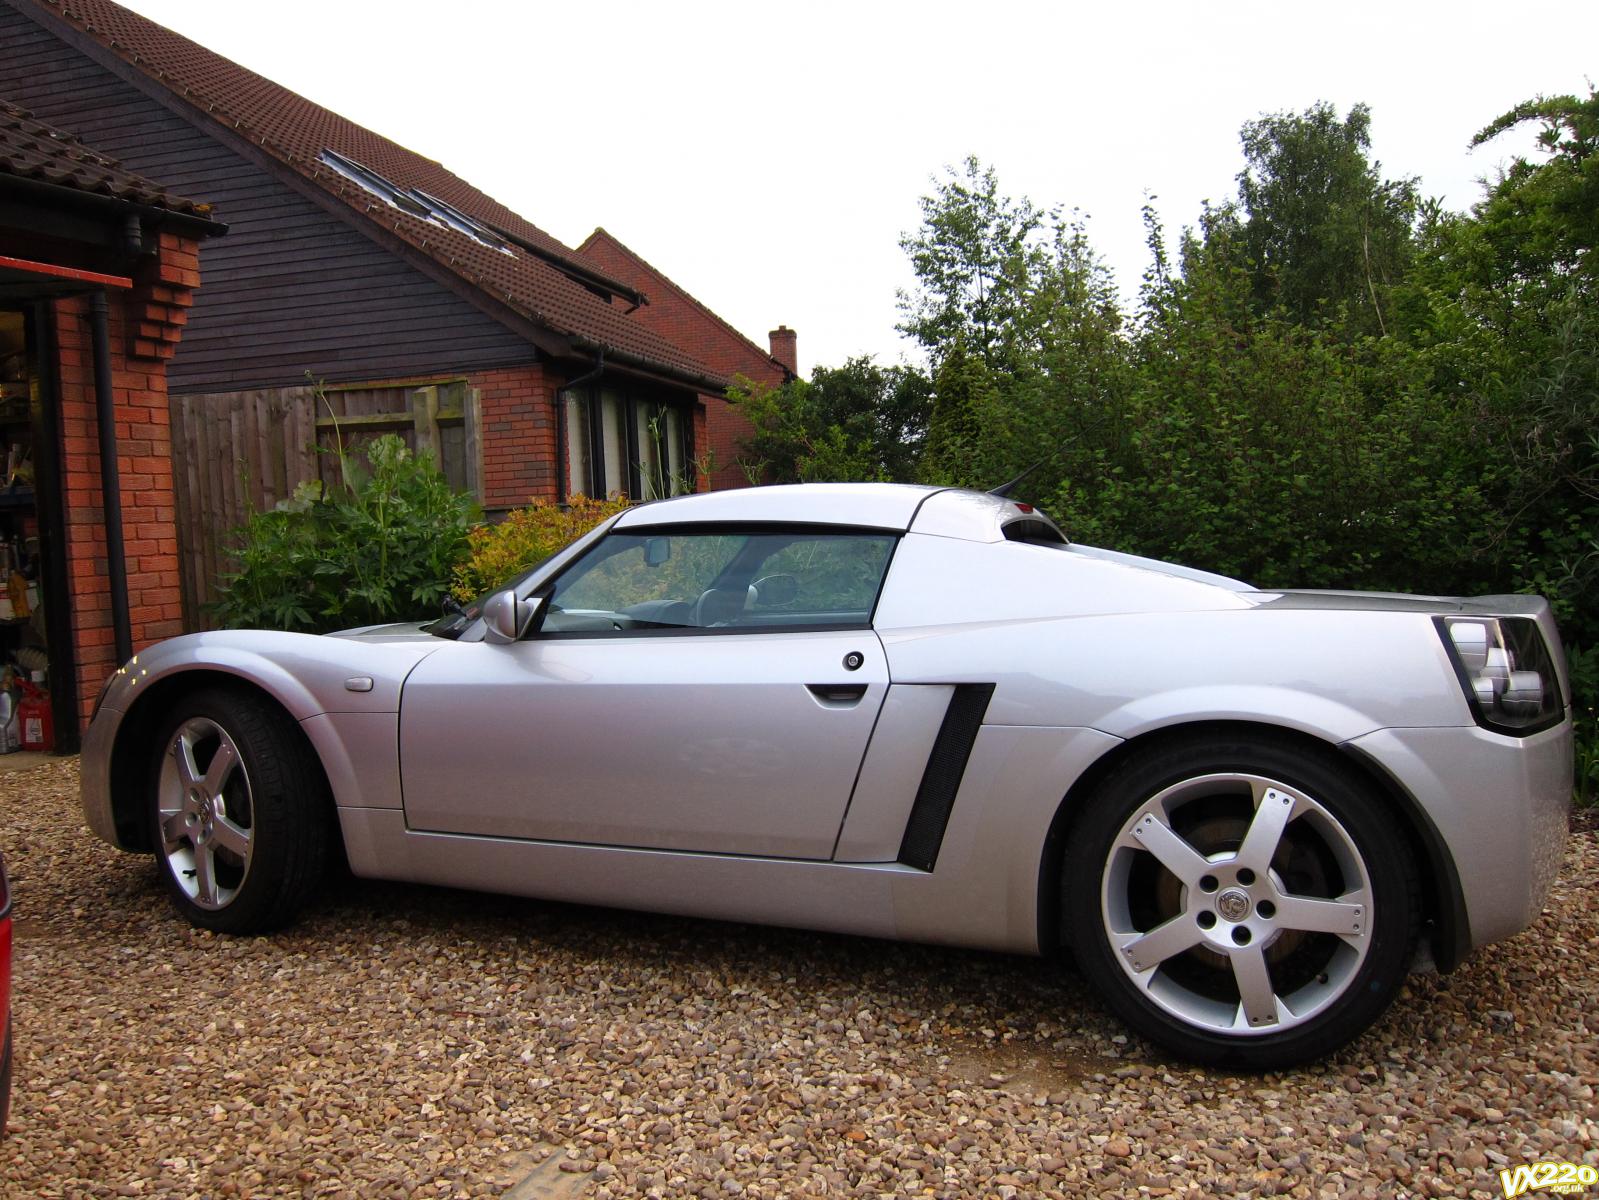


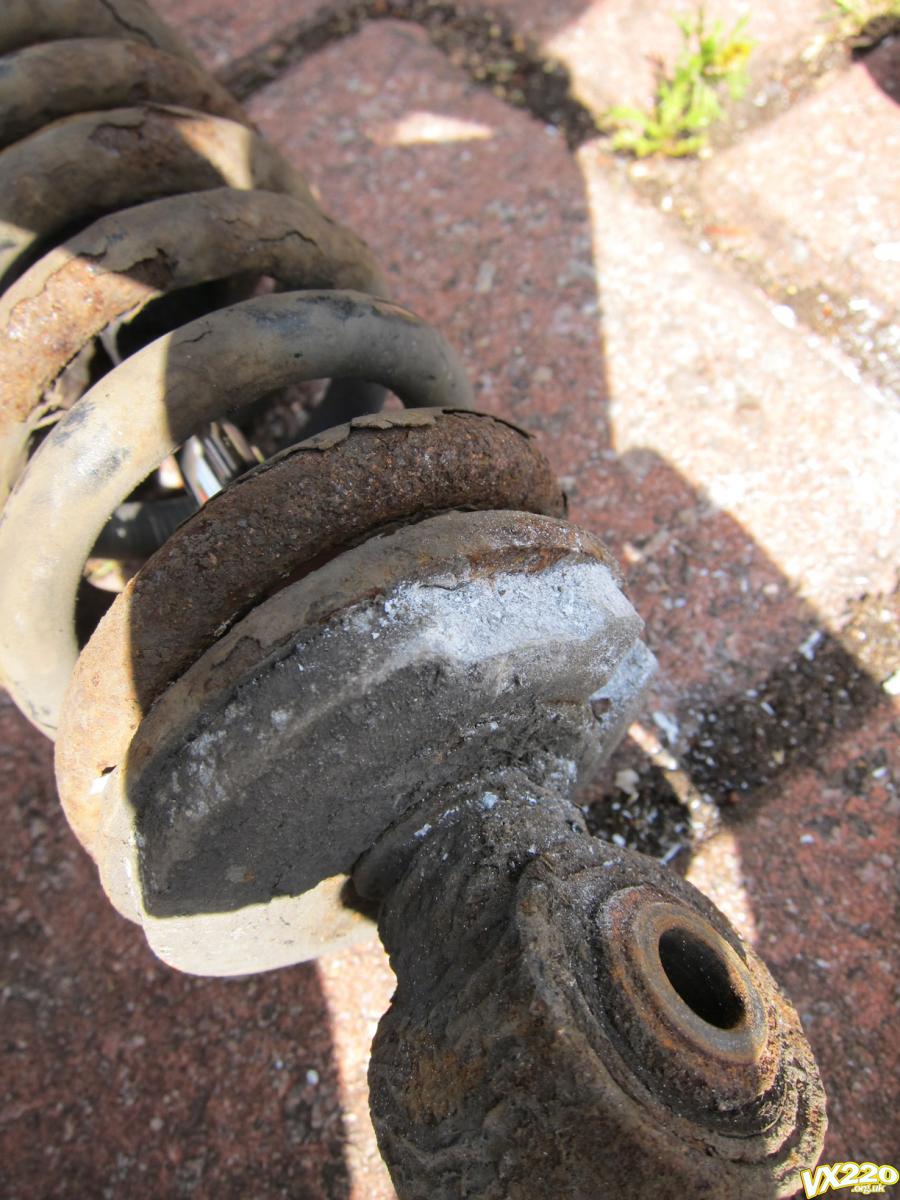


 . Looks much better than when Carl had it! Bet it rides a bit nicer now too.