Jump to content


Photo

Balancer Shaft Deletion Guide...........ish


  • Please log in to reply
10 replies to this topic

#1 Zoobeef

Zoobeef

    Joes bedroom assistant.

  • PipPipPipPipPipPipPip
  • 11,102 posts
  • Gender:Male
  • Location:Retford/Bovington

Posted 28 February 2011 - 02:17 PM

Been a while since i did this now so hopefully can remember but been rather busy.

Also got carried away and should of taken more photos.

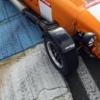
First jack it up or use a 4 poster ramp :)

Then remove the undertray, if you cant manage these 2 jobs, go no further.


You should see the sump looking like this
Posted Image

First drain the oil, yours going to get loads of it in your hair anyway but you dont want 4 litres of the stuff.

Then remove the lower sump, about 15 bolts, and it'll drop down. Undo the 2 bolts holding the sensor in the lower sump and leave the sensor hanging.
Posted Image


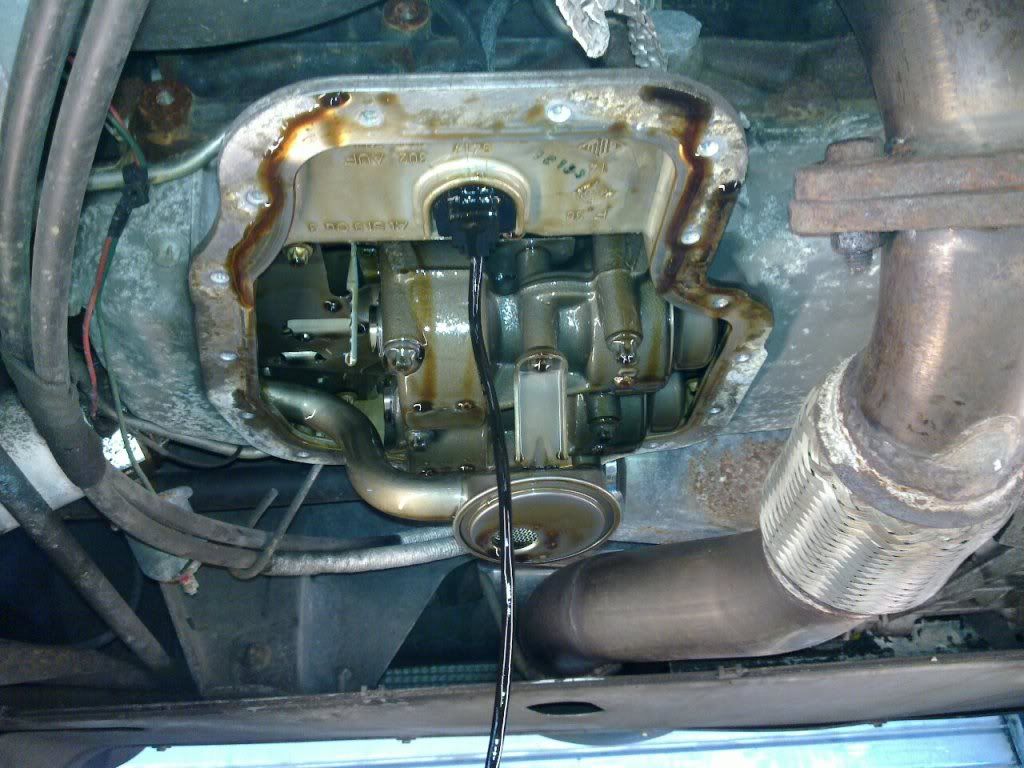
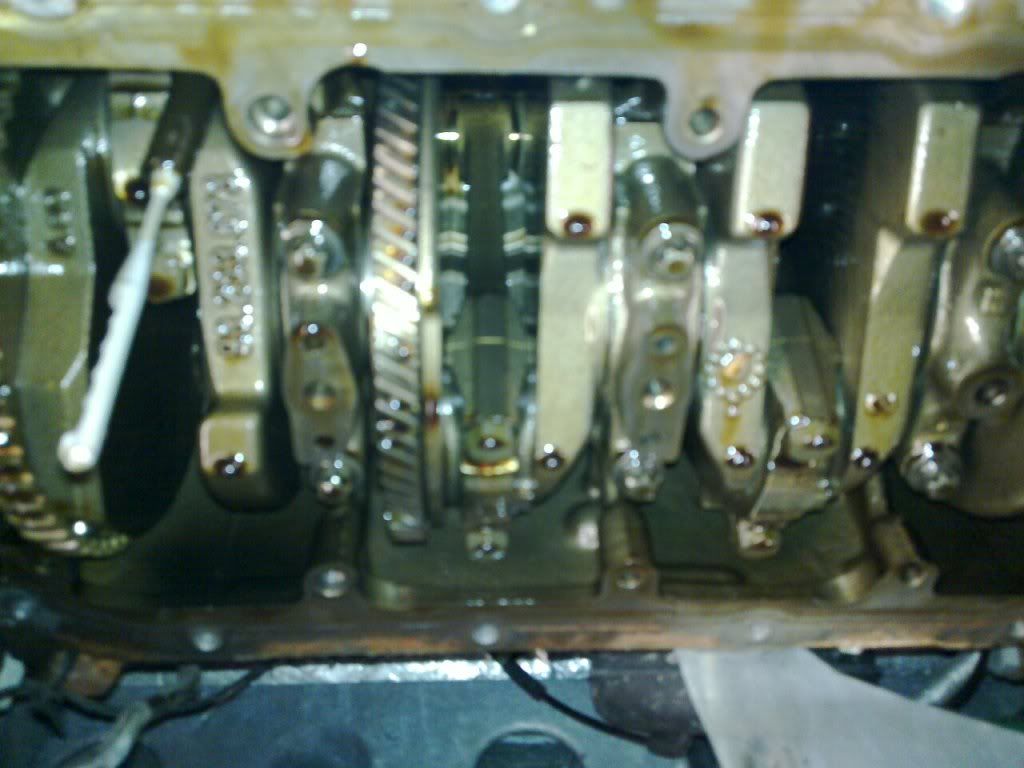
Remove the next stage of the sump now.
This is quite fiddley as the exhaust gets well in the way. Especially if its a 3" one.
Theres an electrical plug above where sensor dangles and some of the bolts are horizontal aswell as vertical.
I ended up removing the downpipe from the turbo and it gave me some extra room.
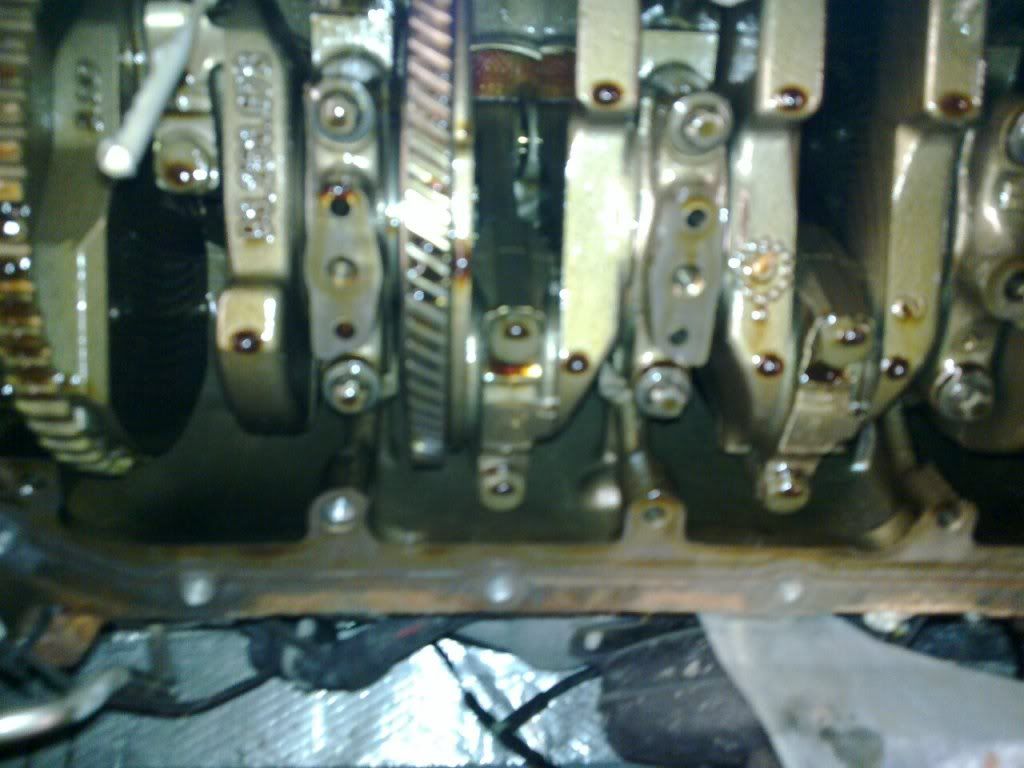

Bigger bit removed
Posted Image

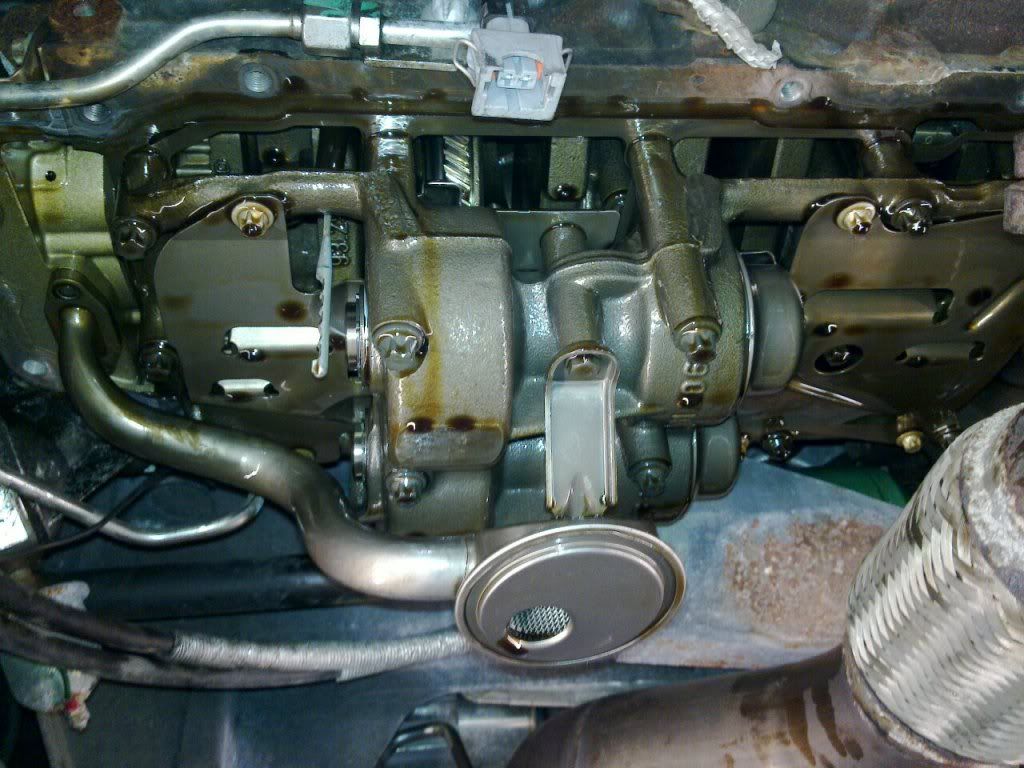
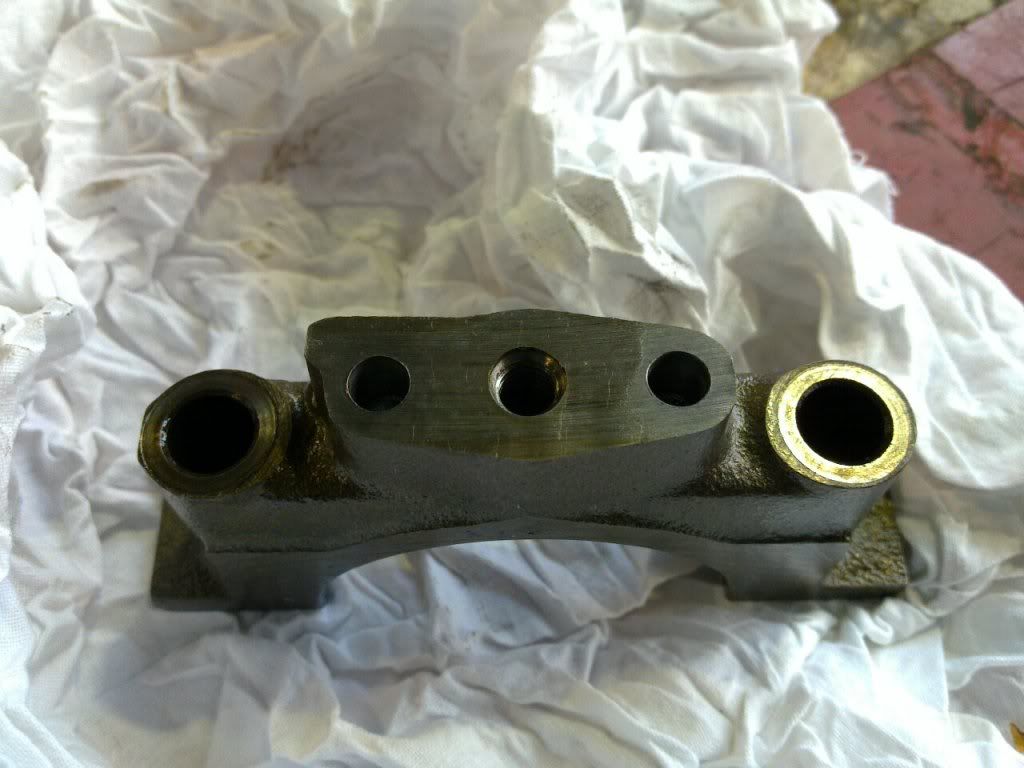
Then remove the oil pickup pipe. 4 bolts.

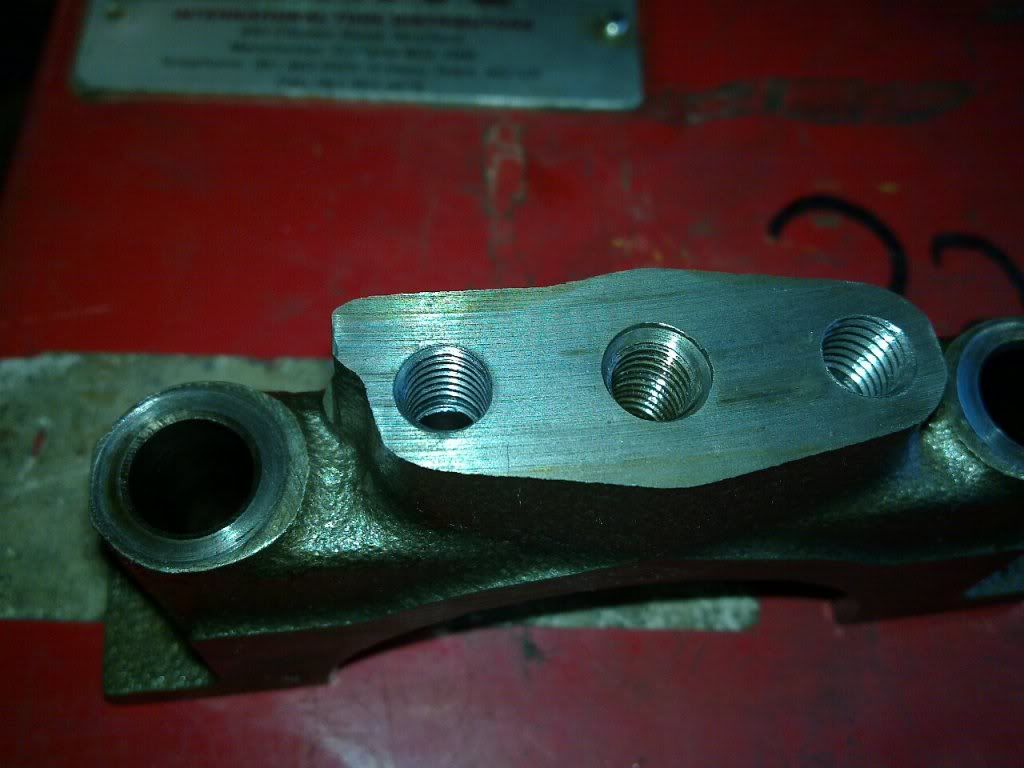
Then remove the bolts that hold the balencer shafts on.

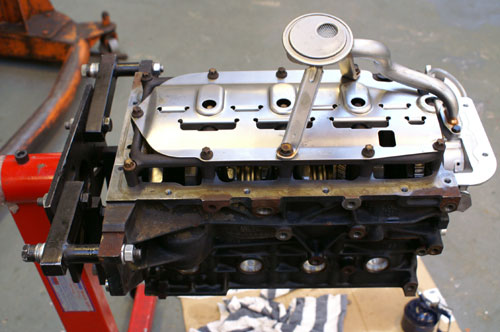
It should then look like this. Apologises for the photos
Posted Image
Posted Image

#2 Zoobeef

Zoobeef

    Joes bedroom assistant.

  • PipPipPipPipPipPipPip
  • 11,102 posts
  • Gender:Male
  • Location:Retford/Bovington

Posted 28 February 2011 - 02:18 PM

In the center of the last photo you can see the crank bearing caps that you need to remove and alter.

I recommend just removing one at a time, saves mixing anything up.

This is the first one removed and the 2 outer holes drilled bigger and to a certain depth. I cant remember the size or depth but it tells you in the paperwork courtenays send with the kit.
Posted Image

The 2 holes are then tapped
Posted Image

And the grub screws fitted with locktight.
Posted Image

Refit this cap. (I cant remember the torque and cant seem to find where i got it from haha)

Replicate this for the second one.


This is where i stopped taking photos as i got a bit to eager.

Using some stolen from Courtenay.

Fit the new ladder frame, oil pickup and splash cover to the engine.
Posted Image
Posted Image
Posted Image

Once that is done refit the sumps in the order of removal. I got new gaskets with the kit at an extra cost so used them.

Refit the exhaust and anything else you have removed, remembering to bolt the sensor back in the lower sump and plugging it in above the upper sump.

Refit the undertray.

Lower the car and refill with oil.

Enjoy.

I may of missed something but its not a hard job at all. Hardest part is getting the upper sump out from round the exhaust, this would be alot easier with a standard exhaust im sure.

Feel free to add any more tips to this thread to help people in the future

#3 Rusty789

Rusty789

    Ginger Ninja

  • PipPipPipPipPipPip
  • 2,120 posts
  • Gender:Male
  • Location:Hampshire, UK

Posted 14 July 2012 - 11:11 AM

Thread revival! Whats the point in the two grub screws in the crank caps? Is it blocking feeds?

#4 Rally

Rally

    Super Duper Member

  • PipPipPip
  • 650 posts
  • Gender:Male
  • Location:Staines-Upon-Thames

Posted 14 July 2012 - 11:36 AM

Yup, it looks like the plugged ports in the caps supplied the oil feed to the balancer shaft unit.

#5 Rusty789

Rusty789

    Ginger Ninja

  • PipPipPipPipPipPip
  • 2,120 posts
  • Gender:Male
  • Location:Hampshire, UK

Posted 14 July 2012 - 11:41 AM

Definitely planning on doing this when I'm under the car doing the underdrive pulley mod. Maybe a lightened flywheel in the near future also :)

#6 Rally

Rally

    Super Duper Member

  • PipPipPip
  • 650 posts
  • Gender:Male
  • Location:Staines-Upon-Thames

Posted 14 July 2012 - 12:18 PM

And the balancer shaft delete can be done with the engine in situ... would be rude not to ;) Sadly not so straight forward on the Z22SE.

#7 japone

japone

    Member

  • Pip
  • 137 posts
  • Gender:Male
  • Location:feltham
  • Interests:F1,working for Mercedes amg ,and cars in general. having a good time

Posted 15 October 2012 - 04:03 PM

In the 3rd picture down from courtenay. Is that the balancer in his hands. What does it do? And what's the gain for removing it pls

#8 siztenboots

siztenboots

    RaceMode

  • 26,610 posts
  • Gender:Not Telling
  • Location:Surrey
  • Interests:french maids

Posted 15 October 2012 - 04:07 PM

In the 3rd picture down from courtenay. Is that the balancer in his hands. What does it do? And what's the gain for removing it pls


yes
a gear drive from the crankshaft rotates a pair of eccentric counter weights at double engine speed

#9 Glambee

Glambee

    Member

  • Pip
  • 104 posts
  • Gender:Male

Posted 16 October 2012 - 12:28 PM

basically they are here to remove vibrations of the engine. Removing them will save 10 lbs and helps the engine revs more freely (well... I am not sure you'll really feel any difference)

#10 JamesC

JamesC

    Need to get Out More

  • PipPipPipPip
  • 991 posts
  • Gender:Male
  • Location:Shropshire
  • Interests:Cars, Beer, Diving, not necessarily in that order....

Posted 18 October 2012 - 02:02 PM

Any downsides of this? Increased wear, noticable increase in vibration?

#11 siztenboots

siztenboots

    RaceMode

  • 26,610 posts
  • Gender:Not Telling
  • Location:Surrey
  • Interests:french maids

Posted 18 October 2012 - 02:04 PM

on the < 2000year x20xev and the z20leh there is no drive gear on the crankshaft


0 user(s) are reading this topic

0 members, 0 guests, 0 anonymous users