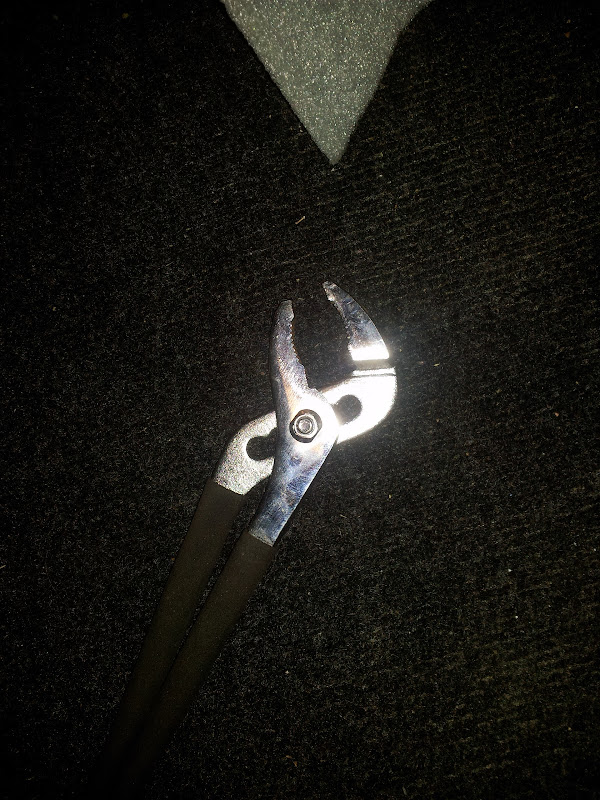
11) Prize off the rod ends.

12) Remove 4x philips self tapers retaining the cable end bracket block. Push the block forward out of the remote assy to release the cables.
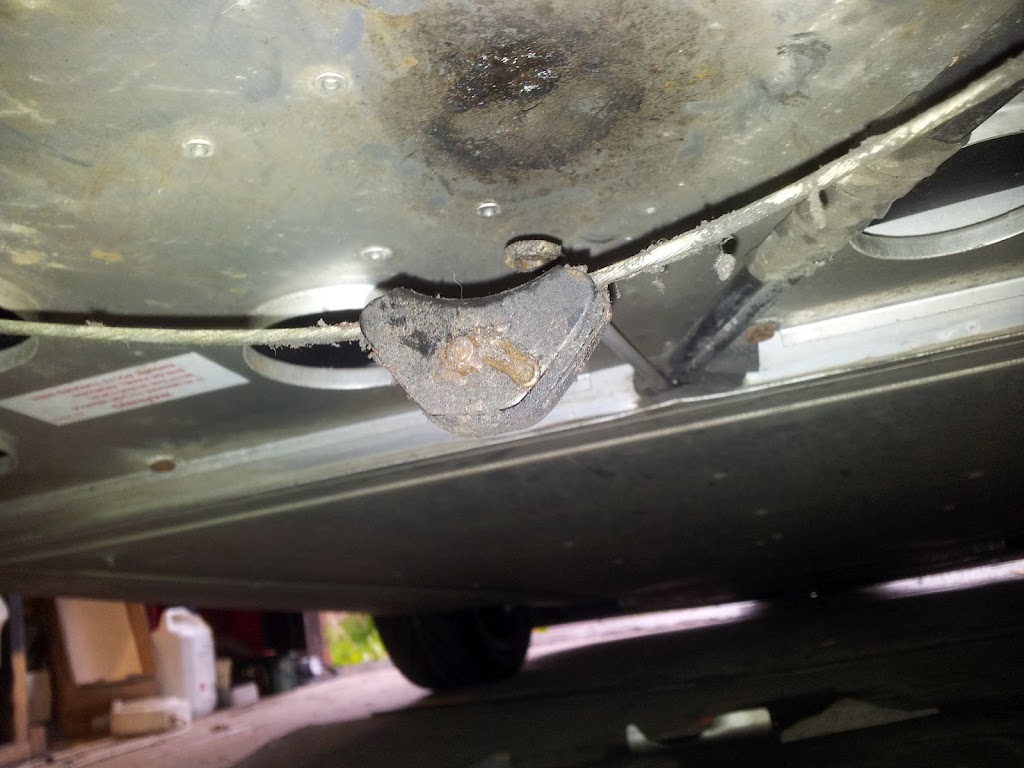
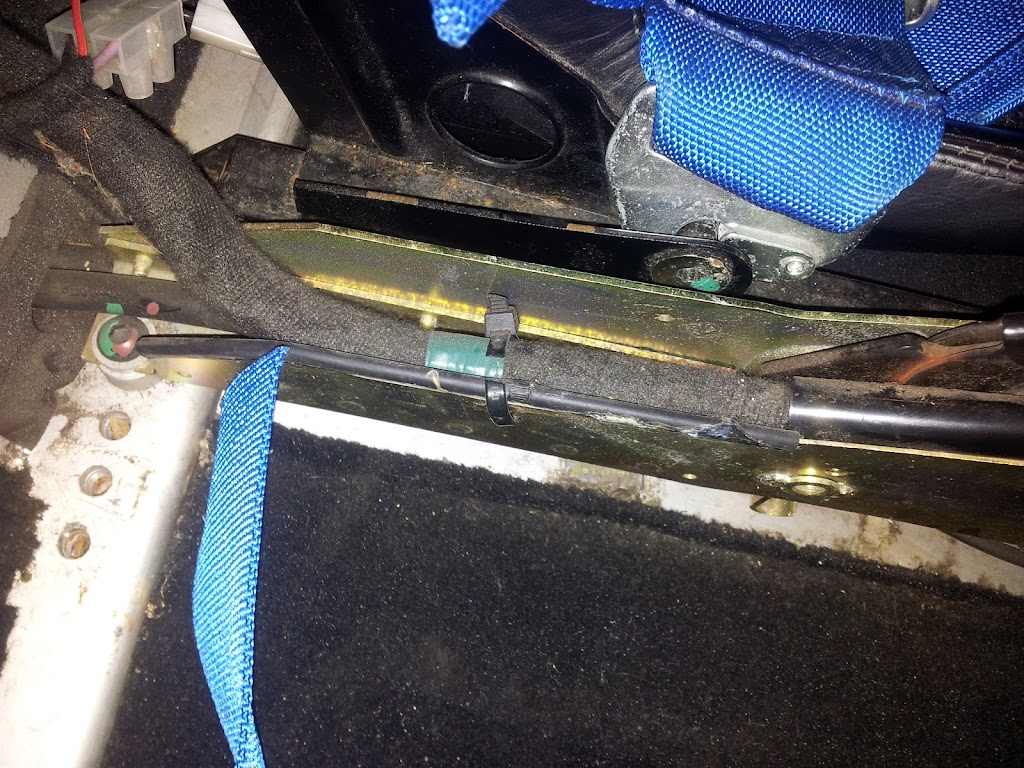
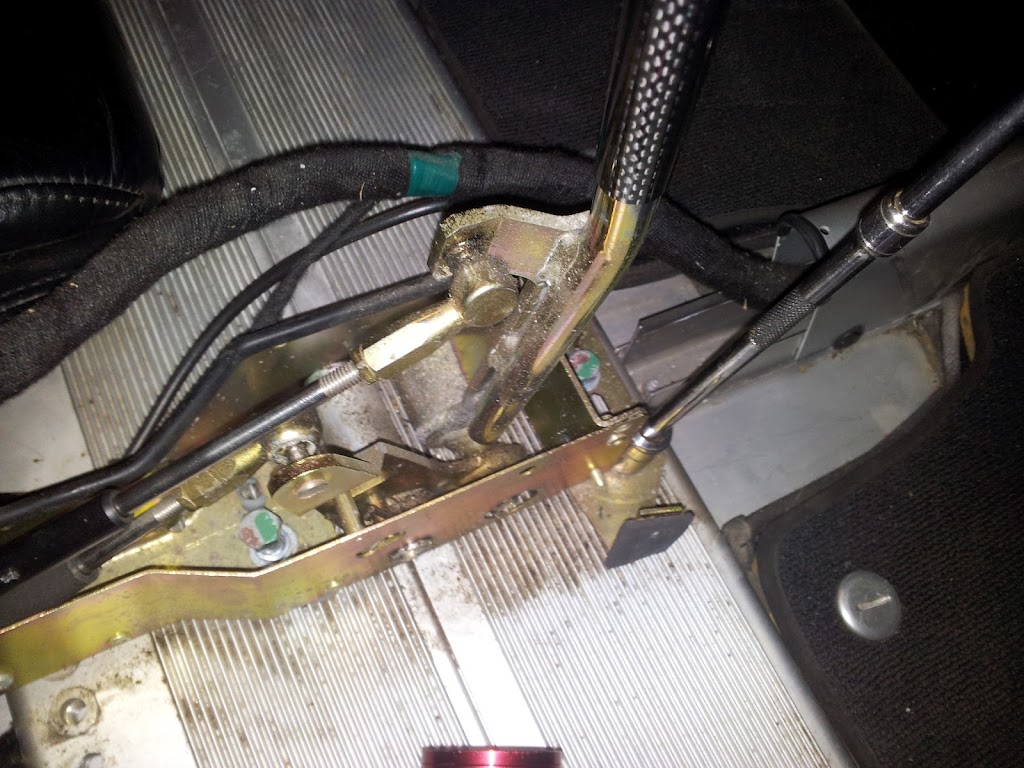
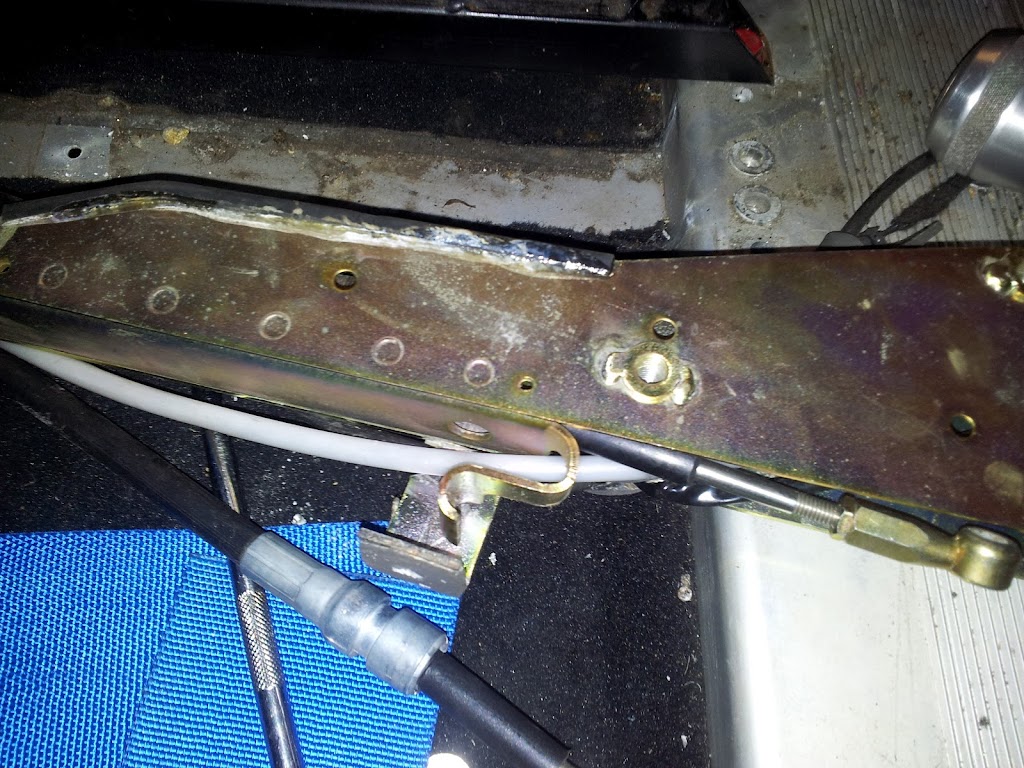
13) The select cable will come straight out but the shift cable is trapped. Remove 2x bolts to release the handbrake handle assembly. In order to get the cable out I had to bend the s shaped steel bracket in the centre of the picture below into the position it is below. (Its purpose normally is to form the bend in the select cable so it curves nicely to the retention bracket. Both cables should now pass out of the rear of the remote assembly. PAY CLOSE ATTENTION to the routing for reassembly. (The select cable [short ends] is routed to the bottom, and connects to the bottom balljoint. The shift cable, long ends, is routed to the top.
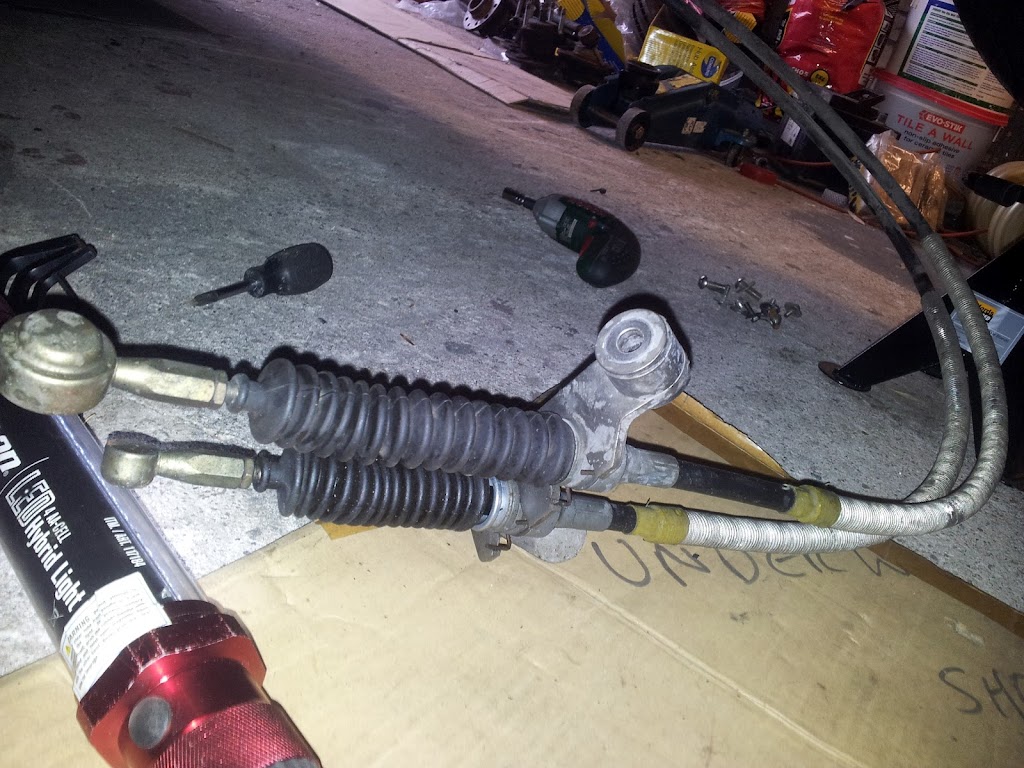
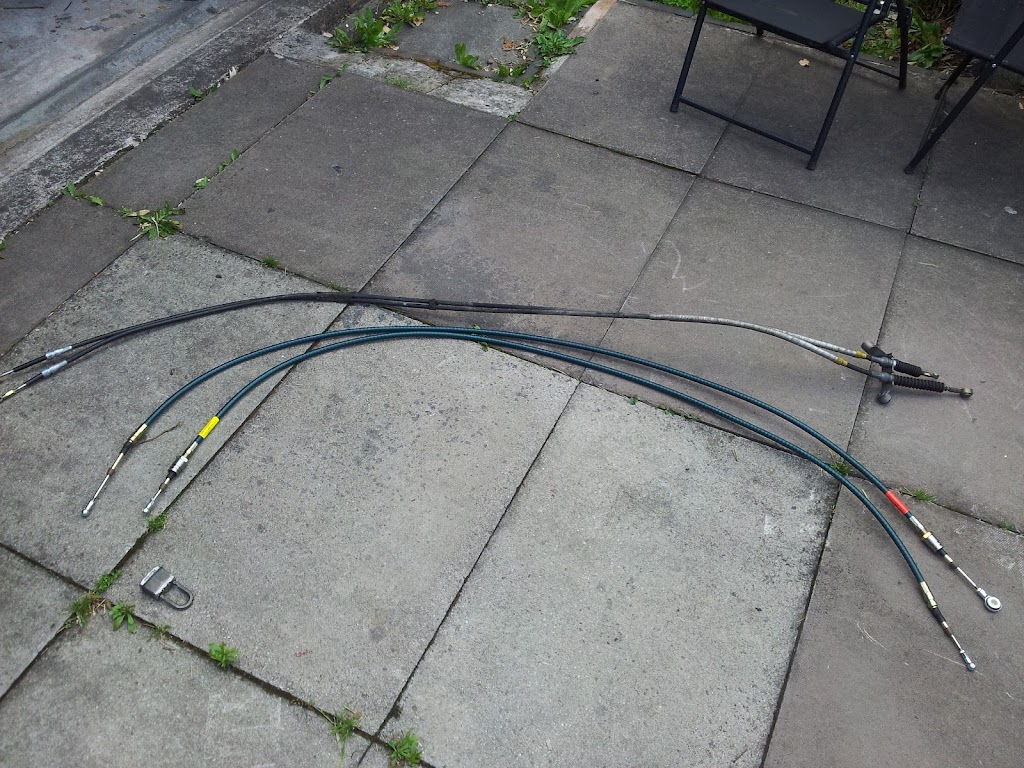
14) New (cablecraft) cables below vs old OEM. Similarish!
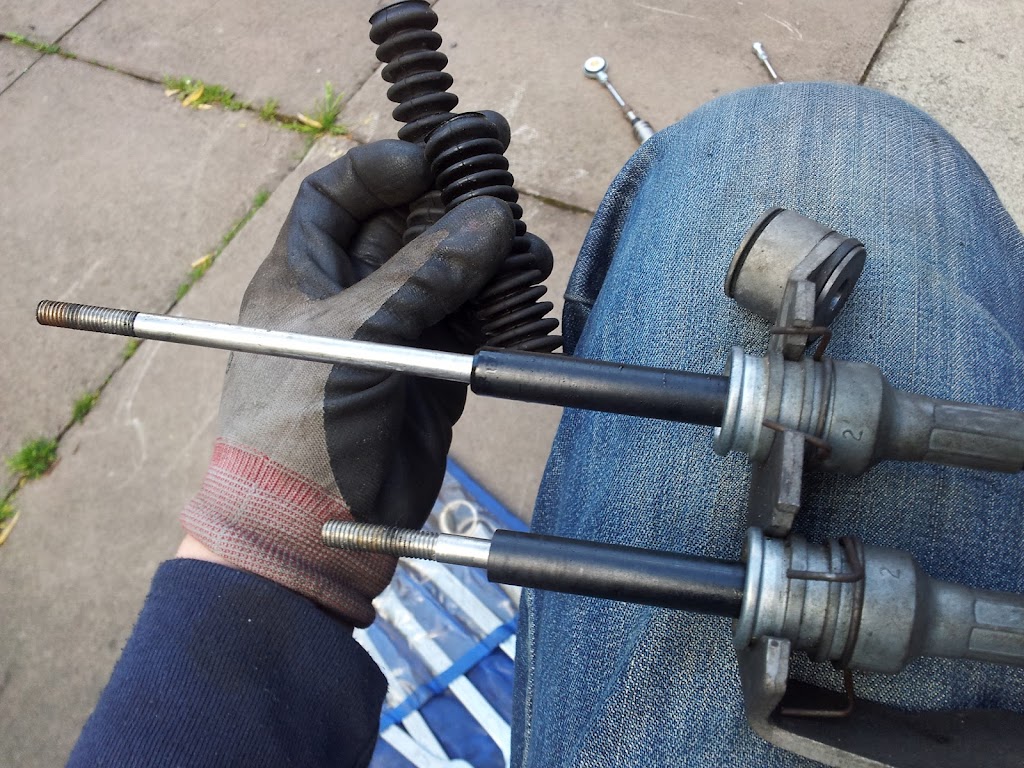
15) Remove rodends from old cables and recover boots and wire clips. Release wire clips and remove cables from bracket.
(Photo shows removing boots)
16) Refit boots to new cables. My cablecraft cables did not have the groove for the retention clip, so I turned the clip round and doubled the boot retention groove as a clip groove. Not ideal! Fit new cables to bracket in the same orientation as OEM. (Mine needed a gentle tap in).

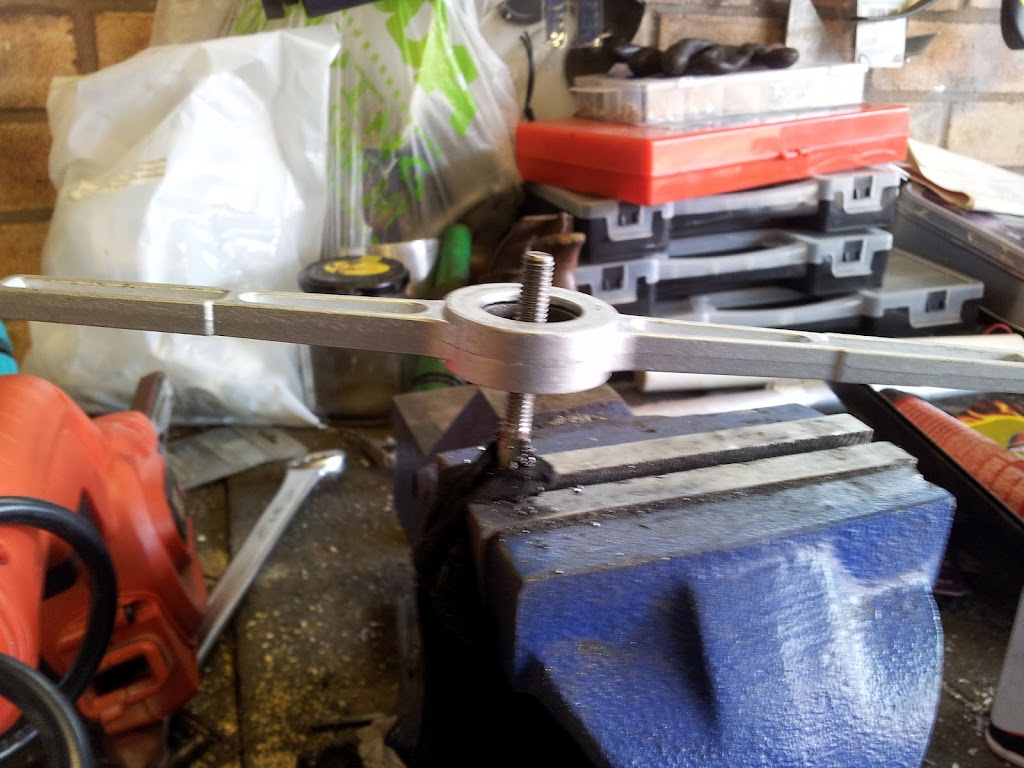
17) This is where things went wrong - my rod end was too long so I had to extend the threadted length and cut it down. I would hope this is not a "Step" in the future. I got annoyed at this point and stopped taking photos, sorry!
18) Thread the new cables through the letterbox under the car into the cabin...with shift cable to the left as you look at the hole. Thread these back through the remote assembly in the way they were removed.
19) Push the cable ends into the retention block, and slide it back into the remote assembly. Secure with 4x self tapers. Bend the bracket back to the original postion (from step 13). Clip cable ends balljoints back onto the lever balls. Refit brake lever.
20) Bolt the remote assembly back to the chassis (5mm allen, 3x 13mm bolts) ensuring the correct washer/spacer stacks are used. Replace the rivet you drilled. - This supports the floor skin and it will likely vibrate without it.
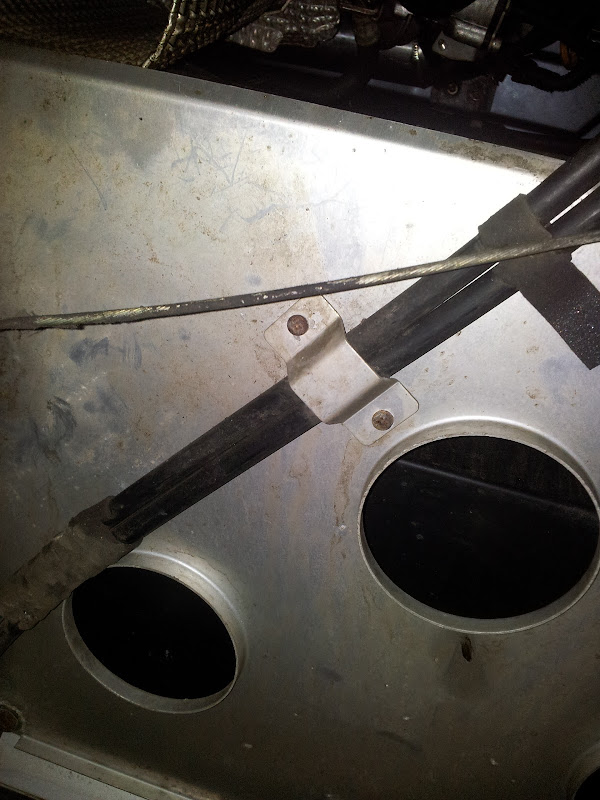
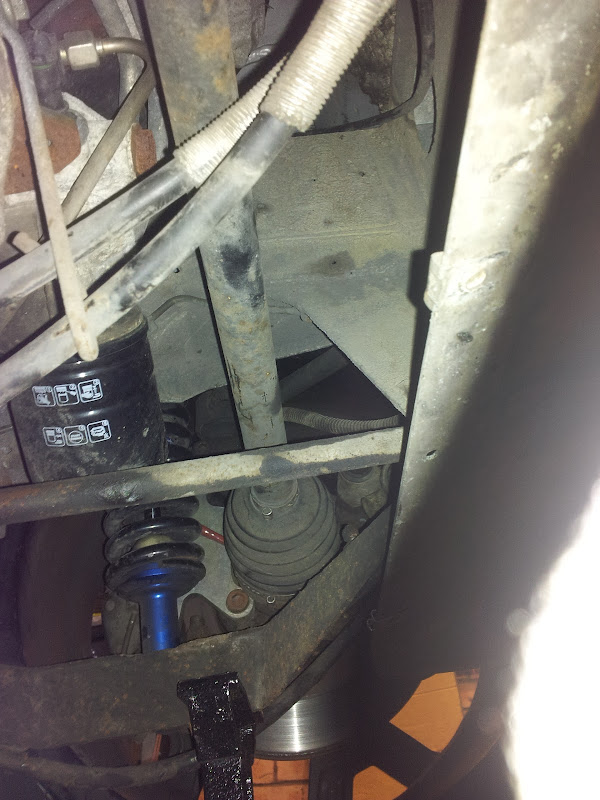
21) Under the car, pass the gearbox bracket with cables attached up into the rough location. Hook the cables back onto the retention hook, and replace the retention bracket (2x philips).
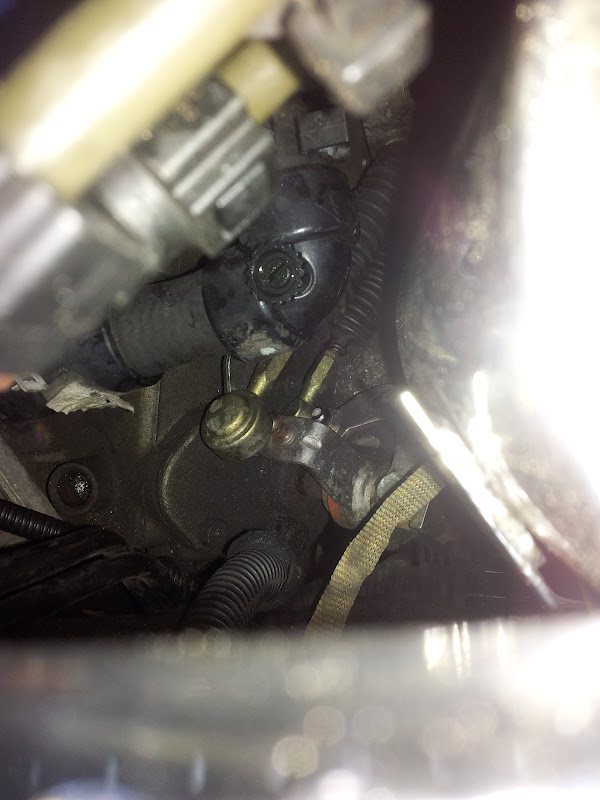
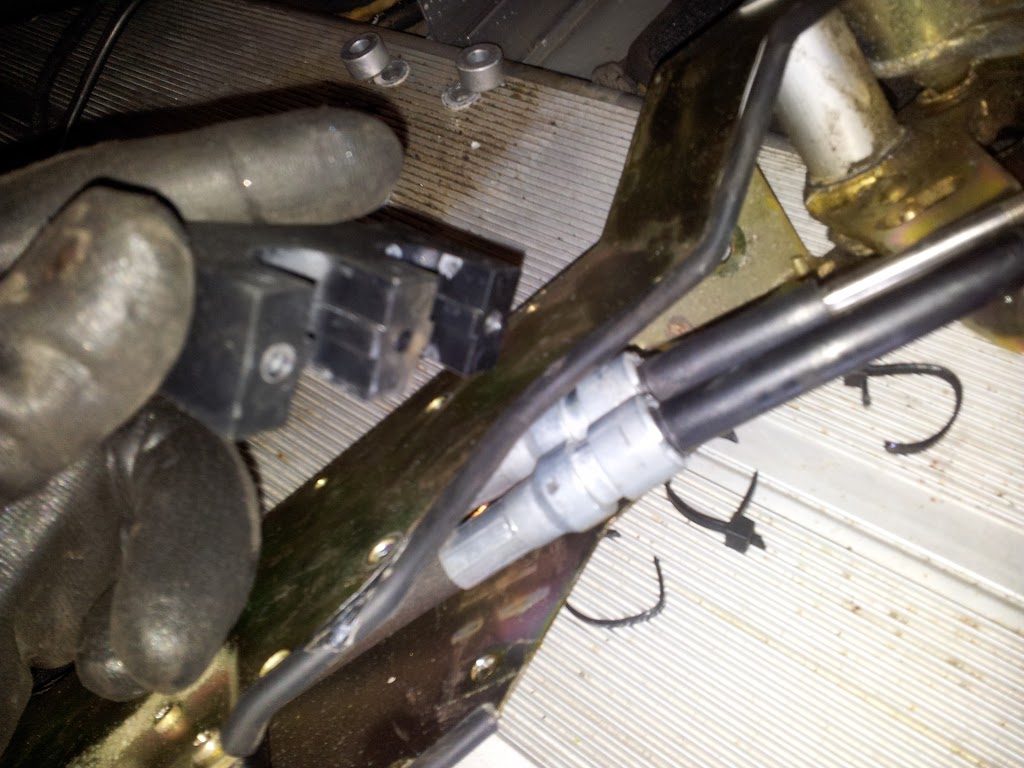
22) From the top, leaning into the engine bay, reseat the bracket and replace the e-torx bolt to hold it in place. Clip the cable ends back onto the balls. The big end is the top ball.
23) Now try the shift. Course adjustment should be done (on cablecraft cables) with the big 22mm nut at the gearbox end. - I found it was easier to remove the e-torx bolt and pull the cables back under the car to make adjustments. Fine tuning is easiest done by poping the cable ends off the balls on the gearstick...and screwing the end in or out.
Adjust shift until when the car is in neutral the stick is vertical from the side view.
Adjust select until the spring (visible on the RHS of the remote assy, at the front) is under no preload when the car is in third or 4th gear. (The lever would also be vertical in the rear view).
Ensure there are at least 4-5 threads engaged into the cable end by the cable rod for strength.
Ensure locking nuts at cable ends are nipped up.
24) Refit the wiring loom into the original postion, re cable tie.
Refit the centre console.
Refit drivers seat.
25) Refit undertray.
26) Enjoy your slick gearshift!