Jump to content


Photo

Project Ged

rebuild refresh

  • Please log in to reply
88 replies to this topic

#81 Gedi

Gedi

    404 Not Found

  • PipPipPipPipPipPip
  • 5,547 posts
  • Gender:Male
  • Location:North West
  • Interests:Nothing

Posted 21 September 2015 - 10:24 AM

Bit of an update, not too exciting though...


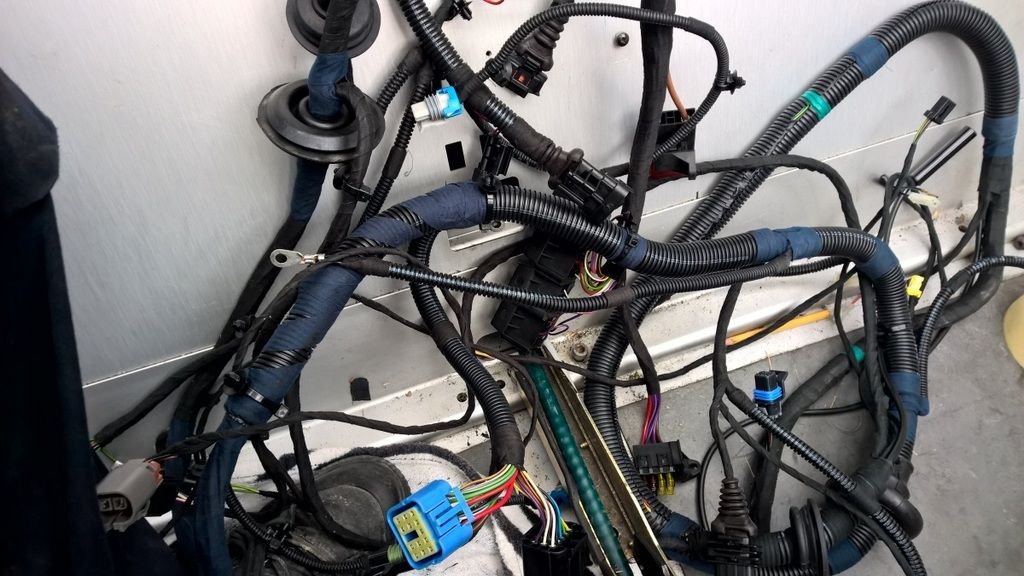
Having previously installed the front end of the brand new wiring loom, the rear end was still sitting in the cabin.

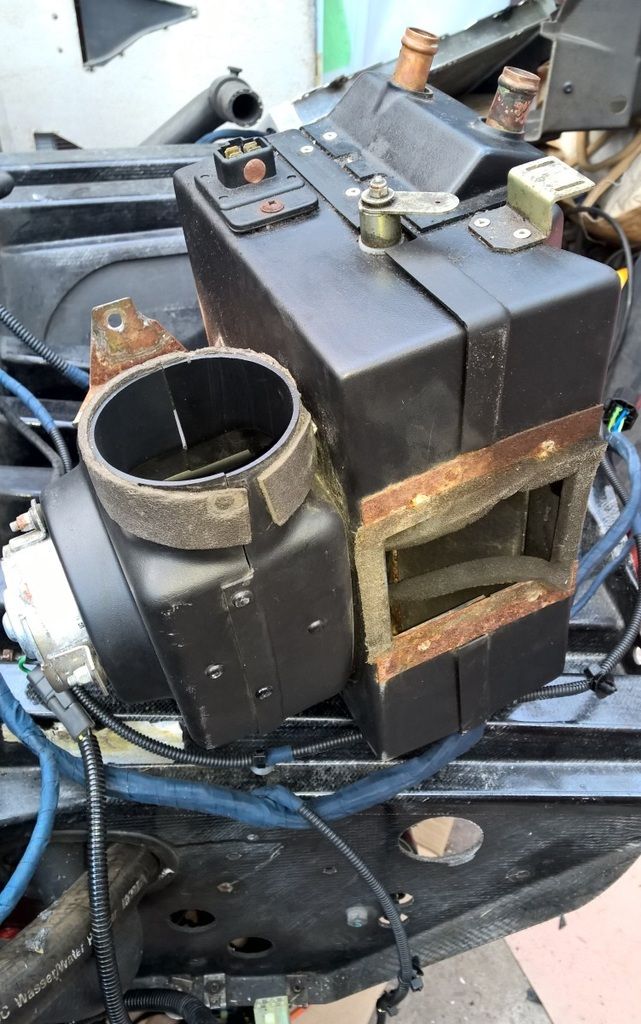
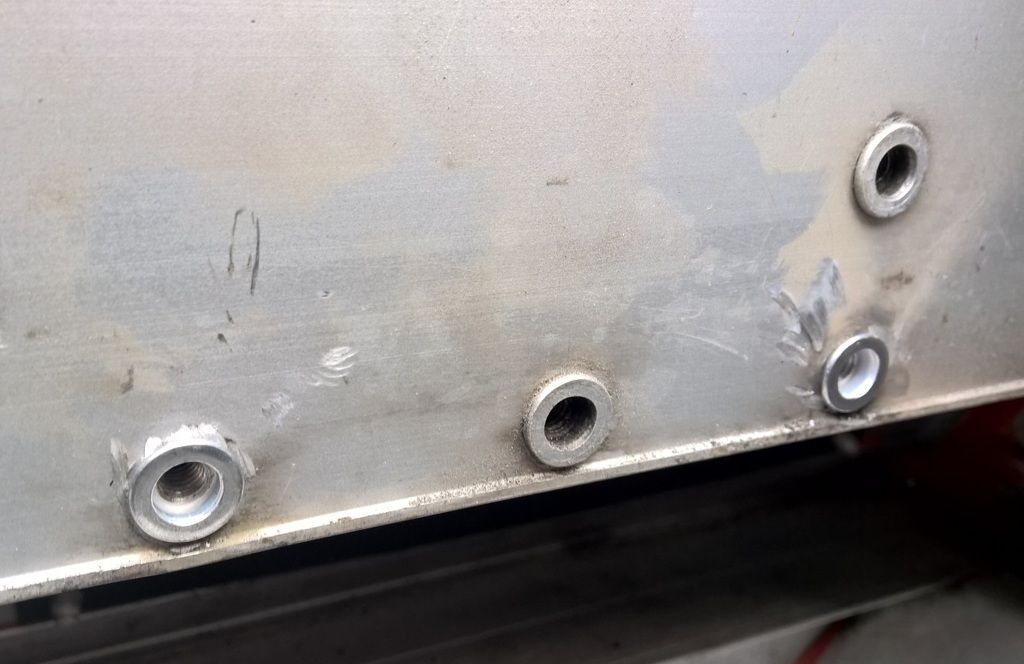
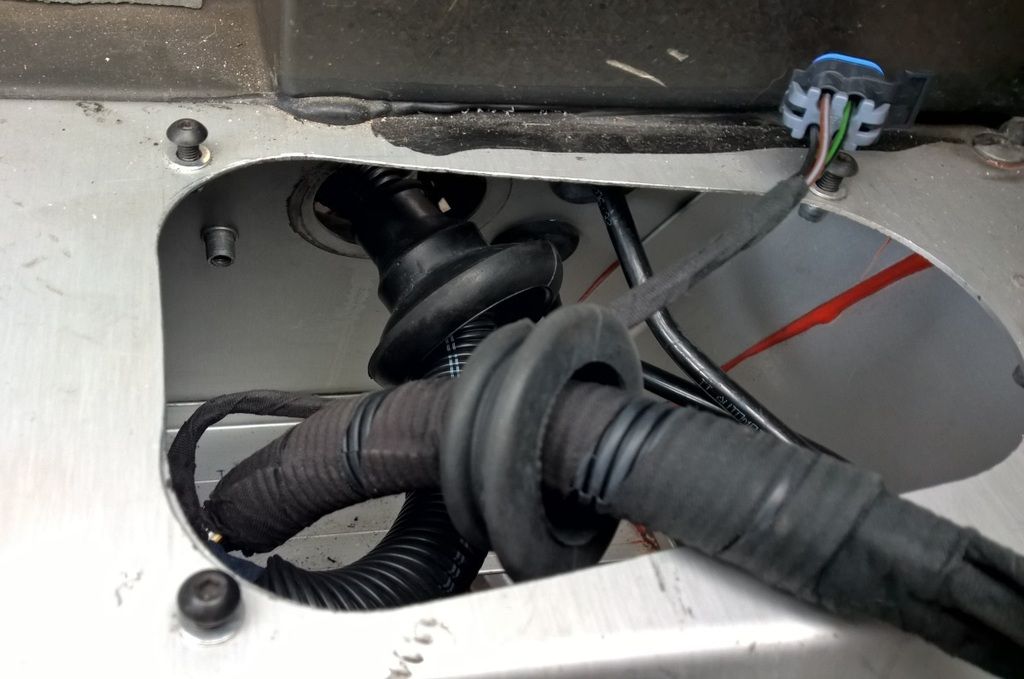
All this lot has to go through the hole above where the gear linkage cables exit, they're then tie-wrapped to the front side of the fuel tank fire wall. It then comes along that wall and up towards where the fuel pump is, and finally it splits to go out of the rear bulkhead into the engine bay and back into the cabin


Posted Image


Before we can start threading, we have to drop the ruddy fuel tank again...


Posted Image


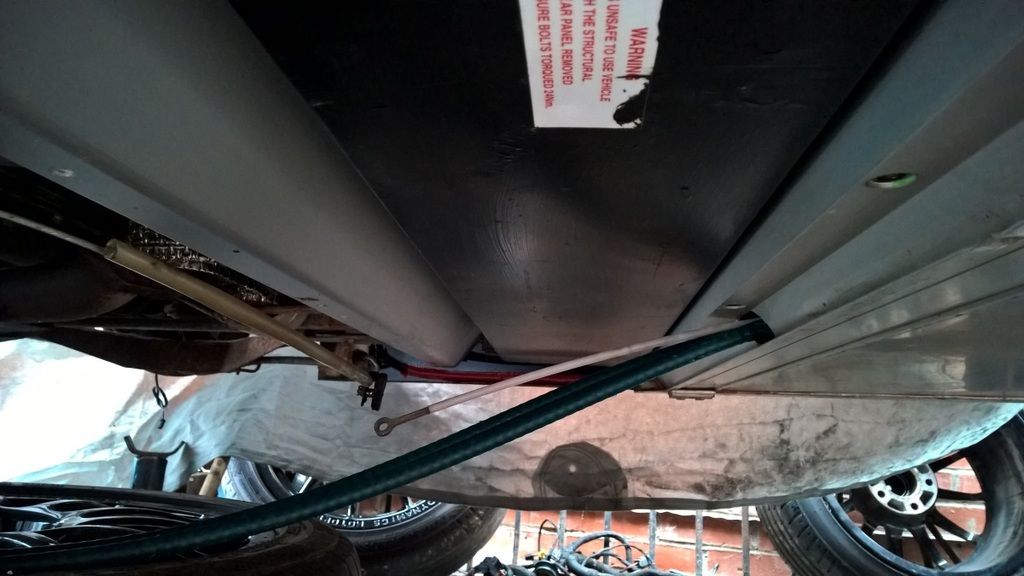
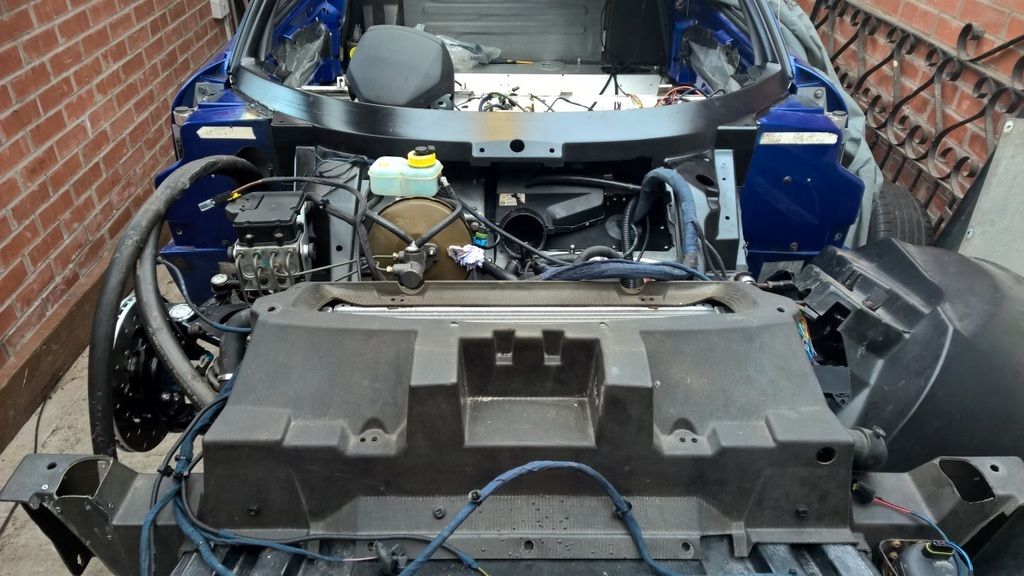
All threaded through


Posted Image


Posted Image


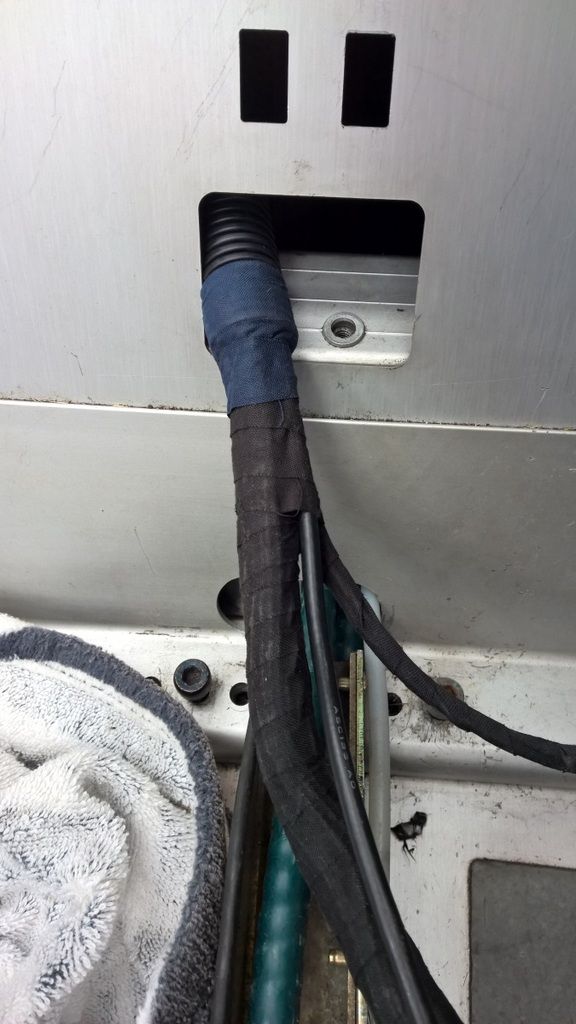
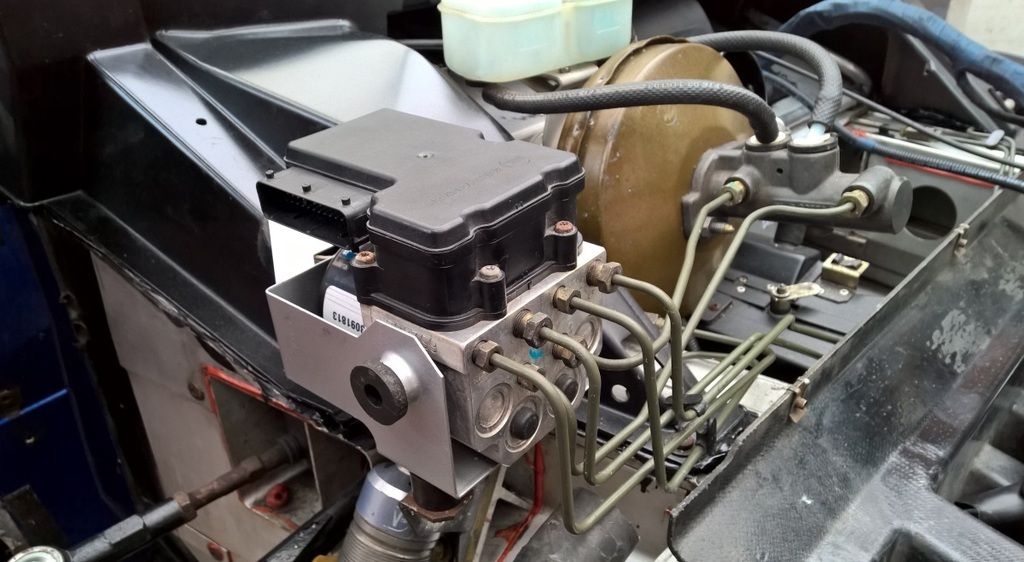
I never seem to get enough pics .... but the part of the loom that goes into the engine bay is fairly straight forward, it just hooks up to things like the coolant reservoir, fuel cutoff, ABS and contains the relay holders for the 4 relays (including the infamous big yellow). The section that feeds back into the cabin hooks up to the rollbar for the aerial and brake light, then sweeps across to the drivers side and again exits through the bulkhead into the engine bay again. (a bit fiddly, it's easier with the seatbelt removed). This hooks up to the other ABS, the inlet temp sensor and other various engine components.


After hooking up the loom to all the components that I currently had on the car, I thought I'd try and get the dash lit up.

I hooked up the battery and the alarm lights flashed. I disarmed it and turned the key


Posted Image


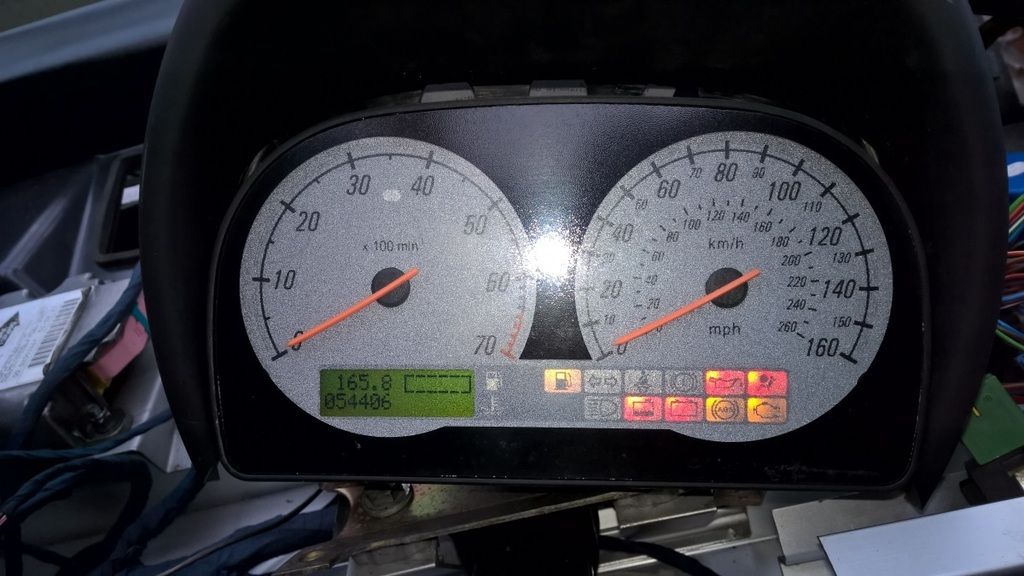
It works! That was a bit of a milestone and I'm sure I had a little grin :)


#82 Tony H

Tony H

    Lotus on Crack

  • PipPipPipPipPip
  • 1,729 posts
  • Gender:Male
  • Location:Medway
  • Interests:Serbian turbo-folk

Posted 21 September 2015 - 10:38 AM

Oh man I really would not fancy that.


#83 Gedi

Gedi

    404 Not Found

  • PipPipPipPipPipPip
  • 5,547 posts
  • Gender:Male
  • Location:North West
  • Interests:Nothing

Posted 21 September 2015 - 10:51 AM

I damaged the ignition switch when removing the old loom (it's near impossible to unplug the loom without damaging it). When trying to fix it up I ended up making it worse and the whole thing broke up in my hand. I've hopefully sourced a new one but there's quite a few different styles and no part numbers, so this might become an expensive exercise....


Posted Image


Back towards the front of the car, I installed a new ABS unit and connected up the brake lines. Another job ticked off thumbsup


Posted Image


I was about the put the heater blower in but saw it was a bit worse for wear. I had the electrics working now, so I plugged it in and turned the fan on. It was working well but I noticed that if I put my hand over the outlet to block the air, it escaped from various other places around the unit.

I decided to clean it up and seal the whole thing with a silicone/putty compound to make sure it was working as efficiently as it could be. I'll later also give the same treatment to the rest of the heater system/ducting to make sure it's totally sealed.


Posted Image


Here's a pic, not quite finished but you get the idea


Posted Image


I remembered when I removed the battery/washer bottle that two of the bolts had snapped into the rivnuts, so they needed replacing


Posted Image


You need to be Jeff Capes to be able to put in a 6mm rivnut with my rivnut tool, there was no way I could squeeze the handles together. Luckily I found that my jack lever splits and goes over the ends of the tool to give me the leverage


Posted Image


All done


Posted Image


Thank god for one of these, it's probably the best tool in my collection and the thing that's helped me do jobs that are otherwise not possible for a home mechanic.


Posted Image


Before I finished up for the day, I balanced the rad and surround in place for a quick shot of the front end looking more like a VX again


Posted Image


I'm hoping to get the front end completed in next weekend, and then I can move on to stripping the rear  and removing the engine  :tt:


Edited by Gedi, 21 September 2015 - 10:54 AM.


#84 FLD

FLD

    WANNABE MY LOVER

  • PipPipPipPipPipPipPipPip
  • 13,717 posts
  • Gender:Male
  • Location:Near nantwich
  • Interests:Tugging my todger.

Posted 21 September 2015 - 12:37 PM

Great progress. You must be made up.

#85 Andrew aka Stuwy

Andrew aka Stuwy

    Made In England

  • PipPipPipPipPipPipPip
  • 8,731 posts
  • Gender:Not Telling
  • Location:At Sea
  • Interests:most things are intersting

Posted 21 September 2015 - 01:24 PM

that's more like it!


good work :D


#86 vocky

vocky

    Moderator

  • 11,969 posts
  • Gender:Male
  • Location:Earth

Posted 21 September 2015 - 01:54 PM

great work as always, it's nice to see a rebuild project and please take more photos as they show all your hard work Imnotworthy


Edited by vocky, 21 September 2015 - 01:54 PM.


#87 Gedi

Gedi

    404 Not Found

  • PipPipPipPipPipPip
  • 5,547 posts
  • Gender:Male
  • Location:North West
  • Interests:Nothing

Posted 25 September 2015 - 08:41 PM

Thanks for the comments guys, comments on project threads help to keep us motivated thumbsup


On another note, wash your seatbelts people! This is from a 50k car with an extremely clean owner  :gayfight:


Posted Image


Posted Image


Eewww...


#88 VegyBS

VegyBS

    Member

  • Pip
  • 183 posts
  • Gender:Male
  • Location:Barry, S Wales

Posted 19 November 2015 - 09:22 PM

Any updates? I'm really interested to know if the heater is any better!


#89 Gedi

Gedi

    404 Not Found

  • PipPipPipPipPipPip
  • 5,547 posts
  • Gender:Male
  • Location:North West
  • Interests:Nothing

Posted 20 November 2015 - 10:52 AM

Yeah I have some updates but nothing big enough to bother with a post. My wife is about to have our first kiddy so most of my free time is spent doing baby stuff :(


Anyway, the heater is certainly _much_ better after the modifications.

As I said previously, if you turned the heater on and put your hand over the outlet, the air escaped throughout pretty much the entire box. The worse part was where the fan casing (the round section) was rivited to the heater matrix casing (the square section). You could feel the air blowing quite powerfully from that area. It was leaking so heavily that when I put my hand over the outlet, the fan didn't seem to struggle at all...


After I'd completely sealed my unit with putty and silicone there were no air leaks at all anymore. Now when I put my hand over the outlet the motor sounds like it's about to blow up.
 
I also sealed the plenum (the box under the wiper motor that controls dash or foot airflow) and along with the neoprene hose that I'm using, it's now fully sealed all the way into the cabin and plenty powerful enough for the little VX. I'd say it's on a par with most modern cars in terms of volume of air.
 
A Fez heater would be nice because it solves the control problems that the factory setup has (the cables that control the hot/cool setting start to fail and don't adjust the flap that pushes air through the matrix to its full potential). But considering I'm building a summer car, it wasn't a problem for me. It's also really easy to change the cable if it does fail.

Edited by Gedi, 20 November 2015 - 11:13 AM.


Also tagged with one or more of these keywords: rebuild, refresh

0 user(s) are reading this topic

0 members, 0 guests, 0 anonymous users