
This is the first time I've done this, but I thought I'd share me efforts in case you want to do the same. I would say this requires a lot of patience.
What's needed:
Philips screw driver
Over or heat gun
Metal prying tool to remove old leather
Stitch picker
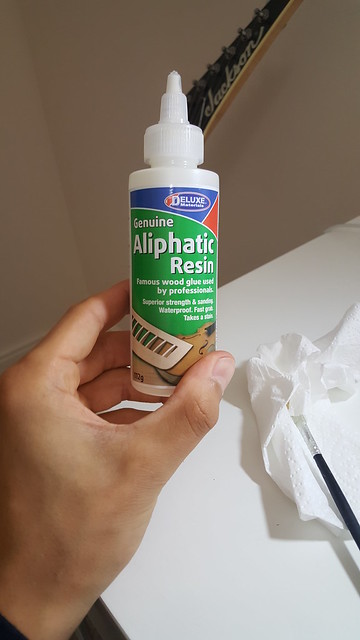
Gorilla glue
Sand paper - and needle files will help
Quality tailor scissors
Stanley knife
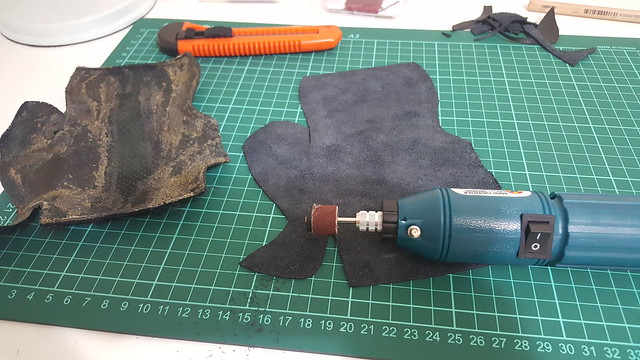
Dremel type tool with sander wheel
Aliphatic Resin
Awl
Blunt needle with 0.6 - 0.8mm thick thread in your desired colour
Patience
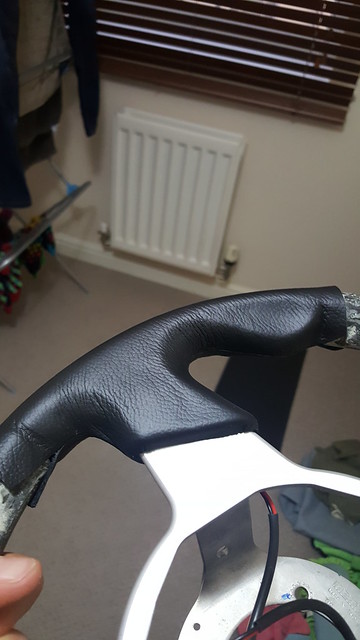
Take the plastic cowl thing off the back
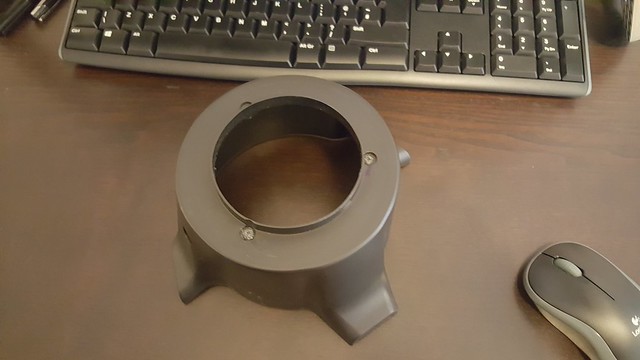 20160614_175614 by Richard Fanders, on Flickr
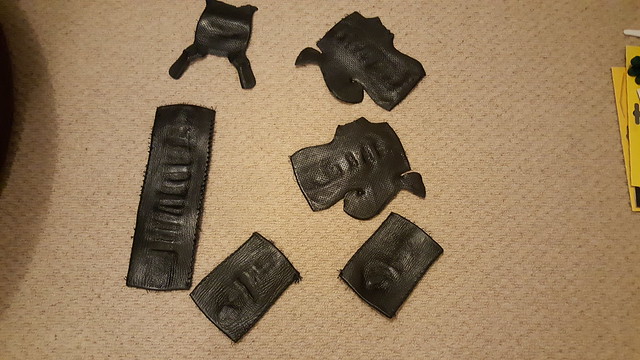
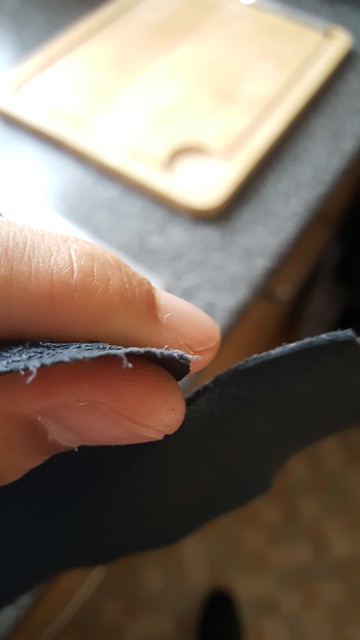
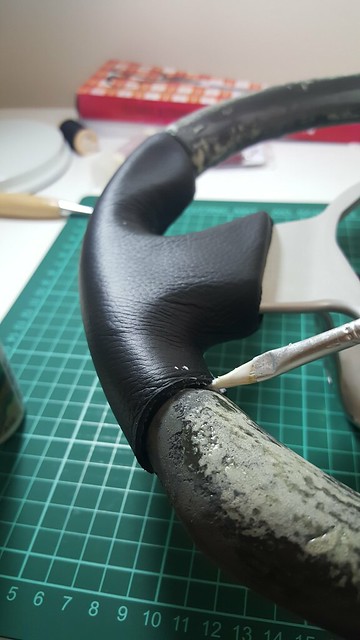
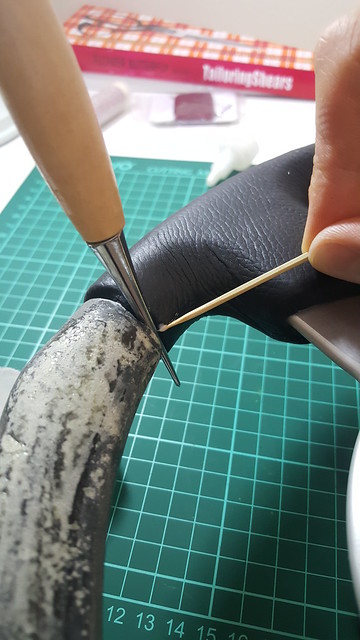
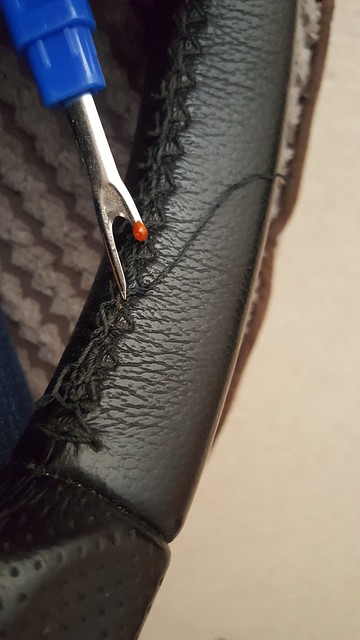
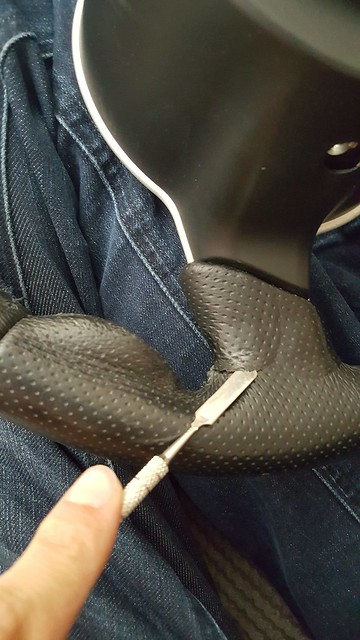
Remove stitches with a stitch picker
 20160606_163406 by Richard Fanders, on Flickr
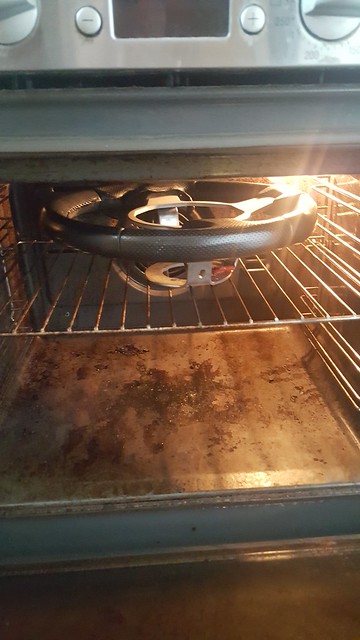
Put the steering wheel in the oven at 70 degrees Celsius several times until all the leather has been removed
 20160614_164419 by Richard Fanders, on Flickr
But the way, I've never cleaned this oven 
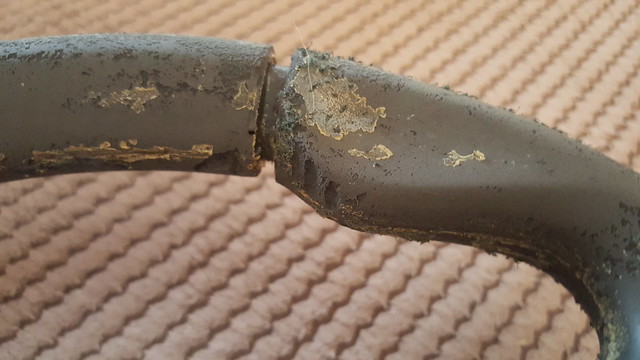
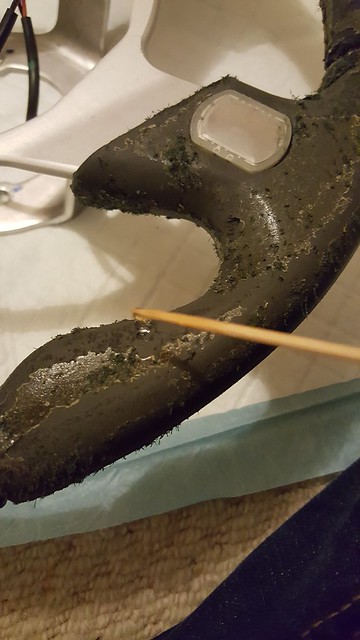
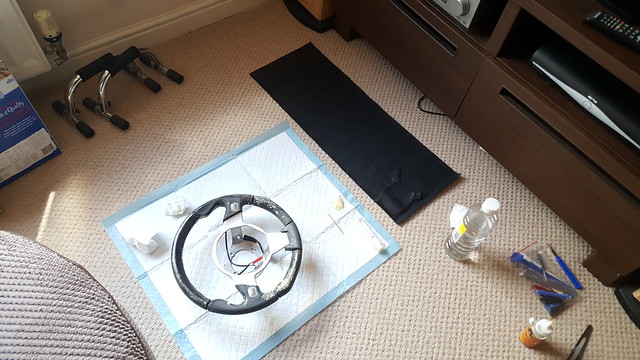
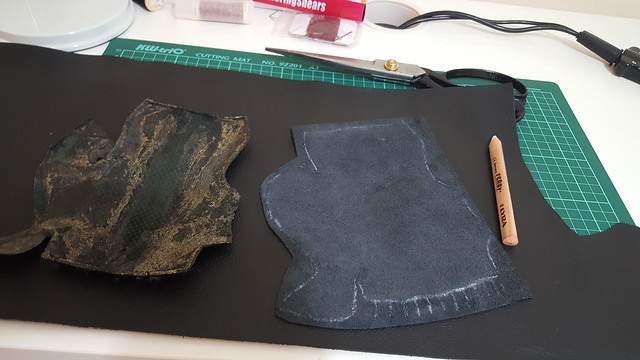
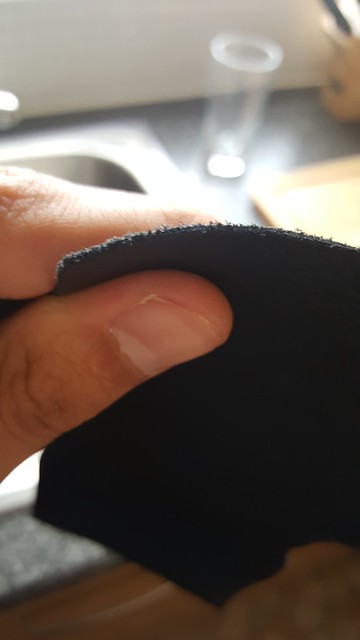
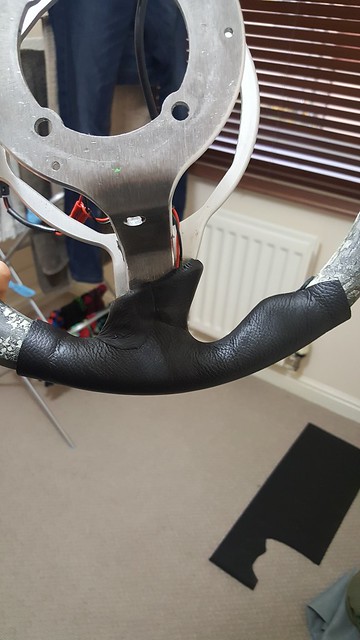
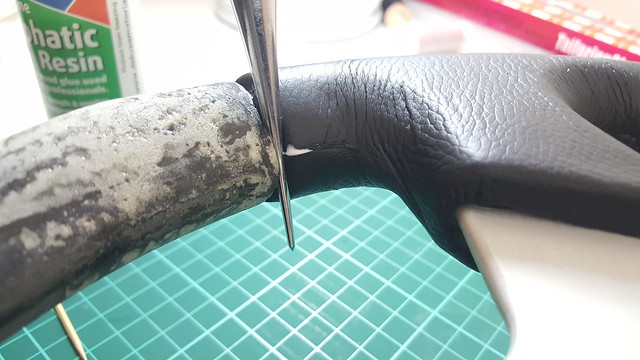
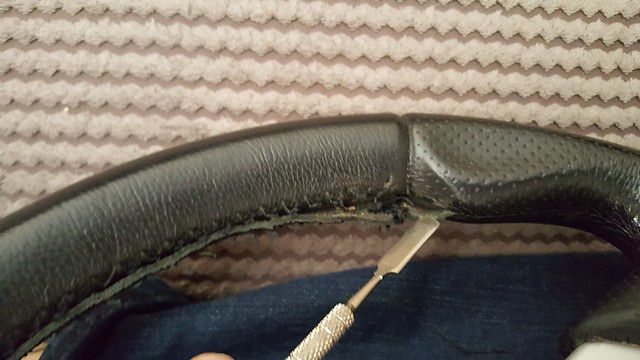
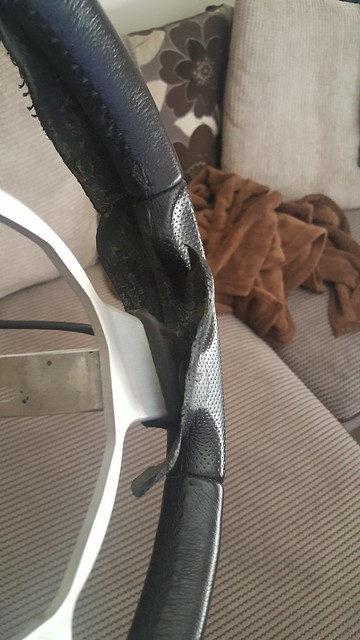
Prise the leather off the steering wheel with a prying tool
 20160606_164420 by Richard Fanders, on Flickr
 20160606_165018 by Richard Fanders, on Flickr
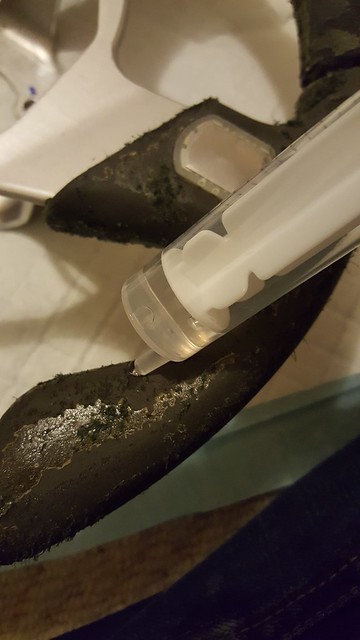
 20160606_165600 by Richard Fanders, on Flickr
 20160614_115601 by Richard Fanders, on Flickr
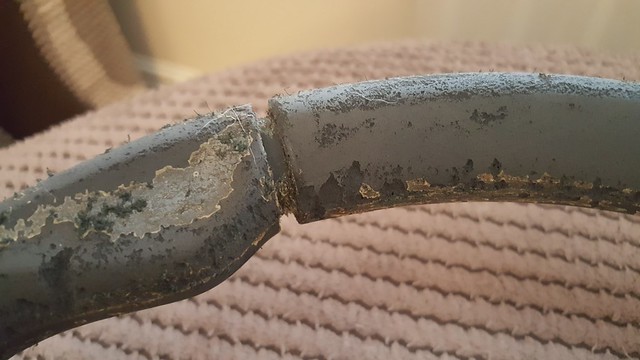
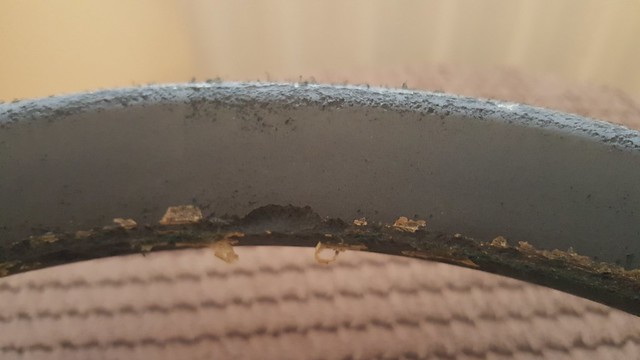
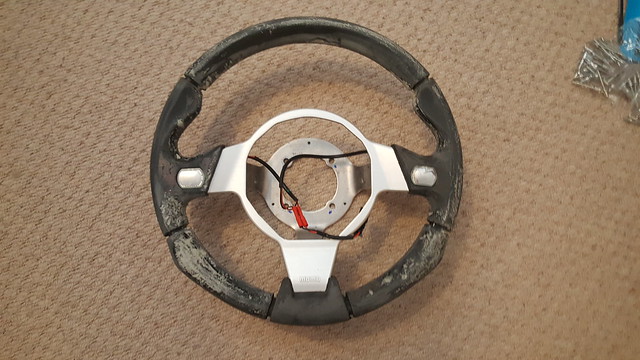
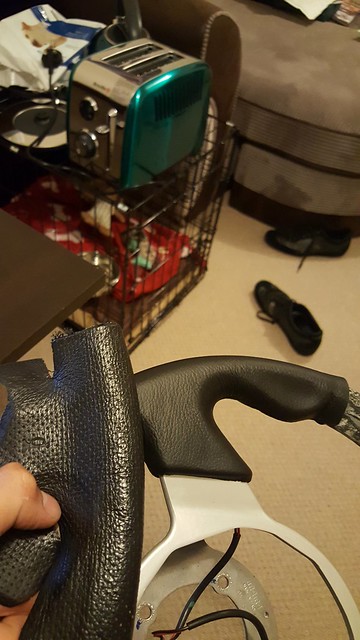
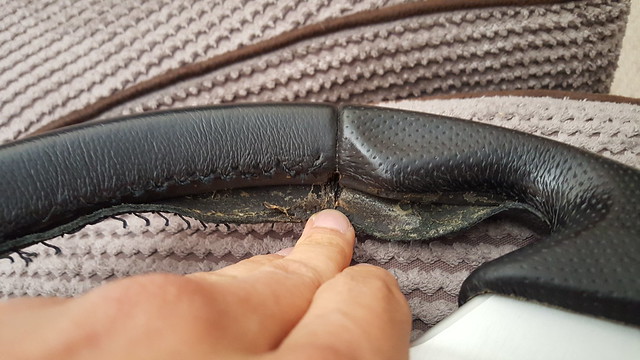
Until all leather is removed
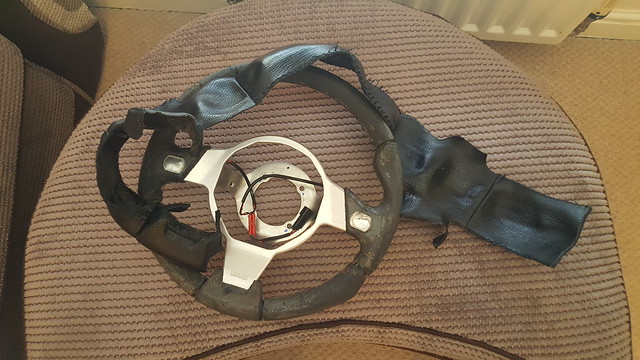 20160614_175710 by Richard Fanders, on Flickr
Edited by gaffer1986, 15 July 2016 - 09:22 PM.