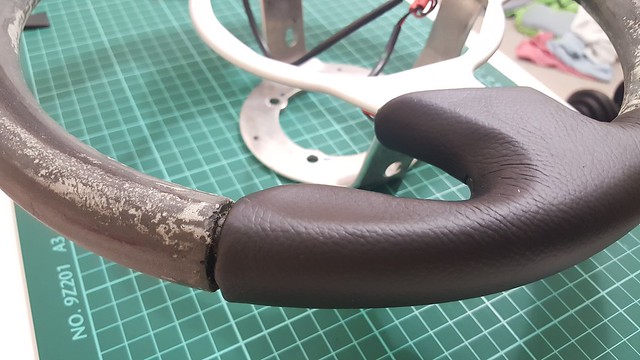
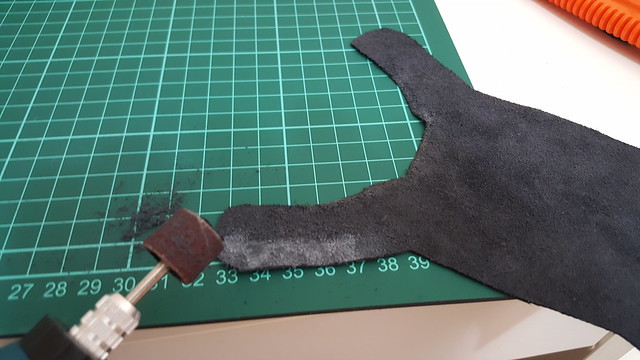
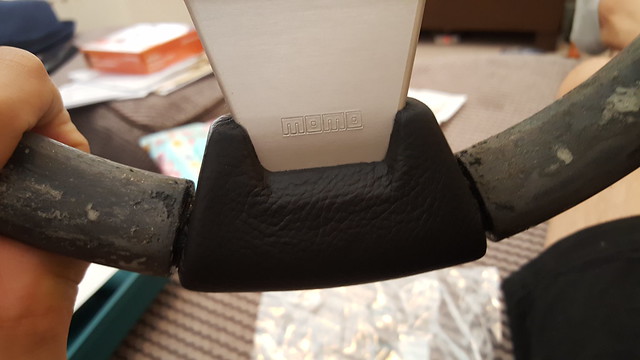
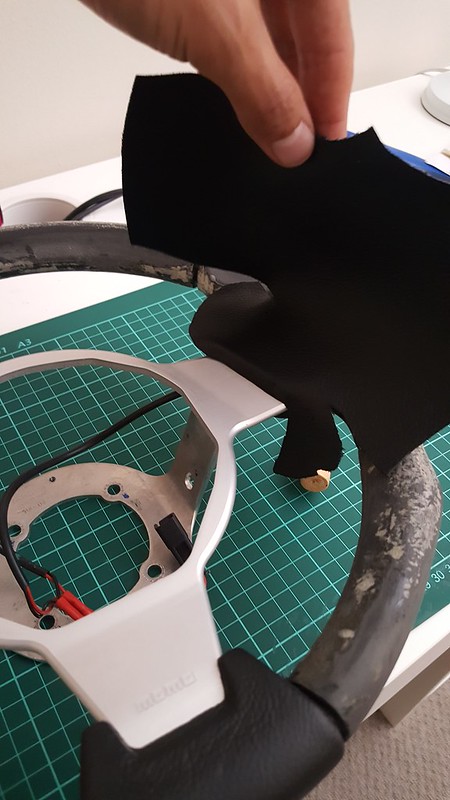
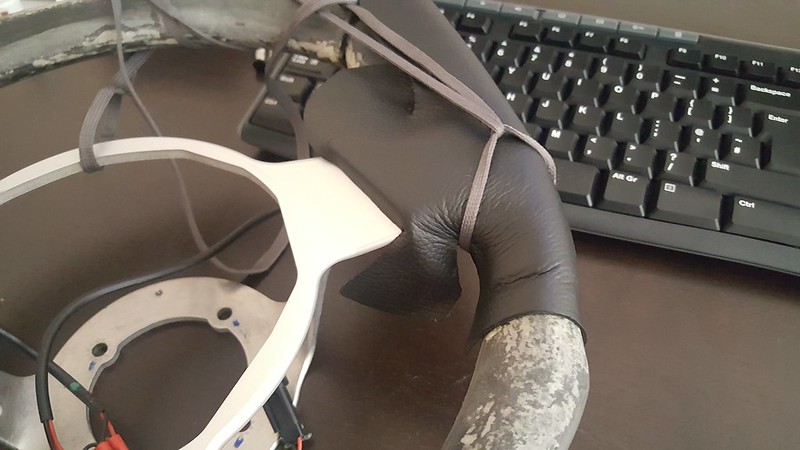
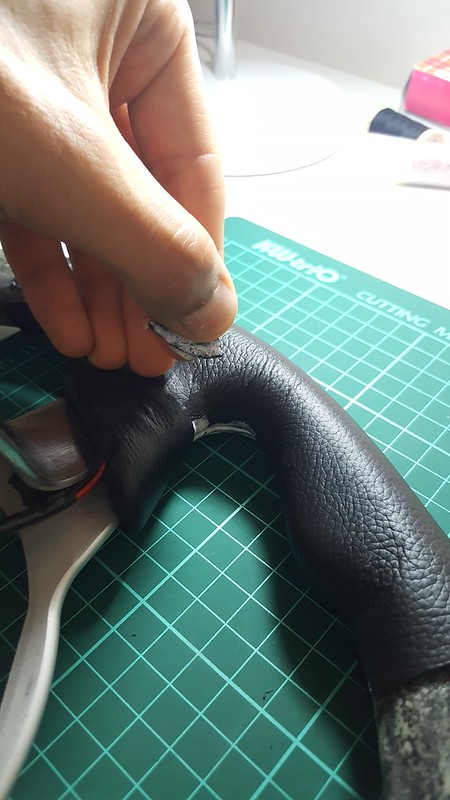
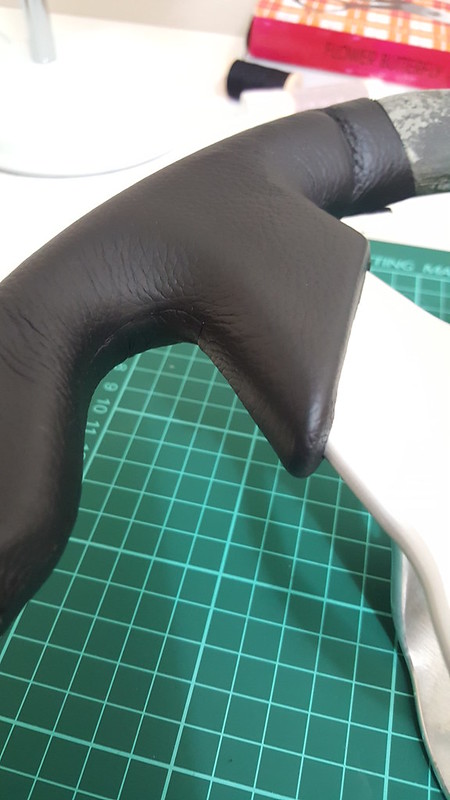
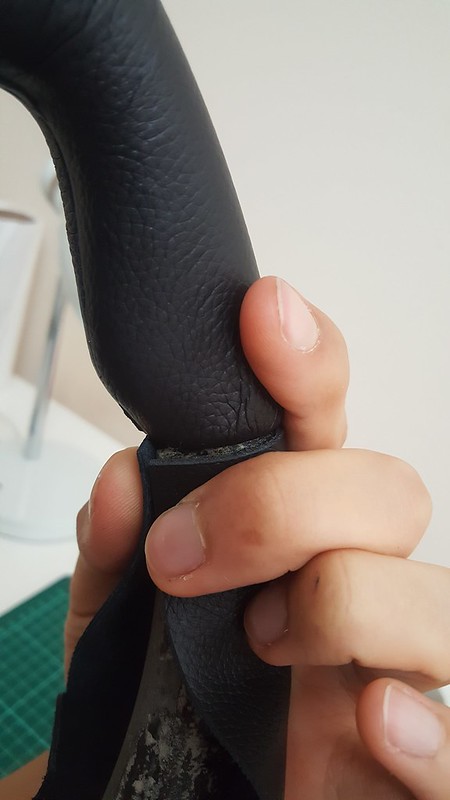
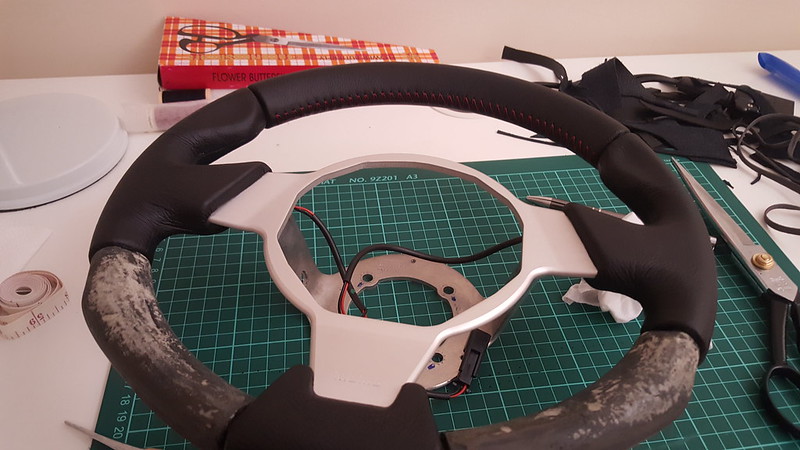
Cut the leather no shorter than where my thumb nail is before test fold, you can cut more off but you can't put more on
 20160716_120846 by Richard Fanders, on Flickr

Scary Internerd

Posted 16 July 2016 - 11:32 AM
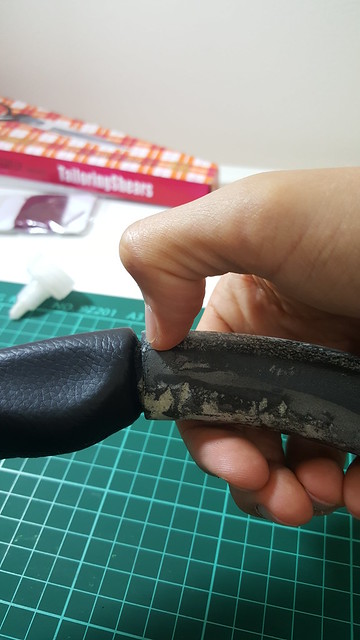
Cut the leather no shorter than where my thumb nail is before test fold, you can cut more off but you can't put more on
20160716_120846 by Richard Fanders, on Flickr
Scary Internerd
Posted 16 July 2016 - 11:33 AM
Scary Internerd
Posted 16 July 2016 - 11:34 AM
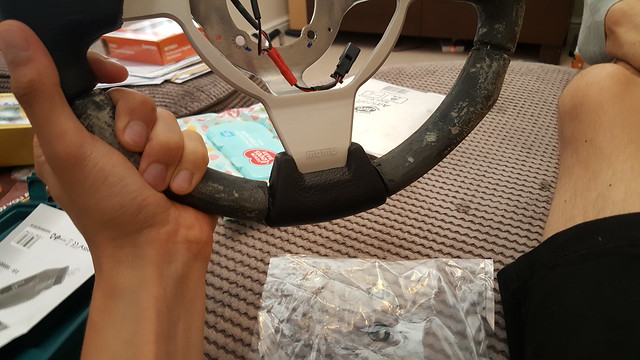
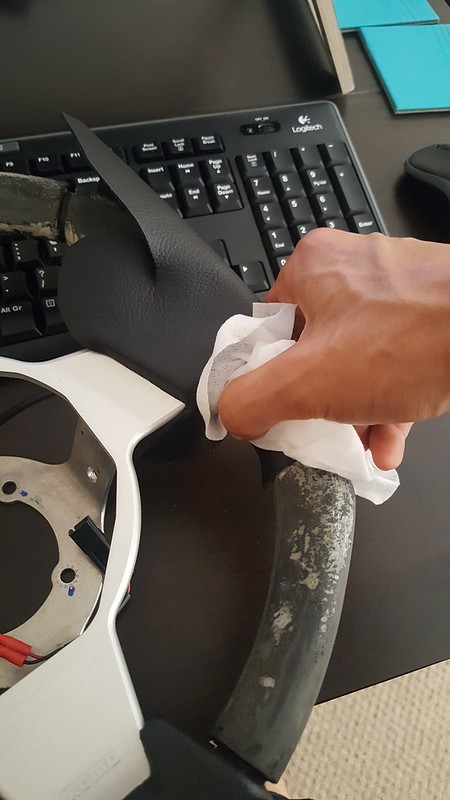
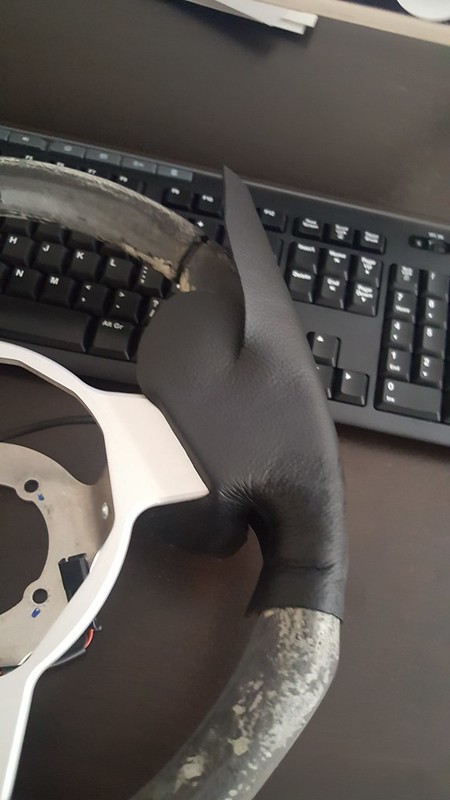
Any slight wrinkles in the grain of the leather will settle over time. I hope 
Iceman

Posted 16 July 2016 - 11:45 AM
Great work 
Scary Internerd
Posted 17 July 2016 - 12:02 PM
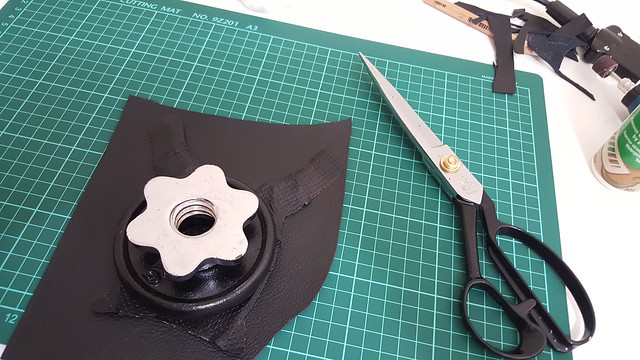
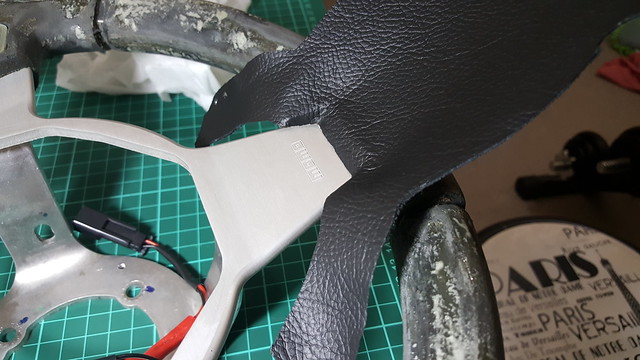
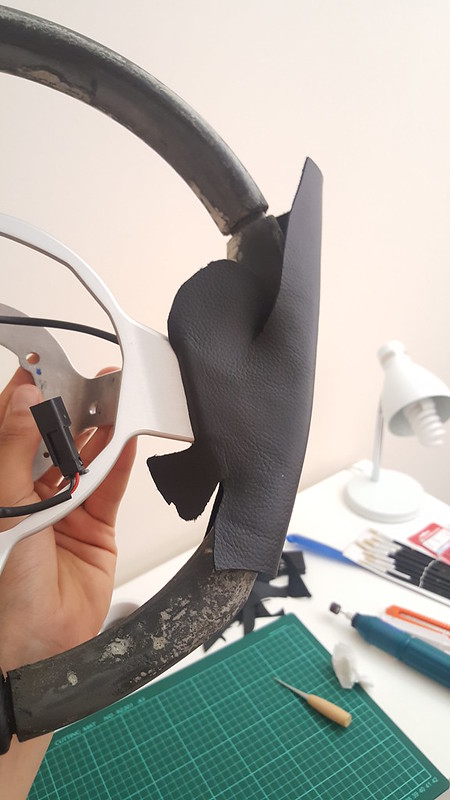
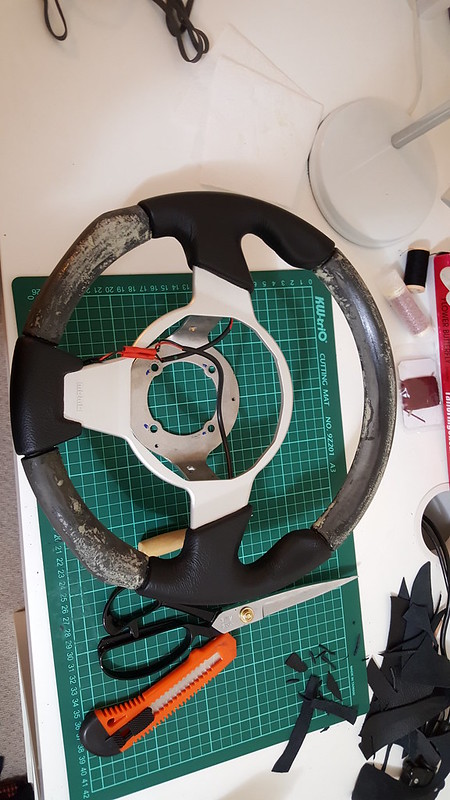
So did a little bit more this morning, this is time consuming but feel if I did it again I could do it better and faster.
Very carefully draw around the out side leaving an extra few mm to the sides that will fit in the steering wheel groves, other than that I try and get the exact same size.
 20160716_125139 by Richard Fanders, on Flickr
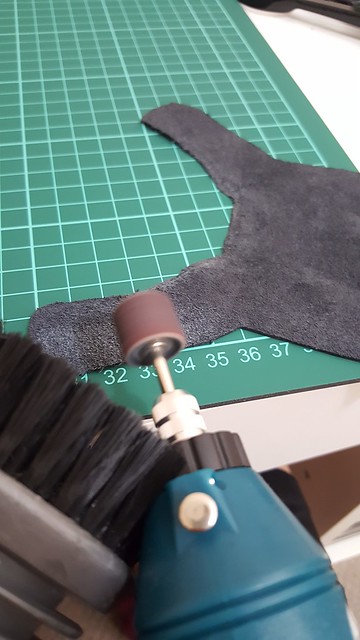
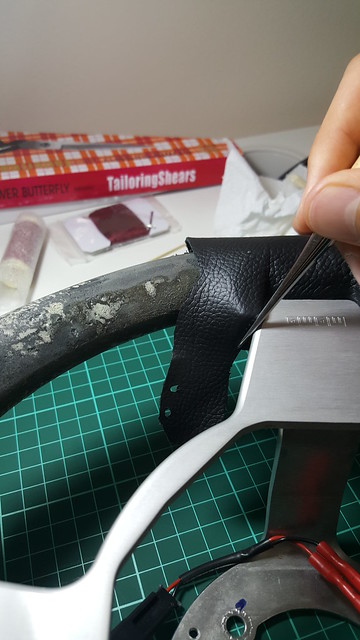
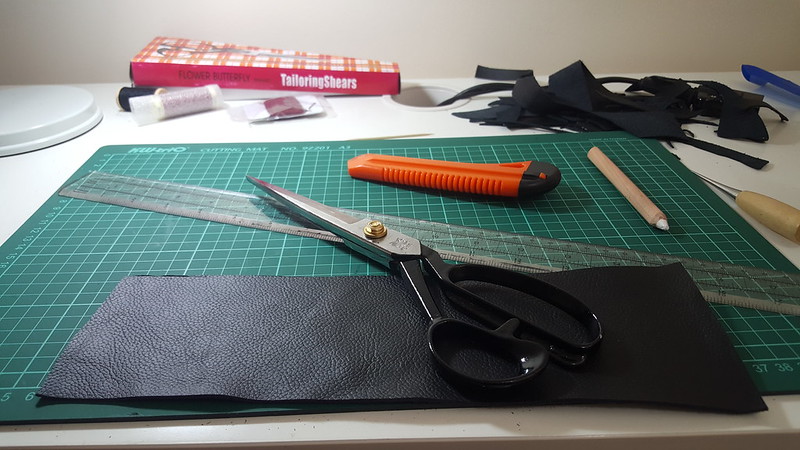
Skive the parts of the leather that need thinning, usually the bits that will overlap at the back (very thin) and the bits that need to make sharp corners (half as thick as original).
 20160716_132815 by Richard Fanders, on Flickr
 20160716_150331 by Richard Fanders, on Flickr
Glue this bit first as it is the most important part for accuracy
 20160717_112712 by Richard Fanders, on Flickr
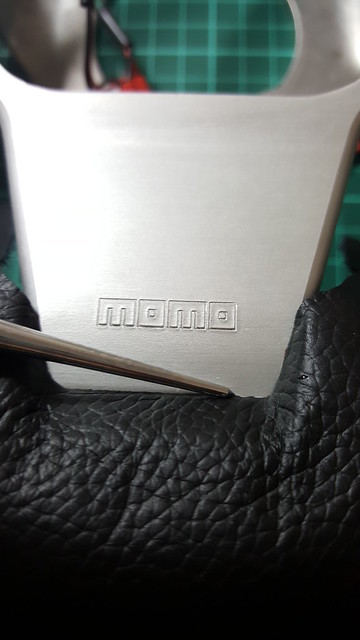
Use the Awl tool to make sure it's a good fit
 20160717_113045 by Richard Fanders, on Flickr
 20160717_113251 by Richard Fanders, on Flickr
Scary Internerd
Posted 17 July 2016 - 12:03 PM
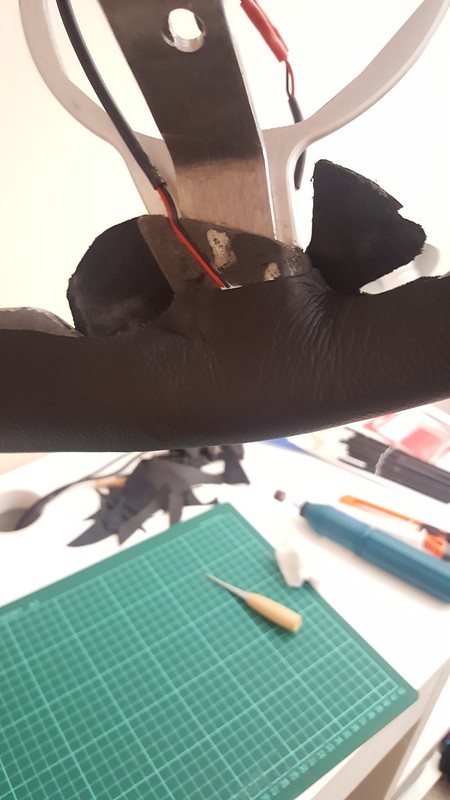
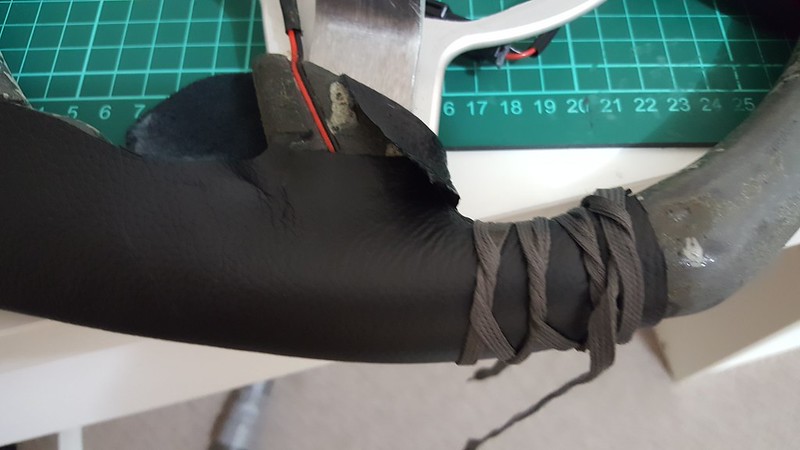
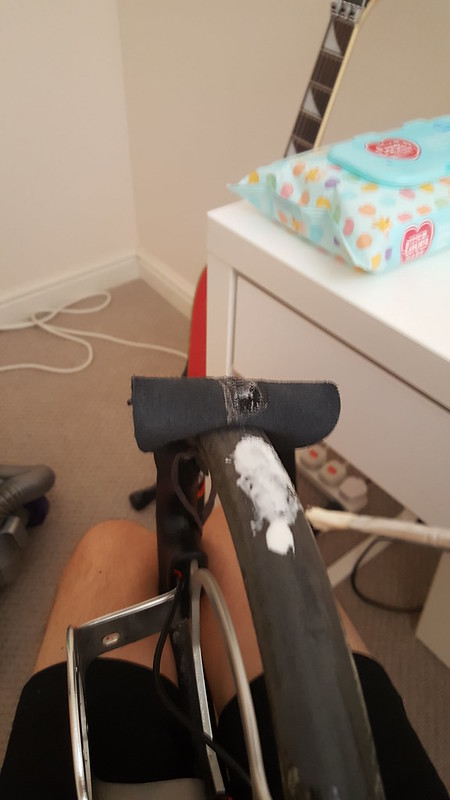
Finish wrapping, overlapping at the back and glue the edges into the groove.
 20160717_123435 by Richard Fanders, on Flickr
 20160717_123440 by Richard Fanders, on Flickr
 20160717_123448 by Richard Fanders, on Flickr
Scary Internerd
Posted 17 July 2016 - 12:07 PM
So far
 2016-07-17_01-04-34 by Richard Fanders, on Flickr
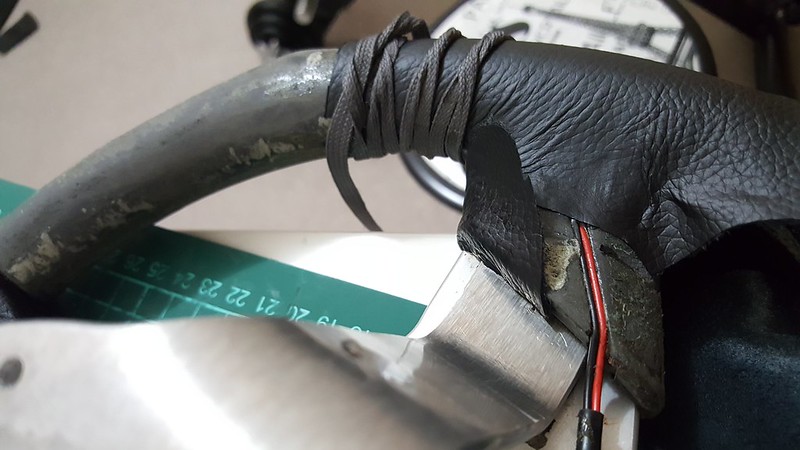
I have a feeling the other hand grip will be much easier now I kind of know what to expect, it may also end up looking a lot better which may or may not look odd. One thing is for sure, I really like the feel of this new leather.
SuperCharged Karting Super Hero

Posted 17 July 2016 - 12:14 PM
Member

Posted 17 July 2016 - 12:51 PM
Respect, that's a lot of work! But if you want a mint car, that's a thing you've got to do 
Billy No Mates

Posted 21 July 2016 - 03:42 PM
Hmmm. I have a spare steering wheel...
More of this thread, please! 
Scary Internerd
Posted 22 July 2016 - 10:18 PM
Another bit done:
Cut out and skive:
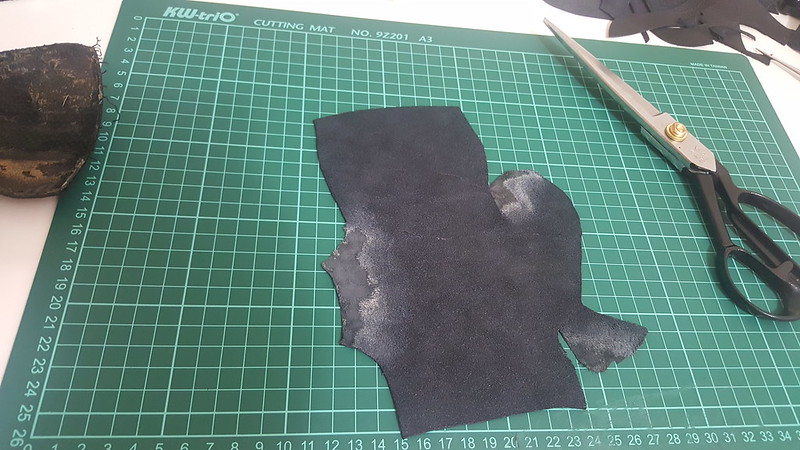 20160719_080924 by Richard Fanders, on Flickr
Start gluing from here:
 20160719_112258 by Richard Fanders, on Flickr
Work your way round - remember to glue both the leather and steering wheel, you only really get one shot at each it or the glue will be weak the second time.
 20160719_114128 by Richard Fanders, on Flickr
 20160719_114120 by Richard Fanders, on Flickr
Glue and hold this bit down with a baby wipe:
 20160719_115022 by Richard Fanders, on Flickr
Or shoe lace for a few minutes:
 20160719_115651 by Richard Fanders, on Flickr
Then it's set:
 20160719_115016 by Richard Fanders, on Flickr
Scary Internerd
Posted 22 July 2016 - 10:19 PM
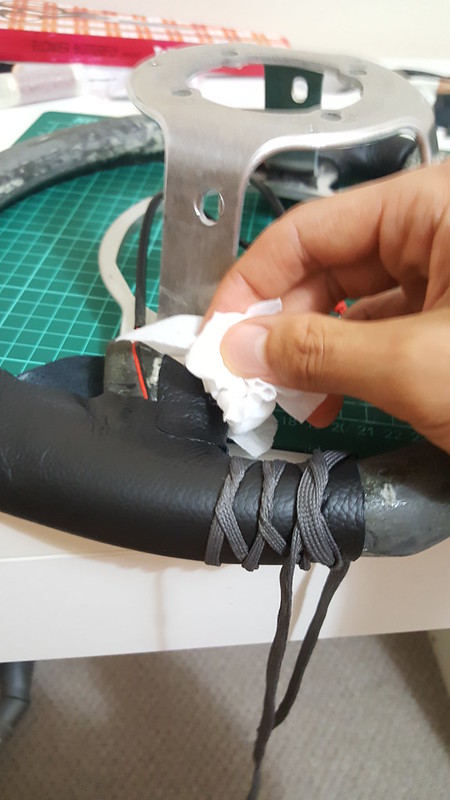
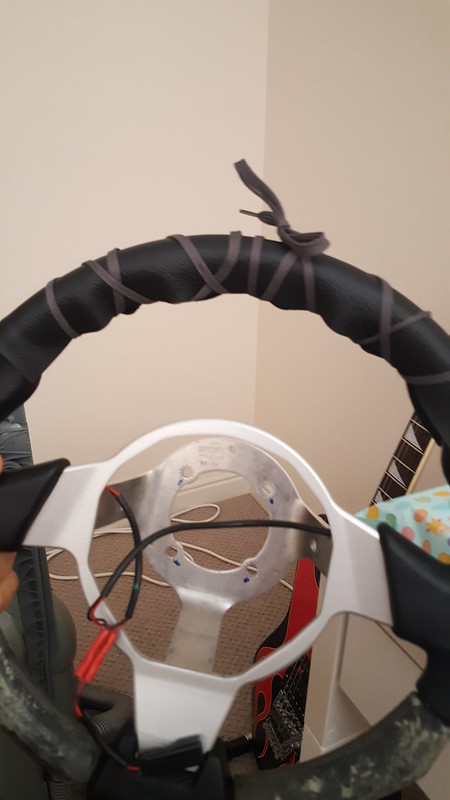
More shoe lace gluing
 20160719_182633 by Richard Fanders, on Flickr
 20160719_182651 by Richard Fanders, on Flickr
Scary Internerd
Posted 22 July 2016 - 10:24 PM
Glue the leather around the spokes:
 20160719_182920 by Richard Fanders, on Flickr
But there is a gap because I cut it too big on purpose, forgot to retrim all of it and only realised this when it was glued, so I tried to cut a bit off but cut too much off. 
 20160721_121609 by Richard Fanders, on Flickr
So I got the off cut, skived it in the relevant place so it would sit flush with the rest of the leather and stuck it on.
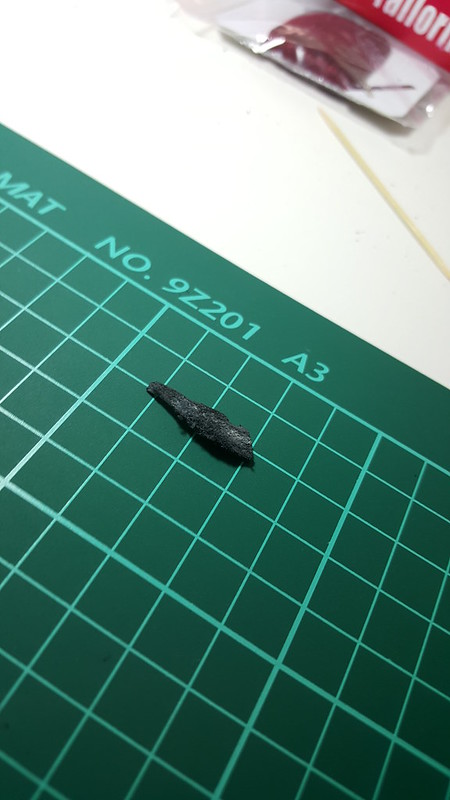 20160721_121613 by Richard Fanders, on Flickr
 20160721_121820 by Richard Fanders, on Flickr
Worked really well
 20160721_122345 by Richard Fanders, on Flickr
Done:
 20160722_215209 by Richard Fanders, on Flickr
Club OEM

Posted 23 July 2016 - 08:34 AM
Scary Internerd
Posted 23 July 2016 - 04:24 PM
Cut out the leather, measure and check three times against the steering wheel, this is very important.
 IMG-20160723-WA0000 by Richard Fanders, on Flickr
 20160723_113749 by Richard Fanders, on Flickr
 20160723_114950 by Richard Fanders, on Flickr
 20160723_115350 by Richard Fanders, on Flickr
 20160723_115954 by Richard Fanders, on Flickr
Use a shoe lace to see if it fits
 20160723_123730 by Richard Fanders, on Flickr
Scary Internerd
Posted 23 July 2016 - 04:28 PM
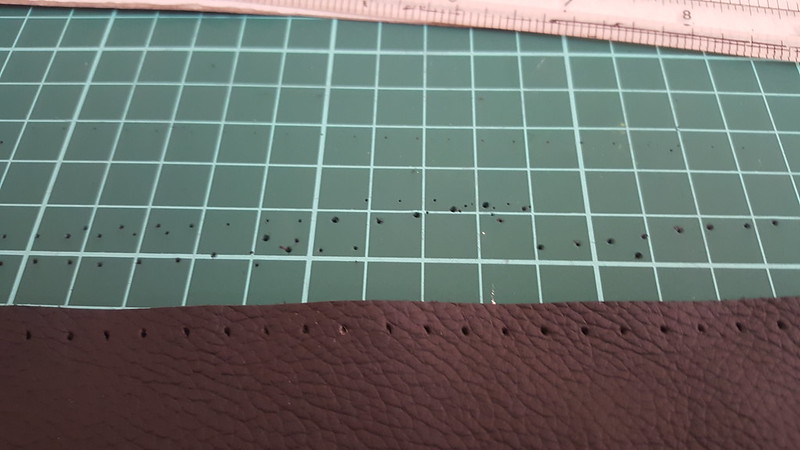
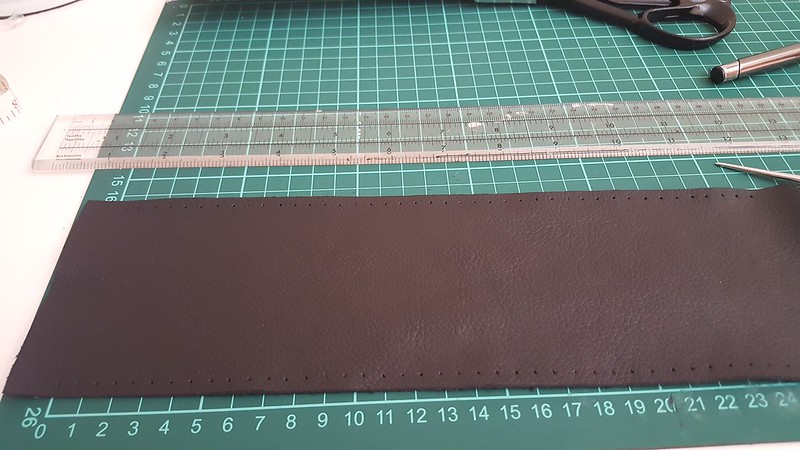
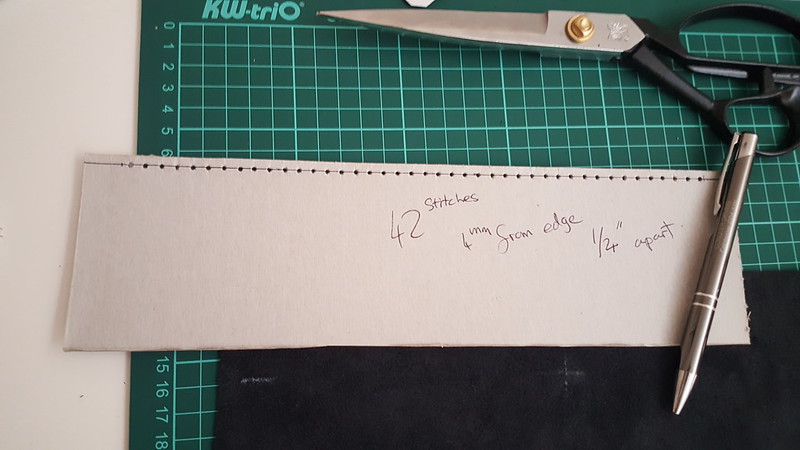
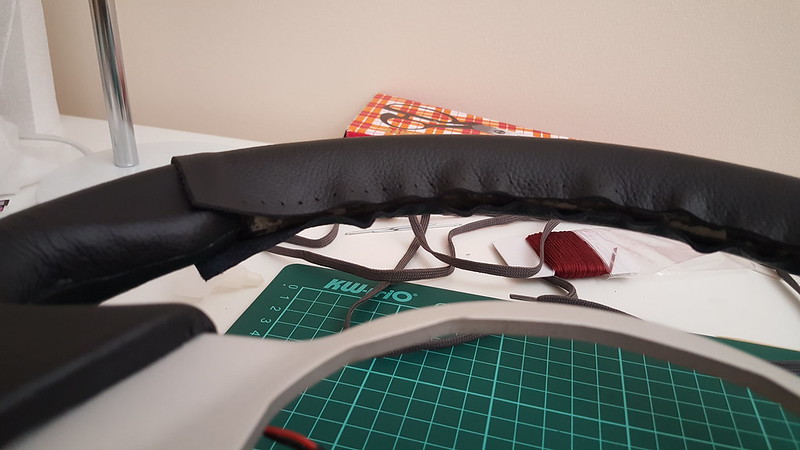
Once it is cut, you need to do the holes for the stitching, I made the holes 4mm from each edge and 1/4" apart, I also tried very hard to figure out where to start the holes which turned out to be 15 in from the sides as some of the leather gets folded into the grooves of the steering wheel.
 20160723_125246 by Richard Fanders, on Flickr
 20160723_130036 by Richard Fanders, on Flickr
 20160723_130356 by Richard Fanders, on Flickr
 20160723_131014 by Richard Fanders, on Flickr
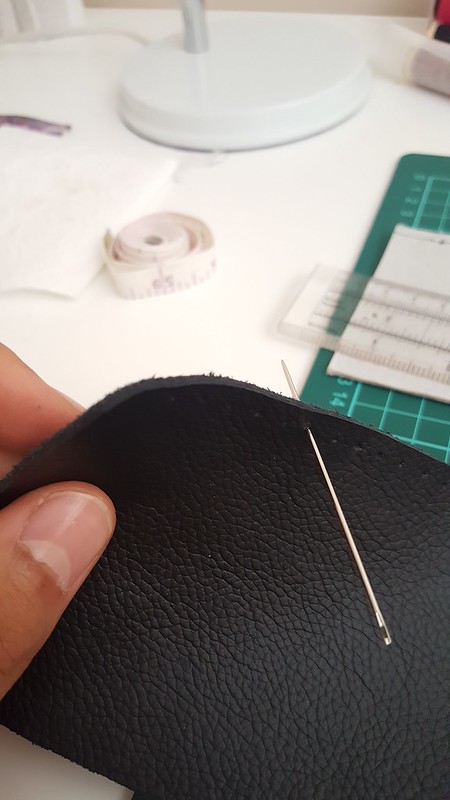
Make sure your blunt needle can go through the holes, I used an Awl to punch the holes.
 20160723_131109 by Richard Fanders, on Flickr
 20160723_131610 by Richard Fanders, on Flickr
Both sides
 20160723_132822 by Richard Fanders, on Flickr
 20160723_133402 by Richard Fanders, on Flickr
Scary Internerd
Posted 23 July 2016 - 04:33 PM
Measure the middle of the leather on the inside to help you fit it in the middle first time and glue it in place, make sure you stretch the top of the leather or you will get a crinkled bottom where the stitches are because the outside of the steering wheel is shorter than the inside. I found this out the hard way and had to re-glue it but fortunately I had only glued a very small portion of it.
Scary Internerd
Posted 23 July 2016 - 04:35 PM
 20160723_141410 by Richard Fanders, on Flickr
 20160723_141600 by Richard Fanders, on Flickr
Hold in place with shoe lace.
 20160723_141713 by Richard Fanders, on Flickr
Then glue the sides down to near the holes trying to make sure the holes line up.
 20160723_145417 by Richard Fanders, on Flickr
Scary Internerd
Posted 23 July 2016 - 04:37 PM
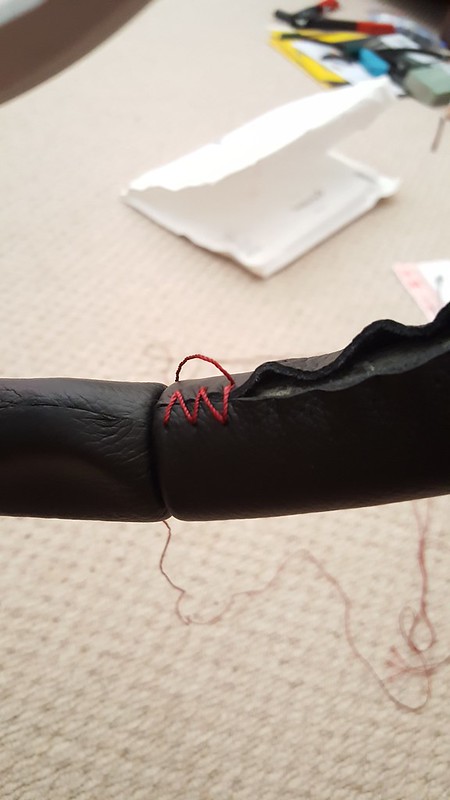
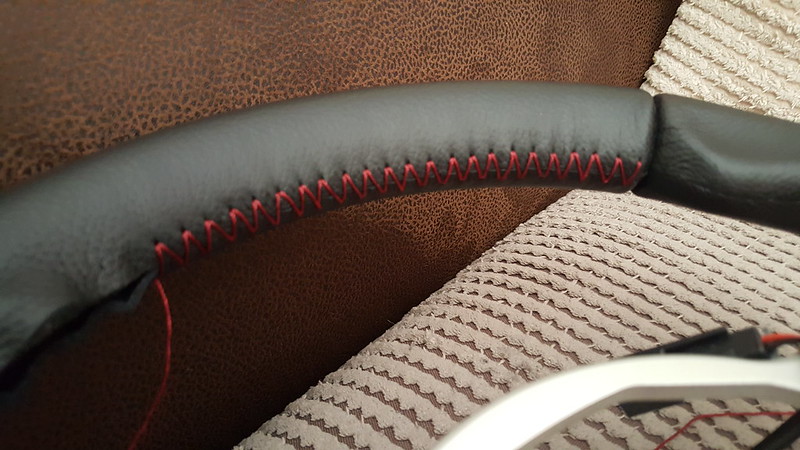
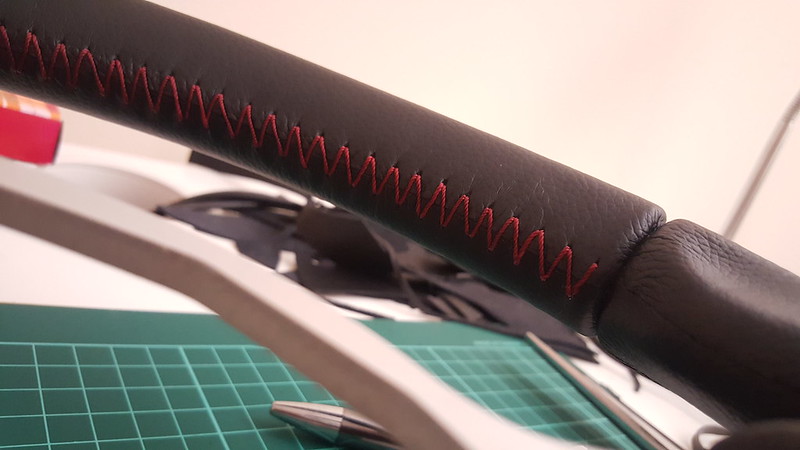
I used this video for the stitching technique and used 3 core (TEX 210) polyester thread with a small blunt needle. Polyester is important because of its resilience to UV.
Scary Internerd
Posted 23 July 2016 - 04:38 PM
 20160723_151311 by Richard Fanders, on Flickr
 20160723_155738 by Richard Fanders, on Flickr
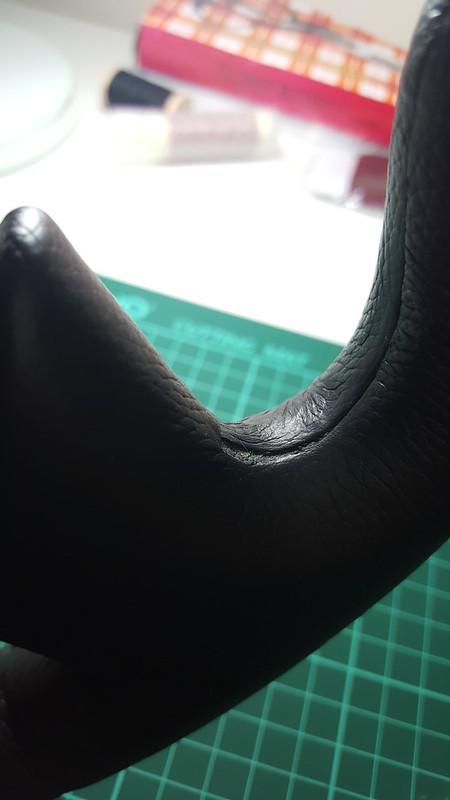
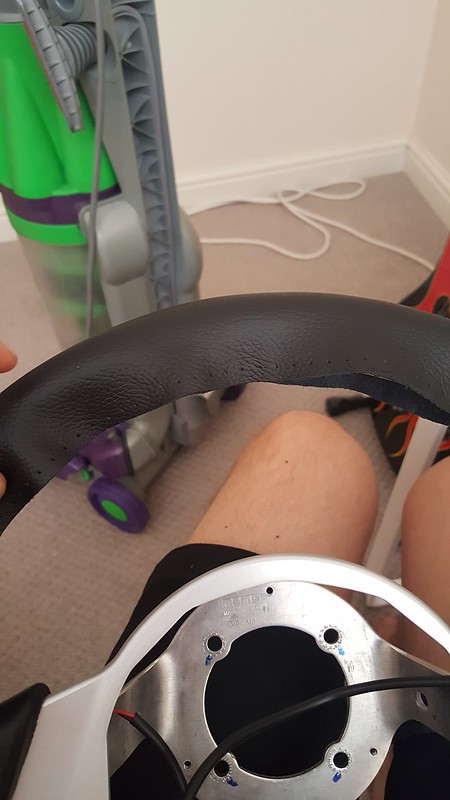
Fold in the edges and that's another part done:
 20160723_171433 by Richard Fanders, on Flickr
 20160723_171531 by Richard Fanders, on Flickr
 20160723_171444 by Richard Fanders, on Flickr


0 members, 2 guests, 0 anonymous users