 I will be very happy with my 200BHP stage 1 thank you

Scary Internerd

Posted 02 July 2011 - 12:33 PM
I will be very happy with my 200BHP stage 1 thank you
Embarrassing VX's in an MX5
Posted 02 July 2011 - 04:39 PM
I am not reading
 Does no-one read the thread.
Need to get Out More

Posted 15 July 2011 - 10:23 PM
Edited by jimbob, 15 July 2011 - 10:23 PM.
Scary Internerd
Posted 16 July 2011 - 08:58 AM
Scary Internerd
Posted 30 August 2011 - 10:19 PM
Edited by Anarchy, 30 August 2011 - 10:30 PM.
Under Your Bed
Posted 30 August 2011 - 10:41 PM
Supercharger of Doom

Posted 31 August 2011 - 09:07 AM
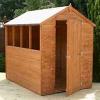
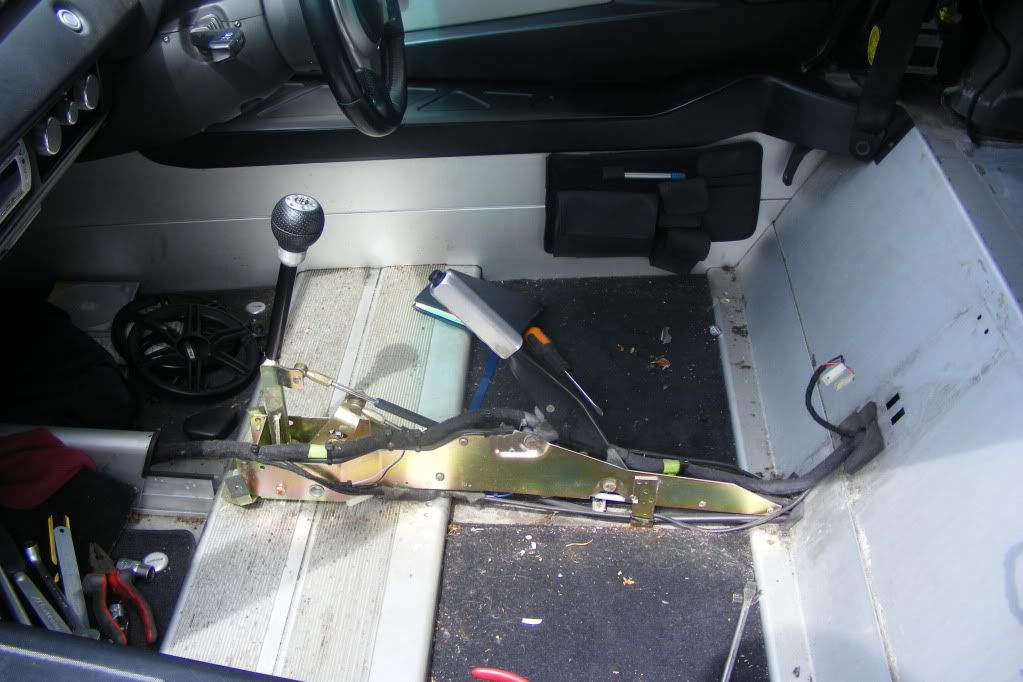
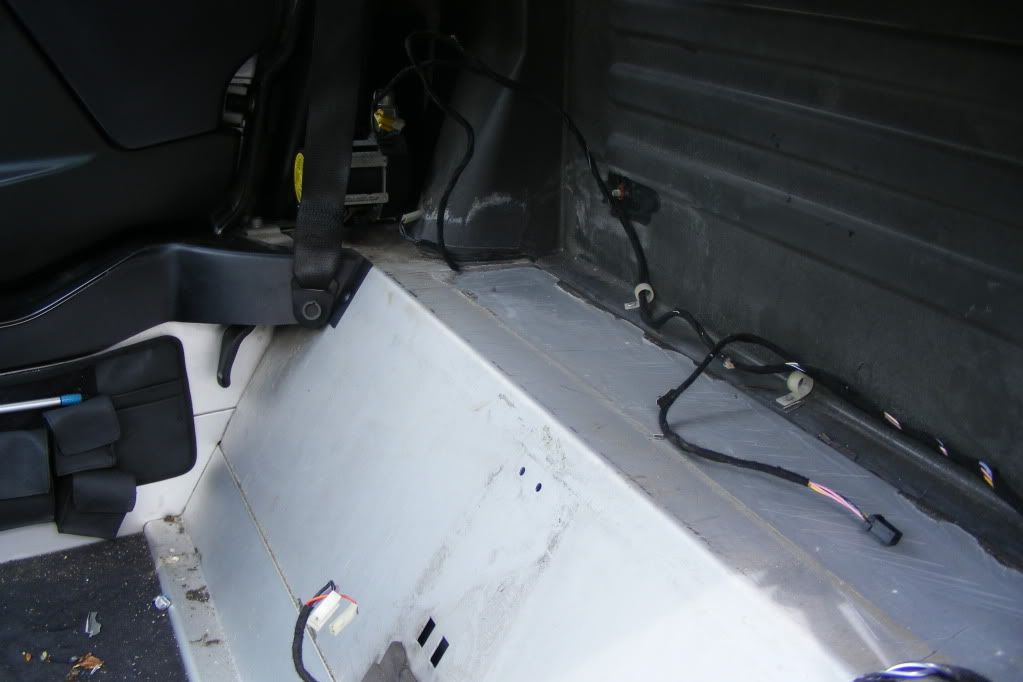
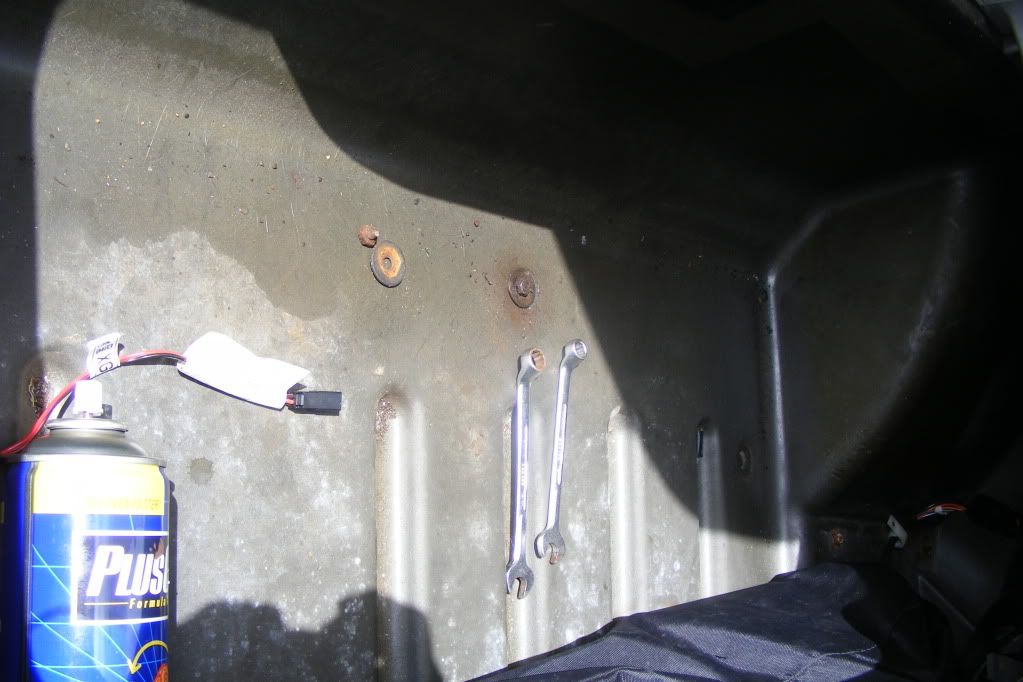
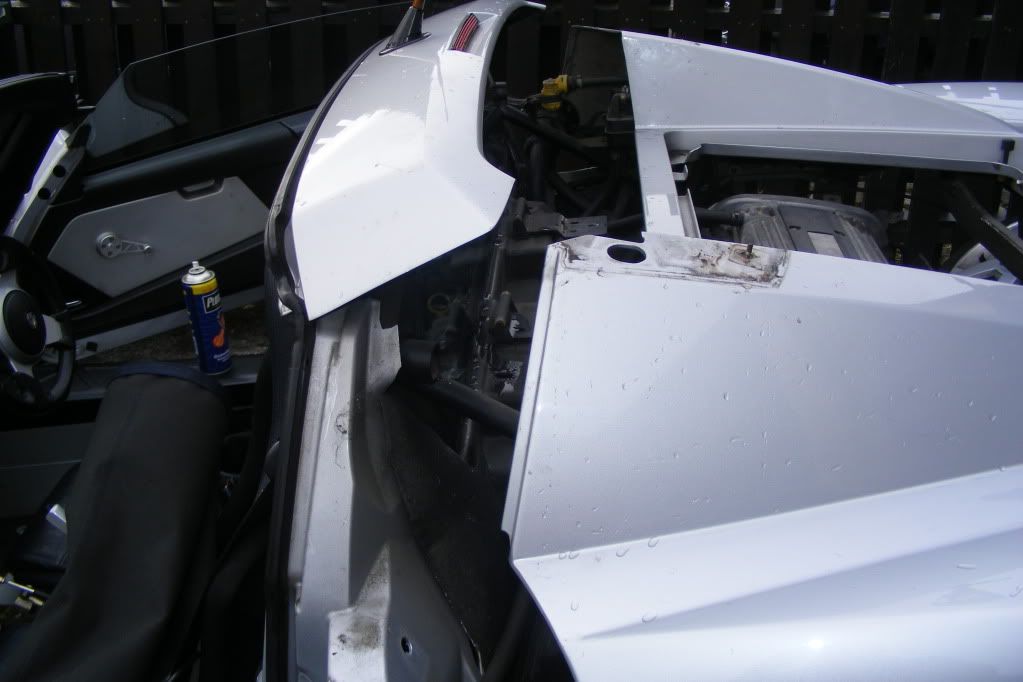
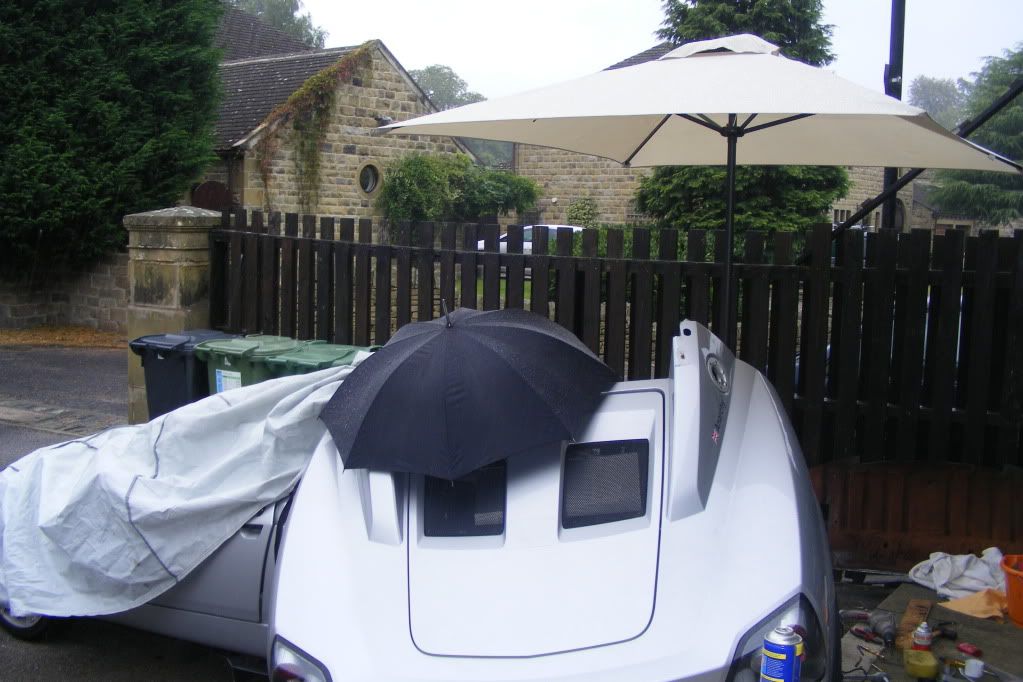
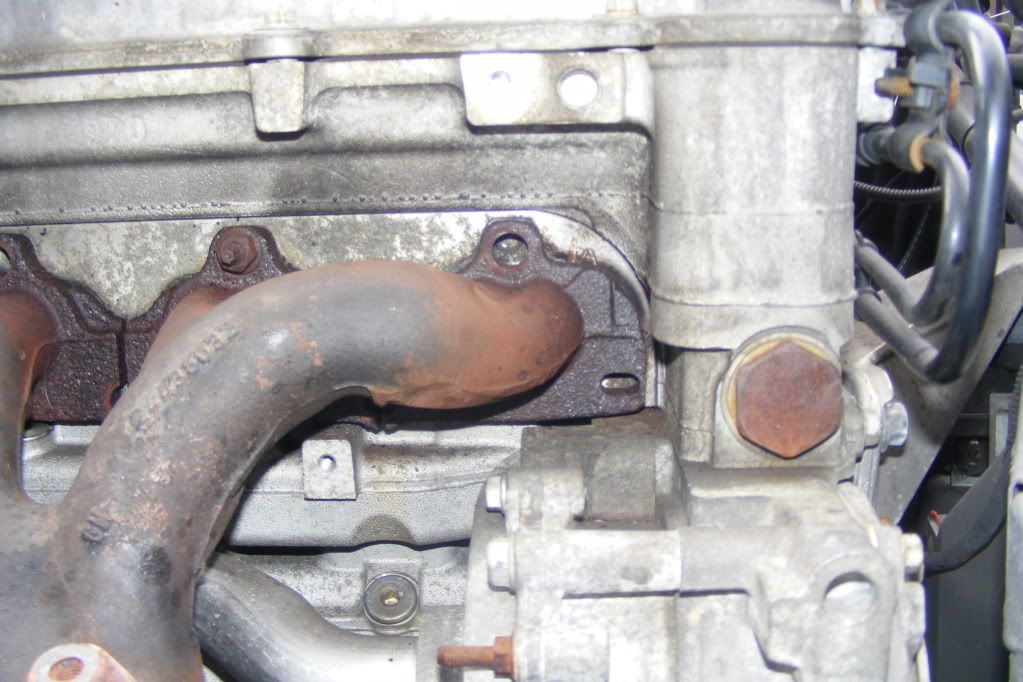
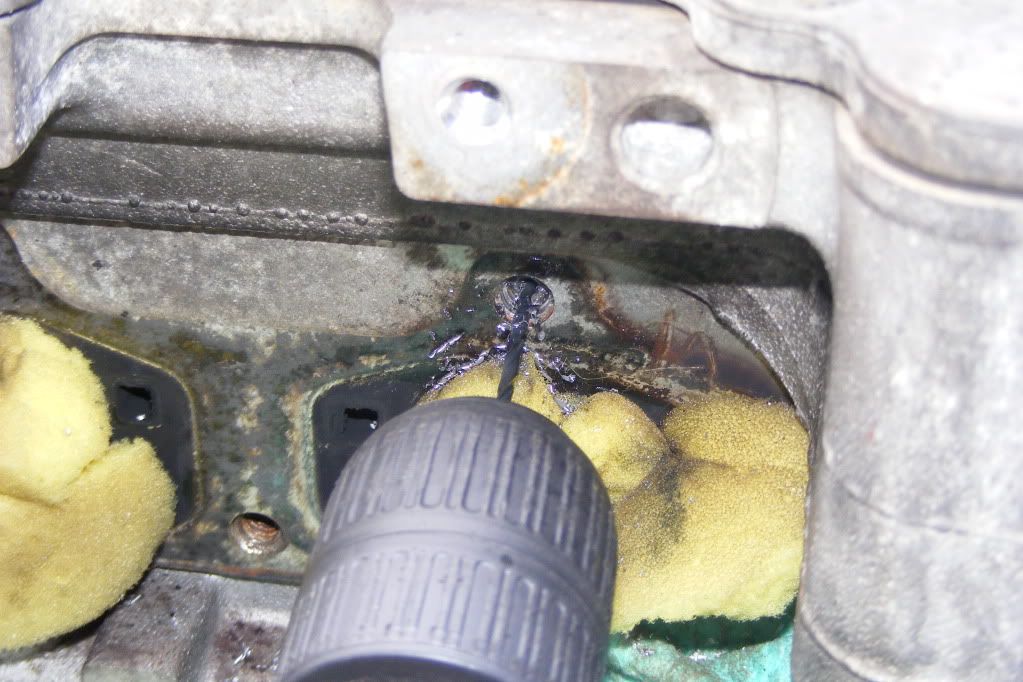
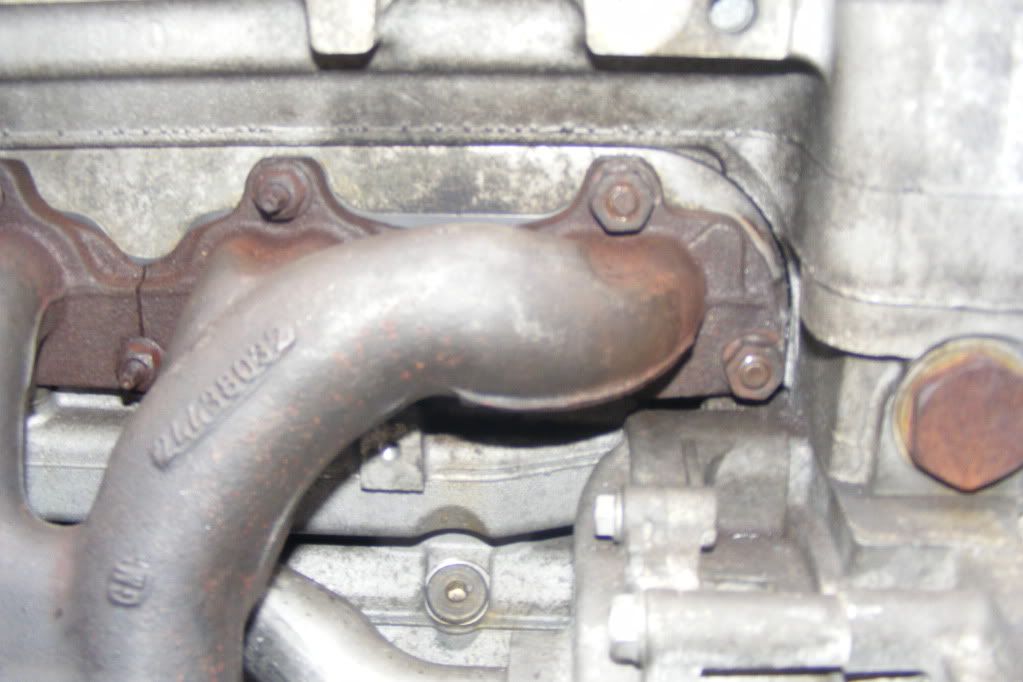
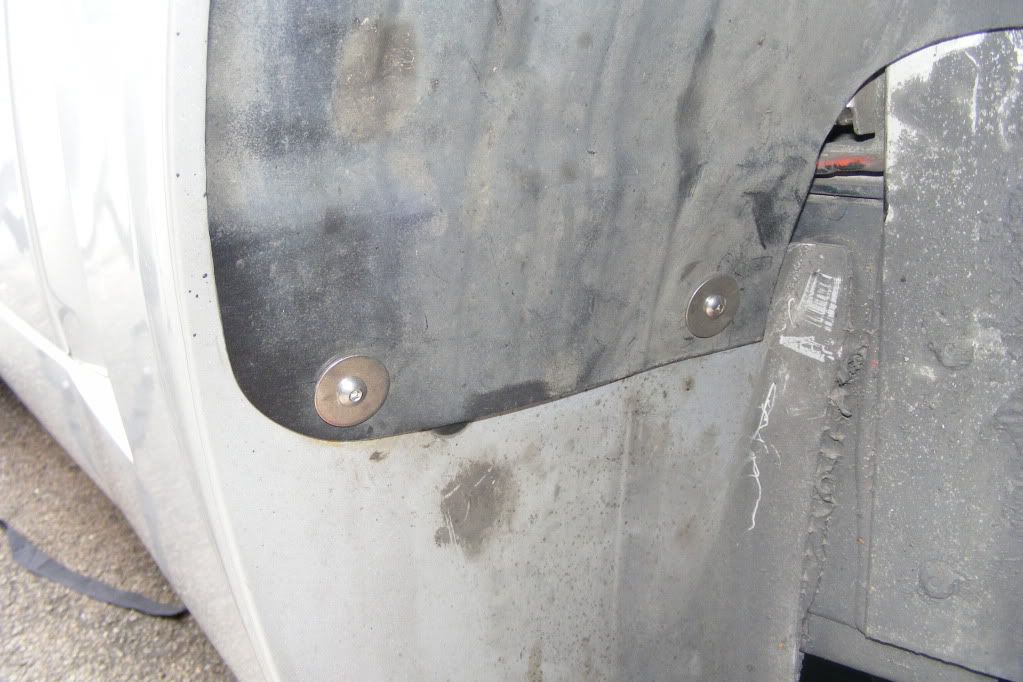
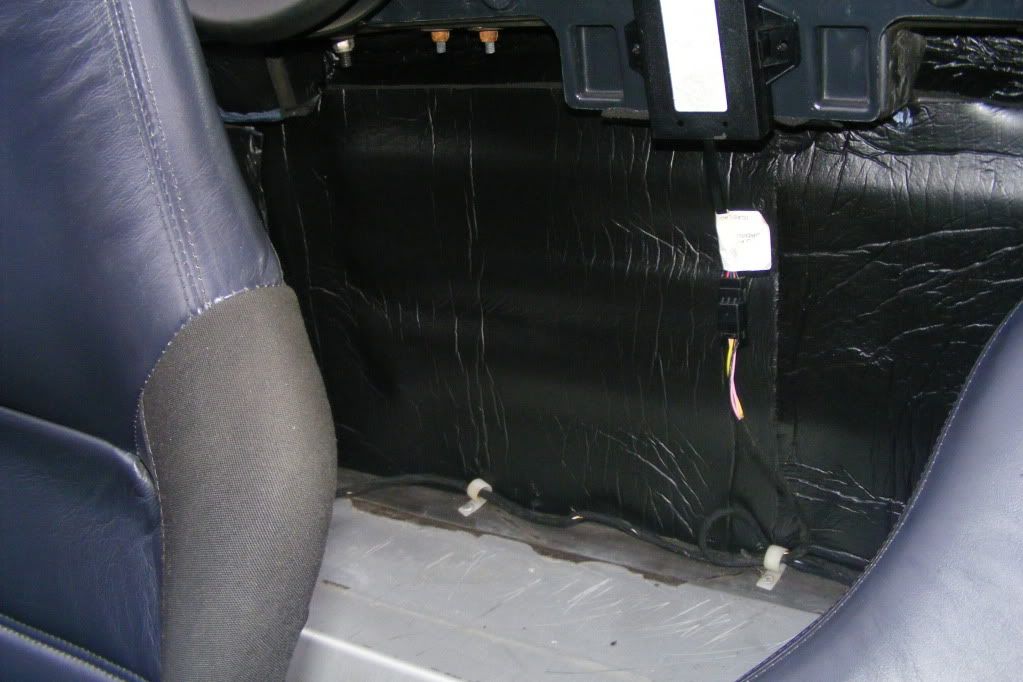
Having driven around with no sound proofing fitted the engine really is loud in the cabin so it obviously has quite a good noise reducing effect, I decided to buy some extra sound proofing self adhesive tiles from Ebay with the hope it will be even quieter, especially for when the noisy supercharger is added.
Embarrassing VX's in an MX5
Posted 31 August 2011 - 11:11 AM
I'm like you, it takes me for ever to do anything on the car.
Need to get Out More

Posted 31 August 2011 - 02:29 PM
I am not reading

Scary Internerd
Posted 31 August 2011 - 04:44 PM
Having driven around with no sound proofing fitted the engine really is loud in the cabin so it obviously has quite a good noise reducing effect, I decided to buy some extra sound proofing self adhesive tiles from Ebay with the hope it will be even quieter, especially for when the noisy supercharger is added.
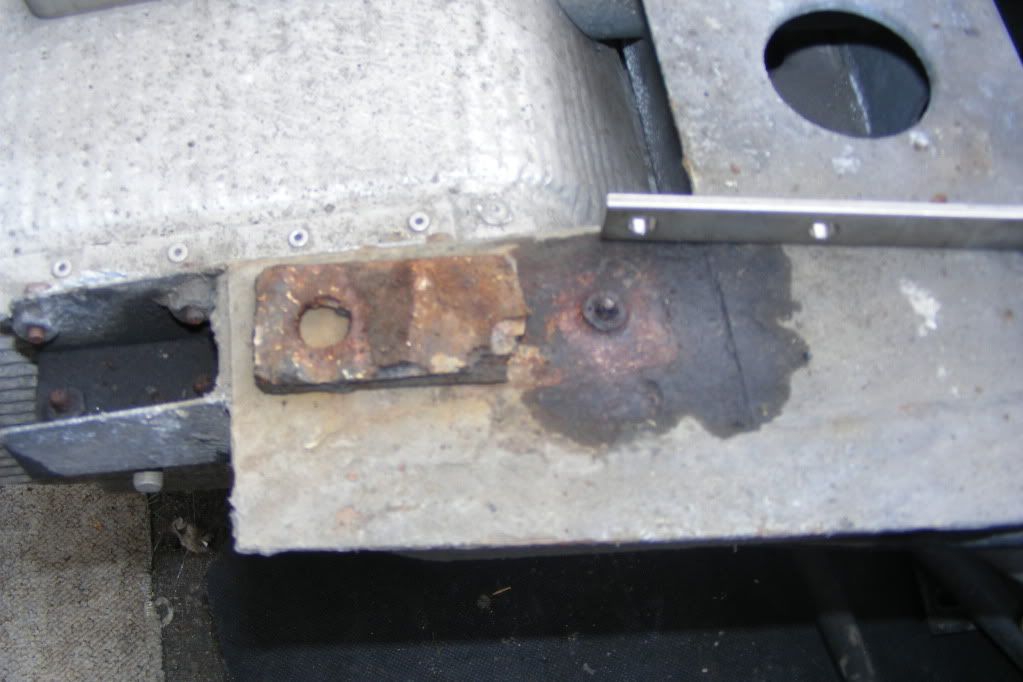
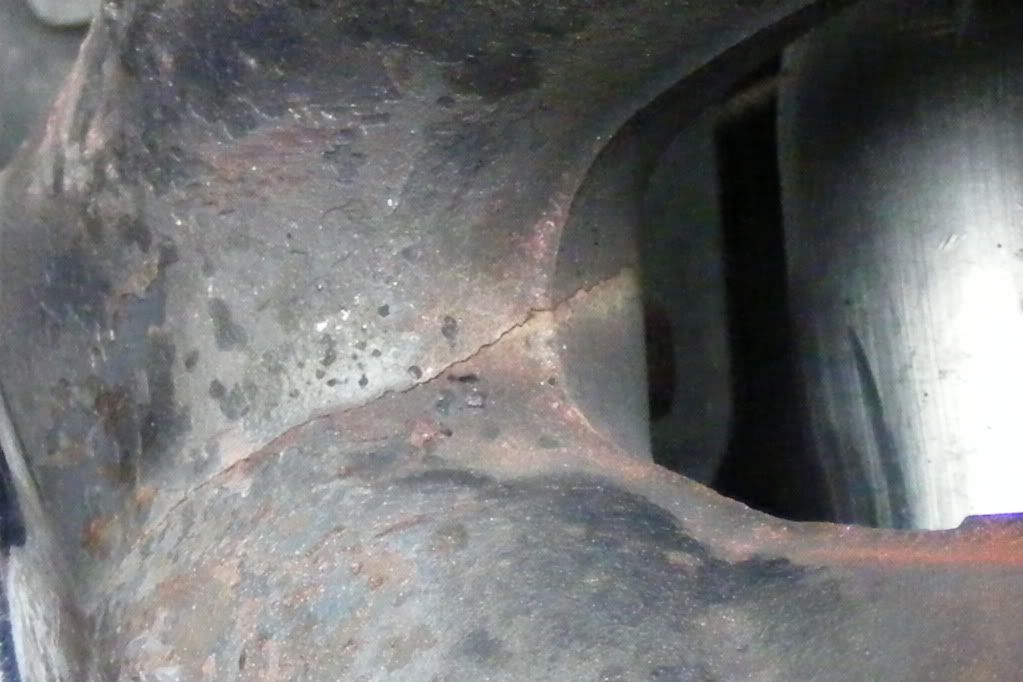
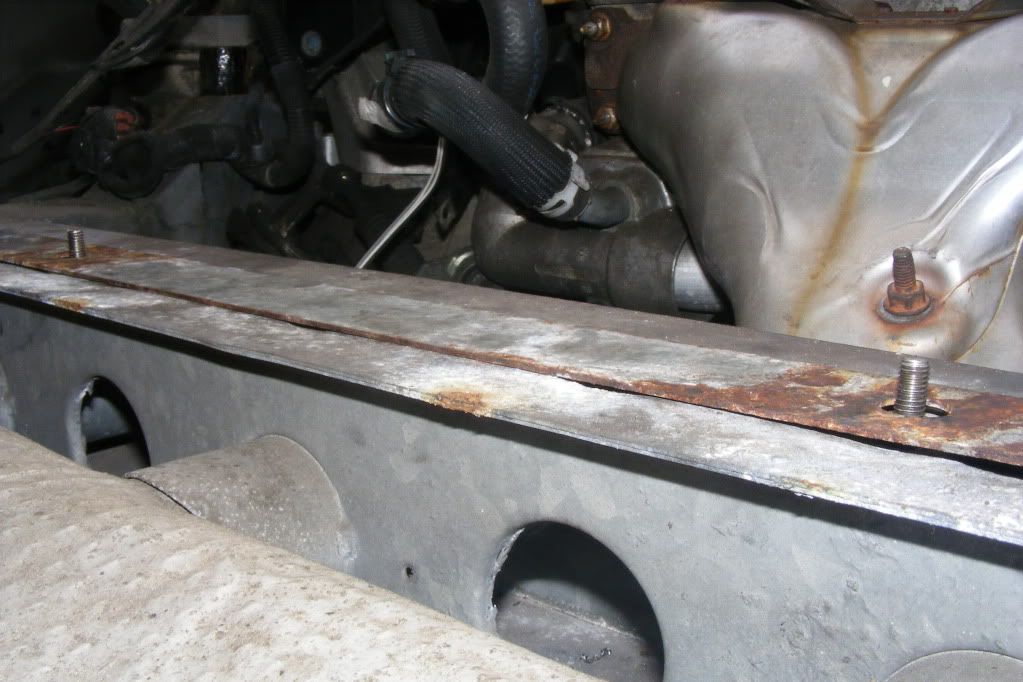
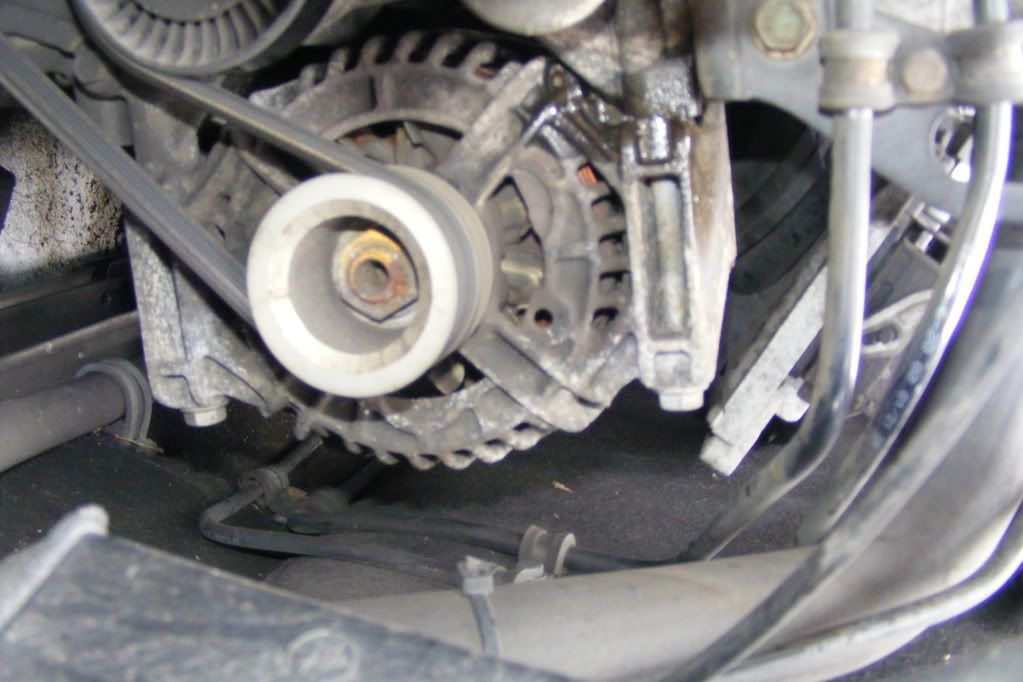
Plumb the supercharger into your existing airbox (i.e. don't bother with a silly cone filter setup) and it'll barely make a noise at all, on a stage 1 conversion.
Edited by Anarchy, 31 August 2011 - 04:44 PM.
Scary Internerd

Posted 31 August 2011 - 11:08 PM
Having driven around with no sound proofing fitted the engine really is loud in the cabin so it obviously has quite a good noise reducing effect, I decided to buy some extra sound proofing self adhesive tiles from Ebay with the hope it will be even quieter, especially for when the noisy supercharger is added.
Plumb the supercharger into your existing airbox (i.e. don't bother with a silly cone filter setup) and it'll barely make a noise at all, on a stage 1 conversion.
Scary Internerd
Posted 01 September 2011 - 07:37 PM


Edited by Anarchy, 01 September 2011 - 07:41 PM.
Made In England

Posted 06 September 2011 - 03:10 PM

Embarrassing VX's in an MX5
Posted 21 September 2011 - 12:16 PM
I Fancy Joe

Posted 21 September 2011 - 02:44 PM

Scary Internerd
Posted 22 September 2011 - 07:05 PM
Scary Internerd
Posted 24 September 2011 - 12:56 PM
Scary Internerd

Posted 27 September 2011 - 07:21 AM
Need to get Out More
Posted 27 September 2011 - 12:00 PM
Scary Internerd
Posted 03 October 2011 - 08:12 PM


0 members, 1 guests, 0 anonymous users

