Jump to content


Photo

Project Junkie

supercharge

  • Please log in to reply
244 replies to this topic

#1 Steve.i.am

Steve.i.am

    Need to get Out More

  • PipPipPipPip
  • 990 posts
  • Gender:Male
  • Location:Sussex
  • Interests:Bends

Posted 29 June 2013 - 05:16 PM

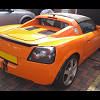
A project thread about Y845 JNK.


Yet another NA car getting the stage 2 supercharger treatment. So yes, I'm afraid this will be mainly another DIY SC build thread. Another one can't hurt! But I'm sure there'll be other bits and bobs along the way.


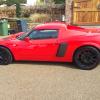
So I bought Junkie 1 year ago mainly for a track day and occasional road car. It was a stock NA, 2 owner car with 31k miles. Clean enough.


Posted Image


Immediately I wanted to sort a few things to make it a little bit more trackday capable - so Mr Credit Card got hammered for


1. Gaz Gold Pro mk2 shocks. 425/475 lb.

2. CL RC5+ pads

3. New discs (Kept to the plain Brembos)

4. Fluid change

5. TD 1.2s with Yokohama AD08s. I rekoned that these should be grippy enough and would be a better road/track compromise than 888's. And should work in the wet as well.

6. A GEO setup at BOT.


Posted Image


The shocks/discs/pads were pretty easy to replace myself. Only major hassle came when bleeding new fluid though it. Both bleed nipples on the front callipers had corroded and wouldn't re-seal when tightened, but once replaced all was fine.


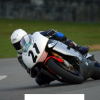
With these bits done the car is really pretty good on the track. OK you have to read a book down the straights to avoid the boredom, but it does stop, handle and grip surprisingly well.


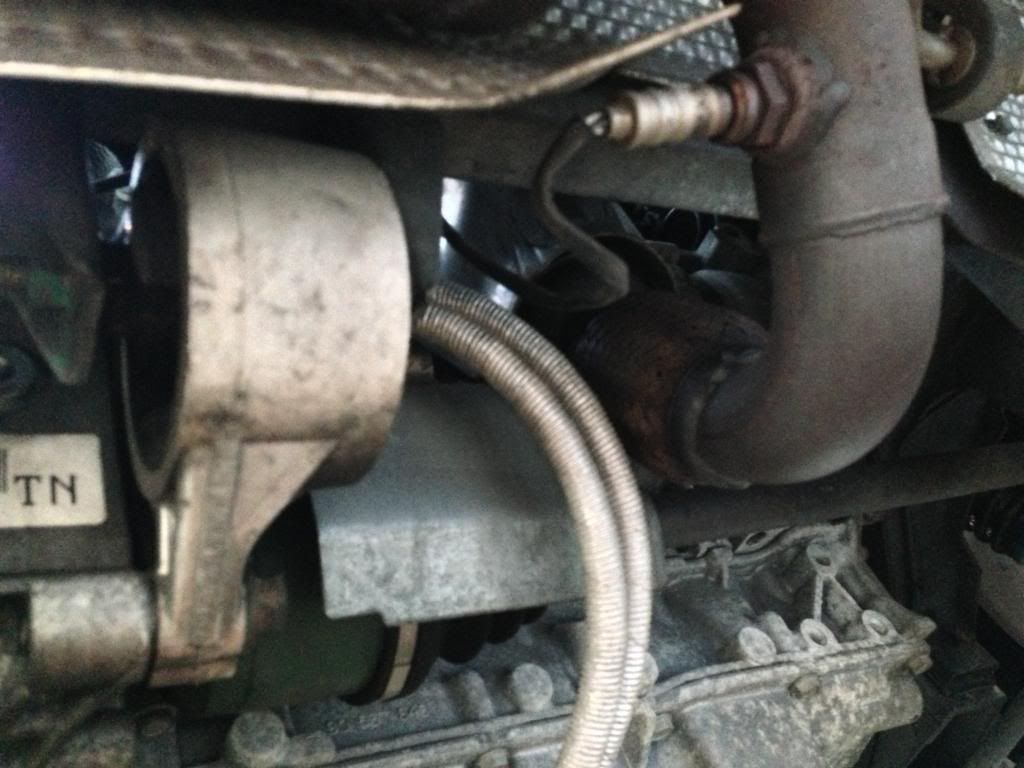
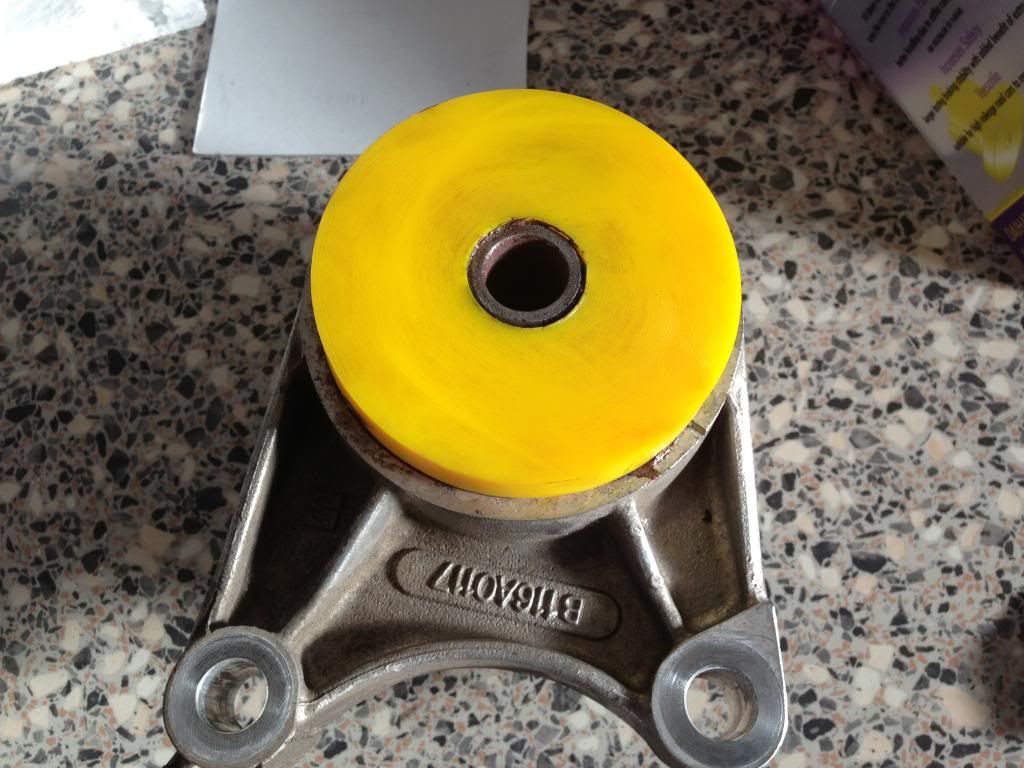
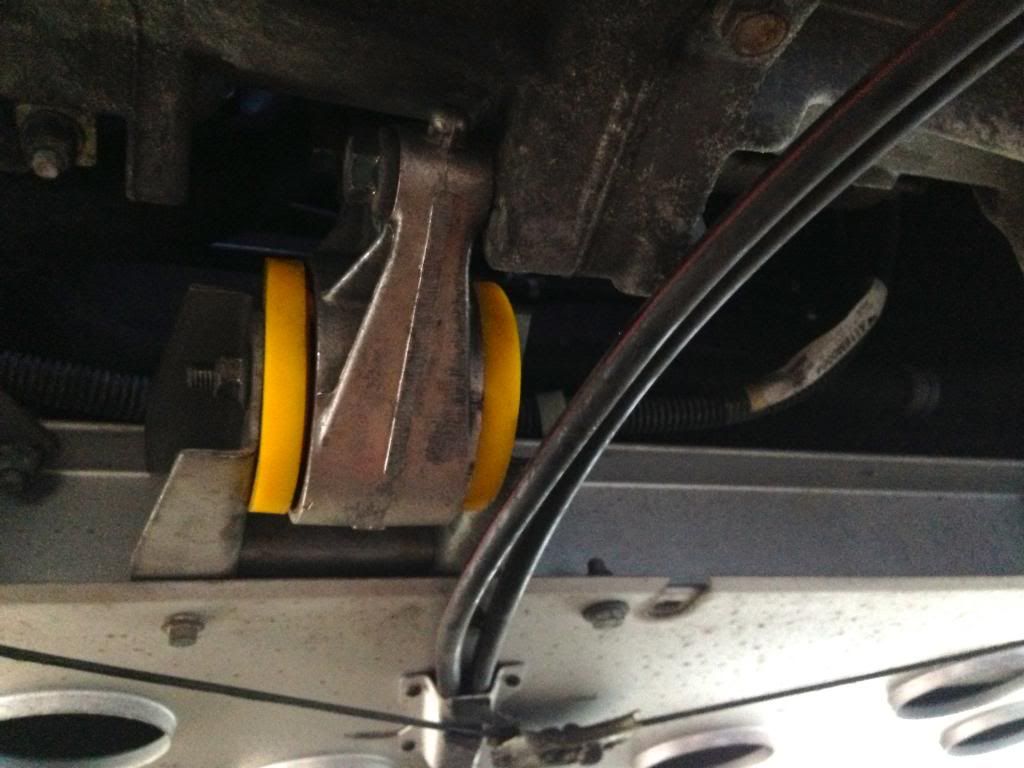
3 or 4 trackdays later the car started making the coffee grinder noise in 1st & 2nd gears. Classic engine mount failure. So I decided to have a go at them myself. I managed to change the left/right mounts OK and no more noise. Hooray. Whilst I was there I noticed the n/s inner CV boot split. Boo. Another Saturday was spent doing that, together with an oil/filter/plug/air filter change.


So that is pretty much where I am with the car at the moment. I always bought it with the intention of one day SCing it and whilst at a Goodwood trackday earlier this year I was daft enough to chat to Rally and Sutol from this forum.. Both had done their SC conversion themselves and made it sound good fun and not that difficult. You bar stewards!! I believed them completely and am now embarking on this simple conversion myself....


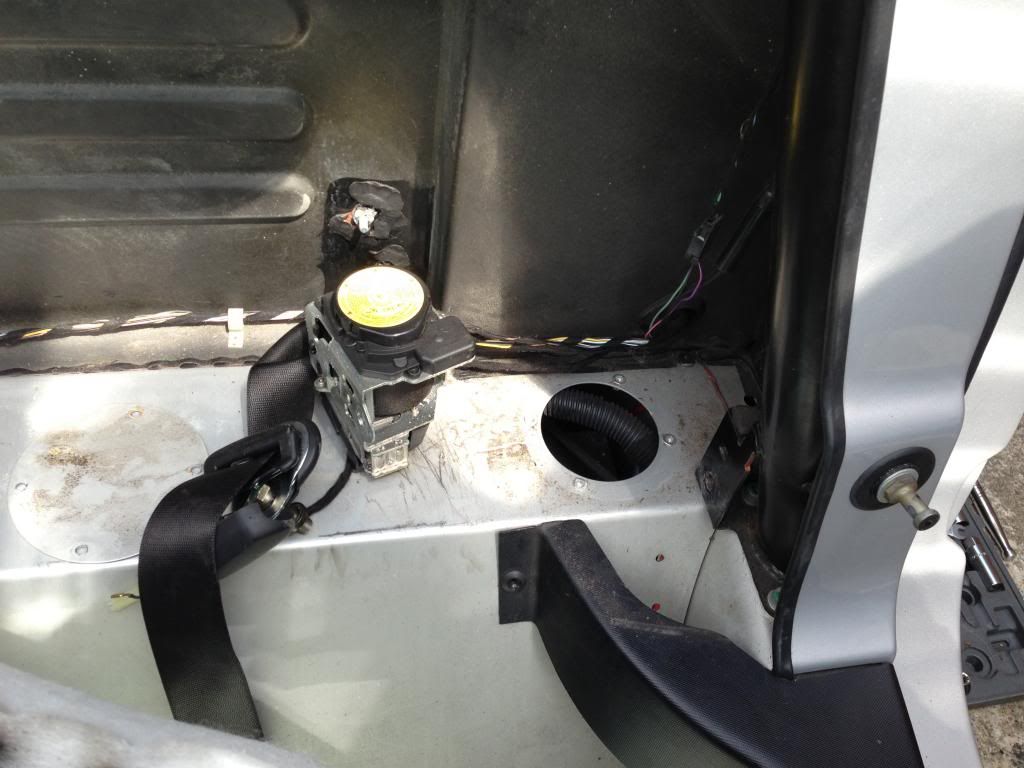
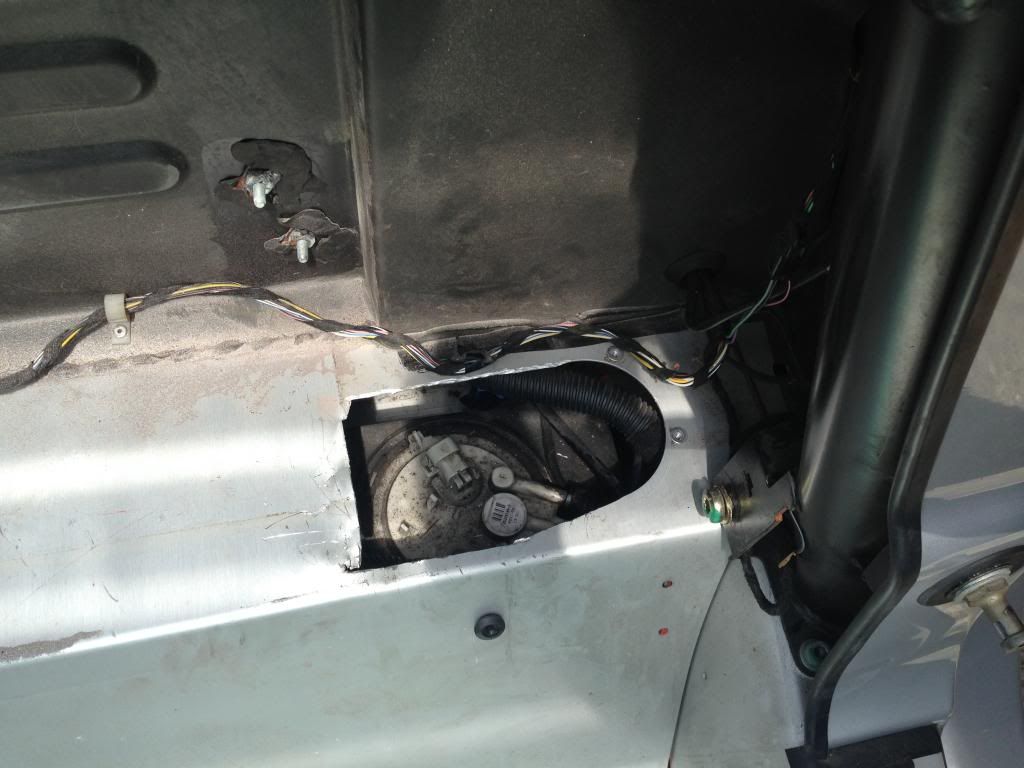
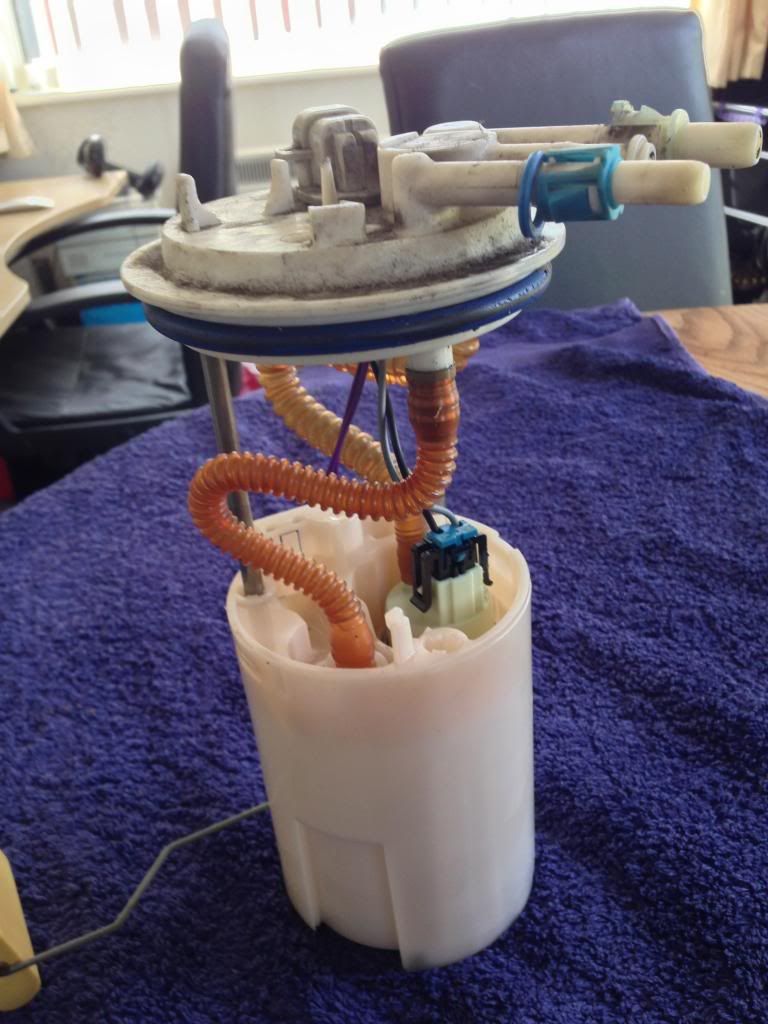
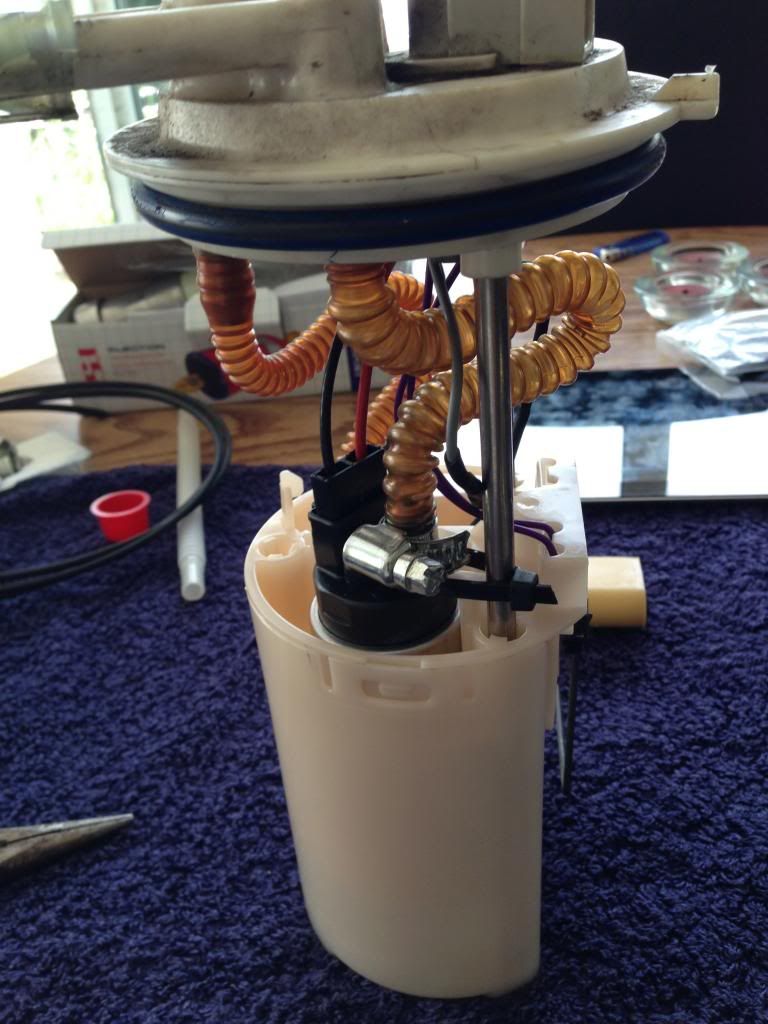
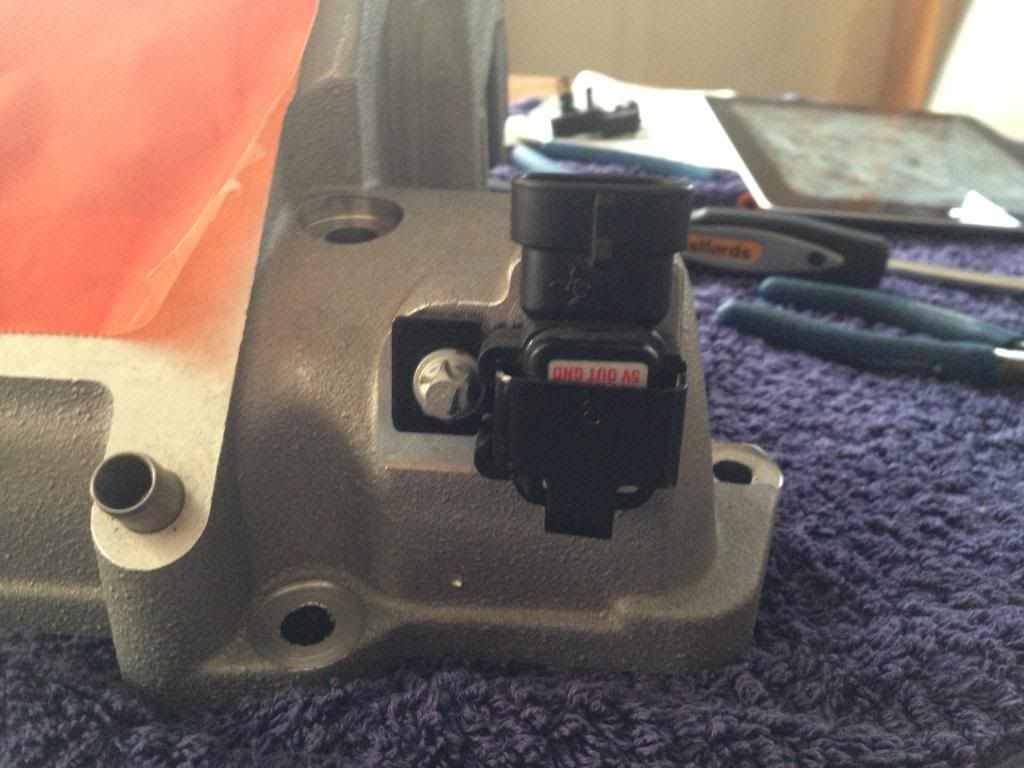
So I'm in the process of spending loads of cash and having endless parcels arriving at my house (well, usually the neighbour's if I'm honest cos I'm always out at work). Whilst all this is going on there was one thing I could make a start on this weekend...


#2 Steve.i.am

Steve.i.am

    Need to get Out More

  • PipPipPipPip
  • 990 posts
  • Gender:Male
  • Location:Sussex
  • Interests:Bends

Posted 29 June 2013 - 05:36 PM

I have been advised that an uprated fuel pump is a wise thing to sort out up front. Don't want to end up having the final mapping done to find it leaning out, so this was added to my (ever increasing) parts list for the conversion:


http://www.jp4mance....auxhall/_/2738/


So today, armed with Vocky's excellent guide (http://www.vx220.org...lacement-guide/) I've had a go at it..


First got passenger seat out (For the fiddly to get at bolt I used a 6mm hex bit that has a 10mm drive and got a 10mm ratchet spanner on it - a doodle). Then removed the parcel shelf trim (bit of brute force to unstick it required) and the standard inspection hole revealed..


Posted Image


So attacked with a combination of a dremmel and some tin spins made the hole big enough to get at the pump housing..


Posted Image


OK I failed metalwork at school so no taking the p*ss but enabled me to get the pump housing out..


Posted Image


New pump installed as per Vocky's guide and ready to go back in the tank..


Posted Image


So far so good but I have got a bit stuck! On trying to re-install this into the tank I cant get the main circlip back in place. There are 4 lips on the top of the tank which the circlip sits under but there's no way I can get the housing to sit down flush enough to get the clip under them all. No matter how much I push something is simply stopping it going fully in.


So any ideas anyone? I am wondering if I need to take it back out and move the pump down further in the housing? 


So I've packed up for today and will have another go tomorrow. Also planned for tomorrow is to fit powerflex inserts into the front & rear lower engine mounts - hopefully that might stop the top mounts from breaking again..


#3 CHILL Gone DUTCH

CHILL Gone DUTCH

    I ADMIT BATMAN THINKS HE IS QUICKER THAN ME

  • PipPipPipPipPipPipPipPip
  • 13,727 posts
  • Gender:Male
  • Location:UK

Posted 29 June 2013 - 05:40 PM

Use your fingers to put it back in its a faff doing it with tools

Edited by Chill, 29 June 2013 - 05:54 PM.


#4 CHILL Gone DUTCH

CHILL Gone DUTCH

    I ADMIT BATMAN THINKS HE IS QUICKER THAN ME

  • PipPipPipPipPipPipPipPip
  • 13,727 posts
  • Gender:Male
  • Location:UK

Posted 29 June 2013 - 05:42 PM

Don't let scuffers see that whole

#5 Steve.i.am

Steve.i.am

    Need to get Out More

  • PipPipPipPip
  • 990 posts
  • Gender:Male
  • Location:Sussex
  • Interests:Bends

Posted 29 June 2013 - 05:53 PM

Don't let scuffers see that whole


Appalling isn't it. I do plan to tidy it up mind and I have some sheet ally to make a new cover.


#6 CHILL Gone DUTCH

CHILL Gone DUTCH

    I ADMIT BATMAN THINKS HE IS QUICKER THAN ME

  • PipPipPipPipPipPipPipPip
  • 13,727 posts
  • Gender:Male
  • Location:UK

Posted 29 June 2013 - 05:54 PM

Don't let scuffers see that whole

  Appalling isn't it. I do plan to tidy it up mind and I have some sheet ally to make a new cover.
I'm going to get round to that 1 day to

#7 CocoPops

CocoPops

    SuperCharged Karting Super Hero

  • 17,177 posts
  • Gender:Male
  • Location:Thatcham, Berks

Posted 29 June 2013 - 05:56 PM

Put the rubber seal in the freezer overnight and then try in the coldest part of the day. When JG struggled recently, we put the seal in place, put the canister in and then used a broom handle to press the whole lot down whilst he fitted the circlip.

#8 Steve.i.am

Steve.i.am

    Need to get Out More

  • PipPipPipPip
  • 990 posts
  • Gender:Male
  • Location:Sussex
  • Interests:Bends

Posted 29 June 2013 - 06:36 PM

Put the rubber seal in the freezer overnight and then try in the coldest part of the day. When JG struggled recently, we put the seal in place, put the canister in and then used a broom handle to press the whole lot down whilst he fitted the circlip.


Aha - so its not just me then. Cheers I'll try a similar approach.  


#9 higgins

higgins

    Member

  • Pip
  • 126 posts
  • Gender:Male
  • Location:Norwich

Posted 29 June 2013 - 07:06 PM

Good Luck with the supercharger conversion. You were fast enough round the corners at snetterton. A few more horses down the straights are always welcome.


#10 Steve.i.am

Steve.i.am

    Need to get Out More

  • PipPipPipPip
  • 990 posts
  • Gender:Male
  • Location:Sussex
  • Interests:Bends

Posted 30 June 2013 - 11:11 AM

Thanks Richard. 


So pump housing all back in OK now. Yeah it was the seal causing the issue.  thumbsup


#11 Steve.i.am

Steve.i.am

    Need to get Out More

  • PipPipPipPip
  • 990 posts
  • Gender:Male
  • Location:Sussex
  • Interests:Bends

Posted 03 July 2013 - 07:08 PM

Not an awful lot of time to do a lot however I did get a spare couple of hours in this evening so car up on ramps, undertrays off and looked into these front/rear poly engine mount inserts.


After recent posts about melted rear poly mounts I am still deciding on whether to do the rear mount due to proximity of exhaust..


Posted Image


And I'm still undecided on what exhaust I'm going to change to for the conversion, so I'll defer. Anyway front mount out..


Posted Image


Poly inserts in..


Posted Image


And back in the car..


Posted Image


My inlet manifold turned up from the states today so thats all the major parts now taken care of. Next stage is to begin the process of front and rear clam removal. And try and decide what to do about the exhaust system. I'll make another post about that..


#12 Kieran McC

Kieran McC

    Scary Internerd

  • PipPipPipPipPipPip
  • 3,416 posts
  • Gender:Male
  • Location:Norwich
  • Interests:Fast cars,Track Days.

Posted 03 July 2013 - 07:13 PM

Steve found the spare seat grommets will pop them in the post


#13 Steve.i.am

Steve.i.am

    Need to get Out More

  • PipPipPipPip
  • 990 posts
  • Gender:Male
  • Location:Sussex
  • Interests:Bends

Posted 03 July 2013 - 07:27 PM

Steve found the spare seat grommets will pop them in the post


thumbsup Top man


#14 Steve.i.am

Steve.i.am

    Need to get Out More

  • PipPipPipPip
  • 990 posts
  • Gender:Male
  • Location:Sussex
  • Interests:Bends

Posted 04 July 2013 - 08:11 PM

Got what I think (hope) is the correct MAP sensor second hand off ebay (from a 1.7 cdti Astra) and mounted this in the inlet manifold. Did the Joe mod to pack out the rubber seal so it was a nice tight fit and used the redundant MAP sensor bracket off the supercharger to fit it:


Posted Image


So now I need to blank off the MAP sensor hole on the supercharger - could get the alloy bung off CS but didn't include this in my recent order of bits from them so wondered if just bonding a suitable bolt in there would suffice? ....


Posted Image


#15 Kieran McC

Kieran McC

    Scary Internerd

  • PipPipPipPipPipPip
  • 3,416 posts
  • Gender:Male
  • Location:Norwich
  • Interests:Fast cars,Track Days.

Posted 04 July 2013 - 08:18 PM

Are you going to get it Mapped by Courtneys  or going down the Dutch DIY route ?


#16 CHILL Gone DUTCH

CHILL Gone DUTCH

    I ADMIT BATMAN THINKS HE IS QUICKER THAN ME

  • PipPipPipPipPipPipPipPip
  • 13,727 posts
  • Gender:Male
  • Location:UK

Posted 04 July 2013 - 08:20 PM

I put the old map sensor in of your old manifold

#17 CHILL Gone DUTCH

CHILL Gone DUTCH

    I ADMIT BATMAN THINKS HE IS QUICKER THAN ME

  • PipPipPipPipPipPipPipPip
  • 13,727 posts
  • Gender:Male
  • Location:UK

Posted 04 July 2013 - 08:21 PM

Are you going to get it Mapped by Courtneys  or going down the Dutch DIY route ?

DIY makes it sound crude, It's the only way to go IMO

#18 Steve.i.am

Steve.i.am

    Need to get Out More

  • PipPipPipPip
  • 990 posts
  • Gender:Male
  • Location:Sussex
  • Interests:Bends

Posted 04 July 2013 - 08:24 PM

I'm going nuts trying to decide what to do about the exhaust system if I'm honest. My plan was to try & avoid spending £££££ on a full system so was going down the route of drilling out the pre-cat on the standard NA down pipe, keeping that and changing the backbox for a standard turbo one.


I have a decent VXT backbox but it didnt have a link pipe (ubend) with it. I've struggled to find a standard VXT link pipe so gambled on making a Milltek link pipe fit. Err, it doesn't..


Posted Image


Its a 2.5" whereas the VXT backbox seems to be 2.25". I thought about getting a local fabricators to modify the link pipe to fit the smaller back box input pipe. Thoughts? Would this seem doable?


If this isn't an option I'm tempted to throw in the towel and just buy a 2.5" cat section (Tullet for example) and mate that to a Turbo Milltek back box.


Opinions appreciated as always folks.


#19 CHILL Gone DUTCH

CHILL Gone DUTCH

    I ADMIT BATMAN THINKS HE IS QUICKER THAN ME

  • PipPipPipPipPipPipPipPip
  • 13,727 posts
  • Gender:Male
  • Location:UK

Posted 04 July 2013 - 08:26 PM

If you go Dutch leave exhaust as it was Do it probably when you want to spend £££s then remap it again

#20 Kieran McC

Kieran McC

    Scary Internerd

  • PipPipPipPipPipPip
  • 3,416 posts
  • Gender:Male
  • Location:Norwich
  • Interests:Fast cars,Track Days.

Posted 04 July 2013 - 08:30 PM

If I remember Milltek is 2,25 Tullett 2,50 ,OEM is 2.25


Also tagged with one or more of these keywords: supercharge

0 user(s) are reading this topic

0 members, 0 guests, 0 anonymous users